
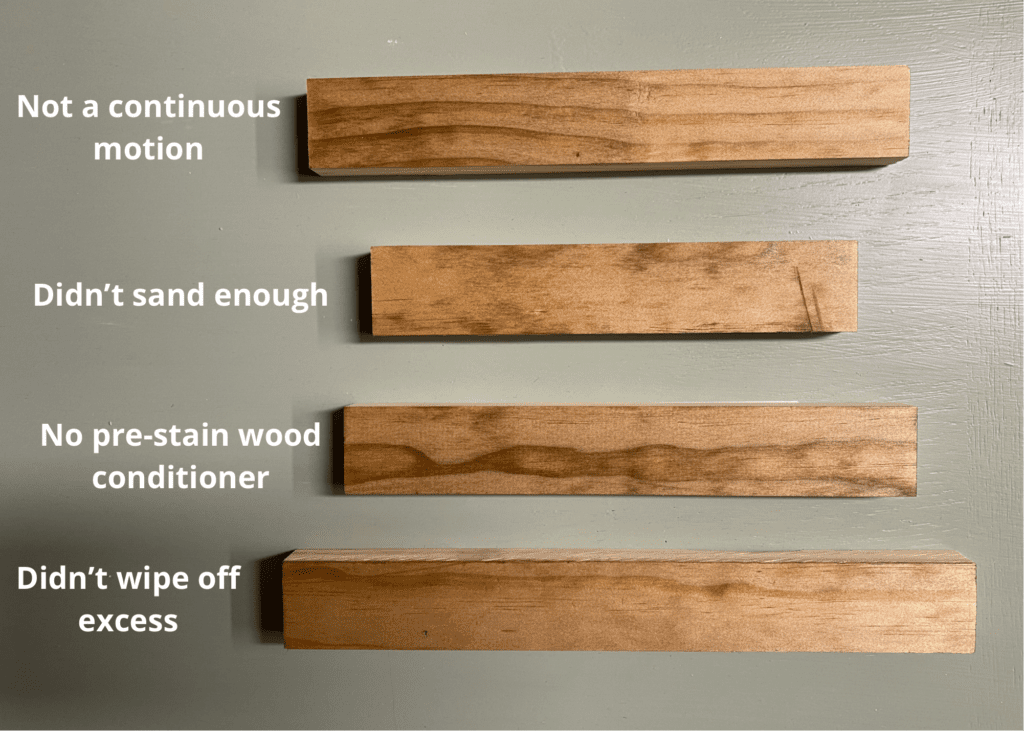
Why is my Stain Blotchy? 5 Easy Solutions to Fix Blotchy Stain
You plan. You build. You sand and sand and sand. Then you stain…and it comes out looking blotchy! Ah! You might be wondering “Why is my stain blotchy? What did I do wrong?!” Don’t worry, I have some easy solutions for you: staining tips that will help you avoid blotchy stain every time from here on out.
First, what causes blotchy stain?
Blotchy stain often occurs because wood unevenly absorbs stain, causing some areas to be darker than others. Blotchy stain is more likely to happen on soft woods such as pine. Stain rarely turns out blotchy on hard wood like oak.
Solution 1: Choose a type of wood that stains well
If you want to avoid blotchy wood without a lot of effort, start out right by choosing a wood type that naturally takes stain evenly. Oak is a wonderful choice! Pine, poplar and birch will be more difficult to get an even stain on.
Solution 2: Sand your wood well before staining
Sometimes stain turns out blotchy on wood because there are imperfections in the wood that collect more of the stain in those crevices. Therefore, if you can eliminate those imperfections, creating a smooth finish on the wood, the stain will be more likely to go on evenly.
Solution 3: Use pre-stain wood conditioner!
In my opinion, this is the most important solution! I used to be impatient and not want to add this extra step to my process. However, now I use it every time I’m going to stain something.
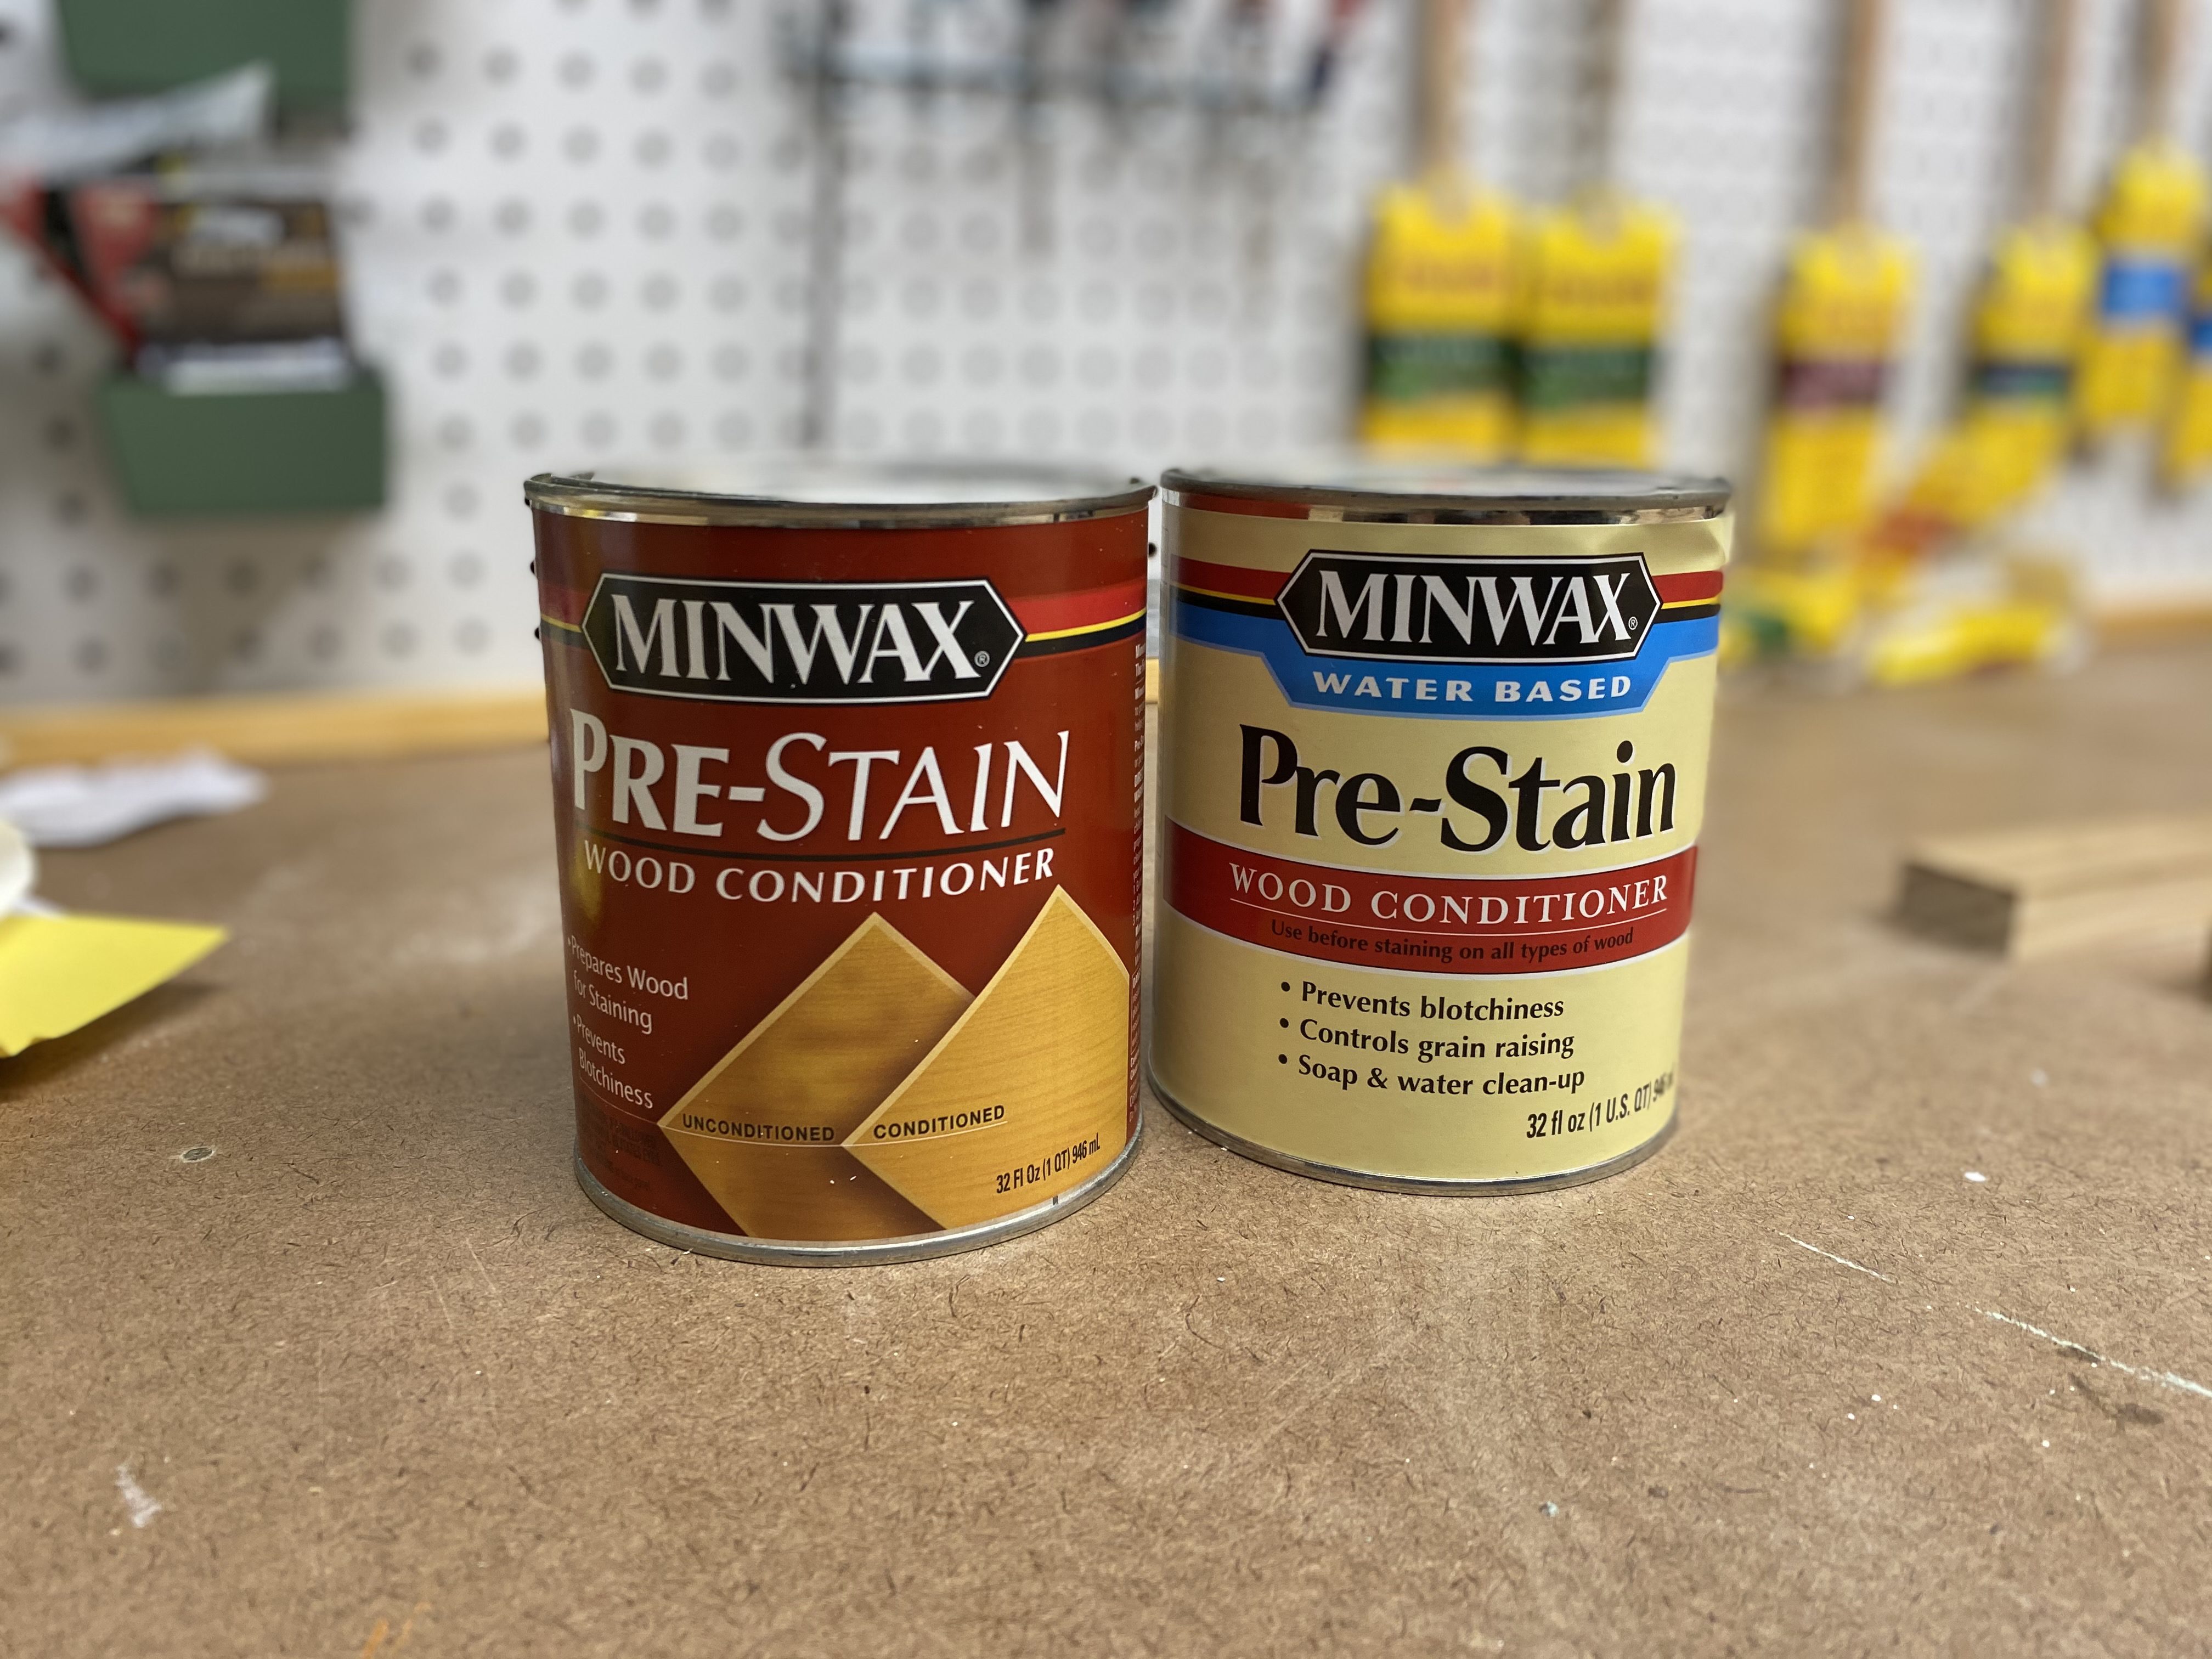
There are two types of pre-stain wood conditioner: water based and oil based. You should select whichever one matches the stain that you plan to use. If you will be using an oil based stain on your wood, use the oil based pre-stain wood conditioner. If you will be using a water based stain on your wood, use a water based wood conditioner.
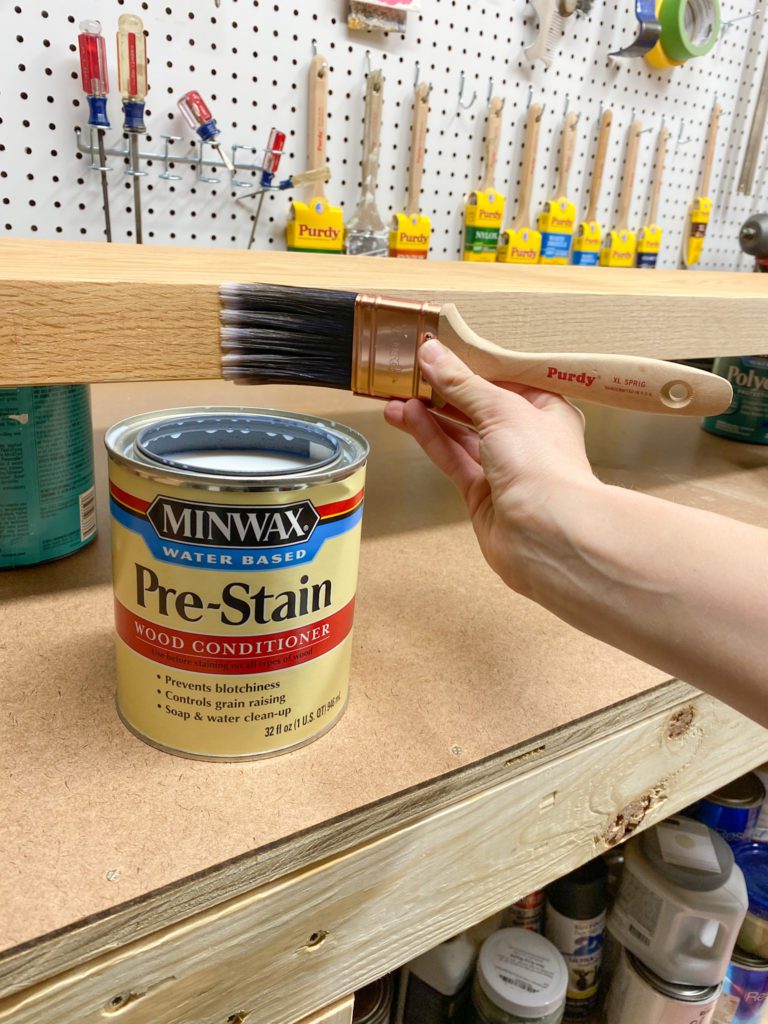
Application is simple. Apply it with a synthetic brush or rag. Then follow the directions on the can since the next steps vary depending on what type you are using. However, in both cases, you allow the wood conditioner to sit on there for a set period of time and then wipe off the excess.
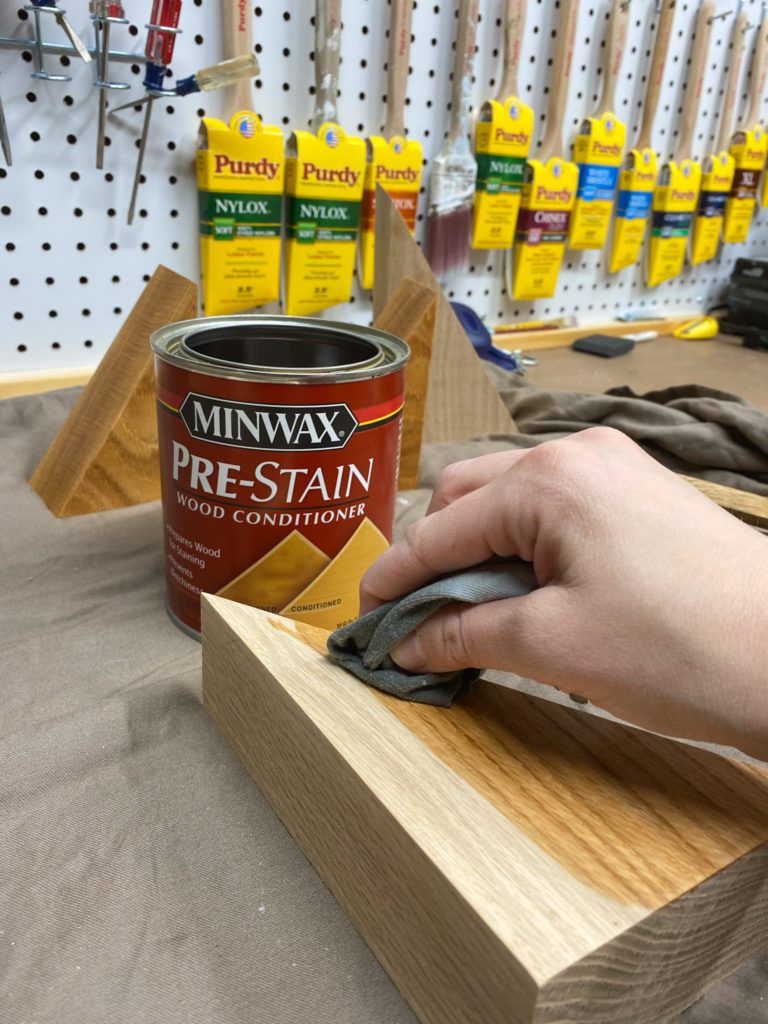
I highly recommend purchasing some of this and using it regularly prior to staining!
Solution 4: Stain using long motions that span the length of the surface
Sometimes people who are new to staining will stain in sections, taking awhile to get one section coated in stain and then move on to the next section. This can result in visible lines between the sections, where stain overlapped.
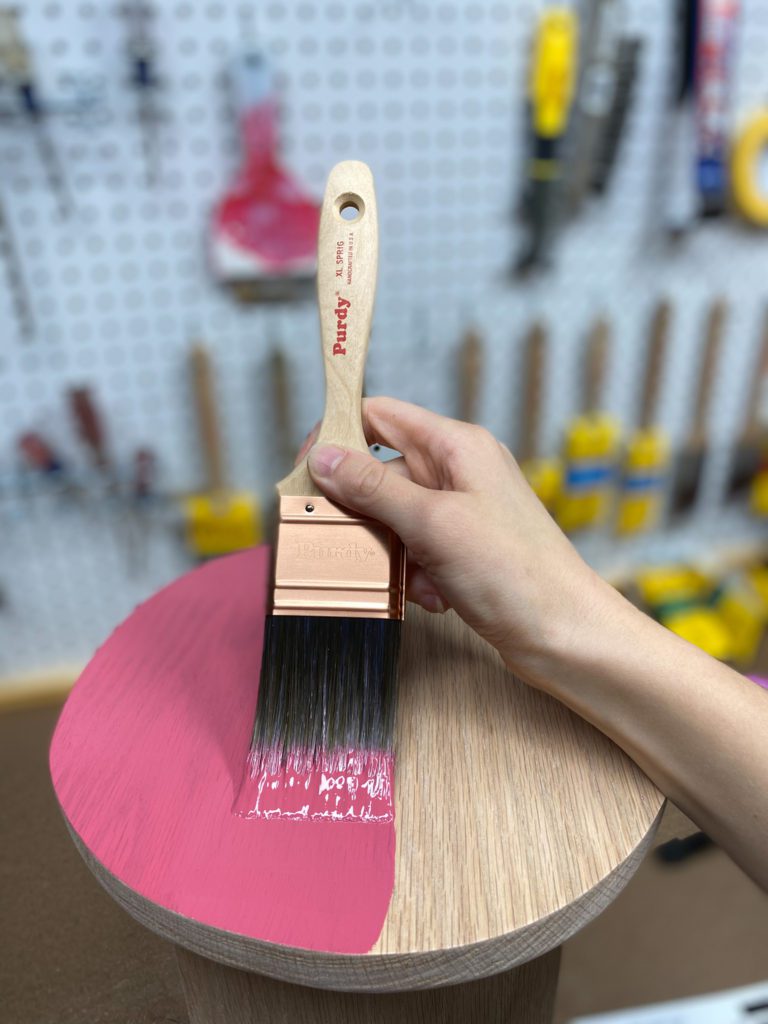
To avoid this, apply your stain in long sweeping motions, covering the entire length of the surface each time. This is really important when using water-based stain that dries quickly but is also important with oil based stain.
Solution 5: Make sure to wipe off excess stain before it dries
Staining isn’t like painting. Staining has the extra step of removing the excess stain before it dries.
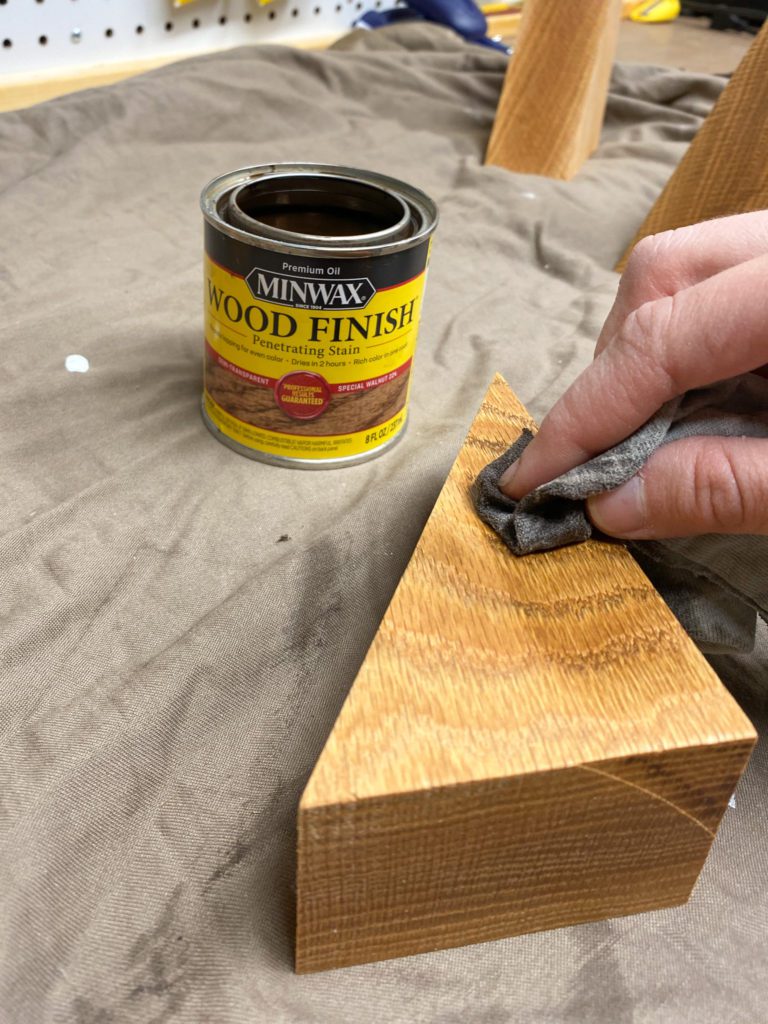
You want to make sure that you remove any excess before it dries. If excess is allowed to dry on top of the wood, it leaves a glossy sheen on the wood that doesn’t match the rest of the wood. This can give your wood a blotchy look.
Therefore, pay attention to how long it’s been since you’ve stained each part of the wood and make sure to remove excess in a timely fashion.
For most stains, you remove excess with a rag. For some stains, you remove it with a synthetic pad. Read the directions on the can to know for sure what to use to remove excess stain.
Have more questions?
I’m always happy to answer questions you might have so please feel free to send me an email or send me a message on Instagram.
Most-Loved Staining Projects!
Beautiful Vintage Blue Entryway Bench with a Modern Twist
2 DIY Bookends: Modern & Mountain Themed
Sign up for my emails to always know about the latest projects and home DIY tips!


13 Comments
Jen
These are great tips! I’ve had many a stain debacle because I get in a rush and
Just want it done!!
admin
Oh me too, Jen! I’ve learned that I’m so much happier with the end product when I slow down and do all the steps properly. So glad these tips were helpful!
Cathy D Duncan
Thank you so much. Very helpful suggestions!!!
admin
Thanks! Glad they were helpful!
Linda at Mixed Kreations
These are great tips! I’ve had lots ofmess ups because I’m always in a rush.
admin
Thanks Linda! Me too 🙂
Marie
Oh my goodness I have a table that I stained years ago and it is so terrible! But it is a great little table. I may need to finally fix it lol. Thanks for sharing your tips. Making a note of the stain conditioner for when I do my repair job.
Carol Karl
This is amazing information! I’ll definitely be pinning and referring back to it. Thanks for sharing.
Jayne
Great tips. I’ve never used a pre-conditioner before. I can see I’m going to have to try that on my next wood staining project!
Danielle Keller
These are great tips! I’m pretty sure I’ve made all of these staining mistakes!
Jennifer Dynys
Hey there! Great post! Would you mind if I shared this in my weekly round-up tomorrow?
admin
Of course! I’d love if you share it! Thanks so much.
Pingback: