Easy Woodworking Project! How to make a beautiful stained wood end table
Are you looking for an easy woodworking project? Or perhaps an opportunity to make an end table that you can customize to the exact size and colors for your home? I’ve got just the tutorial for you! I’ll be sharing with you how to make a beautiful stained wood end table. You can easily adjust the dimensions for your space and also adjust the colors for your home.
Thanks to Minwax for sponsoring this post. I received compensation from Minwax but all opinions stated here are my own. I’ve used and loved Minwax products for years!
Time to Complete
2 days, with about 5 hours of work across the 2 days
Tools & Materials
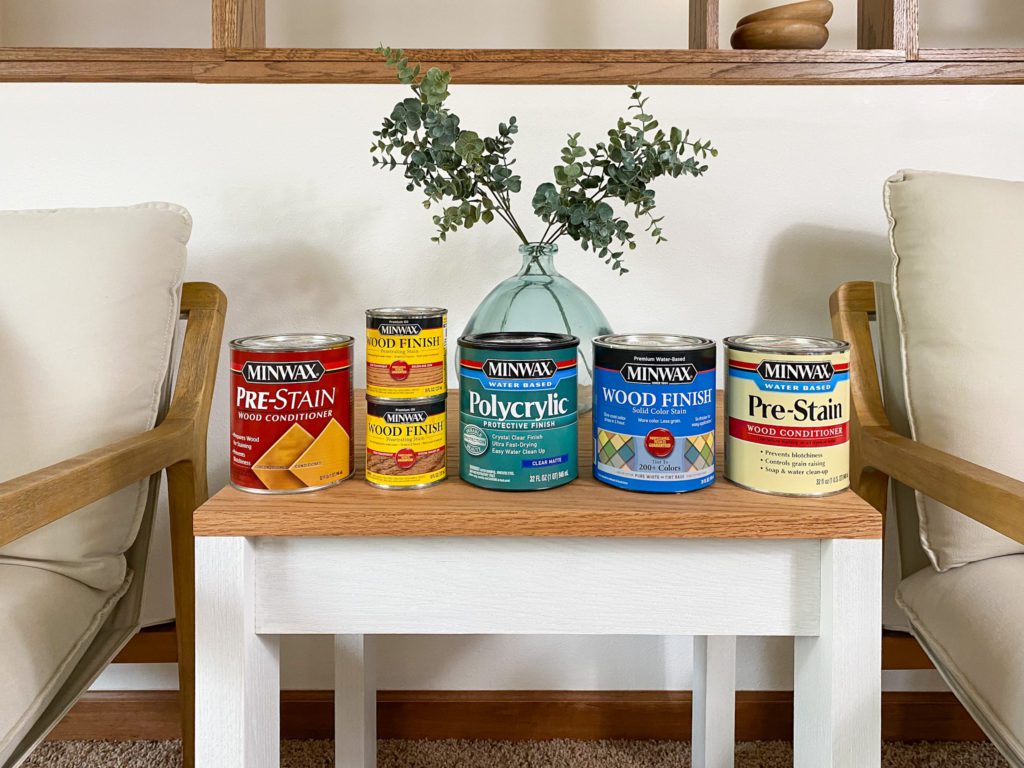
- Minwax Water-Based Pre-Stain Wood Conditioner
- Minwax Wood Finish Water-Based Solid Color Stain in Pure White
- Minwax Pre-Stain Wood Conditioner for Oil-Based Stains
- Minwax Wood Finish Penetrating Stain in Special Walnut and Golden Oak
- Minwax Polycrylic Protective Finish in Matte Finish
- Minwax Stainable Wood Filler
- Purdy Premium Folding Multi-Tool
- Purdy 2” XL Sprig Paintbrush
- Synthetic Pad
- 220 Grit Sandpaper
- Tack Cloth
- Rags
- 1 2″×4″ 6′ Oak Board
- 2 1″×4″ 6′ Oak Boards
- 1 1″×4″ 8′ Oak Board
- Miter Saw
- Drill
- 1 1/2″ Trim Screws (small heads on them)
- Small container for mixing stain in
- Measuring device for ml and oz
Click HERE to find a local retailer for Minwax products!
Stained Wood End Table Tutorial
STEP 1: Cut wood boards using a miter saw
All boards should be cut at 90 degree angles at both ends (in other words, super simple cuts!).
Out of the 2×4 board, cut four 20″ pieces.
Out of the 1×4 boards, cut six 22″ pieces, two 17 1/2″ pieces, and two 18″ pieces.
STEP 2: Sand boards
Even if your boards appear relatively smooth, you should always sand them with 220 grit sandpaper before staining them. This helps prepare the wood for stain and removes any potential coating that might be on the surface of your wood.
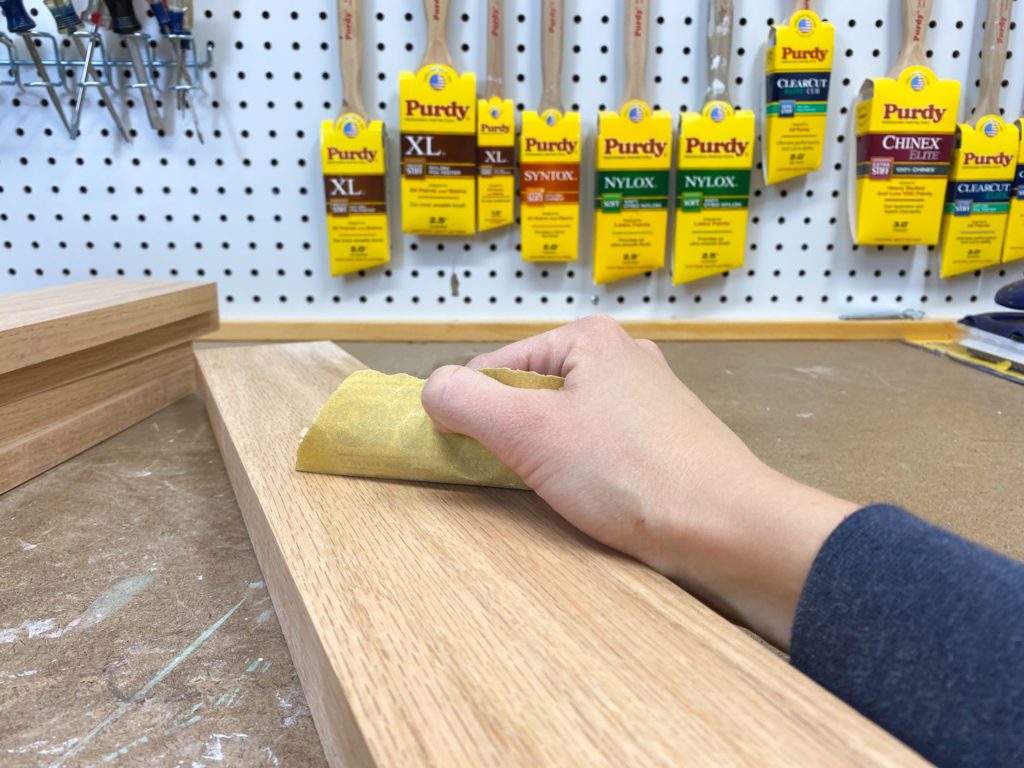
After you’re done sanding, remove any dust with a tack cloth.
STEP 3: Assemble base of table
First assemble the 17 1/2″ and 18″ boards into a square, ensuring that the 17 1/2″ boards are inside the 18″ boards as shown below. Glue, clamp, and screw together.
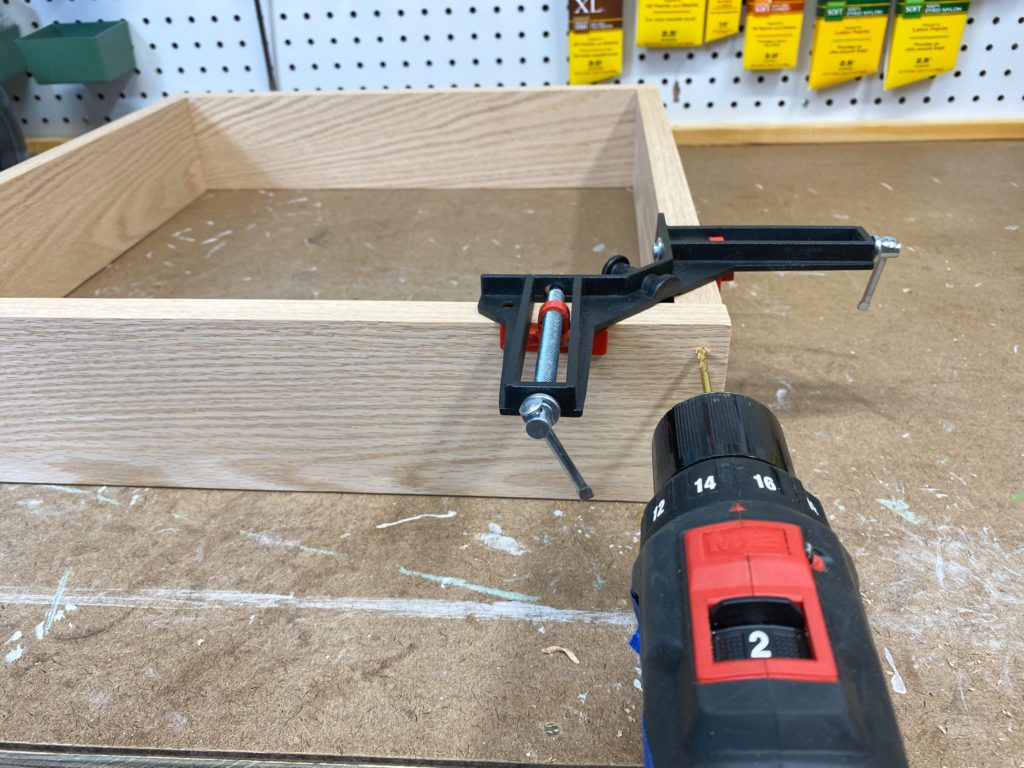
Then add the 2×4 legs to each side of the square, ensuring that they hand over 1/2″ on each of the 4 ends. Secure with wood glue and screws.
STEP 4: Assemble the table top.
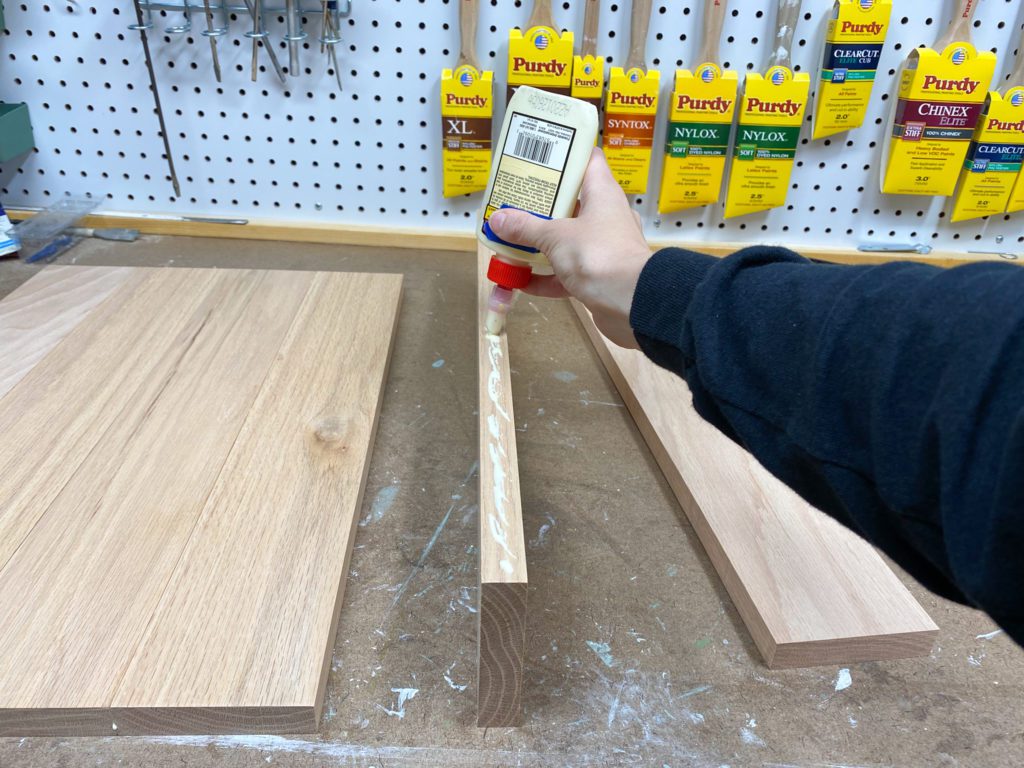
Glue together the six 22″ boards, using wood glue. Remove any excess glue with a damp cloth. Clamp them and allow wood glue time to dry.
STEP 5: Fill screw holes with Minwax Stainable Wood Filler
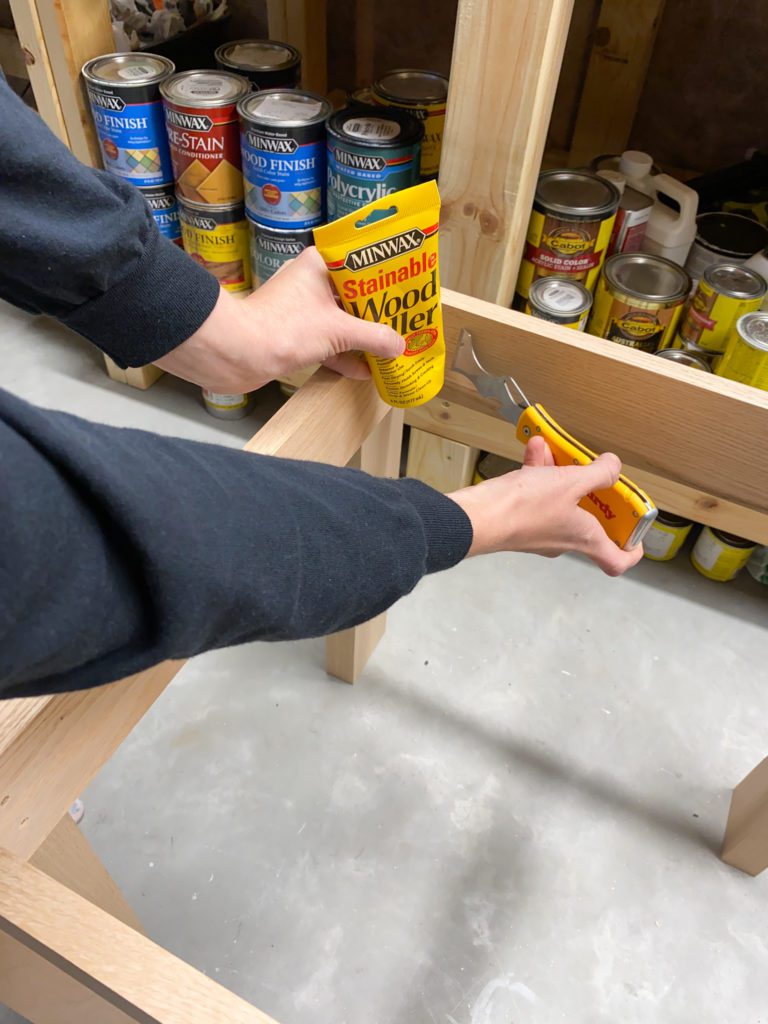
Use a Purdy Premium Folding Multi-Tool to push the wood filler into the screw holes. Allow time for the wood filler to dry. Then use 220 grit sandpaper to sand down any excess wood filler so that the surface is smooth. Remove any sanding dust with a tack cloth.
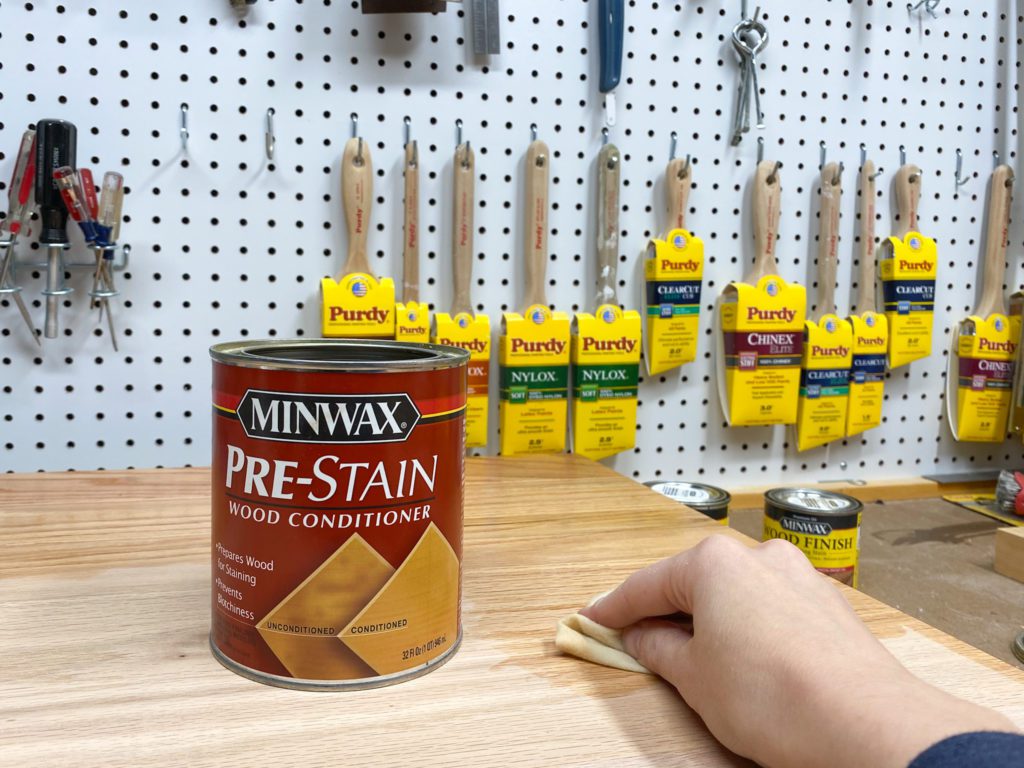
STEP 6: Apply pre-stain wood conditioner
Since I planned to use water-based stain on the base of the table and oil-based stain on the top of the table, I needed to apply two different types of pre-stain wood conditioner: water-based and oil-based. Both types help prep your wood for stain and help avoid blotchiness when you stain it.
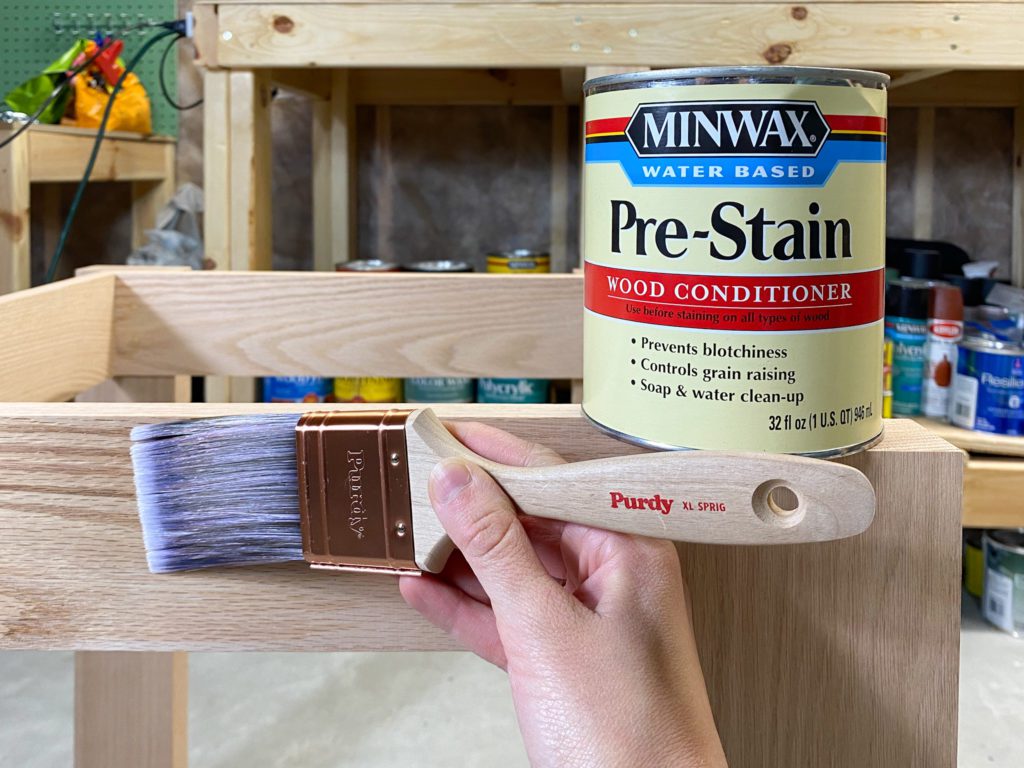
First I applied Minwax Water-Based Pre-Stain Wood Conditioner to the base. I applied it using a Purdy 2” XL Sprig Paintbrush. Within 1-5 mins, I removed any excess with a clean rag. I then allowed it to sit for 15-30 mins. Next I sanded it with 220 grit sandpaper. This step is necessary to remove any raised grain. Then I removed any sanding dust with a tack cloth.
Next I applied Minwax Pre-Stain Wood Conditioner for Oil-Based Stains to the top of the table. I applied it with a rag and after 5-15 mins, I wiped off any excess with a clean rag. Please note that after you apply this, you must apply your stain within 2 hours.
STEP 7: Apply stain
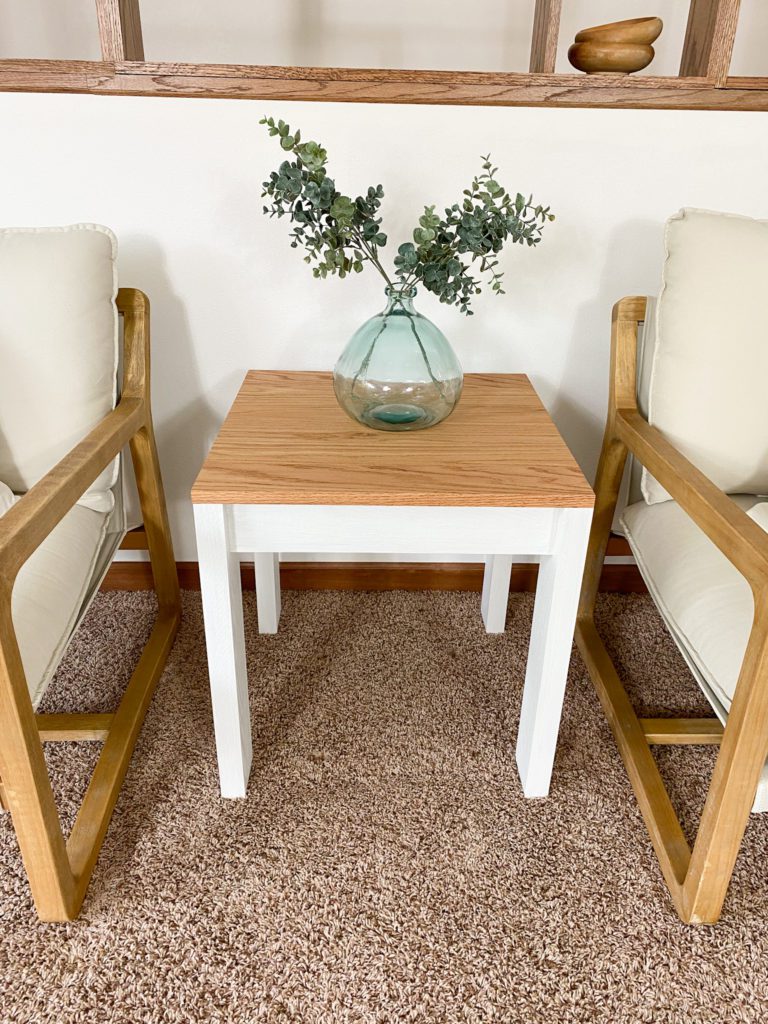
Next I applied the stain. I first applied Minwax Wood Finish Water-Based Solid Color Stain in Pure White. I chose a white colored stain because I wanted this end table to coordinate with another end table in my living room. However, there are over 200 color options to choose from! Also, this stain is water-based so it dries quickly and cleans up easily.
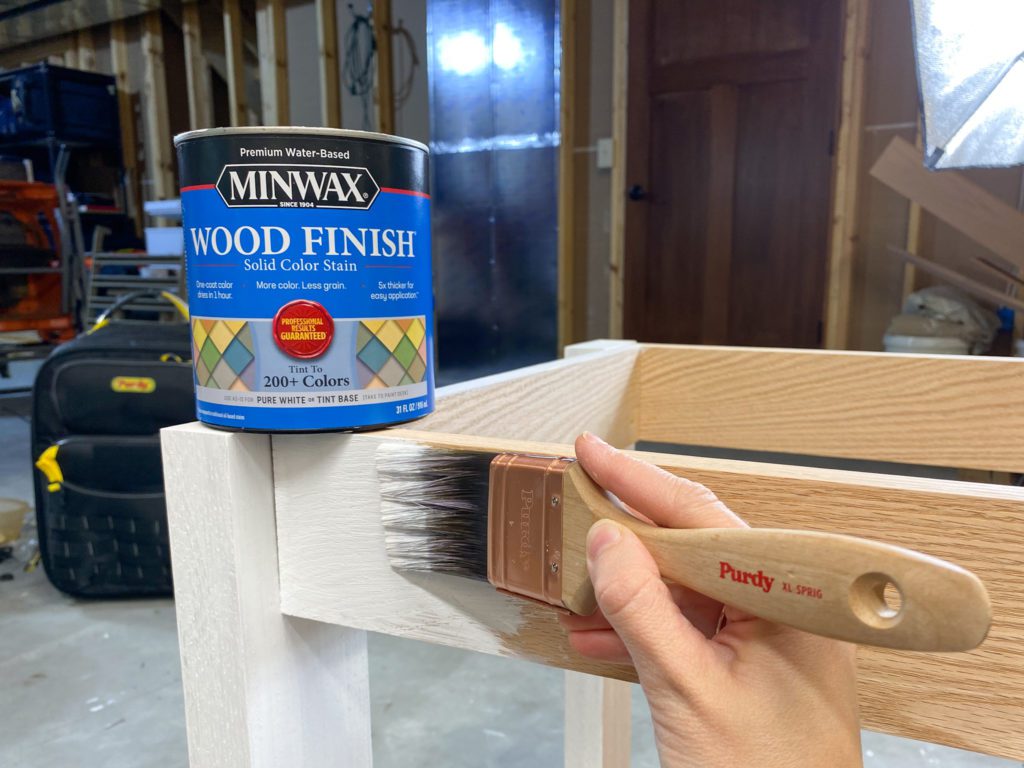
I applied this stain using a Purdy 2” XL Sprig Paintbrush. As I applied it, I went over it with a synthetic pad to remove any excess.
For the top of the table, I wanted a stain color that would be very similar to the top of the other end table I have in my living room. This other end table was a thrifted find so the exact stain color is unknown. Therefore, I tried out a few stain options and then decided to mix two stains to get the perfect color.
Did you know that you can mix stains to create custom colors? Well you can! And it’s super simple. Just remember to mix oil-based stains with other oil-based stains, and water-based stains with other water-based stains.
I ended up using Minwax Wood Finish Penetrating Stain in Golden Oak and Special Walnut. I mixed a ratio of 1 ounce of Golden Oak and 1 ml of Special Walnut, which basically means a lot of Golden Oak and just a little bit of Special Walnut to darken it a bit.
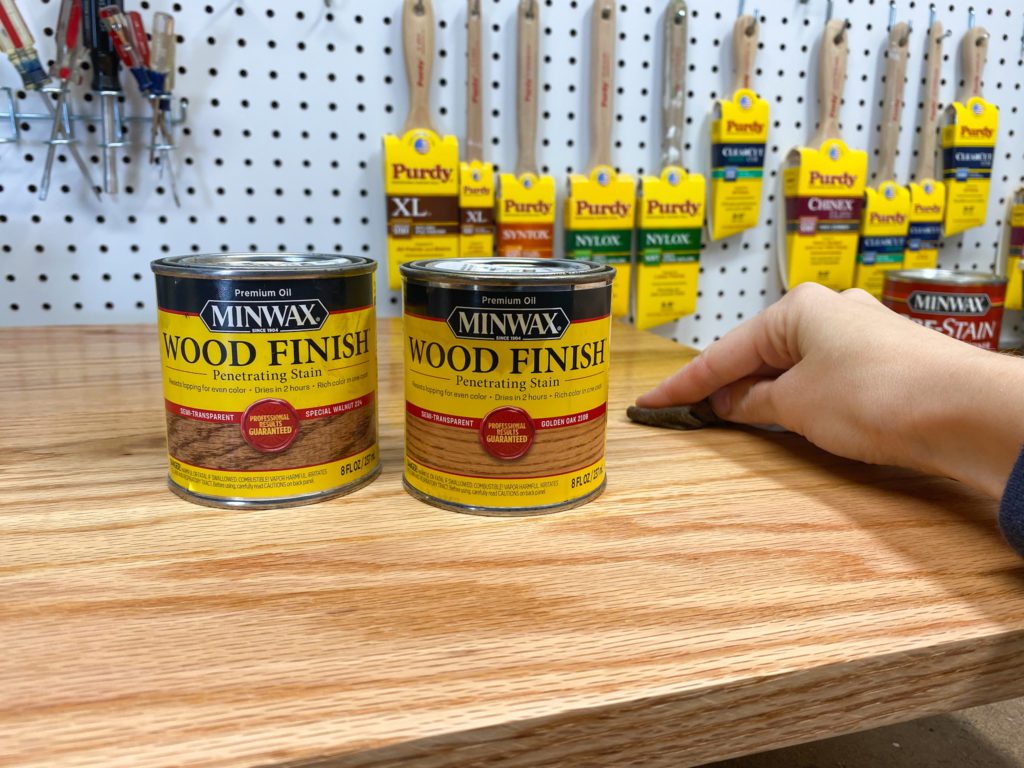
I then applied the mixed stain with a rag. After 5 minutes, I removed any excess stain. If you want a darker stain color, you can wait up to 15 minutes to remove the stain.
STEP 8: Attach the top of the table to the base using wood glue.
STEP 9: Apply a protective finish
Every time you stain something, you should follow a 3-step process that includes pre-stain wood conditioner, stain, and then a protective top coat. I almost always use Minwax Polycrylic Protective Finish in Matte Finish for my protective top coat. It doesn’t yellow and it comes in various sheens depending on your preference. Also, it can be put over both oil-based and water-based stains.
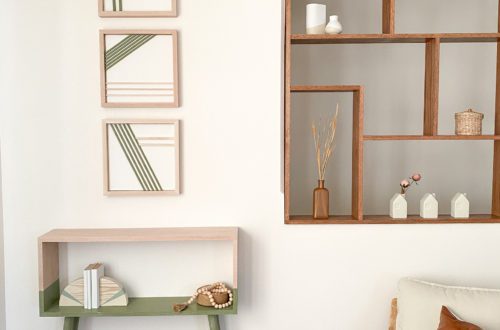
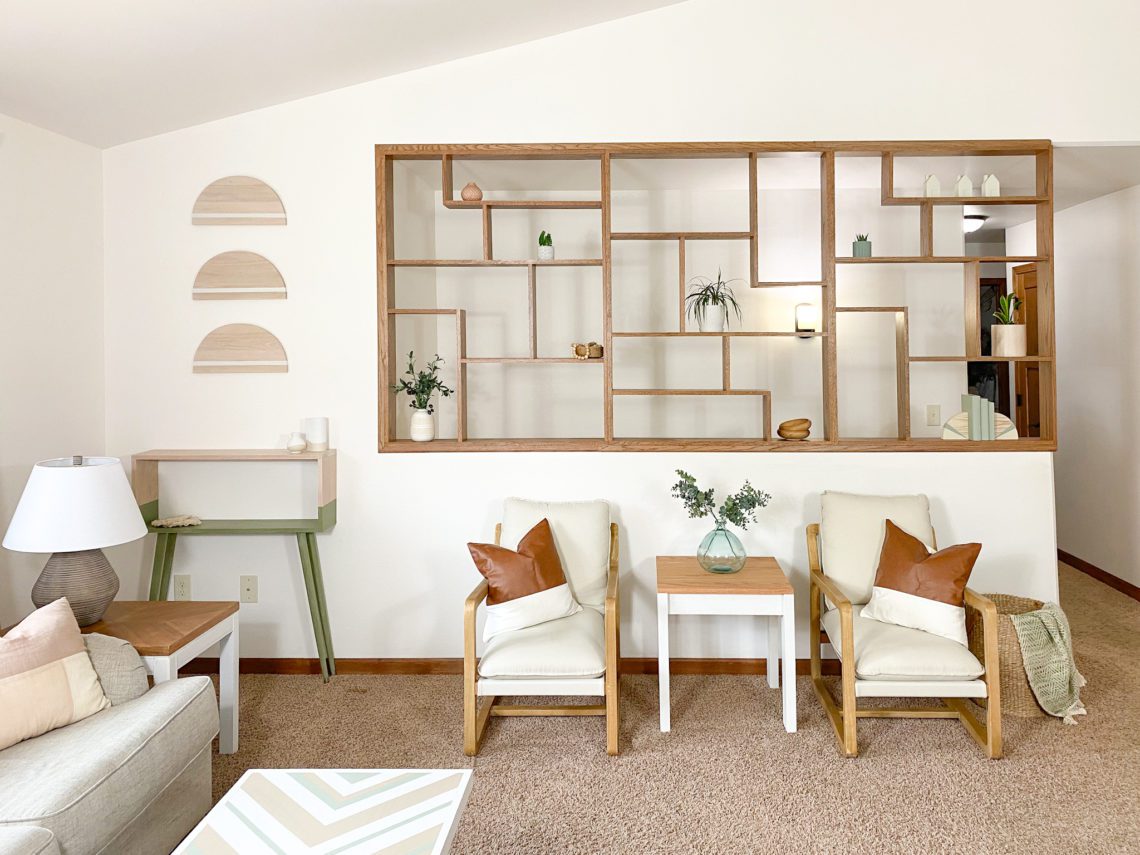
The Finished Stained Wood End Table!
Now you’re finished and you can place it in your living room or beside a bed in a bedroom.
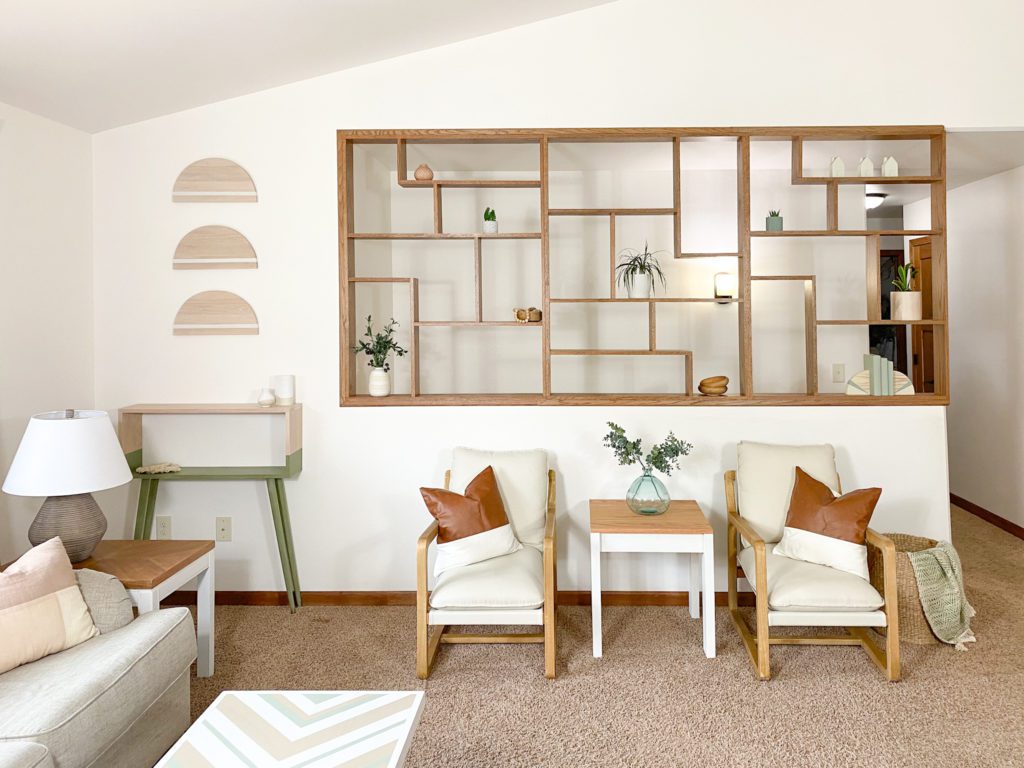
The custom-color stained top matches my other end table really nicely!
Feel free to modify these exact dimensions and colors to match your space. It’s a super simple build that is fully customizable!
Looking for more staining projects?
Follow along with me on Instagram and Pinterest to see all my upcoming staining and simple woodworking projects!
Head here for 5 AMAZING staining tips and a tutorial on how to build a nightstand for a toddler.
Head to the Minwax website for more project ideas and to explore all their different amazing stain colors.