Whitewashing Made Easy: Upcycling an Old Coffee Table
Everywhere I look I see people whitewashing something. Furniture, fireplaces, mantles and more are being whitewashed to create a naturally rustic and airy look. Most people do a tricky dance of trying to mix the right paint with the right amount of water to achieve the perfect whitewash. Minwax makes whitewashing super easy! They have a color wash product that doesn’t need to be mixed with water, dries very quickly and creates a beautiful aged look on bare or stained wood.
I used this Design Series Color Wash product on a very outdated coffee table that I’ve had sitting in my garage for the last 5 years. I transformed it into a light and airy, perfectly aged table for our home. Here’s how I did it so you can do it too!
Thanks to Minwax for sponsoring this post. I received compensation and free product from Minwax but all opinions stated here are my own. (I loved Minwax WAY before this partnership!)
Materials & Tools
Random Orbital Sander & Sandpaper
Krylon Chalky Finish Paint from Sherwin-Williams
Minwax Water Based Pre-Stain Wood Conditioner from Menard’s
Minwax Design Series Color Wash – White Wash from Menard’s
Minwax Polycrylic Protective Finish – Clear Matte from Menard’s
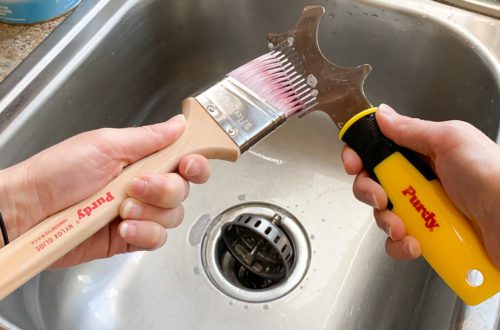
Purdy 2” Nylox Paintbrush from Menard’s
DecoArt Americana Decor Mandala Stencil
Time to Complete
7 hours including dry time in between coats
Instructions
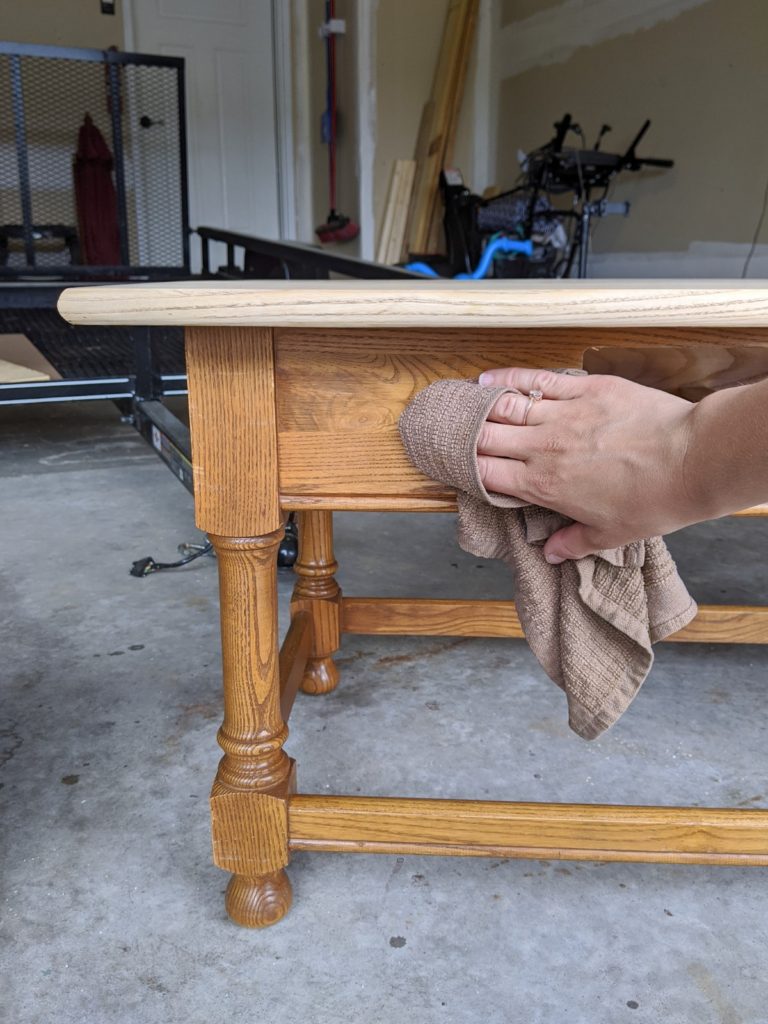
This is the coffee table I started with. Yes, I had this coffee table sitting in my garage for over 5 years! It was about time that I refinished it!
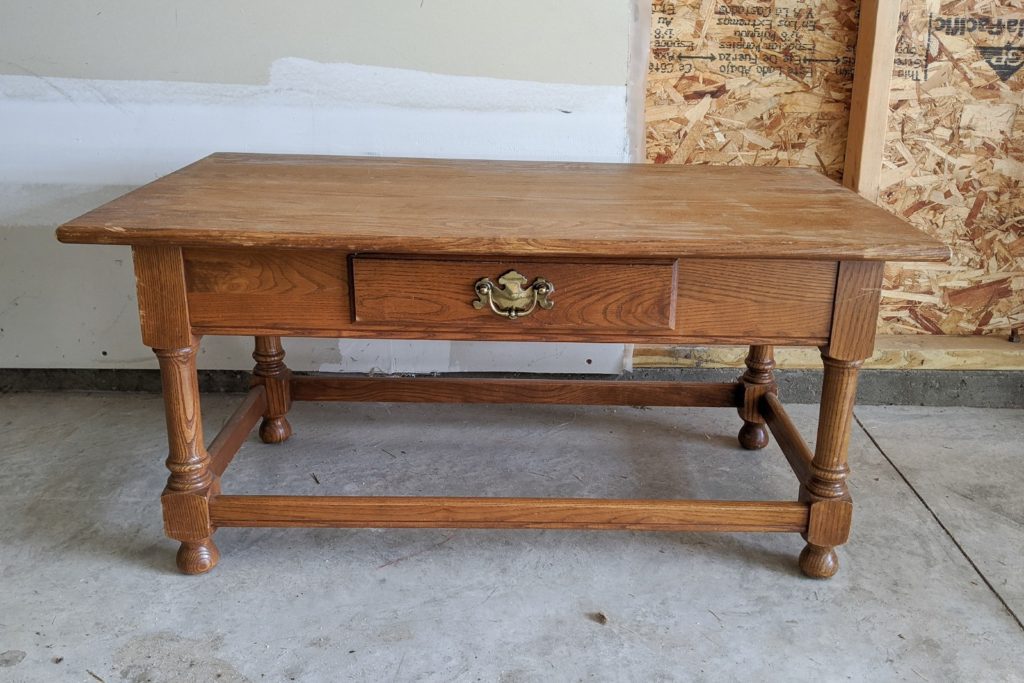
Here’s how I did it.
- Sand any areas you plan to stain
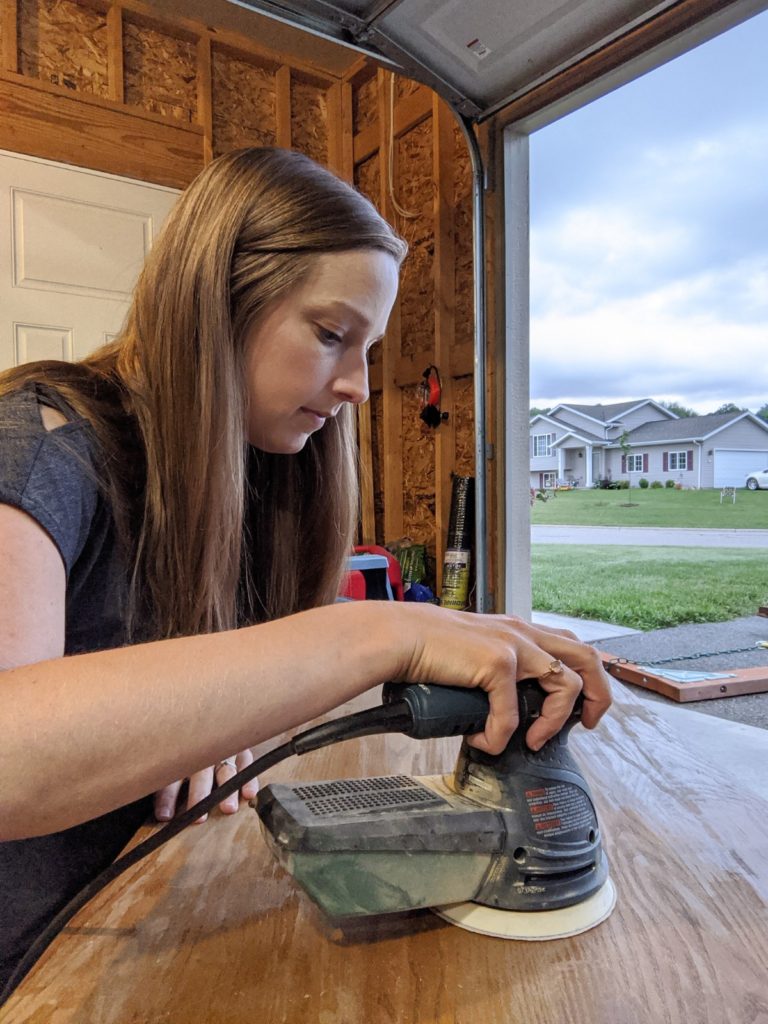
Use a random orbital sander to sand off any protective finishes, paint or stain. Start with 80 grit sandpaper and then move to 120 and then 220. This ensures that you end up with a nice smooth finish. Sand by hand any areas that needs a little extra work.
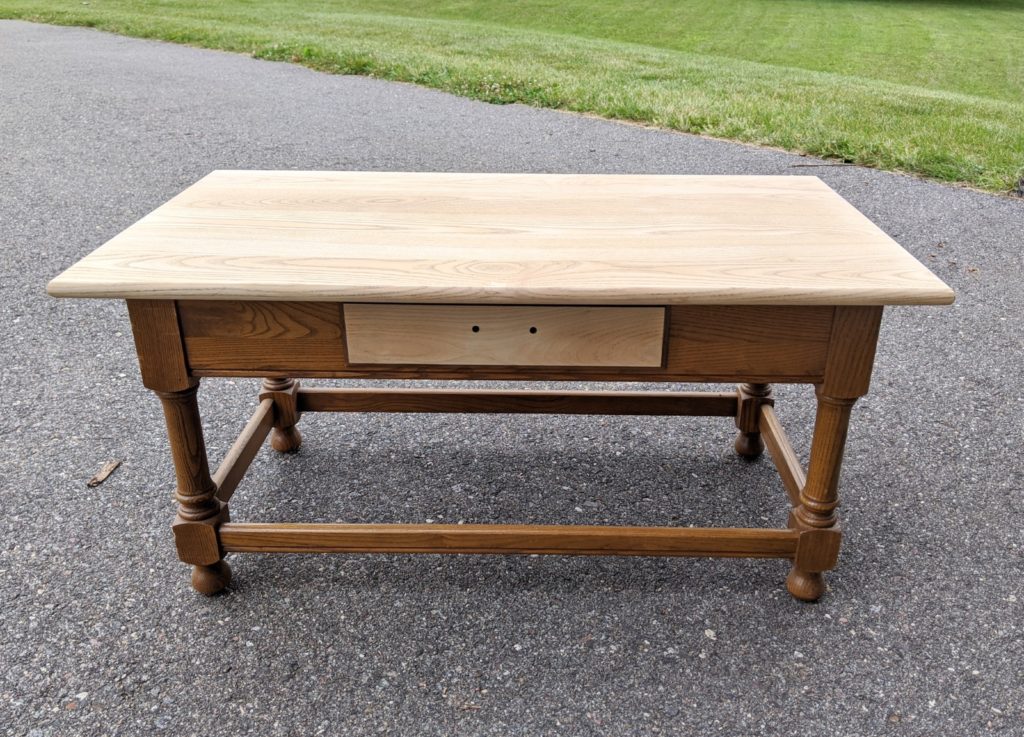
Make sure that you have every last bit of stain off of the surfaces before moving on. I know from experience that cutting corners when sanding will result in a lot of issues later on!
2. Clean off the entire piece of furniture
Use tack cloth to remove any sawdust from the bare wood.

Use TSP cleaner to clean off any surfaces that you plan to paint and haven’t been sanded down to bare wood.
3. Apply one coat of Minwax Pre-Stain Wood Conditioner to the areas that you plan to stain.
This is the first step in a 3-step staining process. The below visual explains the 3-step process in case you want a heads up on what’s coming up!
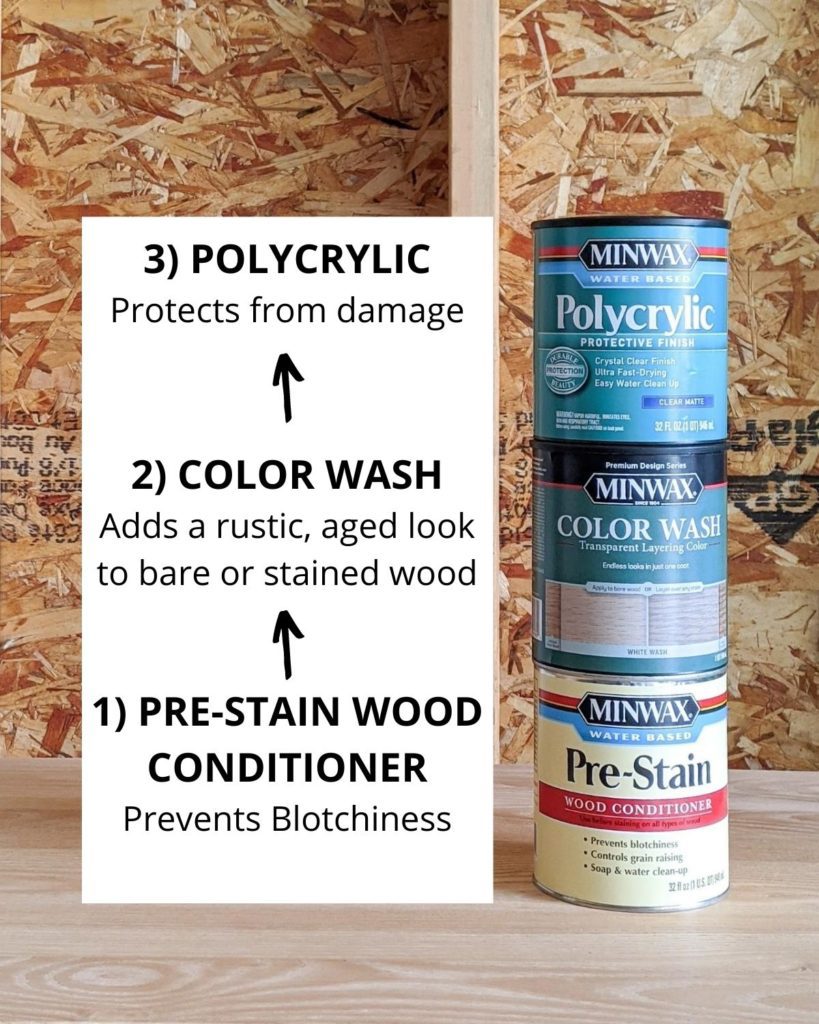
Pre-stain wood conditioner helps ensure that your stain goes on evenly. It prevents blotchiness. Apply it with a rag or soft paintbrush such as a Purdy Nylox paintbrush.

After 1-5 minutes, wipe off any excess wood conditioner. After 15-30 minutes, lightly sand the surface with 220 grit sandpaper.
4. Apply one coat of Minwax Design Series Color Wash over the areas where you just applied wood conditioner.
Using a rag or synthetic brush such as a Purdy Nylox paintbrush, apply the color wash against the wood grain.

Immediately wipe it off with a rag, once again going against the grain. It is very important that you wipe it off right away, within 2 minutes of application.
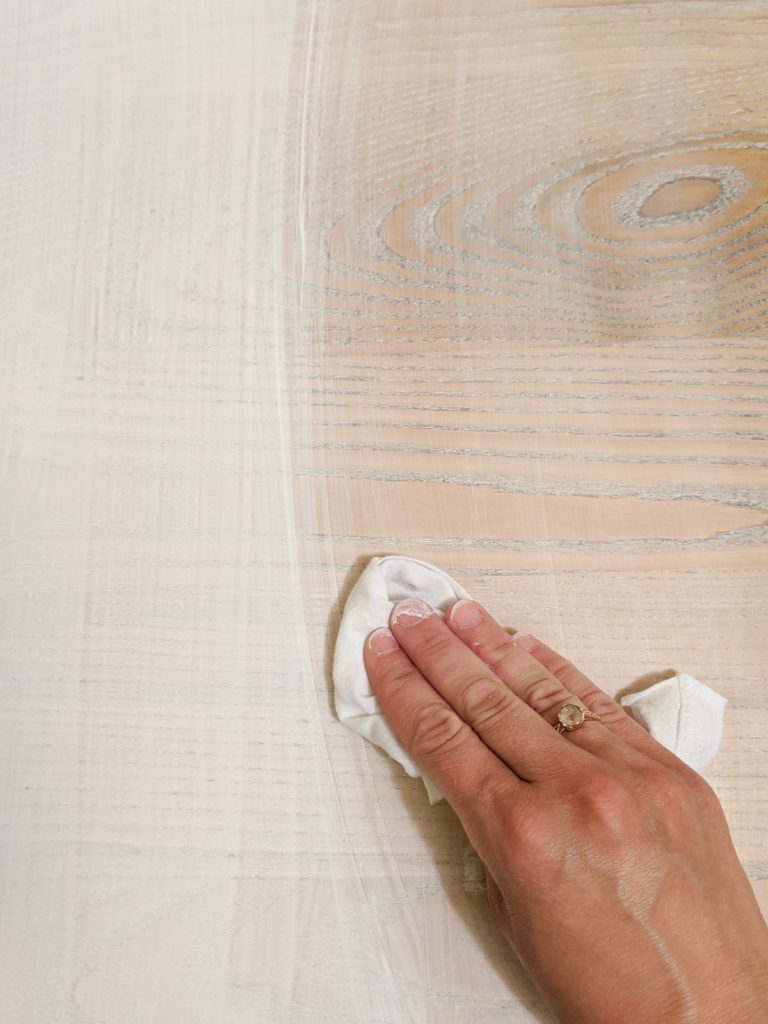
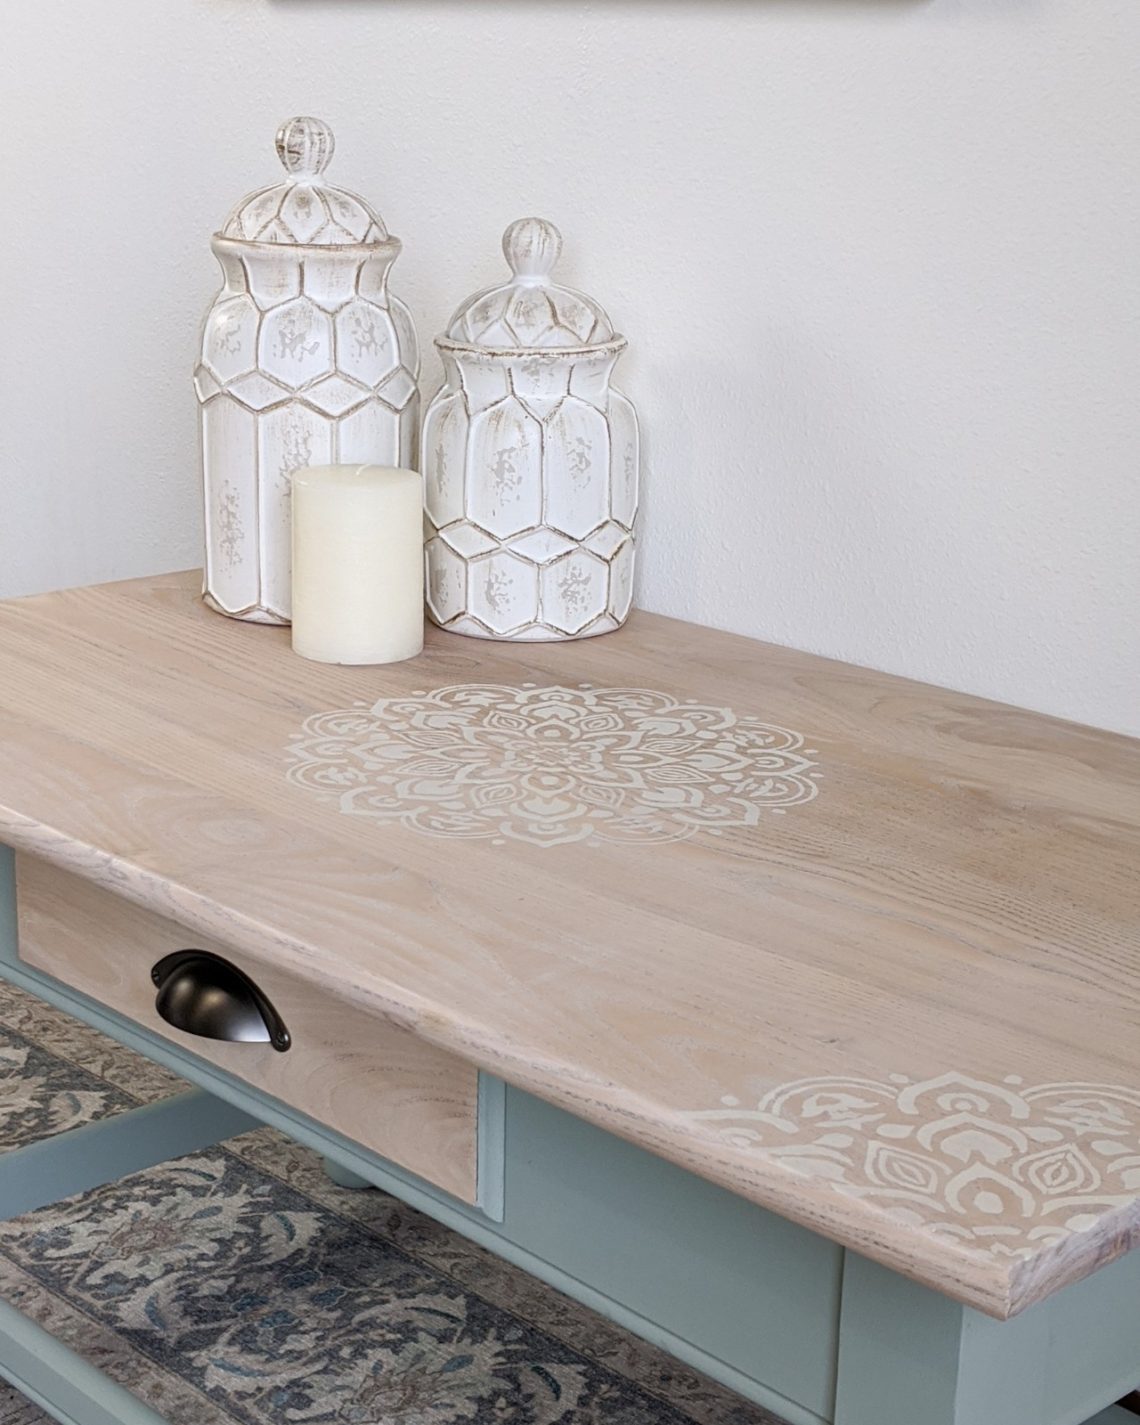
This white wash will create a soft rustic look. It’s a water-based product so it dries quickly and cleans up easily too!
5. Paint the other areas of the furniture piece with Krylon Chalky Finish paint.

This paint is great because it requires minimal surface prep and it creates an ultra matte finish. If you choose to distress your piece, this paint is perfect for distressing.
Simply apply the paint using a nylon/polyester brush such as the Purdy Nylox paintbrush. After 1 hour you can touch up any areas if necessary. However, one coat was all that was necessary for my coffee table.
6. Stencil on a design
I decided to add a little more interest to my piece by stenciling on mandala designs. I used an old bucket of beige interior paint that I had in my basement and stenciled the designs on using the DecoArt Americana Decor Mandala Stencil and a round foam brush.
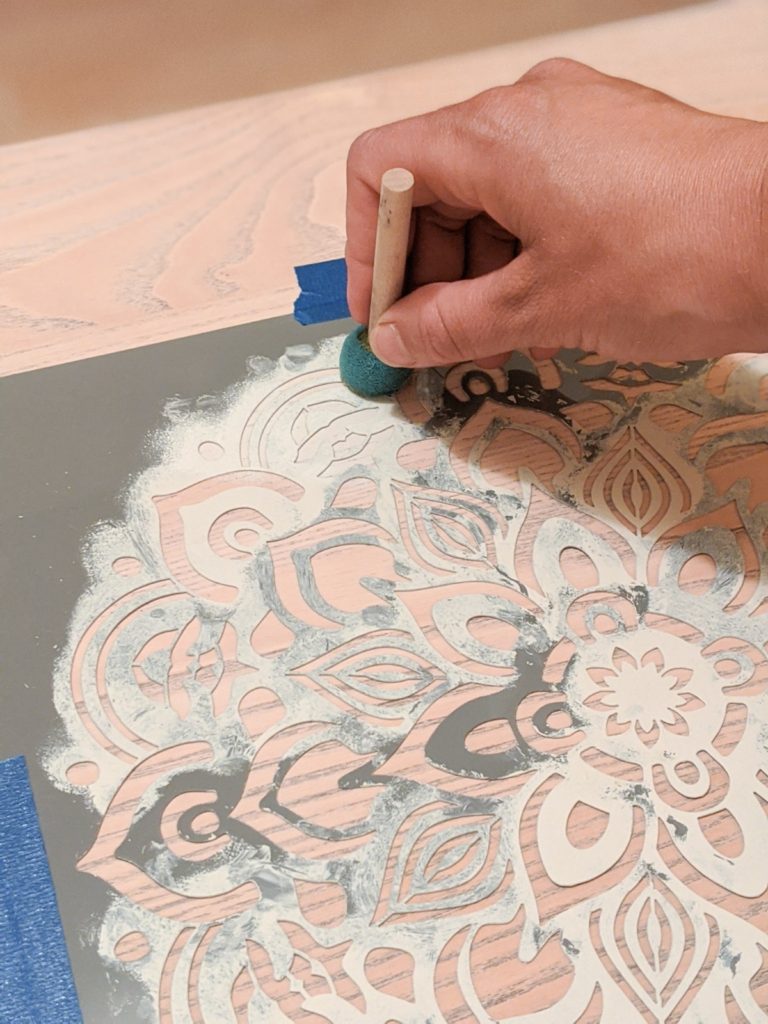
The key to this step is ensuring that you use very minimal paint on your foam brush to prevent paint bleeding under the stencil.
7. Apply two coats of Minwax Polycrylic Protective Coat to the top of the entire piece of furniture.
Using the same Purdy Nylox paintbrush that you used previously, apply polycrylic to the top of the entire piece of furniture.

After at least 2 hours, sand with 220 grit sandpaper. Remove all dust with a tack cloth. Apply another coat of Polycrylic and let it dry.
Add a new drawer pull that fits your style preference.
Congrats! You’re done!
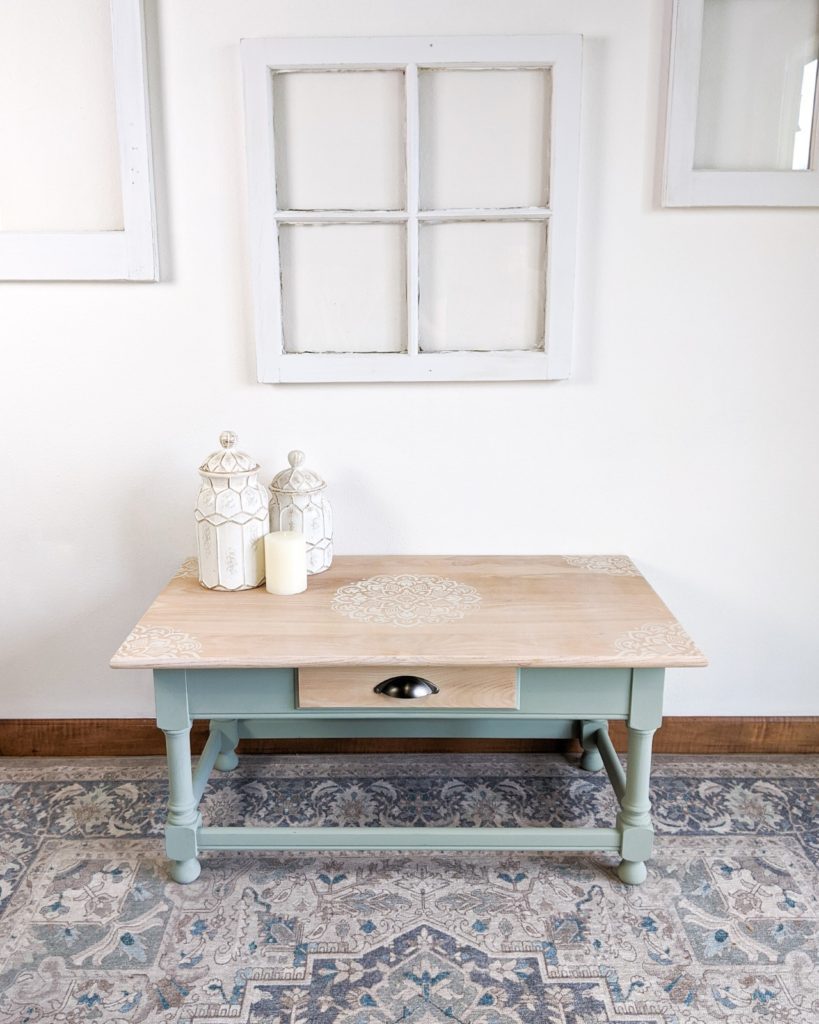
Your piece of furniture no longer belongs on the side of the road. It belongs in your home as a beautiful, light & airy, rustic accent piece.


Are you interested in finding more home DIY projects?
For more inspiration from Minwax, click HERE.
For a tutorial on how to make a $5 blanket ladder, click HERE.
For a tutorial on how to organize the disaster of tools that might be in your garage or basement, click HERE.
Want to stay in the know on other furniture makeovers I take on? Sign up for my emails by clicking here!
Disclaimer: This post contains affiliate links which means I may get a small commission off any purchases made from my links. It’s no extra cost to you.

4 Comments
Jen
It looks so good, Mary – and you do make it seem easy! I might have to try that whitewash stain!
admin
Thanks so much, Jen! It’s honestly super easy to use and I really like the look of the wood afterwards.
Cindy@CountyRoad407
What a great transformation. Love the color and added stenciling! Pinned 🙂
admin
Thanks so much!! I think I’m going to use this color combo more often now 🙂 The whitewash is just so pretty!