What stain should I use on my deck? And more deck staining tips here!
Staining a deck can seem like a BIG job with a lot of unanswered questions such as: What stain should I use on my deck? How do I prep my deck for stain? What type of stain is best for decks? What deck stain is most durable? And more!
When we bought our house 3 years ago, the deck was badly peeling. I decided that this summer was the time to refinish it. I just finished prepping and staining my deck so I thought I’d share with you all my advice and tips on staining a deck.
Thanks to Cabot for sponsoring this post. I received compensation but all opinions stated here are my own. I’ve loved and used Cabot premium woodcare products for a long time.
First, what stain should I use on my deck?
Before I provide you with the full tutorial on how to stain your deck, let’s first talk about one of the most-asked questions about staining decks: What stain should I use on my deck?
The short answer: A high quality exterior stain that works well with the condition of your deck.
I have loved and used Cabot stain on my exterior wood projects for many years now. We stained our entire cabin with it. I stained a bench and planter with it. I just used it on my deck. I highly recommend it. It’s high-quality, durable, and used by experts who know what products are best for this type of project.
Let’s talk details: There are so many Cabot stain options! Which one do I choose?
Here is a handy visual to help you clearly see the options and choose the best one for your deck.
This image starts with the most transparent options on the left and gets more opaque as you move towards the right.
The more transparent options allow the wood grain to show through. The more opaque options do not.
The more opaque options are more durable, requiring you to reapply them less frequently.
The more transparent products are good options if your deck is in really good shape or is brand new wood. If your deck is not in great shape, you will want to use a product closer to the right side of the image. The far right option, Cabot Deck Correct is a wonderful product for decks that are in rough shape. This product fills deck cracks up to 1/4″, locks down splinters, and extends the life of your deck. It’s thick and textured.
My deck was in fair condition – it was old and worn but not severely weathered, cracked, etc. Therefore, I chose to use a solid opacity product, Cabot Solid Color Acrylic Stain + Sealer. I also chose this product because it’s very durable. An application of this product typically lasts 5 to 10 years on decks.

Still not sure which stain to use? Cabot has a really handy quiz called “The Project Helper” that will recommend the right product for your project. Head here to check it out!
Now that you know what stain to use and why, let’s jump into my full project tutorial. I’ll tell you all about how to prep a deck for staining and how to stain it properly so that it’s durable and doesn’t peel.
Tools & Materials
- Cabot Wood Cleaner
- Cabot Solid Color Acrylic Stain + Sealer in Chestnut Brown (there are many color options to choose from!)
- Cabot Wood Stain Pad Applicator (and/or Purdy 4″ XL Paint Brush)
- Purdy 2.5″ Angled XL Sprig Paint Brush
- Purdy Paint Pail
- Pump Sprayer
- Hose or Pressure Washer
- Random Orbital Sander with 80 grit sandpaper
- Drop Cloth
Wondering where you can purchase Cabot premium woodcare products? Head HERE to see what retailers near you carry Cabot products.
Time to Complete Deck Staining Project
It took me about 2 weeks to complete this project given that it rained a few days in there, causing me to have to wait additional days for the deck to fully dry out. If you have multiple days without rain in a row, you could complete this project in about 4 days depending on the size of your deck.
Not all of these days are work days. Some are just days spent waiting for wood to dry out or for stain to dry.
How to Stain a Deck with Solid Color Stain
Here is a close-up picture of the deck I started with. It was a peeling mess. I used a scraper to get off the larger pieces that were peeling off.
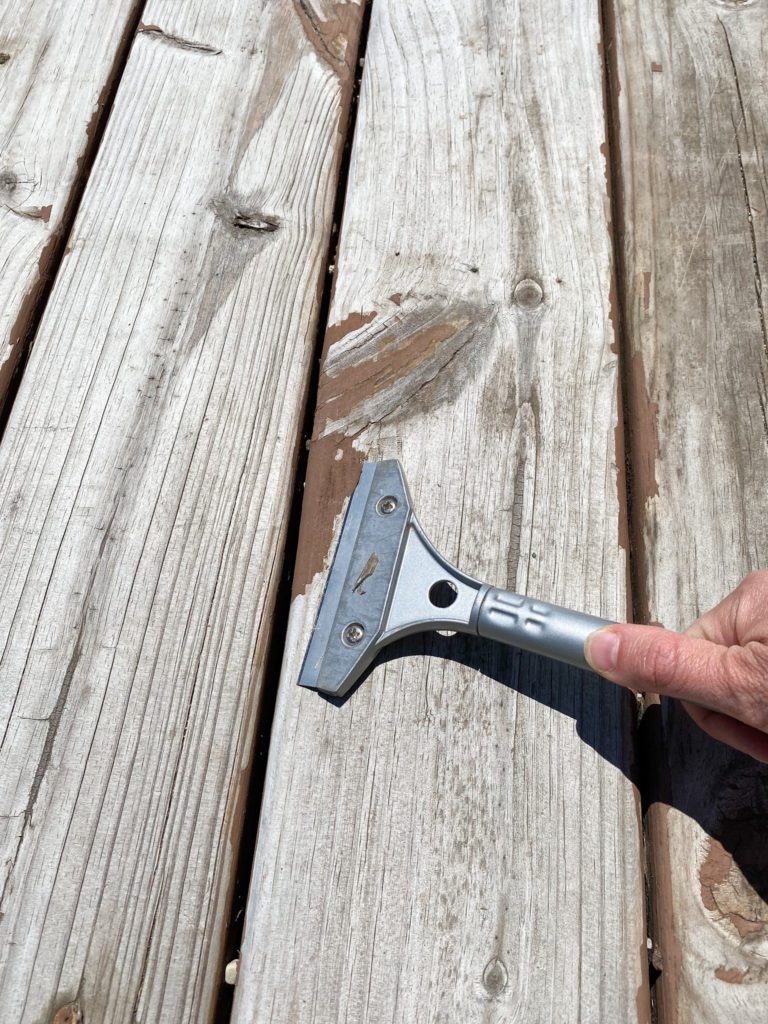
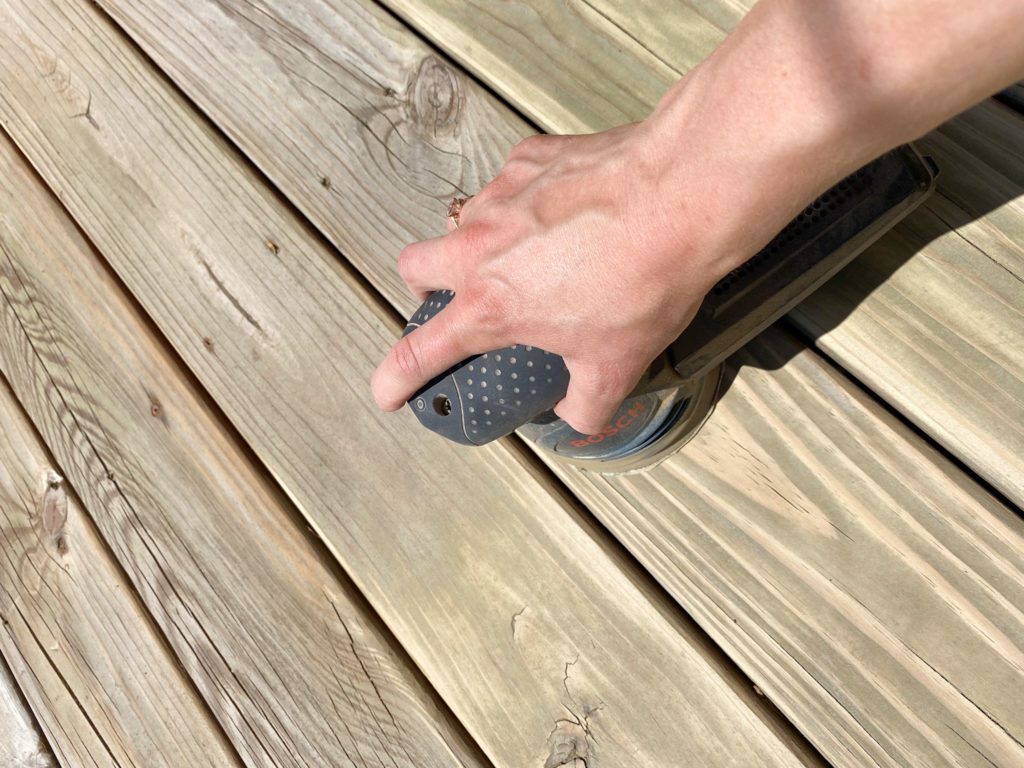
STEP 1: Sand the deck boards
Use a random orbital sander with 80 grit sandpaper to sand down the boards. Even if your boards are new, you need to sand them down before you stain them.
Make sure to remove any peeling paint or stain with the sander or a scraper.
STEP 2: Clean the deck boards
It’s important to clean your deck with a specialized cleaner. Use Cabot Wood Cleaner, which is specifically made for this purpose.

It’s easy to use. First apply it with a pump sprayer.
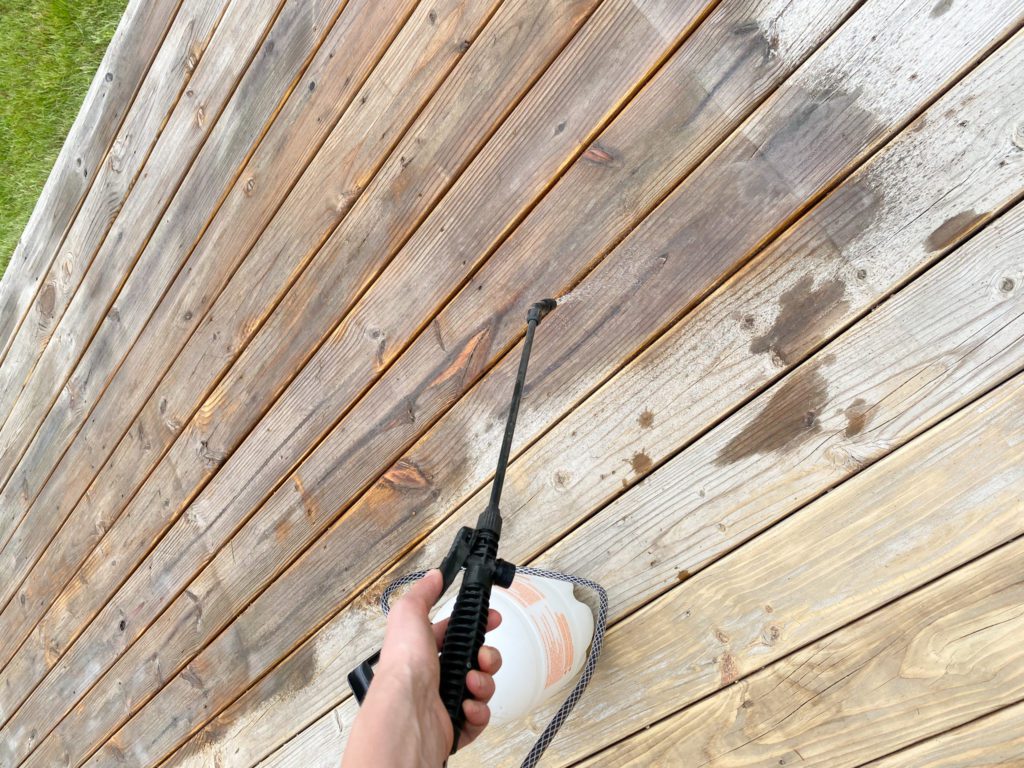
Then wait 15-20 minutes. Next, spray off the cleaner with a hose on the highest spray setting or with a pressure washer.
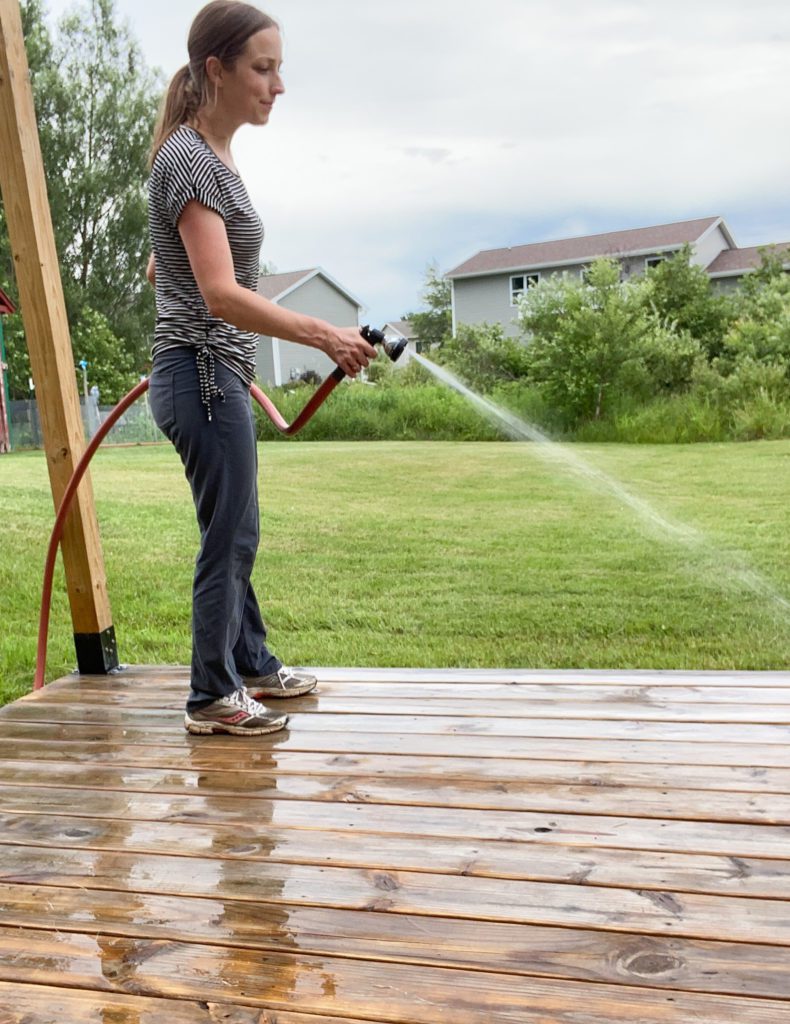
Allow the boards to dry 24-48 hours to make sure they are ready for stain. If it rains, reset your timer.
STEP 3: Sand the boards again
This final sanding will take down any raised grain from the washing and make your boards smooth and ready for stain.
Remove any sawdust before staining.
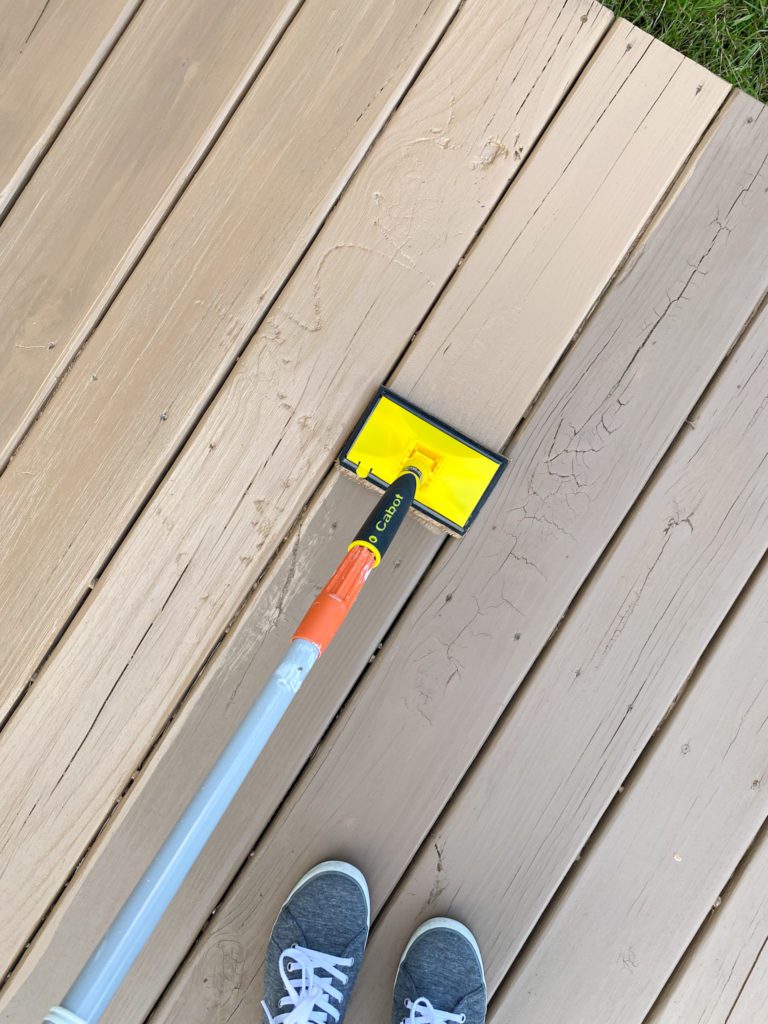
STEP 4: Apply stain
There are various ways you can apply stain but I have a strong favorite when staining a deck: the Cabot Wood Stain Pad Applicator. I hadn’t used it before this project and was a bit skeptical before trying it. However, I discovered that it is AMAZING! Add an extender rod to it and it makes staining your deck really quick and easy.

This pad applicator worked great for most of the surface area of the boards. For getting in between the boards, I used a Purdy 2.5″ Angled XL Sprig Paint Brush. This Cabot Solid Color Acrylic Stain + Sealer is best applied via a stain pad applicator, a professional sprayer, or a nylon/polyester brush. Therefore, the Purdy 2.5″ Angled XL Sprig Paint Brush is perfect since it’s a nylon/polyester brush.

I applied the stain to one board at a time, making sure to overlap onto wet stain to avoid lapping marks.
You might wonder: What weather is best for applying stain? Dry, not too hot and not too cold is best. Make sure it hasn’t rained in 24-48 hours and it won’t rain for at least 24 hours after application. The temperature should be between 50 ad 90 degrees F. A cloudy day is best since you want to avoid staining in hot, direct sunlight.
STEP 5: Apply a second coat of stain
Once your first application of stain has dried for 4-6 hours, apply a second coat.
Let the stain dry 24 hours and then you’re set to go!
The Freshly Refinished Deck!

I LOVE it! I wish I had done this immediately when we bought our house because it would have saved me months of hating the peeling deck.
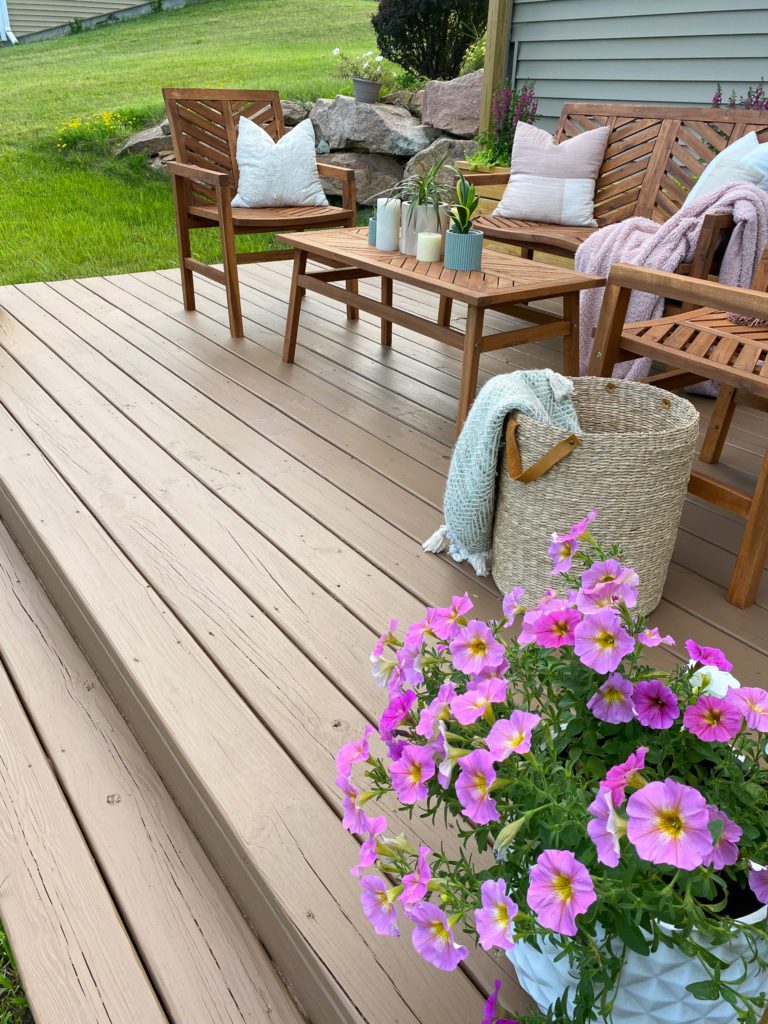
The color and finish is beautiful. It looks even and durable.

I added furniture, flowers, lights, and more so that we can really enjoy this beautiful outdoor space this summer during any time of day.

Have any questions? Want to see more staining projects?!
If you have any questions, please feel free to message me on Instagram @the_handcrafted_haven or via my “contact me” section of my website.
If you’re interested in seeing other staining projects:
Head HERE to see a budget-friendly outdoor planter with a bold color stain!
Head HERE to explore Cabot’s premium woodcare products.