How to Clean a Paint Brush and Roller Cover
Did you know that paint brushes can stay good for decades? Even if you use them all the time! With proper cleaning and care, high quality paint brushes can stay good for a lifetime. I’d love to share with you how to clean a paint brush and roller cover so that they last a long time for you!
Thanks to Purdy for sponsoring this post. I received compensation but all opinions stated here are my own. I’ve loved and owned Purdy products for a very long time!
To introduce this cleaning tutorial, I’ll be sharing with you a recent furniture refinishing project and I’ll show how I cleaned the brush and roller cover afterwards.
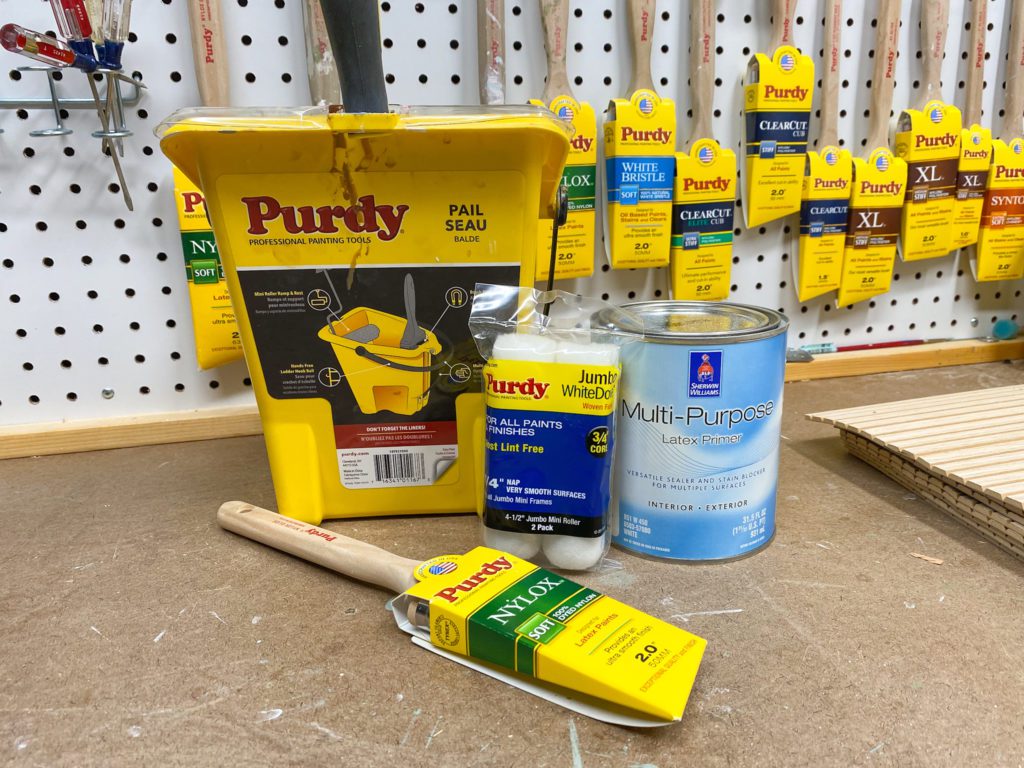
Tools & Materials
- Purdy 2″ Angled Nylox Glide Paint Brush
- Purdy Revolution Jumbo Mini Roller Frame
- Purdy White Dove 1/4″ Nap Mini Roller Cover
- Purdy Paint Pail
- Purdy Contractor Brush & Roller Cleaner
- Sherwin-Williams ProClassic Interior Acrylic Latex
- Sherwin-Williams Multi-Purpose Latex Primer
- Pole Wrap
- Tack cloths
- TSP cleaner & rag
- Drill
- 220 grit sandpaper
- Wood glue
- Miter saw
- Tape measure
- Drawer pulls
- Furniture Legs
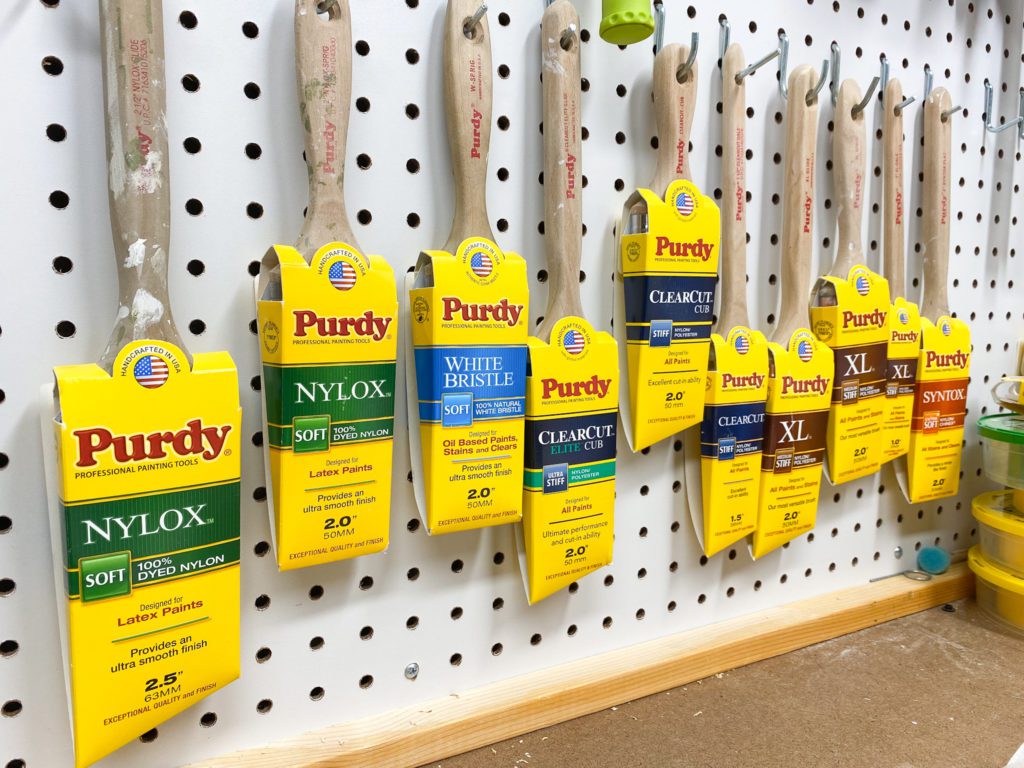
Looking to purchase Purdy paint brushes, rollers and other products for an upcoming project? Head HERE to see what retailers near you carry Purdy products.
Time to Complete
This project took me 2 days to complete, given dry time in between coats of paint. Active work time was about 5 hours.
Quick Furniture Refinishing Tutorial
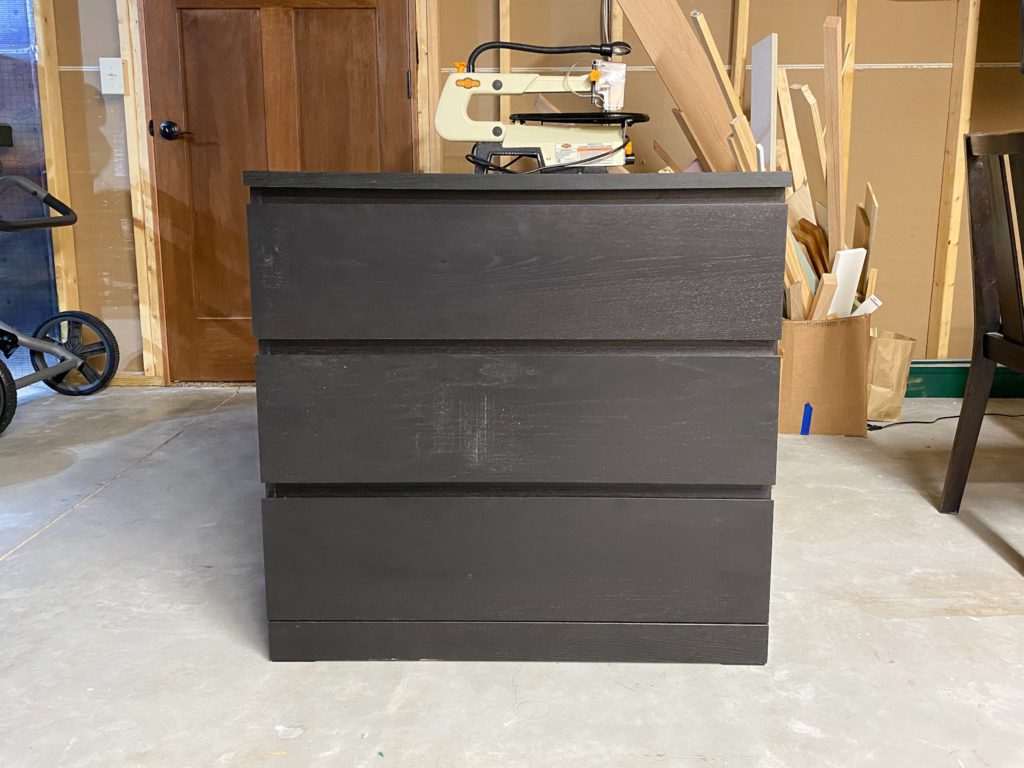
Before I jump into how to clean a paint brush and roller cover, here is an abbreviated tutorial for refinishing a dresser. I started with this plain black dresser I purchased for $20 off Facebook Marketplace.
STEP 1: Sand and clean the dresser
Quickly scuff sand the dresser with 220 grit sandpaper. This shouldn’t take long. It should just rough up the surface a bit. Then clean off any dust and dirt with a tack cloth, followed by wiping it down with TSP cleaner.
STEP 2: Prime the dresser
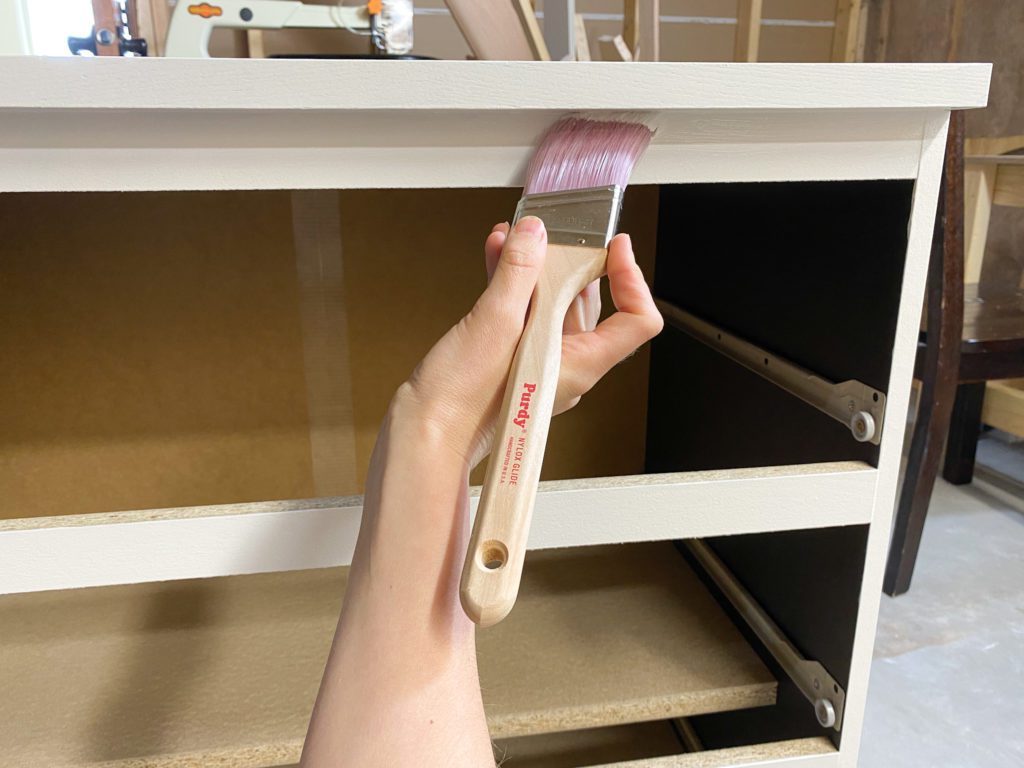
To get a smooth finish on furniture, you will want to use a soft bristle brush like the Purdy 2″ Angled Nylox Glide Paint Brush. This brush can get into any crevices on the dresser. This is my go-to brush for painting furniture.
For the flat larger areas of the dresser, use a Purdy Revolution Jumbo Mini Roller Frame with a Purdy White Dove 1/4″ Nap Mini Roller Cover. Low nap roller covers are perfect for leaving a smooth finish on your furniture. 1/4″ nap roller covers are perfect!
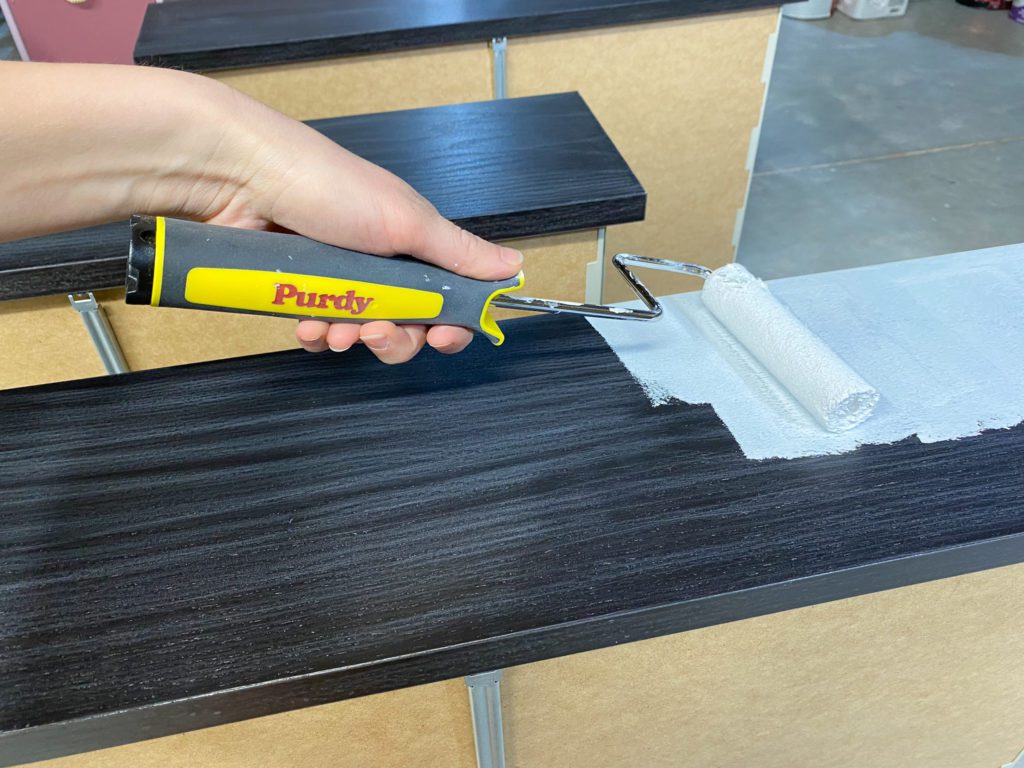
Use the handy Purdy Paint Pail to hold your mini roller and paint brush, along with your paint. This pail makes painting really easy and saves time.
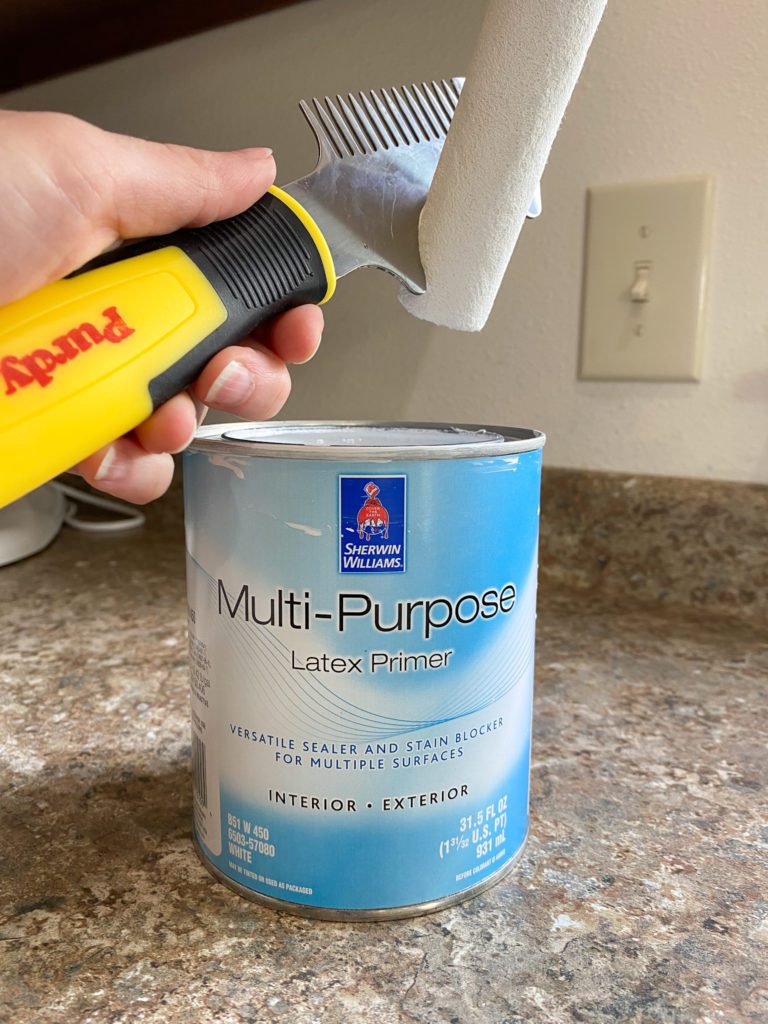
This dresser didn’t have any major stains on it so I used a latex primer on it: Sherwin-Williams Multi-Purpose Latex Primer. This is my go-to primer since it’s easy to clean up with soap and water and isn’t too runny like other primers can be.
I applied two coats of primer since I’m switching the dresser color from black to white. I wanted to make sure I had ample coverage.
STEP 3: Paint the dresser
To paint the dresser, I used the same paint brush, roller and pail that I had used for the primer. I simply swapped out the pail liner.
When I paint furniture, I want a smooth and durable paint finish. Sherwin-Williams ProClassic Interior Acrylic Latex is perfect for furniture painting since it leaves a nice smooth finish and is really durable. It’s also easy to work with and clean up.
I applied two coats of paint, waiting the noted dry time in between coats.
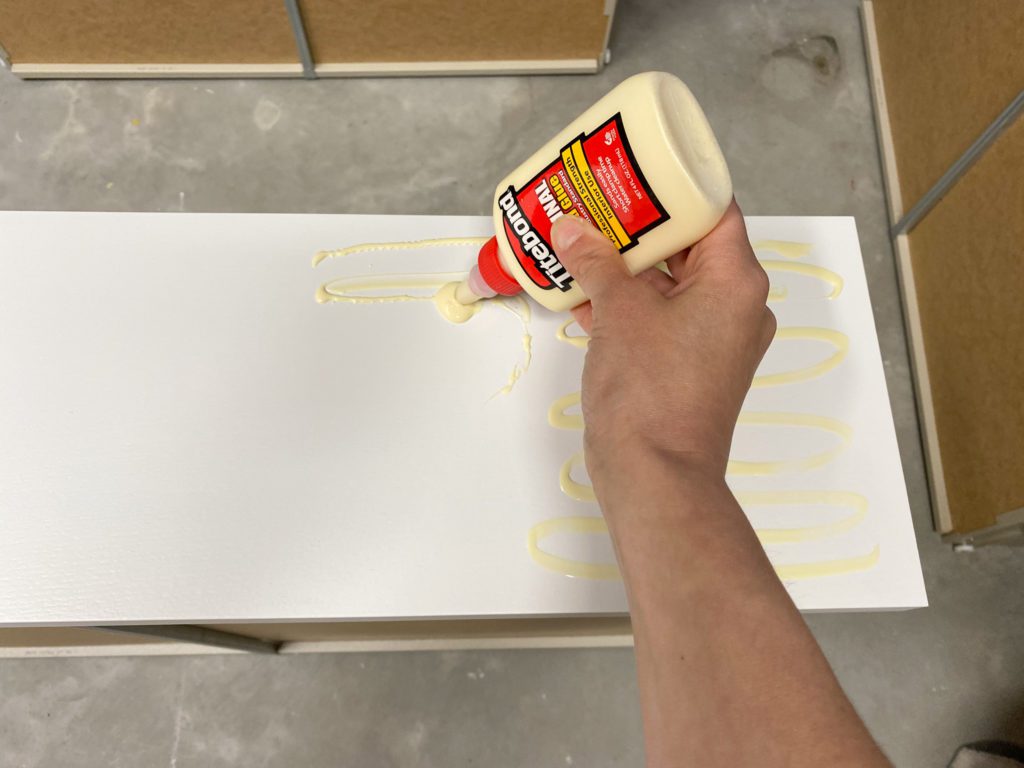
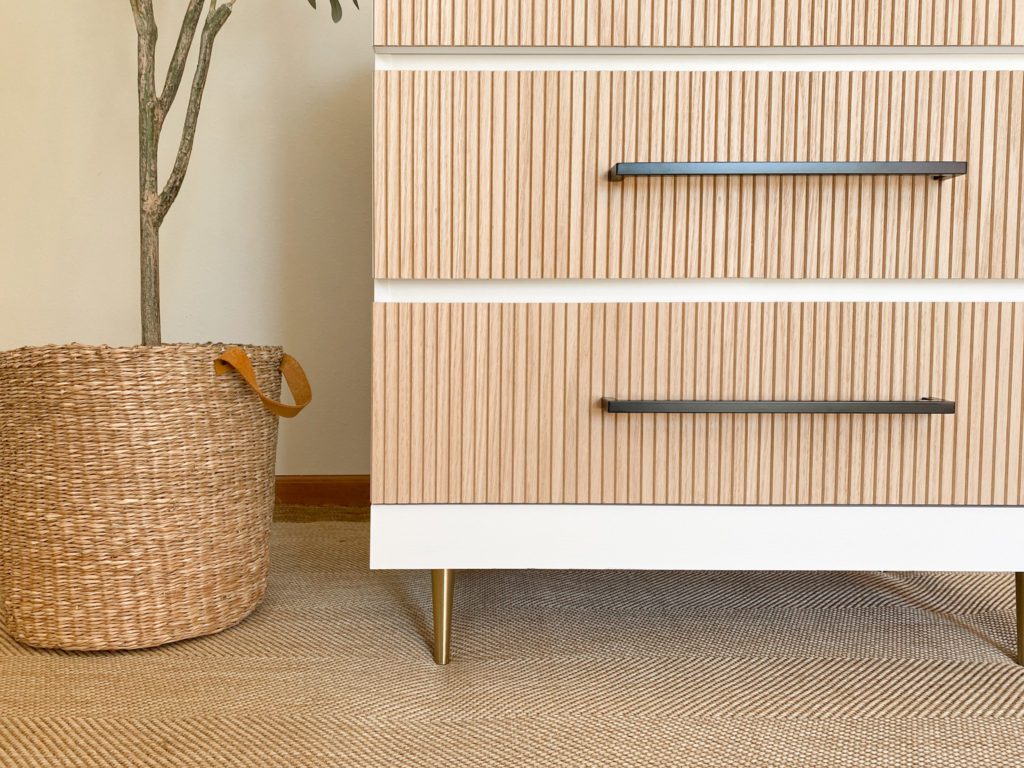
STEP 4: Add the fluted pole wrap to the drawer fronts
To give this dresser a fluted look, I bought pole wrap and cut it to the size of the front of the drawers using a miter saw.
My son and I glued it on each drawer front.
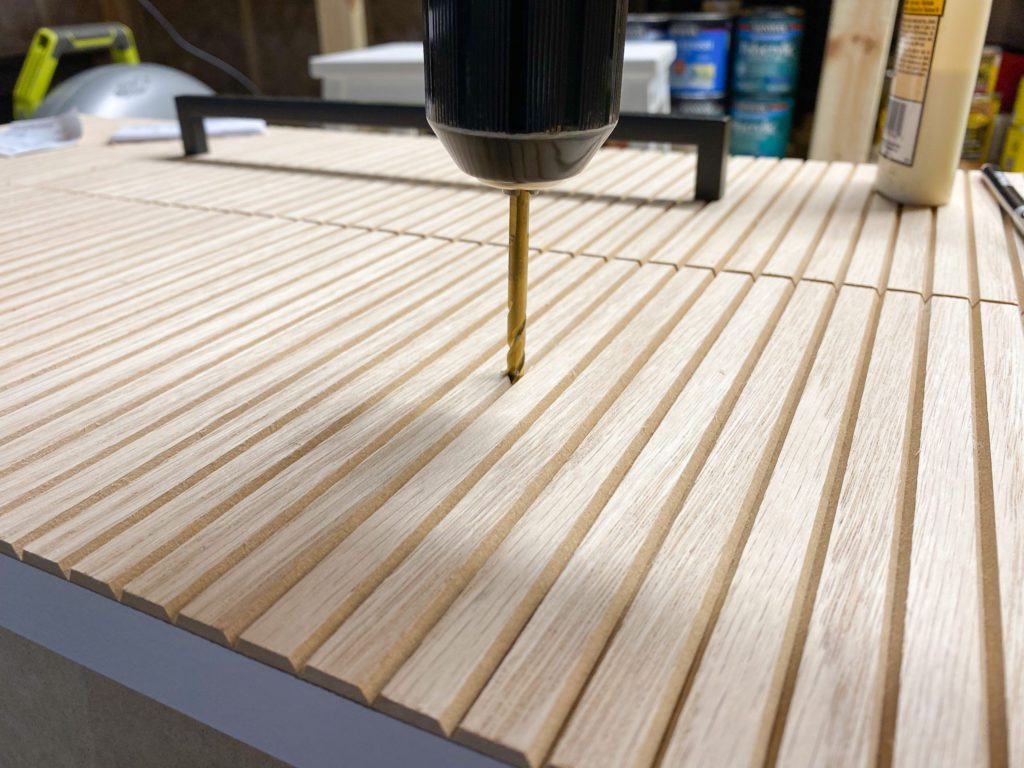
STEP 5: Add drawer pulls and furniture legs
Carefully measure out where your draw pulls should go and then drill holes for them.
Add furniture legs to the bottom of the dresser. Make sure to look at product details for furniture legs to see what weight they can hold. You might need to add scrap wood to the bottom of your dresser to create a firm surface to attach your legs to.
How to Clean a Paint Brush and Roller Cover
Now you’ve got a messy paint brush and roller cover. Let’s get them clean!
STEP 1: Remove any excess paint from the brush and roller cover
Press the paint brush against the inside rim of the paint can to squeeze out excess paint. For a roller cover, use the semicircle side of the Purdy Contractor Brush & Roller Cleaner to push paint out of the roller back into the paint can.
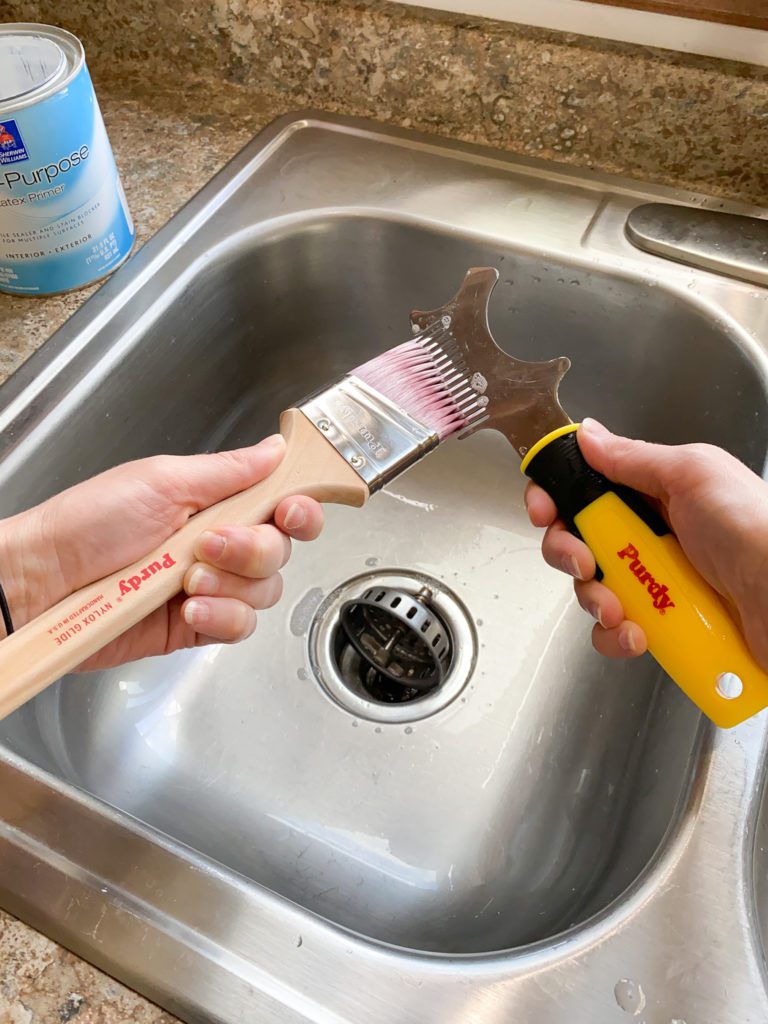
STEP 2: Rinse out the paint brush and roller cover using water and mild dish washing soap
I work the soap through the brush and roller cover with my hands.
Then I use the comb side of the Purdy Contractor Brush & Roller Cleaner to brush through the bristles of the paint brush. This helps remove any paint that might be hiding inside the bristles.
For the roller cover, I use the semicircle side of the Purdy Contractor Brush & Roller Cleaner to push out the paint, soap and water mixture.
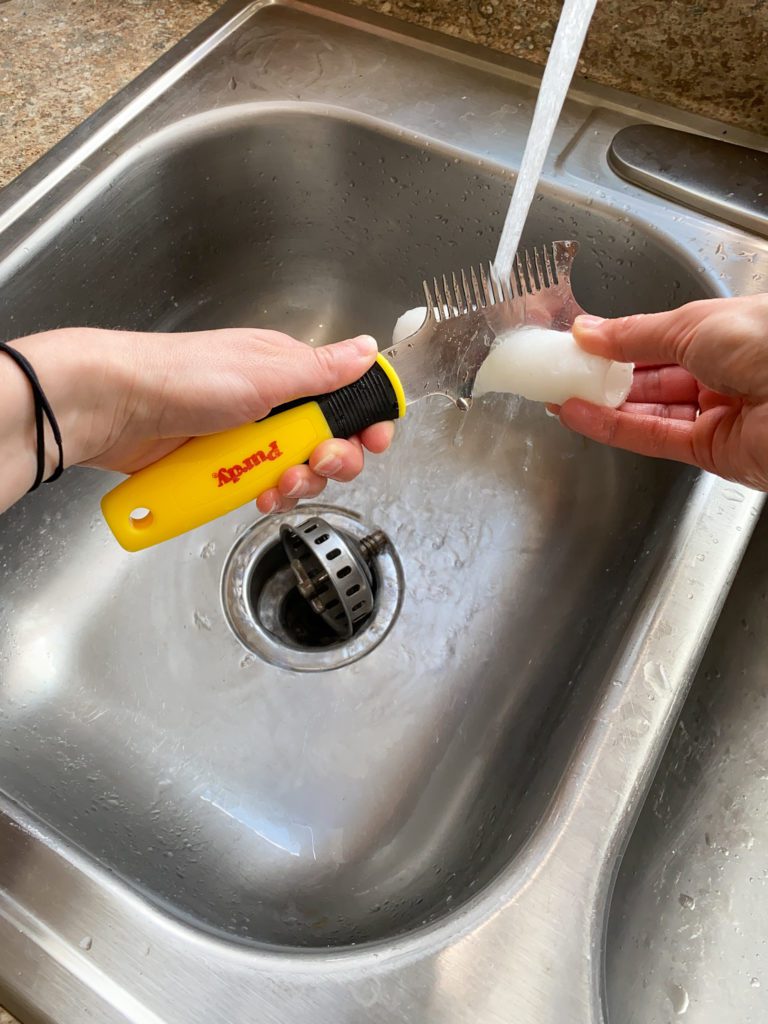
I keep doing this until the water runs clear.
STEP 3: Let the brush and roller cover dry
Lay the brush flat to dry. Once dry, place it back in its keeper to keep the bristles all in place. Store the brush flat or hanging by the handle.
To dry the roller cover, string it up on a string. Avoid letting it dry laying on the nap or on an end.
Now you’ll be able to use your paint brush and roller cover over and over again!
BONUS TIPS for washing paint brushes and roller covers
- Do NOT use a wire brush on your paint brushes. This can ruin the bristles and cause the paint brush to not function ideally.
- For oil-based paint, use mineral spirits rather than soap and water to clean your brushes and roller covers.
- Avoid storing your paint brushes with paint in them, even for a limited amount of time. This can cause paint to seep up in the brush, getting caught in places that are hard to clean out.
- If you have a septic system, do not clean your paint brushes and roller covers in the sink. Clean them in containers and properly dispose of the water with paint in it.
The Finished Modern Fluted Dresser
What do you think of this dresser? It might be one of my favorite furniture flips I’ve ever done! It doesn’t look anything like the dresser I bought off Facebook Marketplace.
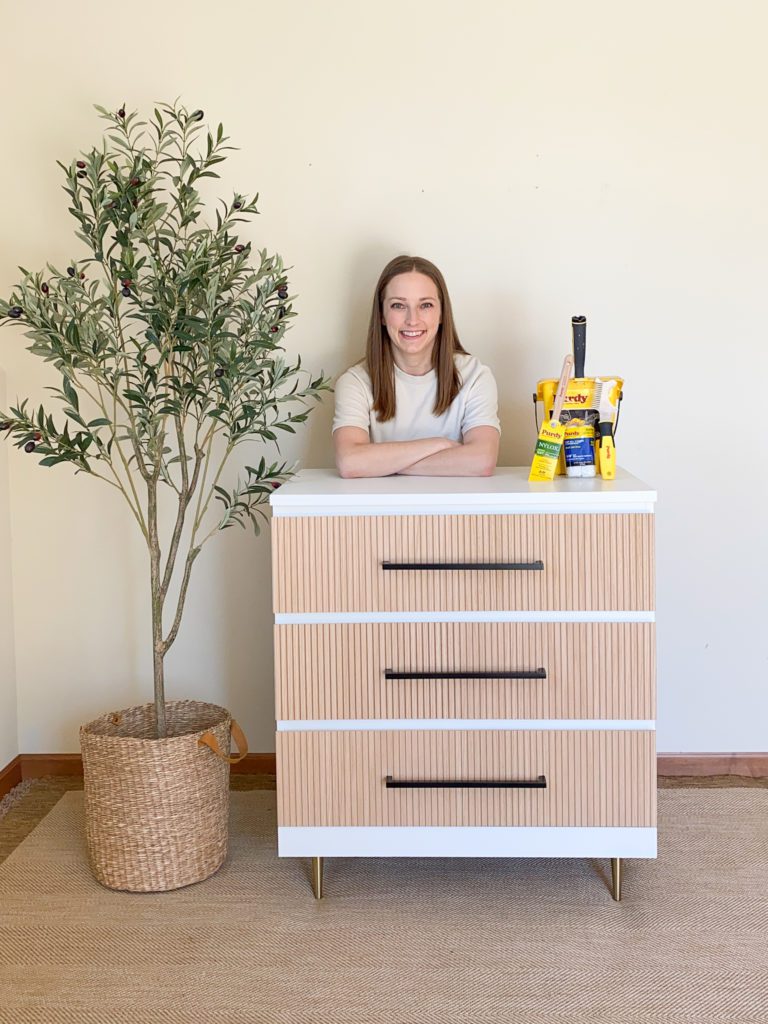
I love how it’s modern and unique. It is similar to many high-end dressers I’ve seen for sale online. This one was much more budget-friendly!
Have Questions or Want to See More Amazing Home DIY Projects?
Feel free to leave a comment or message me on Instagram with any questions you might have.
Want a wall in your home that makes a HUGE statement? Head here.
Thinking about painting cabinets in your kitchen, bathroom or mudroom? Definitely head here to see how to get a super smooth finish on them!
Want to see the latest amazing projects I’ve taken on? Click here to browse them all.