
Easy DIY Bedside Storage Solution for Children’s Room
My young son used to fall out of bed – a lot! We often heard a loud noise and found him sleeping on the floor instead of in his bed.
One of the primary reasons why this happened was because he slept with about 11 massive books! He literally did not have room to sleep.

When we put him to sleep for the night, he read books in his bed until he was tired. When he got tired, he just set the books in his bed and fell asleep. Then all night long he rolled over and over the books, until he fell out of bed. What was my solution? A bedside storage caddy for all his books, toys and more!
It’s a very simple build that even beginner woodworkers can tackle. I’ll share the step by step tutorial here and of course feel free to reach out with any questions!
This post contains affiliate links which means I may get a small commission off any purchases made from my links. It’s no extra cost to you.
Tools & Materials
For building it:
- Miter Saw
- Drill
- Random Orbital Sander & Sandpaper
- Tack Cloth
- Two 1″ x 12″ 8′ Pine Boards
- One 1″ x 6″ 8′ Pine Board
- About 25 1 1/4″ Wood Screws
- Wood Glue
- Clamps
- Measuring Tape
For finishing it:
- Minwax Stainable Wood Filler
- Minwax Water Based Pre-Stain Wood Conditioner
- Minwax Wood Finish Water-Based Solid Color Stain in Gentle Olive
- Minwax Polycrylic Protective Finish – Clear Matte
- Synthetic Pad
- Rags
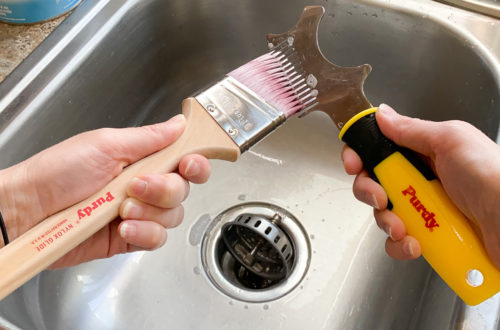
- Purdy 2” Nylox Paintbrush
Free Step-by-Step Plan for Bedside Storage Cubby
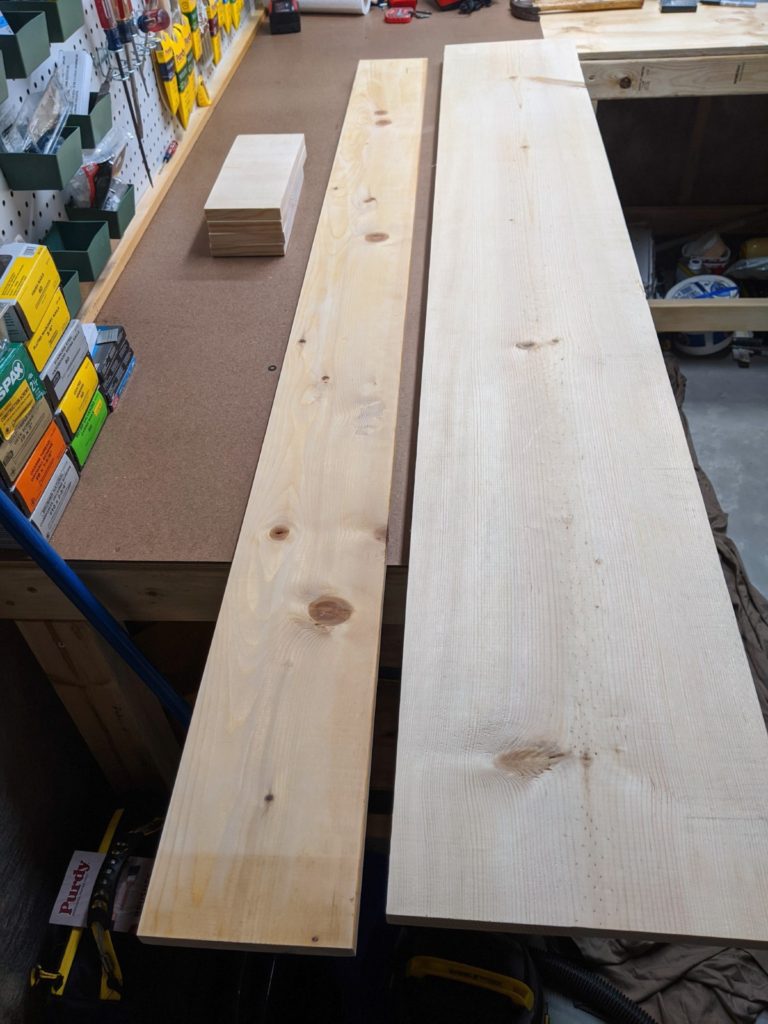
STEP 1: Using a miter saw or table saw, cut the boards to the right lengths.
You will want to cut out the following: two 74″ pieces from the 1″ x 12″ boards, four 4″ pieces from the 1″ x 12″ boards and one 74″ piece from the 1″ x 6″ board.
Of course you can modify the dimensions if you want your storage cubby to be longer, shorter, wider or skinnier. An important note: My son’s bed is a platform bed. The mattress sits on a frame that is 6 inches tall. In other words, his bed is very low to the floor. I chose the dimensions of the cubby partially based on this fact. If your child’s bed is farther off the floor, you will want to consider how your cubby might work with the height of your child’s bed and modify your plans accordingly.
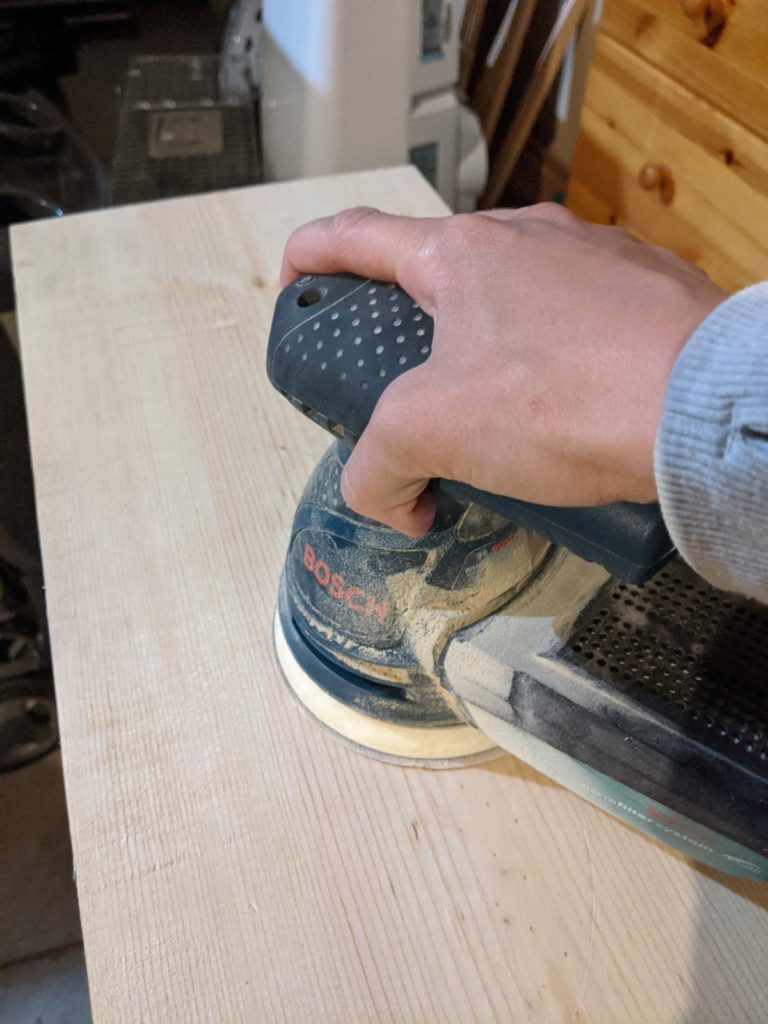
STEP 2: Sand the boards smooth using a random orbit sander with 120 and then 220 grit sandpaper
When you are finished sanding, use a tack cloth to remove all the sanding dust.
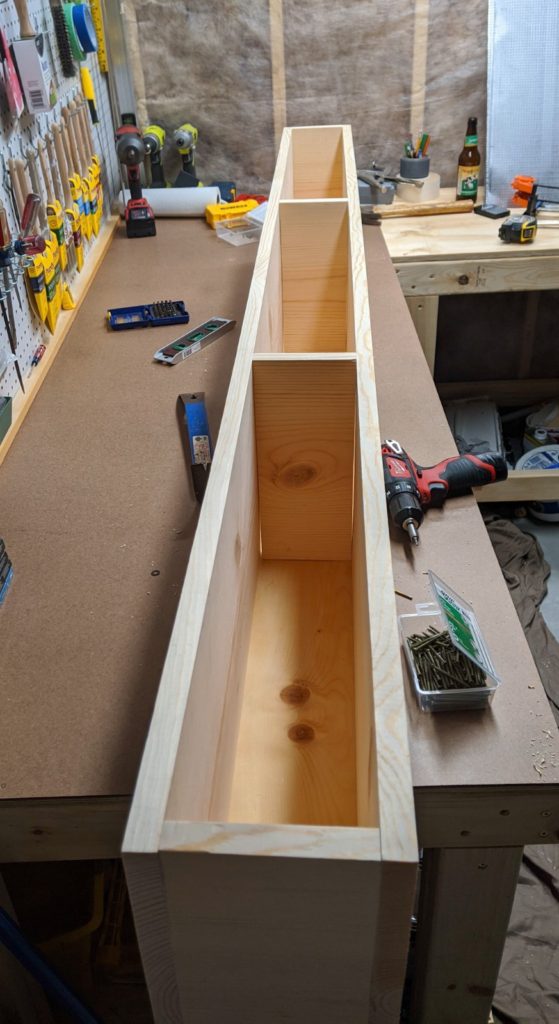
STEP 3: Assemble the boards using clamps, wood glue, screws and a drill.
The best way to assemble this is to apply wood glue to the places where the wood will come together, clamp it together and then drill in screws to secure everything in place.
The combination of the wood glue and the screws will ensure a solid assembly.
I had some issues with bowed boards when I created this so this if your friendly reminder to always check for bowing in your boards before purchasing them. If they are not straight when you look down the end of the board, do not buy it. You will regret it!
STEP 4: Fill in screw holes with wood filler.
Make sure to overfill the holes a bit, allowing for sanding down of the filler once it’s dry. Once you sand down the filler, use a tack cloth to remove all dust from the surfaces.
STEP 5: Apply Minwax Water Based Pre-Stain Wood Conditioner
This step helps prep your wood so that your stain will go on evenly. It helps you avoid blotchiness when staining. Apply this with a rag. Allow the wood conditioner to penetrate the wood for 1-5 minutes. Wipe off the excess with a rag.
Allow it to dry for 15-30 mins. Then lightly sand with 220 grit sandpaper to remove any raised grain. Only one coat is needed.
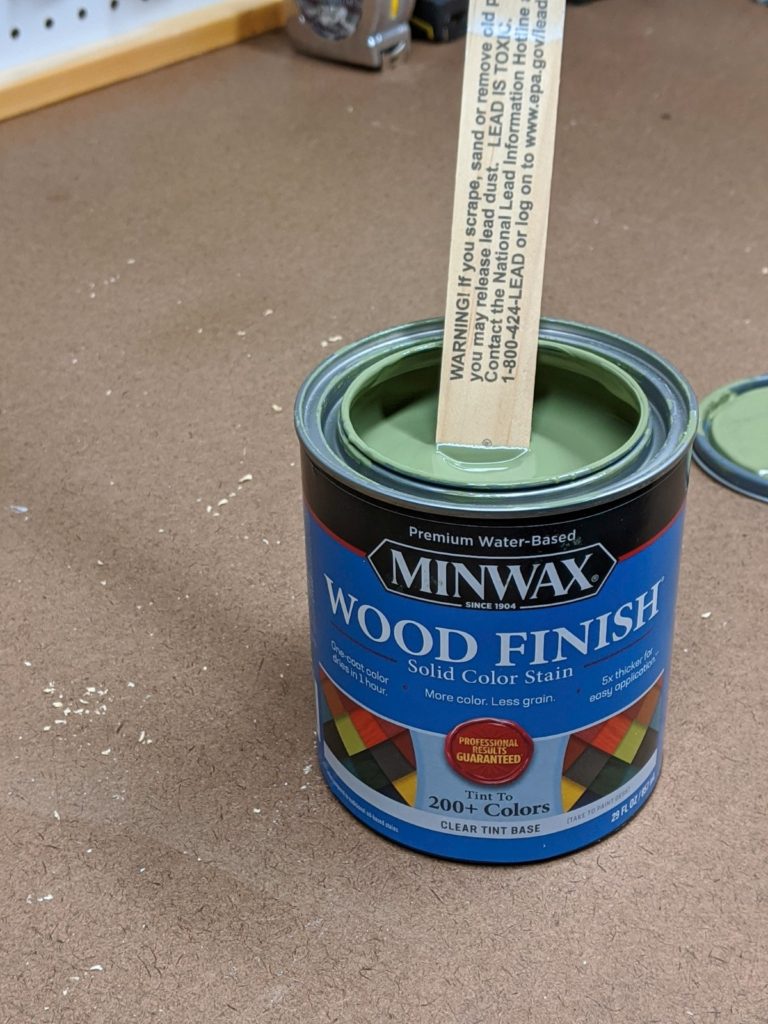
STEP 6: Apply Minwax Wood Finish Water-Based Solid Color Stain in Gentle Olive
Using a synthetic or foam brush, apply the stain to the wood. Immediately (within <2 mins) wipe off the excess with a synthetic pad.
STEP 7: Apply Minwax Polycrylic Protective Finish – Clear Matte
Applying polycrylic will help protect the wood from damage if water or other items are placed on it that would normally damage bare wood. It’s best to apply 2-3 coats, sanding between coats with 220 grit sandpaper.
Allow this to dry and your piece is set to go into your child’s room!
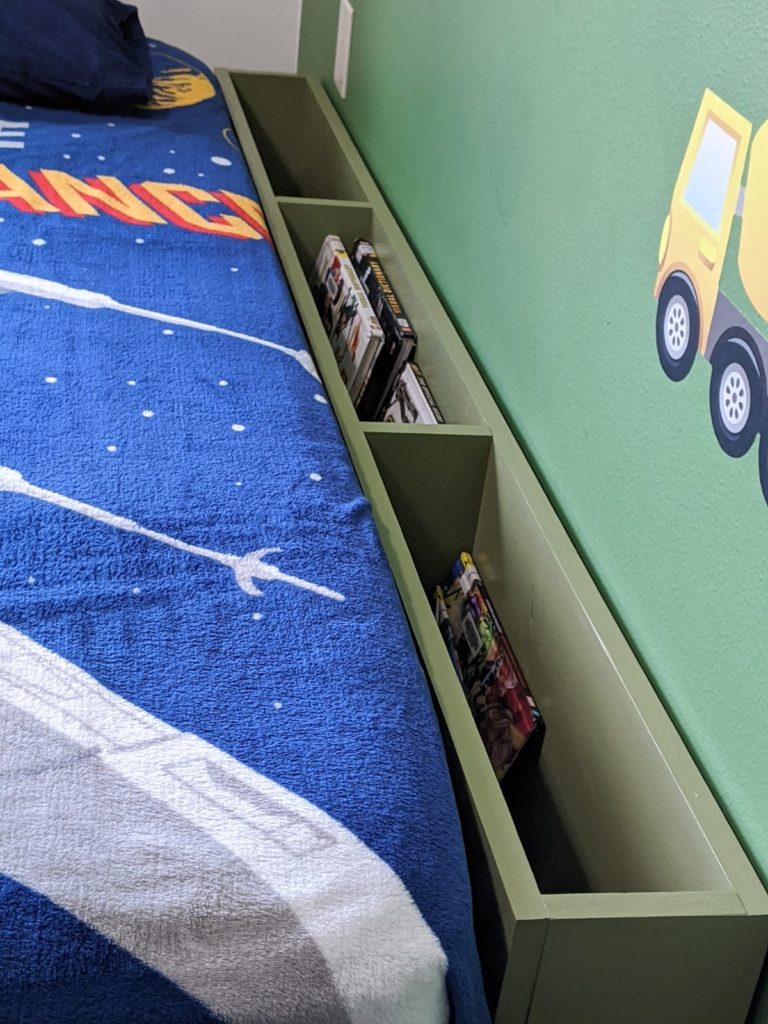

I placed the cubby snug against the wall and pushed the bed up against it. It doesn’t take up much room and my son loves having it to store all his stuff in!
Looking for more home DIY projects?
Sign up HERE to be on my email list and hear about all the new and exciting project tutorials!
Want to see an R2-D2 Dresser Ikea Hack?! Head HERE.
Head HERE to see a beautiful art deco color block wall in my daughter’s room. (Hint: It reminds me of Neapolitan ice cream :))
And head HERE to see all the other tutorials on my website!

3 Comments
Cathy D Duncan
What a great storage idea. Your instructions were so easy and clear. I love it
admin
Thank you!
Danielle
This kind of made me giggle. Poor guy, good thing he wasn’t hurt! What a brilliant solution! He can use this for many years!