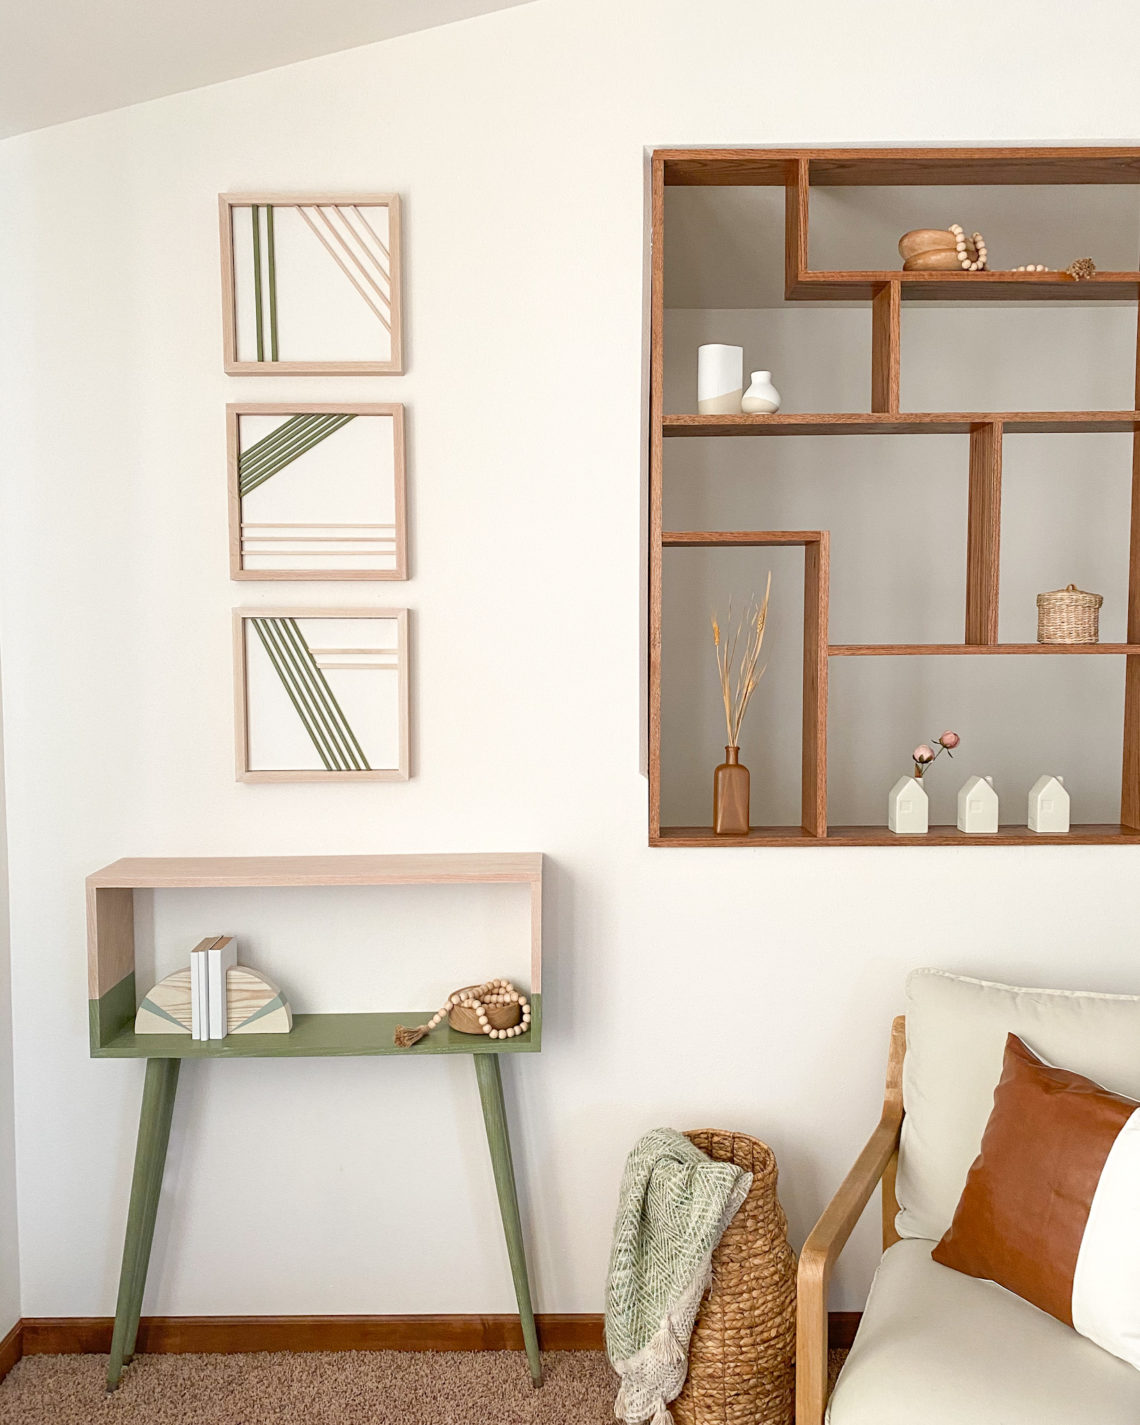
How to Make Modern Wall Art with Wood Dowels
Looking for beautiful modern wall art but don’t want to pay a fortune? I have a perfect idea for you! For about $30, I made a series of three pieces of modern wall art. I used square wood dowels and two different colors of wood stain to create contrast and a modern look. You could keep this modern wall art with wood dowels for your own home or give it as a perfect gift for a friend!
It’s simple.
It’s inexpensive.
It’s modern and beautiful.
Let’s talk about how to make it!
Thanks to Minwax for sponsoring this post. I received compensation and free product from Minwax but all opinions stated here are my own. This post contains affiliate links which means I may get a small commission off any purchases made from my links. It’s no extra cost to you.
Time to Complete
It took me 3 days to complete them. You might be able to do them all in one day if you start early and leave enough time for a few dry times (wood filler, wood glue, etc.). To be safe, give yourself two days!
Tools & Materials for Modern Wall Art
- 14 ft 1×2 Oak Board
- 14 ft 1/4″ Square Dowels
- 5 ft 3/8″ Square Dowels
- 3 12″ x 12″ Canvases
- Minwax Water-Based Pre-Stain Wood Conditioner
- Minwax Wood Finish Water-Based Semi-Transparent Color Stain in Pure White
- Minwax Wood Finish Water-Based Solid Color Stain in Gentle Olive
- Minwax Polycrylic Protective Finish in Matte Finish
- Purdy 2” XL Sprig Paintbrush
- Synthetic Pad
- Minwax Wood Filler
- Miter Saw
- Nail Gun
- Tape Measure
- Pencil
- 220 Grit Sandpaper
- Tack Cloth
- Clamps
- Wood Glue
- Rags
Click HERE to find a local retailer for Minwax products!
Directions for DIY Modern Wall Art with Wood Dowels
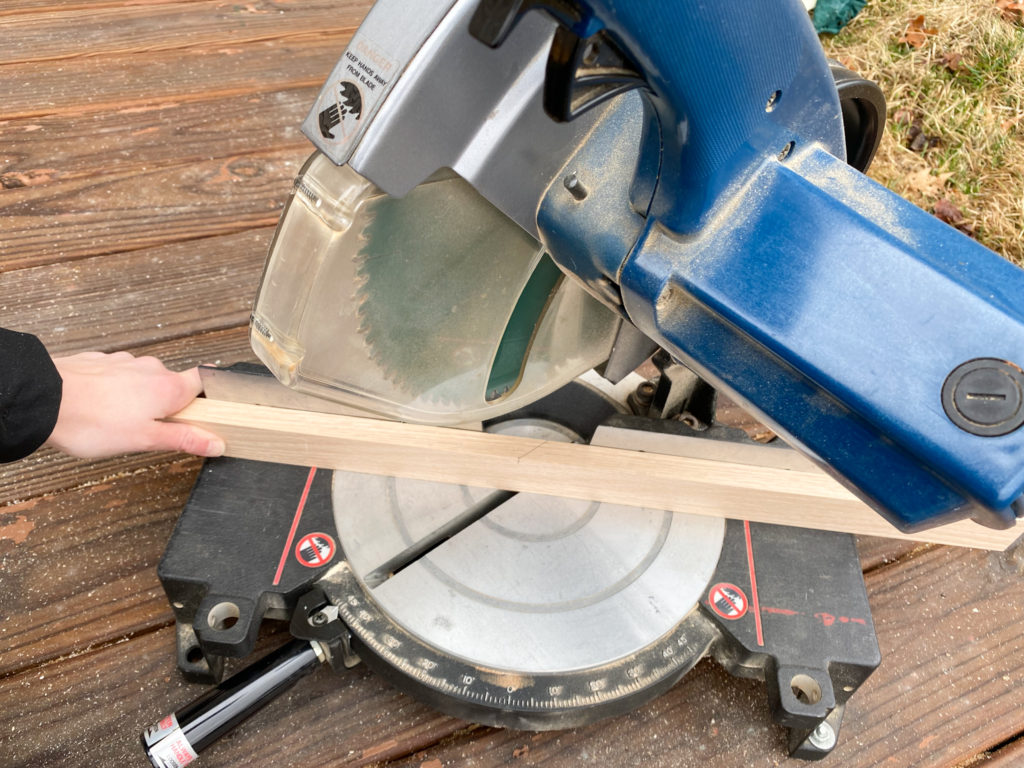
Step 1: Cut wood with a miter saw
Using your miter saw, cut your 1″ x 2″ oak board into twelve 13 1/2″ boards that are cut at a 45 degree angle on each end. Cut them so that four of them will come together to make a frame for each canvas.
Next cut your wood dowels to fit within your frames and on your canvases. You can create whatever designs you want – this is the fun part!
Step 2: Sand the boards
Using 220 grit sandpaper, sand the boards until they are smooth.
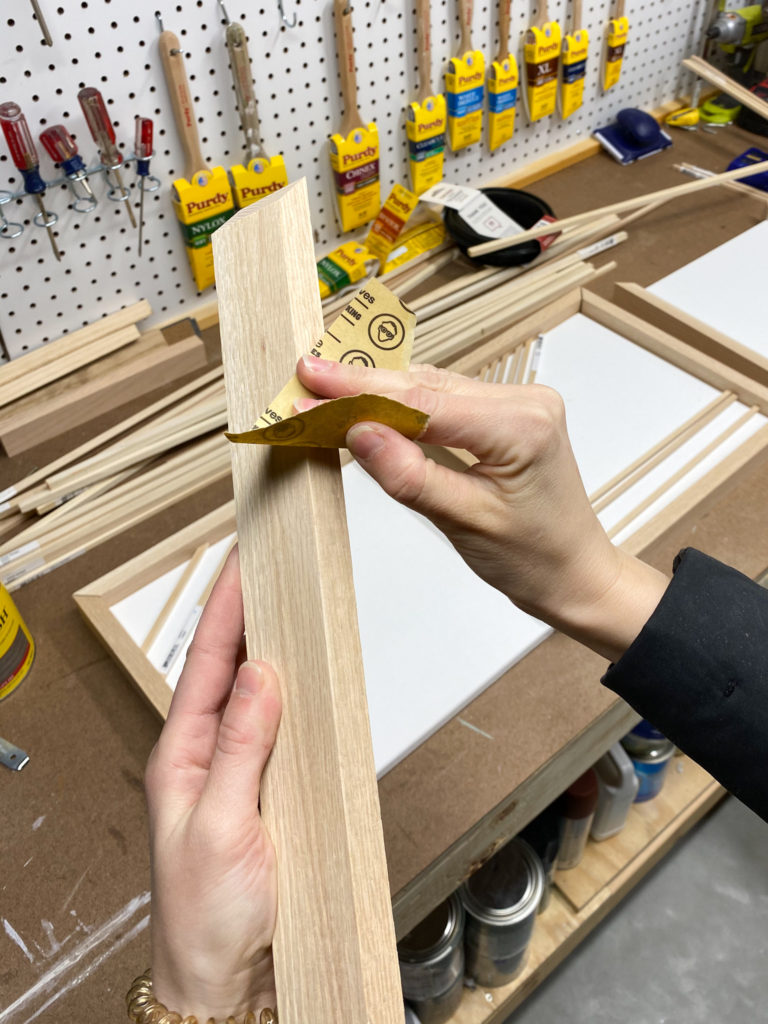
Then remove any dust with a tack cloth.
Step 3: Assemble the frames
Next assemble the three frames using wood glue and a nail gun. Make sure that the canvases will fit snug inside the frames.
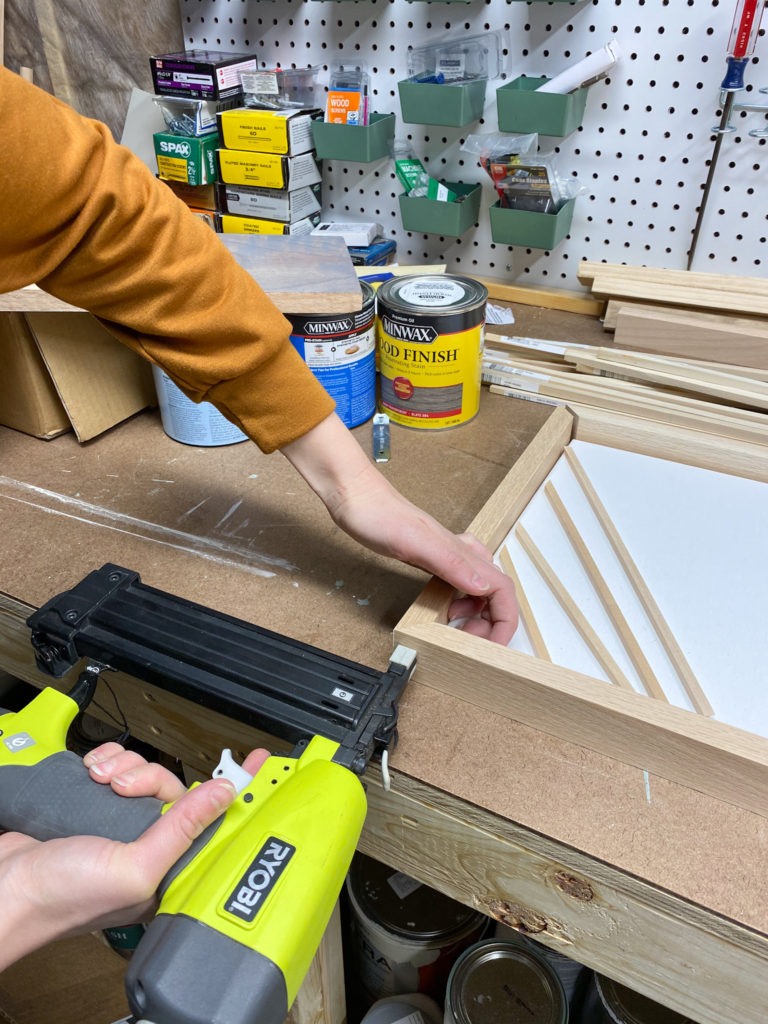
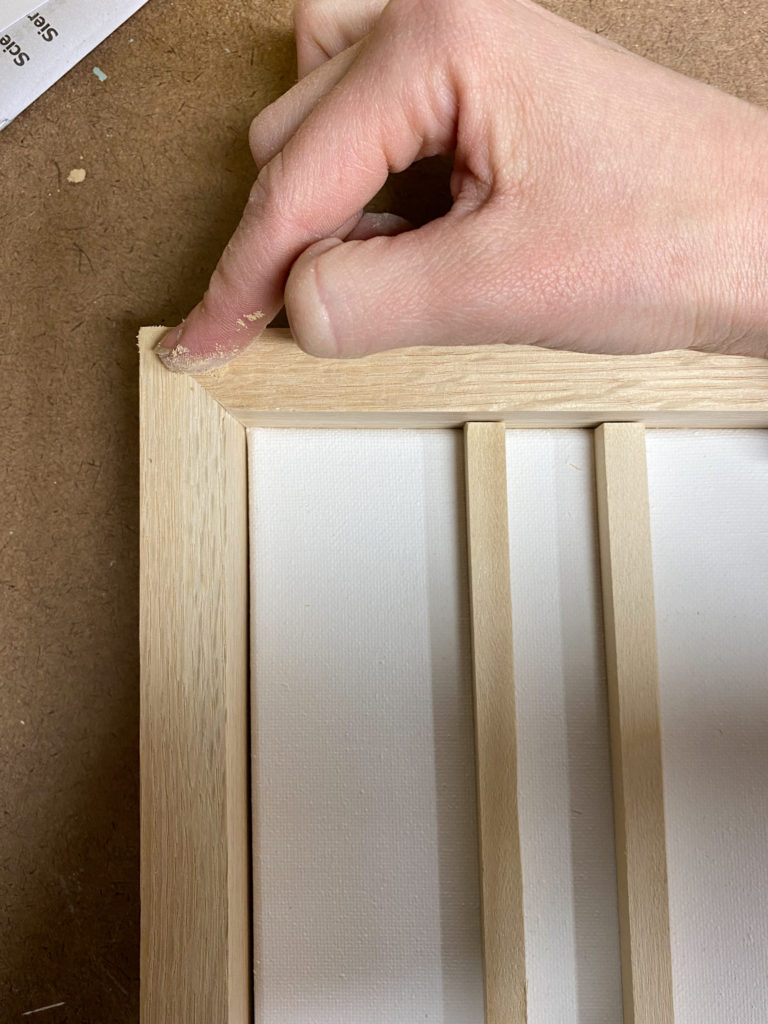
Step 4: Fill nail holes with wood filler. Once dry, sand smooth.
Fill the holes made from the nails with wood filler. Allow it to dry and then sand it smooth with 220 grit sandpaper. Remove any dust with a tack cloth.
Step 5: Apply Minwax Water-Based Pre-Stain Wood Conditioner
Applying pre-stain wood conditioner is important because it helps your stain go on evenly. I chose to use a water-based pre-stain wood conditioner because I will be using water-based stain. If you plan to use oil-based stain, you will want to use oil-based pre-stain wood conditioner.
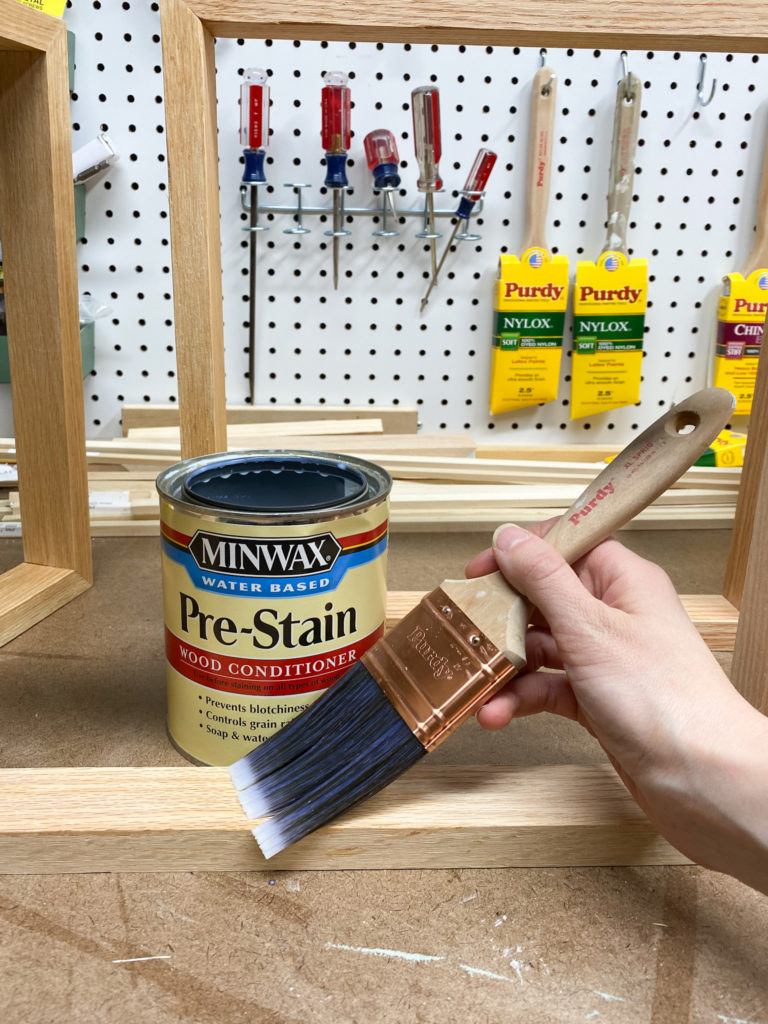
Apply it with a Purdy XL Sprig paintbrush. Within 1-5 minutes of application, remove any excess with a rag. After 15-30 minutes, lightly sand the wood with 220 grit sandpaper to remove any raised grain. Remove any dust with a tack cloth. Only one coat is needed.
Step 6: Apply Minwax Water-Based Color Stain
I chose to use two colors of stain: Gentle Olive and Pure White. However, there are over 200 colors to choose from so you can choose what colors you like best! Minwax Water-Based Color Stains are some of my favorite products to work with lately: Not only are there so many colors to choose from but they also are water-based, meaning that they dry quickly (in only an hour!) and clean up easily. Also, Minwax is the only brand that offers color matching for solid opacity! I keep collecting more stain colors as I take on new projects!
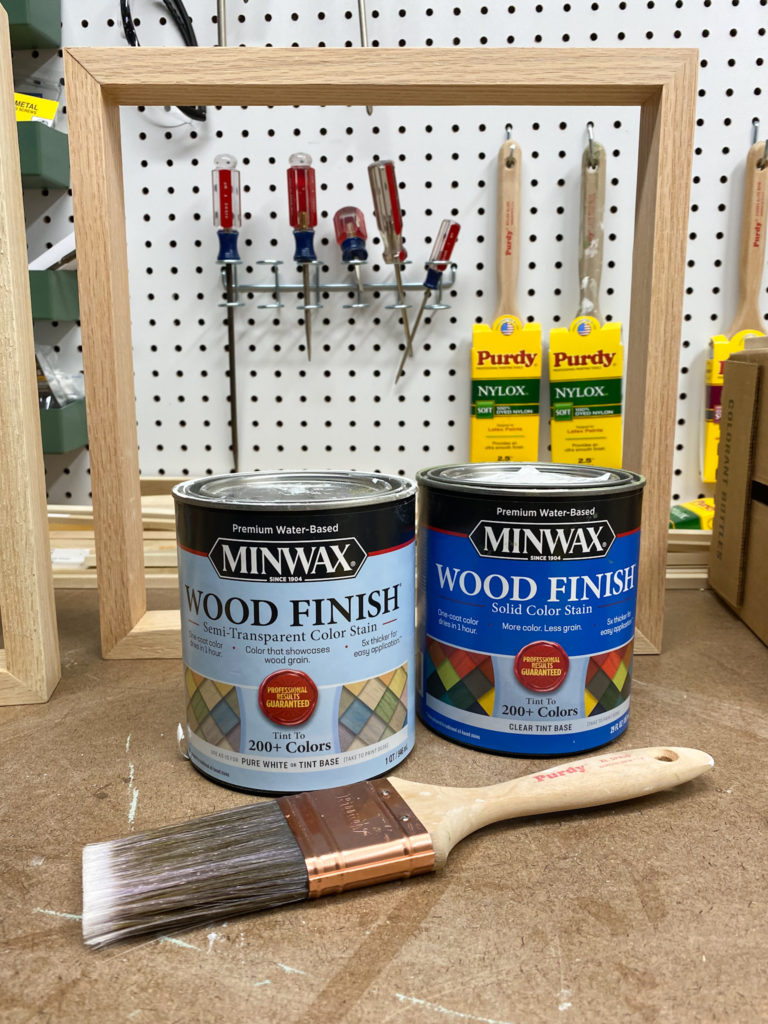
First apply the semi-transparent Pure White stain with a Purdy XL Sprig paintbrush.
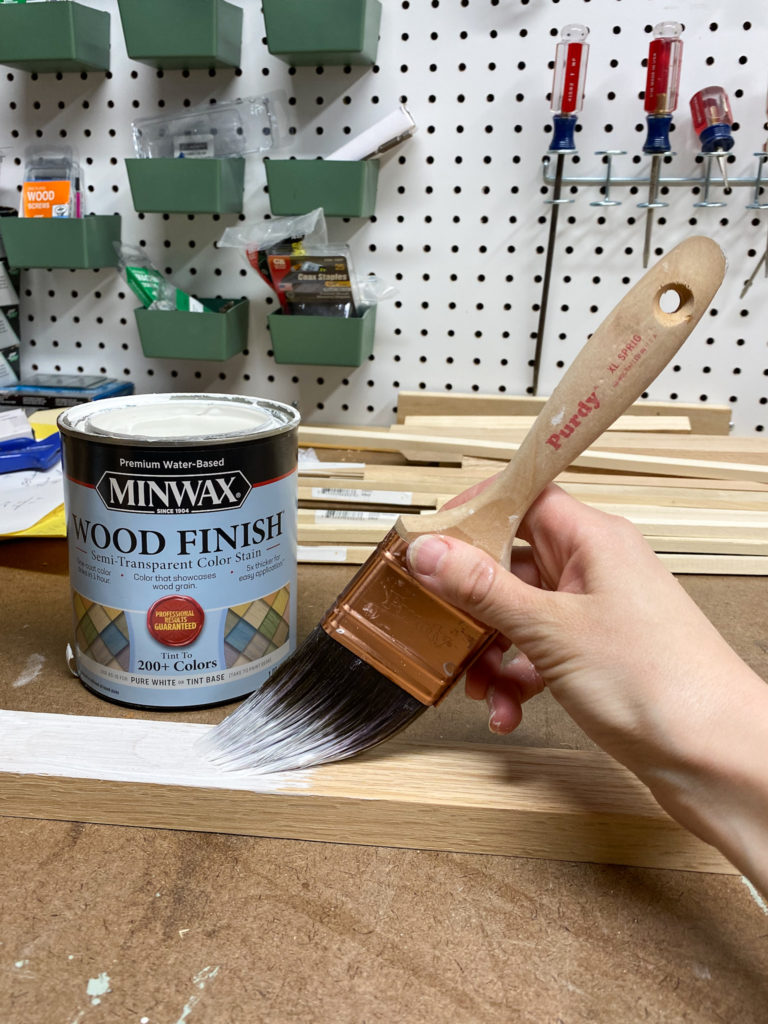
Immediately (within 2 minutes) remove any excess stain with a rag. I applied this stain to the wood frames and some of the square dowels. I applied one coat but you could apply more coats if you would like to.
Next apply the solid color stain in Gentle Olive with a Purdy XL Sprig paintbrush.
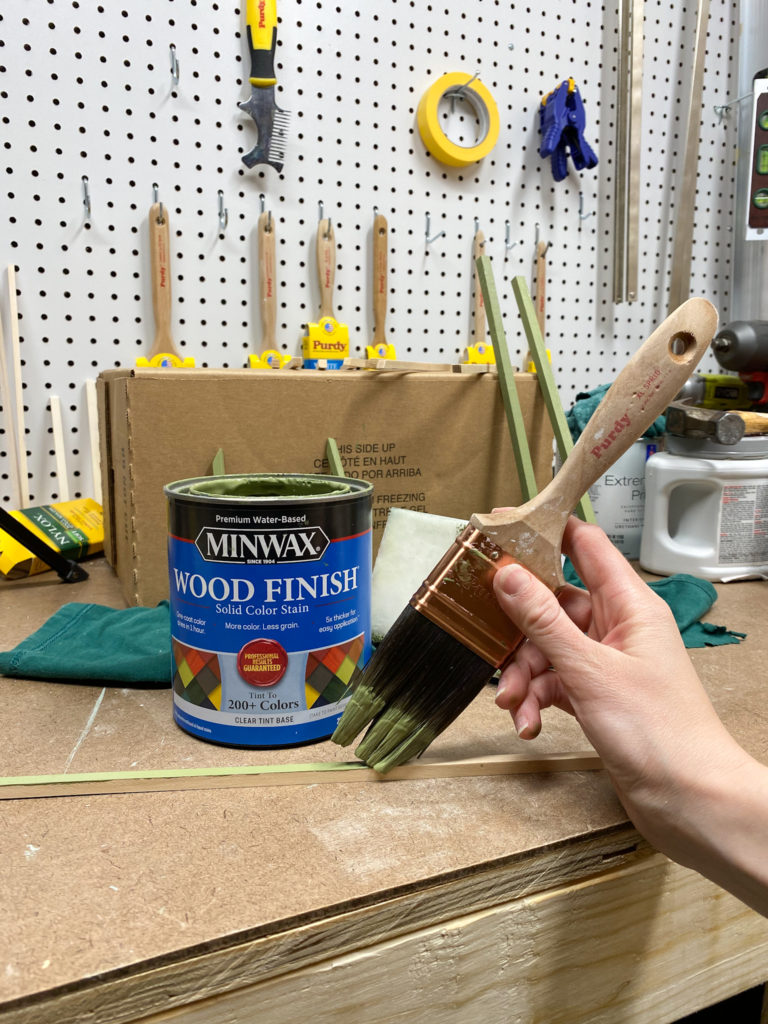
Immediately (within 2 minutes) remove any excess stain with a synthetic pad.
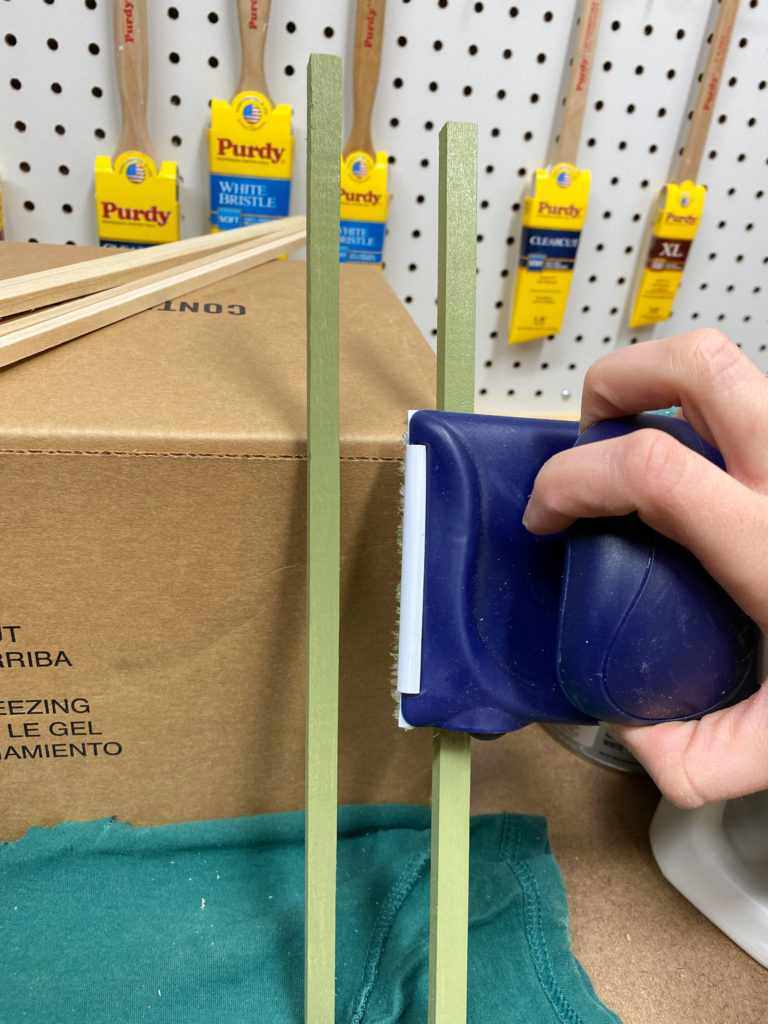
I applied one coat of this stain since it covered really well!
Step 7: Apply Minwax Polycrylic Protective Finish
It’s always a good idea to put a topcoat over stained wood to protect it. I often choose polycrylic because it protects well and doesn’t yellow over time. I chose to use a polycrylic with a matte finish but there are many different finish options!
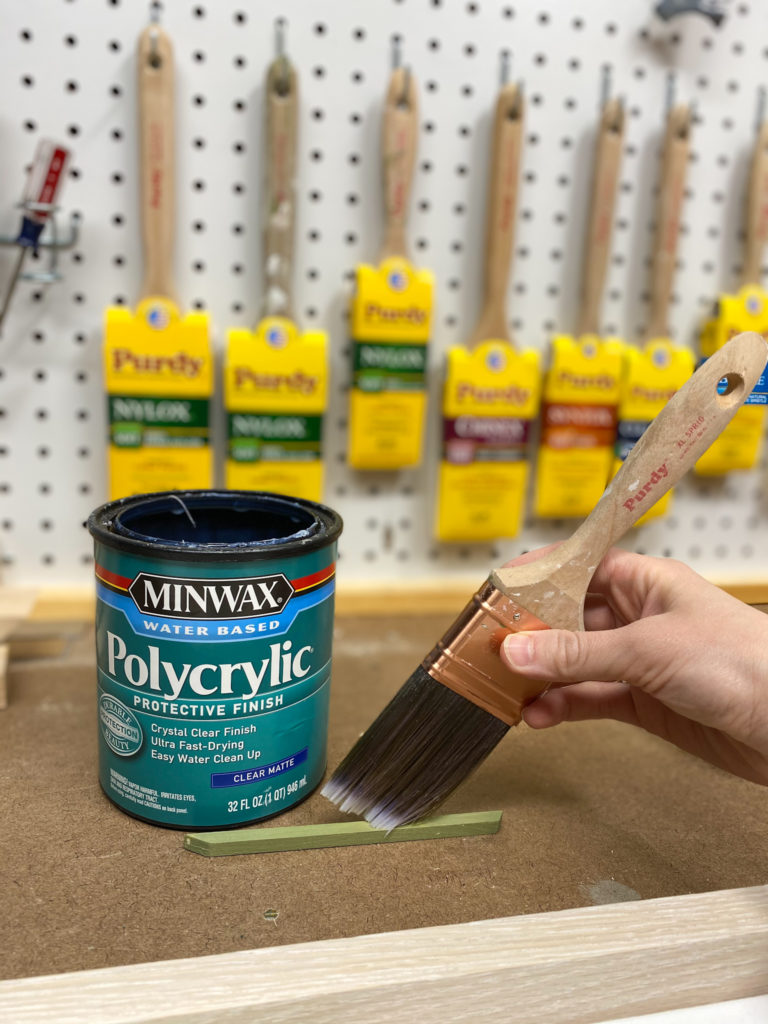
Apply the polycrylic with a Purdy XL Sprig paintbrush. Once dry, sand with a 220 grit sandpaper and apply one more coat of polycrylic. Allow it to fully dry.
Step 8: Secure the canvases in the frames
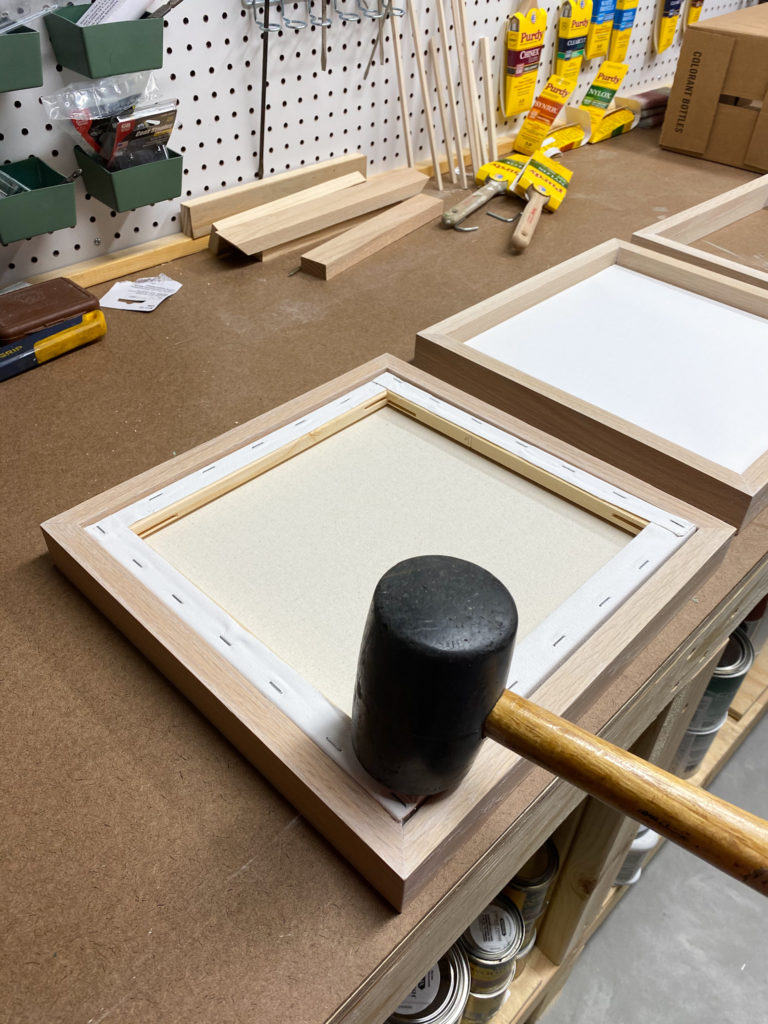
I created my frames so that the canvases would fit snug inside the frames. Because of this, I simply used a mallet to tap in the canvases. You could also apply glue or use a nail gun to secure the canvases in the frames.
Step 9: Glue the wood dowels onto the canvases
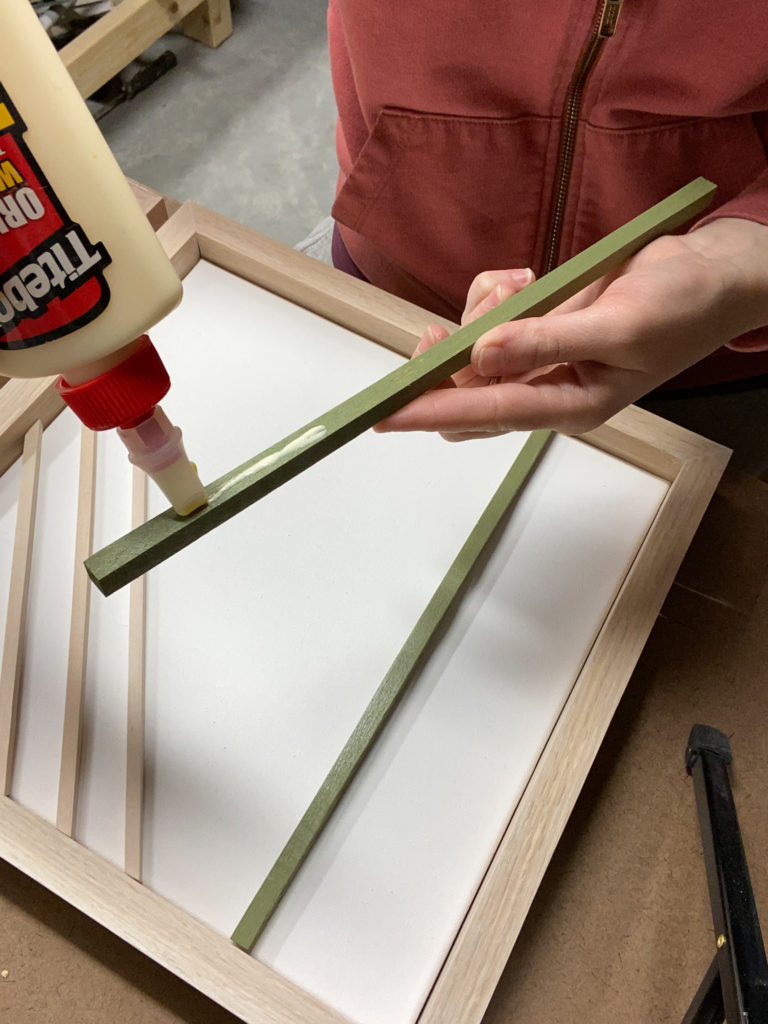
Using wood glue, attach each of the square dowels to the canvases in the design that you decided on. Press them down firmly and allow them time to dry.
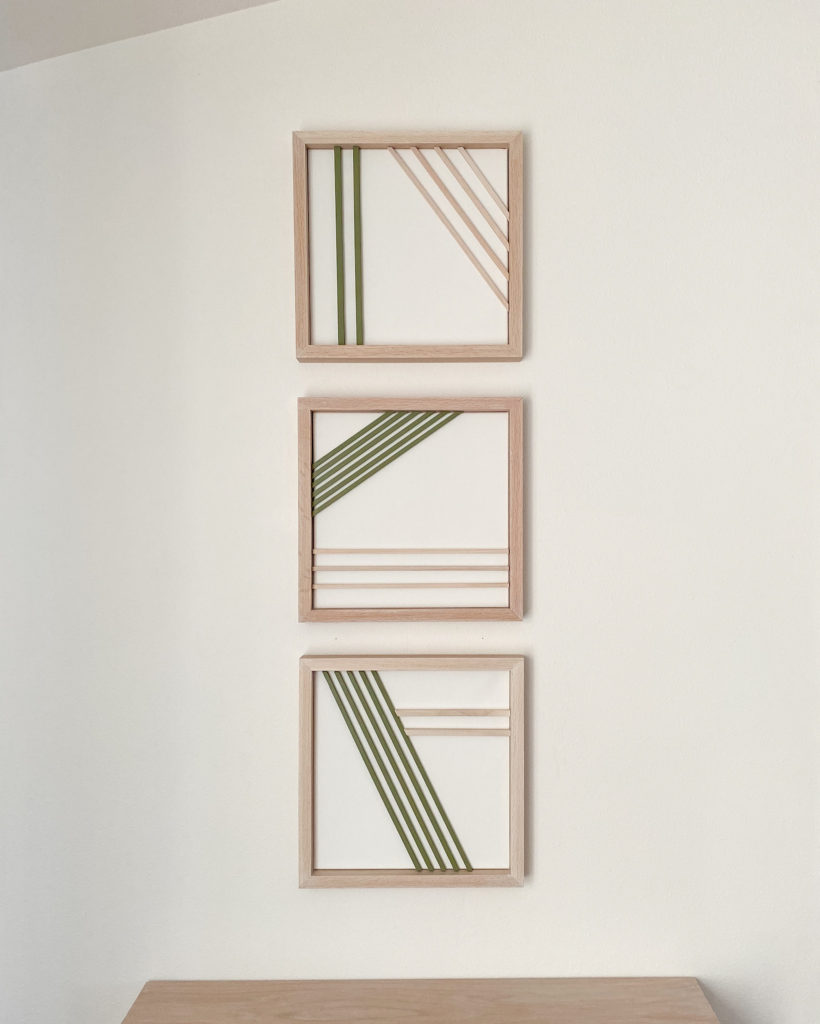
The Completed Modern Wall Art with Wood Dowels
Hang up your art and you’re all set to enjoy it! You could add D-ring hangers to yours if you want to. I didn’t because they hang well on the wood frames of the canvases. It’s up to you how you prefer to hang them.
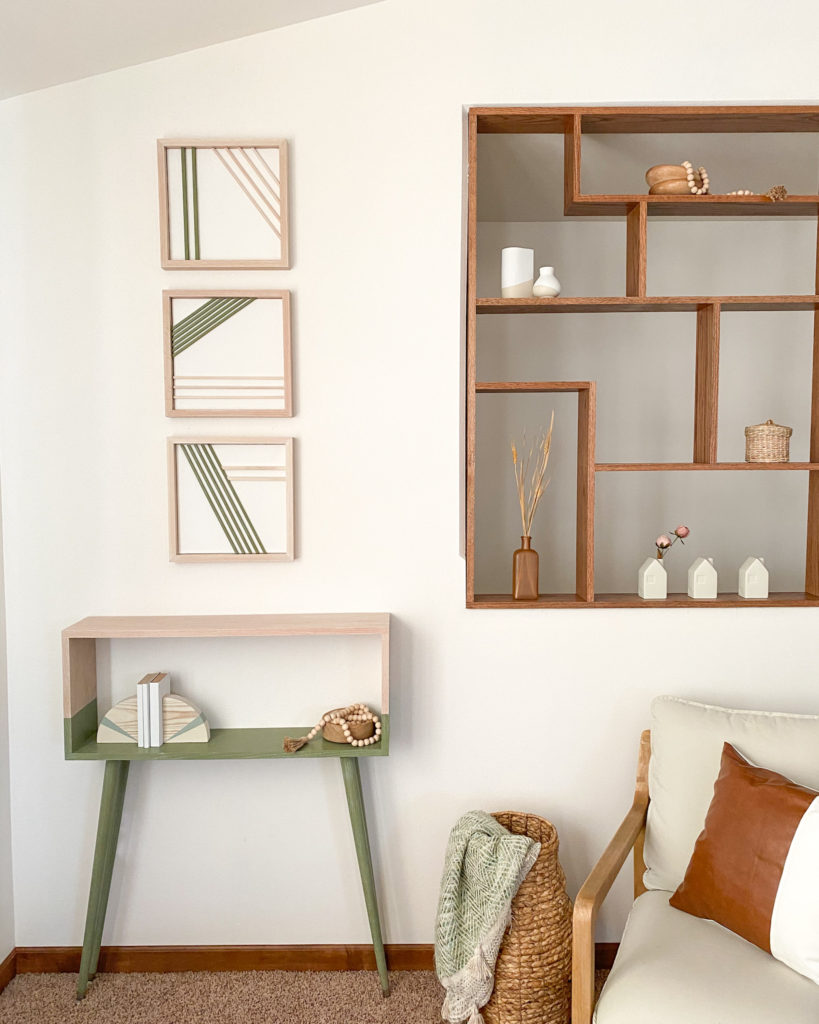
I love how they are a series, each similar but a little different. They complement one another and add a fun, modern vibe to any room.
Want to see more beautiful and budget-friendly home DIY projects?
For more inspiration from Minwax, click here.
Head here to learn how to make a modern console table and another variety of modern wall decor.
Head here for a modern style stool for a child’s room. It has a really fun pop of color in it!
Want to always be in the loop? Sign up for my emails here.

8 Comments
Danielle
I love these! They are so cute, and I can’t believe you made the frames too! So talented!
Christin
Oh my gosh what a wonderful idea! I totally saved this for when I figure out what wall art I want to make for the front entry! Nice work!
Carol Karl
What a really great idea. I love how creative you are with wood.
Marie
When I first saw the photo, I thought you had painted the stripes! The 3D effect is very cool!
Pat
I love this modern art project. Did you make the table too? If not, where did you purchase it? Love the simple style. Thanks for sharing your project!!! Great work & creative!
admin
Thanks so much, Pat! I did make the table; here is the tutorial for it: https://www.thehandcraftedhaven.com/easy-woodworking-projects-modern-console-table-and-wall-decor/ I haven’t seen anything similar for sale. Have a great weekend!
Jayne
I love playing with wood but you have way more talent then I do. Your frames are a winner. Do you sell them? I think I might do this but I’ll just go out and buy some frames. Great job your wall is beautiful.
admin
thanks so much, Jayne! Unfortunately I don’t sell them at this time (maybe someday :)). I think it’s a great idea to buy some frames and work with them from there. Glad you enjoyed this tutorial. Have a great Saturday!