Easy Woodworking Projects: Modern Console Table and Wall Decor
Are you a beginner woodworker? Are you looking for easy woodworking projects that are simple yet make a big statement in your home? I have two DIY projects that will be perfect for you! They are super simple to make and with some finishing work sponsored by Minwax, they look amazing! They add a unique mid-century modern look to my family room.
Thanks to Minwax for sponsoring this post. I received compensation and free product from Minwax but all opinions stated here are my own. This post contains affiliate links which means I may get a small commission off any purchases made from my links. It’s no extra cost to you.
DIY Mid-Century Modern Console Table & Wall Decor
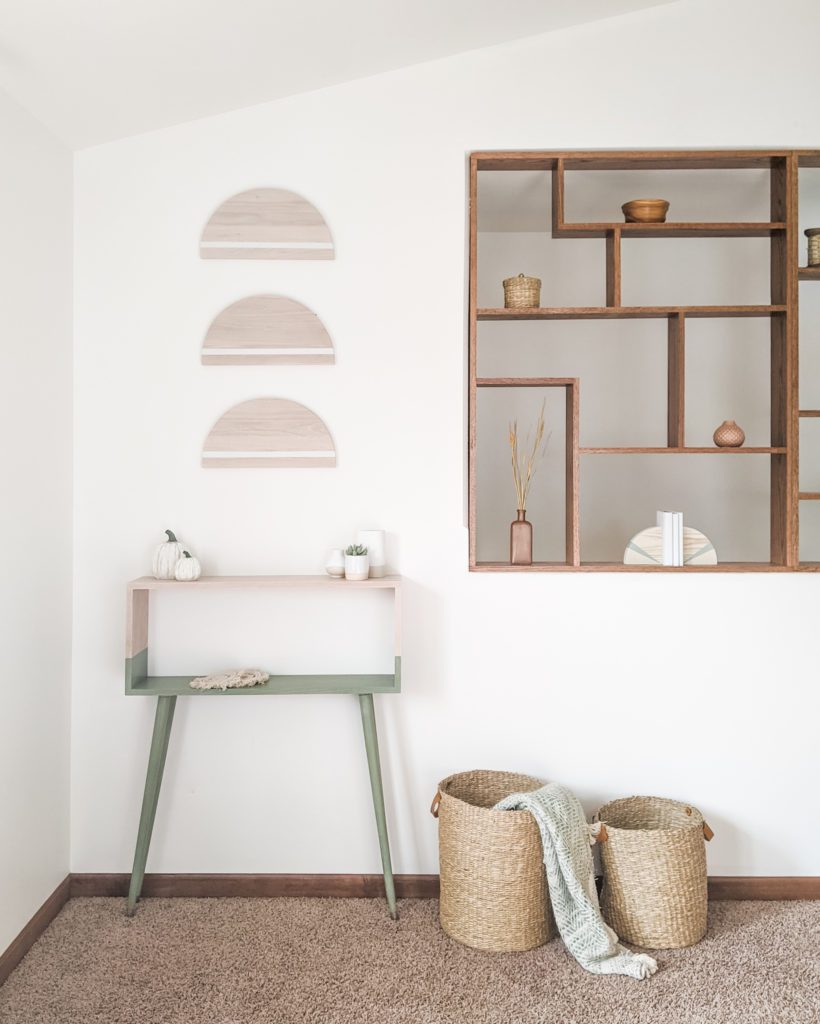
This DIY console table and wall decor are incredibly easy to build and finish. If you know how to cut wood and use a drill, you should be set! This modern console table has a unique design that is perfect for a small nook in your home. The semicircle wall decor items are also unique and completely customizable to fit your home decor style preference.
Materials & Tools
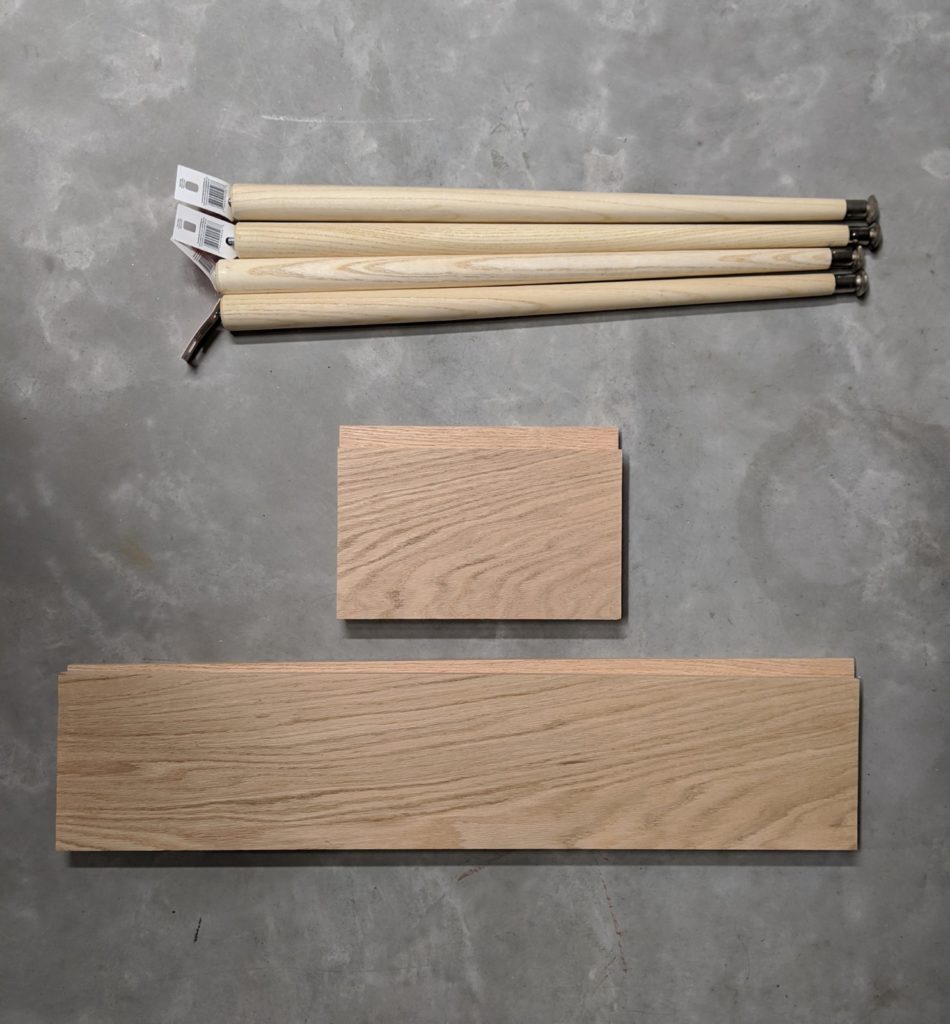
For building:
- Two 1″ x 8″x 4′ Oak Boards
- Two 1″ x 12″ x 4′ Oak Boards
- Miter Saw
- Jigsaw
- Measuring Tape
- Pencil
- Clamps
- Drill
- 8 1 1/4″ Wood Screws
- Wood Glue
- 4 Waddell 28″ Taper Round Legs
- 4 Angled Mounting Plates
For finishing:
- Minwax Water Based Pre-Stain Wood Conditioner from Menards
- Minwax Wood Finish Water-Based Semi-Transparent Color Stain in Pure White from Menards
- Minwax Wood Finish Water-Based Solid Color Stain in Gentle Olive from Menards
- Minwax Design Series Grain Highlighting Finishing Wax from Menards
- Krylon Chalky Finish Paint from Sherwin-Williams
- Painter’s Tape
- Purdy 2” Nylox Paintbrush from Menards
- Synthetic Pad
- Rags
- Sandpaper (120 & 220 grit)
- Tack Cloth
- Minwax Stainable Wood Filler
- 6 D Ring Hangers
I purchased all of my Minwax products from Menards. However, if you do not have a Menards in your area you can purchase them online at www.Menards.com or click here to find a local retailer for Minwax products!
Time to Complete
It took me about 8 hours to complete both the console table and wall decor. Nearly half of these hours were dry time so I’d estimate that it took about 5 hours of active work.
Instructions
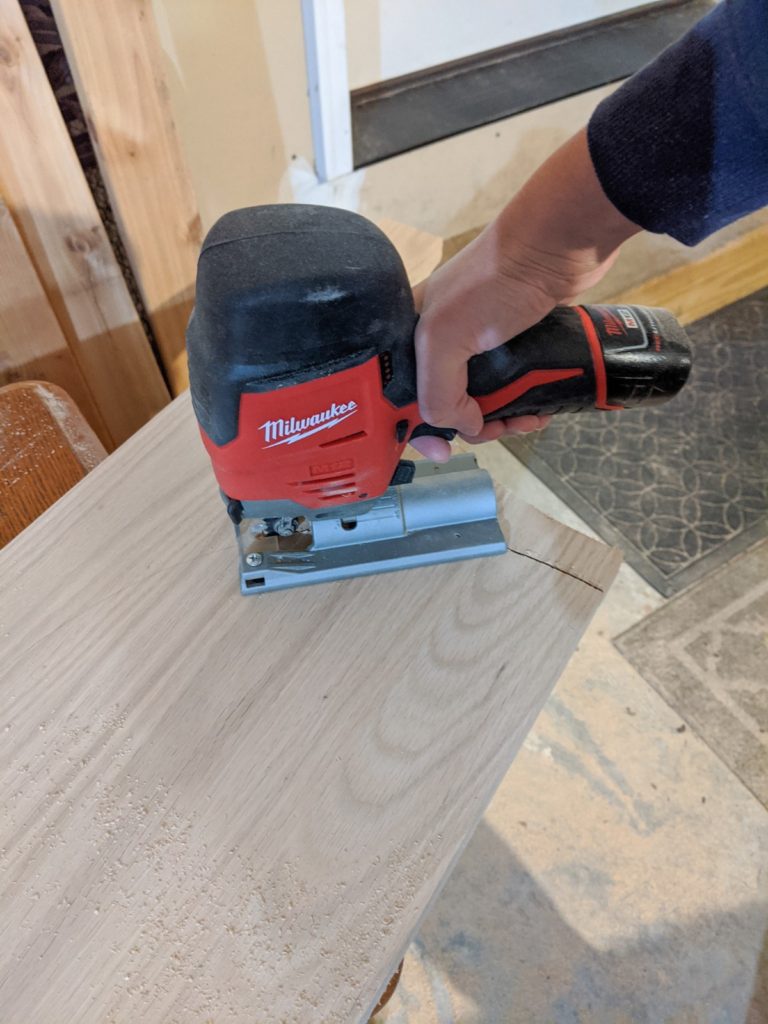
STEP 1: Cut your wood.
Using a miter saw, cut your 1″ x 8″ x 4′ boards into 4 pieces, with 2 measuring 33″ long and 2 measuring 12″ long.
Using a jigsaw, cut out 3 semicircles with 9″ diameters from your 1″ x 12″ x 4′ boards. There are two ways that you can cut out a perfect circle. You can use a saw guide specifically made for cutting out circles or you can use a pencil and string to draw a perfect circle onto the wood. If you use the latter method, first place a nail in the wood where the center of your circle would be. Tie a string around it and tie the other end of the string around a pencil. The length of the string from the nail to your pencil will determine how big your circle is. Then simply draw your circle by guiding the pencil around the nail in a circular motion, keeping the string taut at all times.
STEP 2: Sand your cut wood
Next use a random orbital sander or sandpaper to sand down your cut pieces of wood. I started with 120 grit since my wood was already relatively smooth. I then moved on to 220 grit to get a really smooth surface.

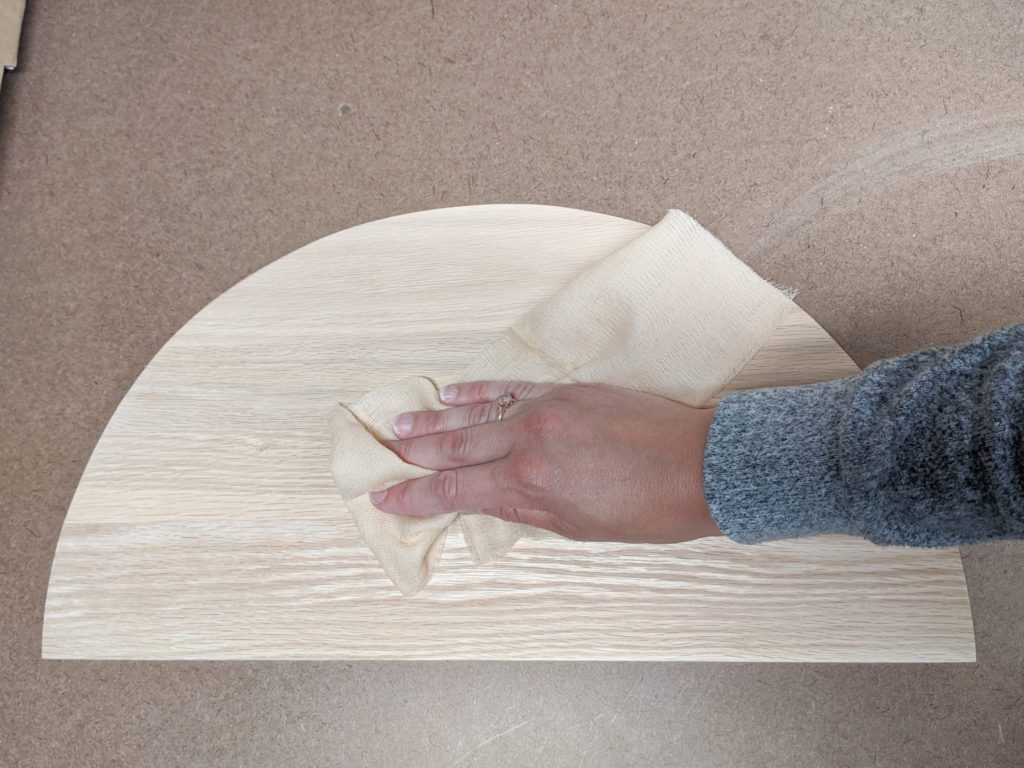
STEP 3: Wipe off the wood with a tack cloth
You will want to have clean dust-free wood prior to finishing it. Simply wipe it down with a tack cloth.
STEP 4: Assemble the 4 sides of the console table
Using clamps, position your four cut boards together to form a rectangle. Secure them together using both wood glue and screws. I placed 2 screws in each corner to ensure a solid fit. I made sure to sink the screws into the wood a bit to give me room to cover them with wood putty.
STEP 5: Cover screw holes with wood filler
Fill the screw holes with Minwax Stainable Wood Filler, ensuring that you overfill them a bit to allow for sanding. Allow the wood putty to dry. Sand it down with 220 grit sandpaper and use a tack cloth to remove dust.

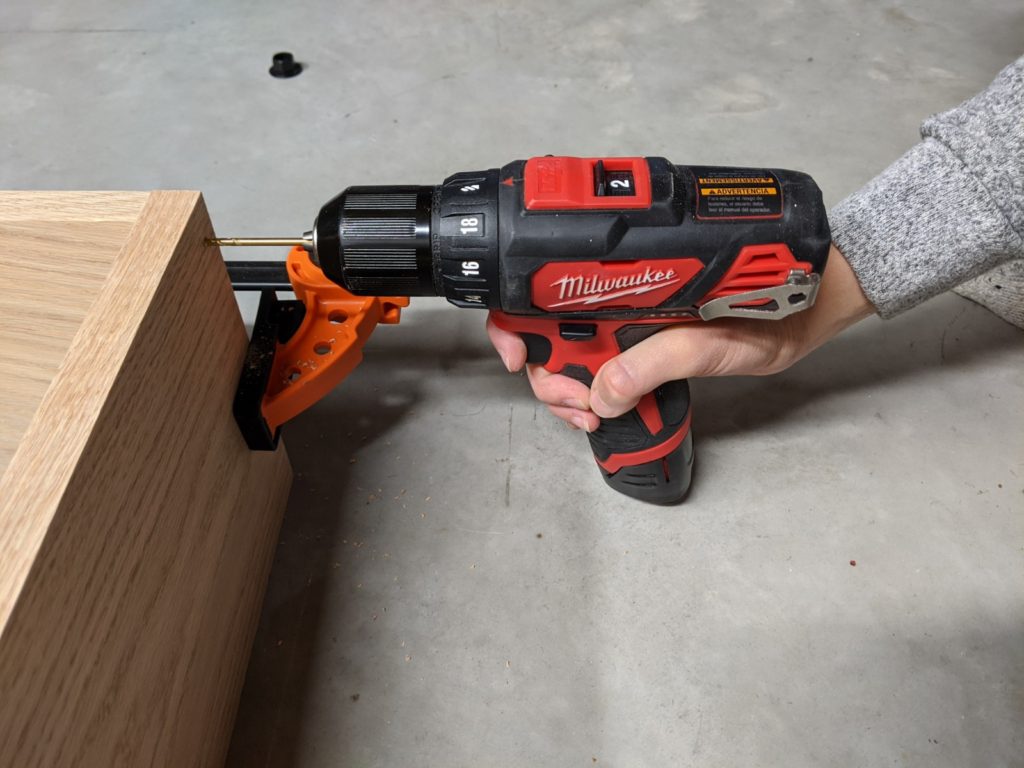
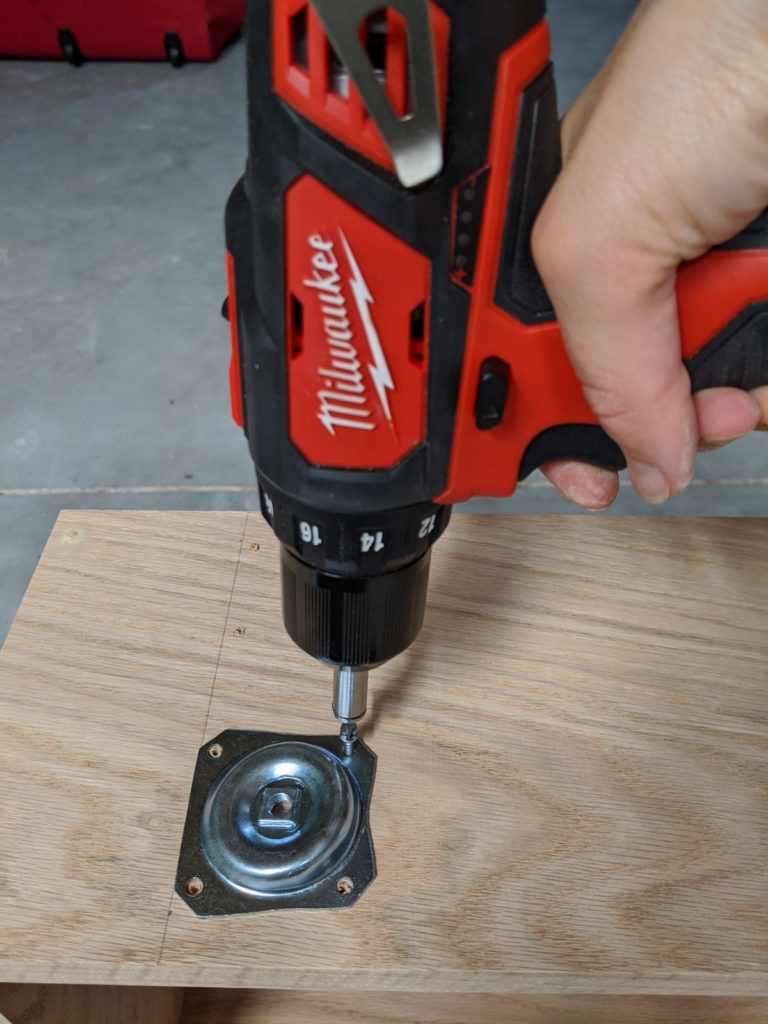
STEP 6: Install console table legs
Next you will want to take your angled mounting plates and secure them to the bottom of your console table. Make sure to measure to position them correctly. The exact placement is up to your preference but for reference, I placed mine 3″ from the ends of the table and 1/2″ from the front and back of the table.
Mark the holes, pre-drill them and then screw in the four screws, securing the mounting plates in place.
Now you can simply screw the legs into the mounting plates.
STEP 7: Apply Minwax Water Based Pre-Stain Wood Conditioner
To ensure even coverage of stain, first apply Minwax Water Based Pre-Stain Wood Conditioner using a rag or synthetic brush such as the Purdy 2” Nylox Paintbrush. Since I’m using a water-based stain, I need to use a water-based pre-stain wood conditioner. If I was using an oil-based stain, I would want to use an oil-based pre-stain wood conditioner.
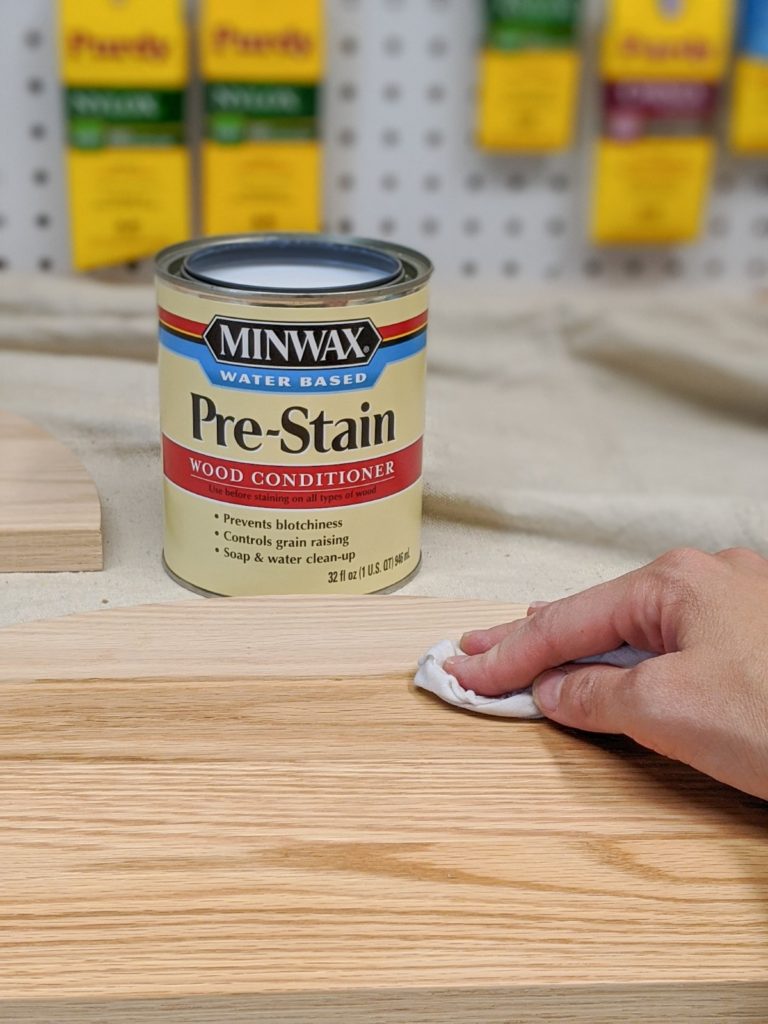
Allow the wood conditioner to penetrate the wood for 1-5 minutes. Wipe off the excess with a rag.
Allow it to dry for 15-30 mins. Then lightly sand with 220 grit sandpaper to remove any raised grain. Only one coat is needed.
STEP 8: Apply Minwax Wood Finish Water-Based Semi-Transparent Color Stain in Pure White to the semicircles and to the upper 2/3 of the console table.
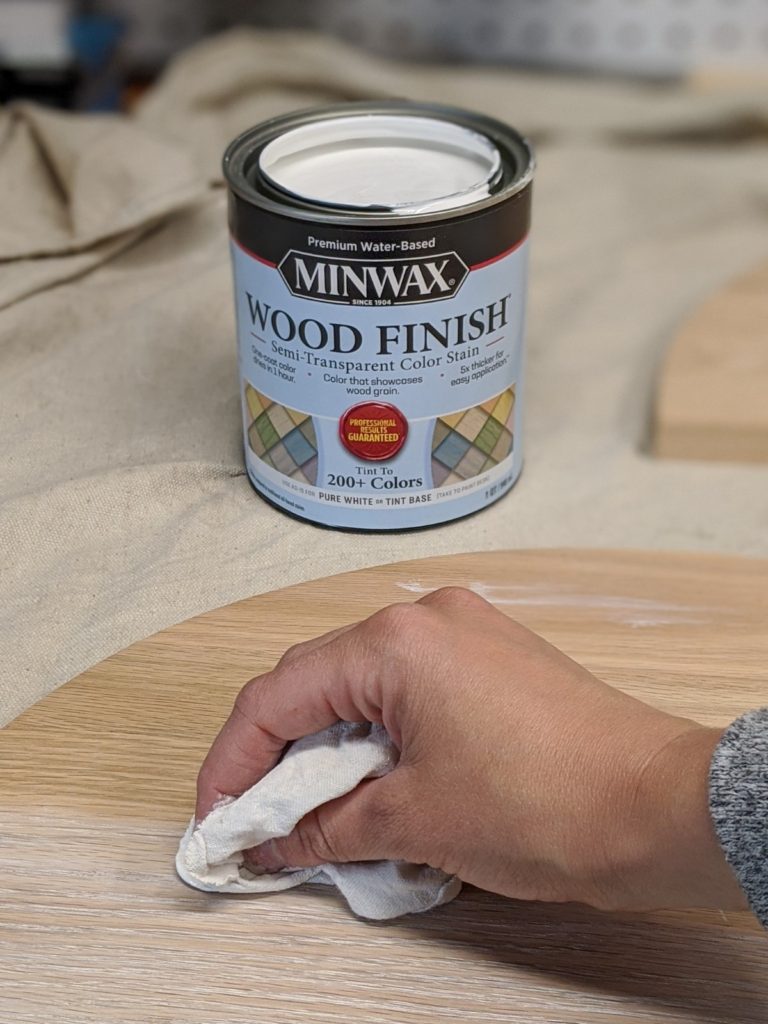
Apply the stain using a rag, synthetic brush or foam brush. Wipe it off immediately (< 2 minutes) with a rag. It only takes an hour to dry. Also, in case you don’t love white as much as I do, you have over 200 color options to choose from! How awesome is that?!
STEP 9: Using painter’s tape to mark off the edges, paint a thin line of Krylon Chalky Finish Paint onto the lower part of each semicircle.
This design choice is obviously up to your discretion. If you like the look of mine, you can match mine exactly. If you prefer a different design or a different color stripe, go for it!
After painting, immediately remove the painter’s tape. Do not allow the paint to dry before removing the painter’s tape.
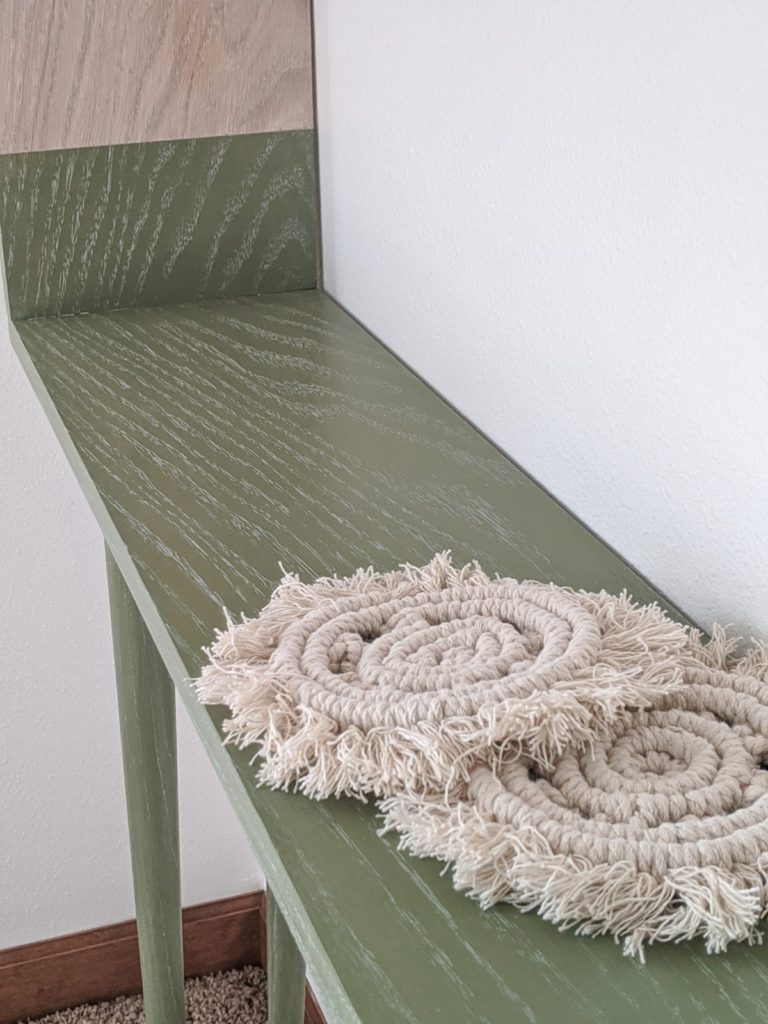
STEP 10: Apply Minwax Wood Finish Water-Based Solid Color Stain to the bottom 1/3 and legs of the console table.
To do this, first make sure to adequately stir the stain. You’ll notice that this stain is quite thick. It’s actually 5 times thicker than traditional oil-based stains!
Apply the stain using a synthetic brush such as a Purdy 2” Nylox Paintbrush.
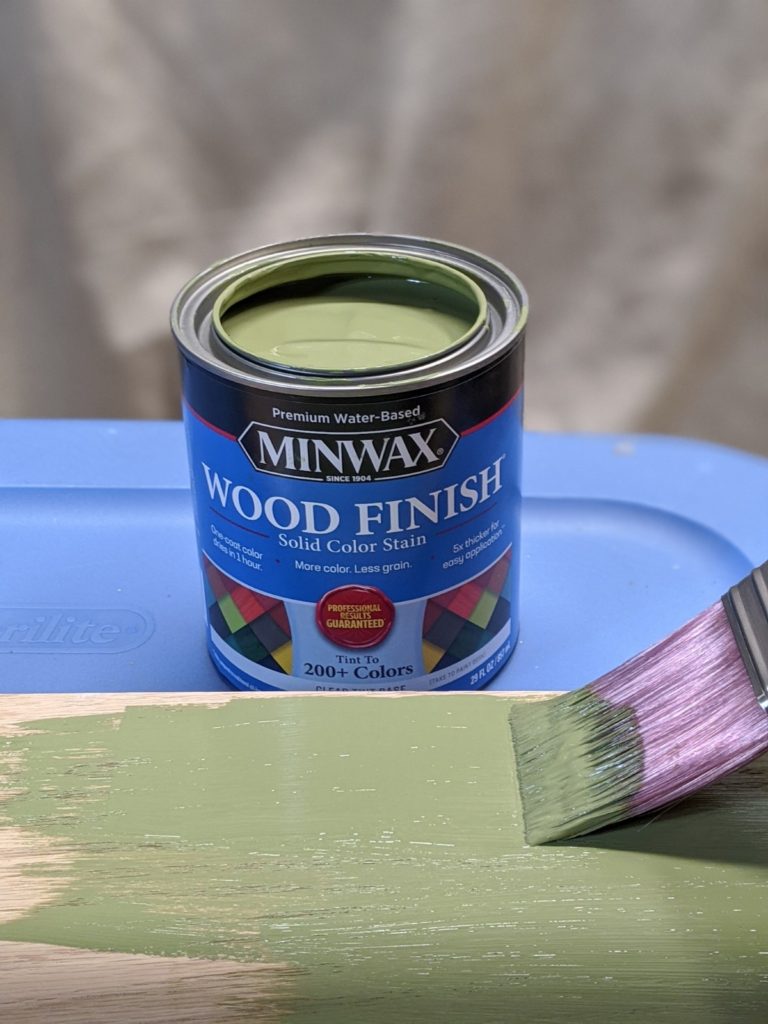
Immediately (< 2 minutes) remove the excess stain using a synthetic pad. You’ll notice that this solid stain leaves a really solid layer of color but allows you to still see the texture of the wood grain. It dries in only 1 hour! This is one of the key benefits of water-based stain. Also, only one coat is needed. Similar to the semi-transparent stain, you have over 200 stain color options!
STEP 11: Apply Minwax Grain Highlighting Finishing Wax to the top of every stained surface (on the semicircle wall decor and the console table).
First mix the wax. Then, using a rag, apply the wax in a circular motion, making sure to evenly cover the surface.
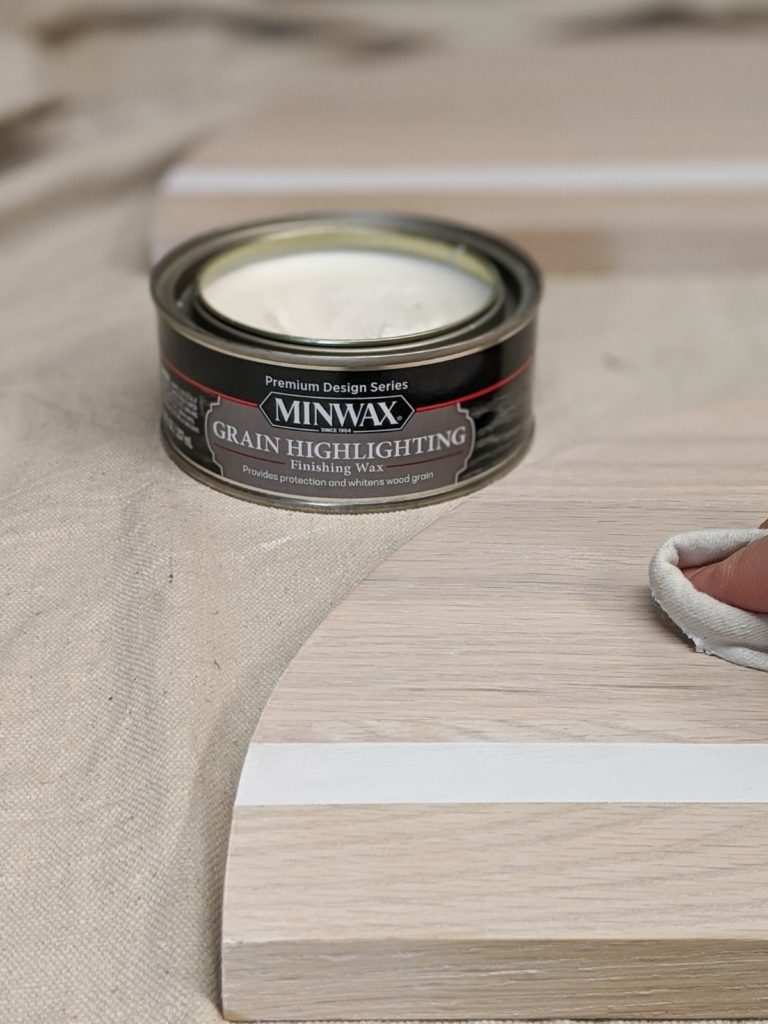
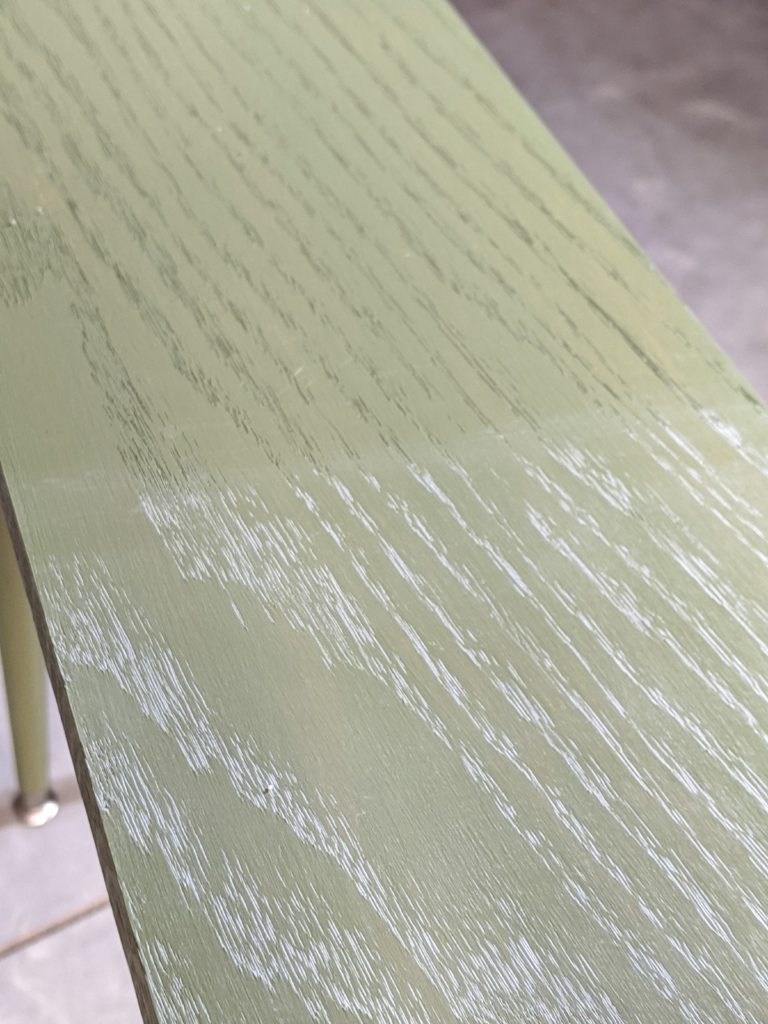
After 3-5 minutes, remove the excess wax using a rag and moving against the grain. You will see that the wax sets into the grain of the wood, leaving a beautiful effect! It really brings out the character of the wood grain! This works especially well with dark stain colors. You’ll see that the wax really highlights the grain well when it is placed over the Gentle Olive solid stain. The effect is more subtle when the wax is put over the white stain.
Head HERE for more inspiration from Minwax!
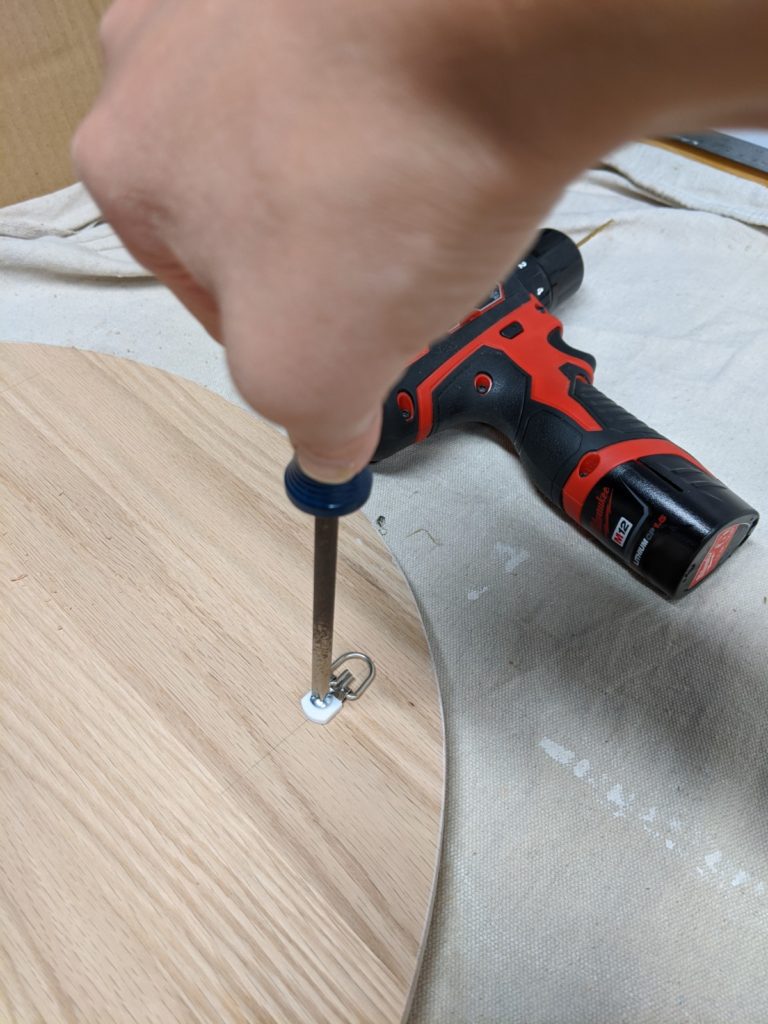
STEP 12: Attach D ring hangers to the back of the semicircles.
First measure to ensure that your hangers are evenly spaced. Pre-drill small holes and screw in the D ring hangers with a screwdriver or drill.
STEP 13: Secure your console table to the wall
Because the console table is narrow and the legs are tall, I recommend securing your console table to the wall. You can use small L brackets for this. You can spray paint them the color of your wall and table, securing them underneath the table so that no one can see them.
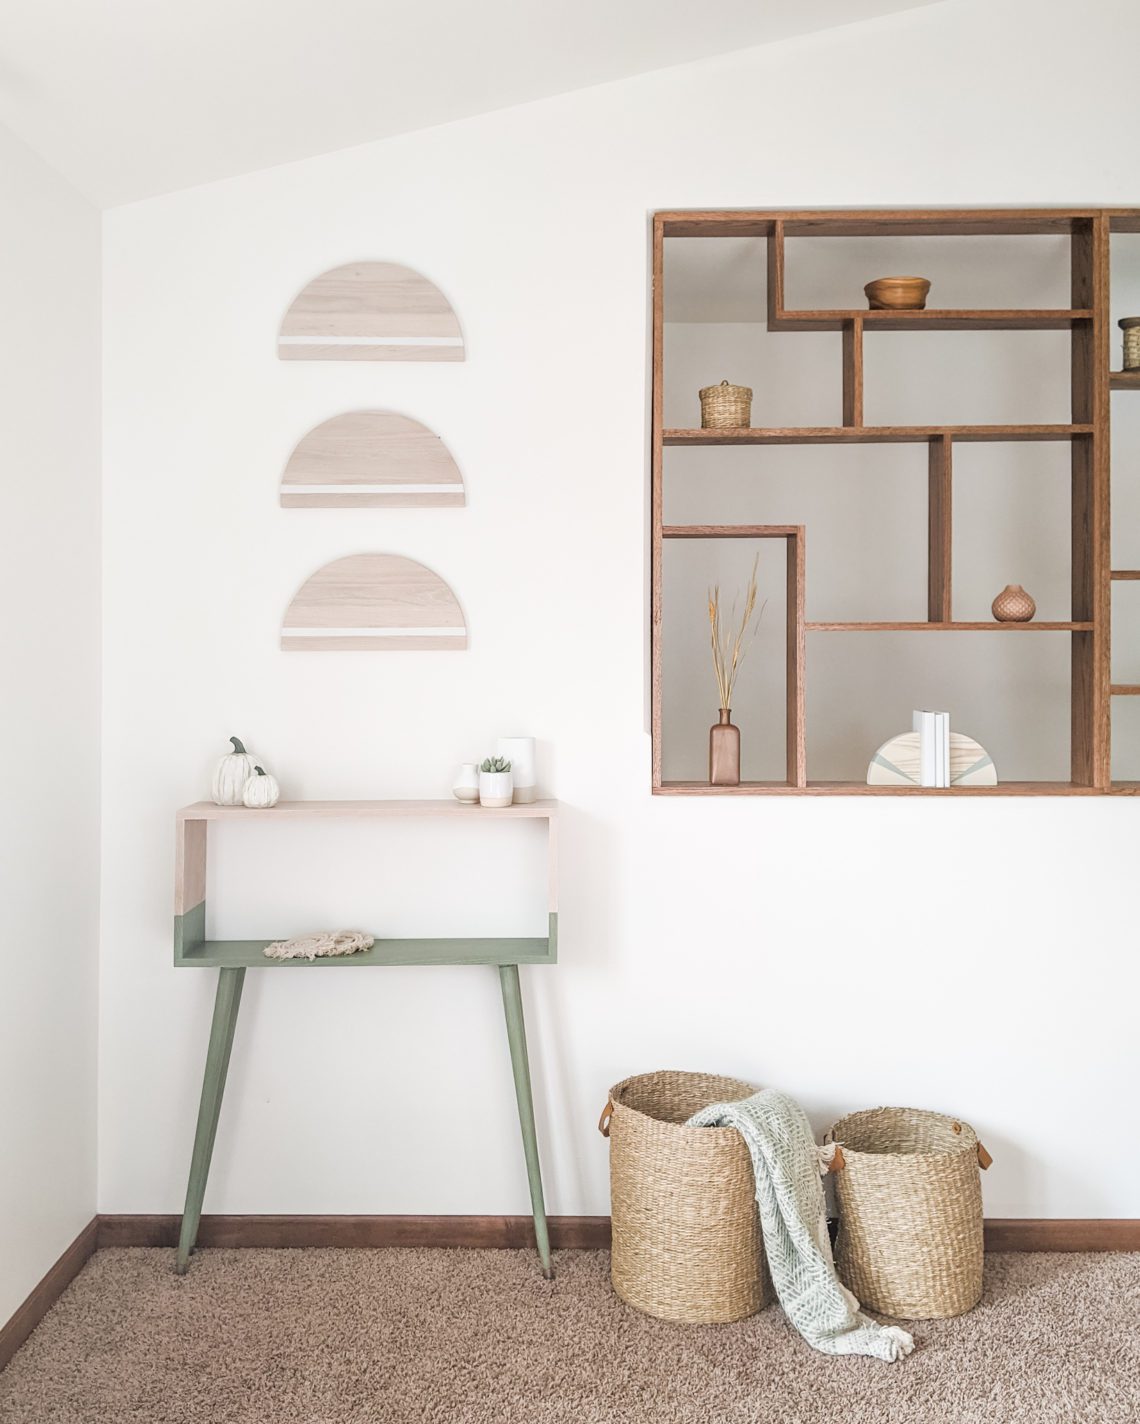
You will now have a beautiful console table and gorgeous modern wall decor!
The effect of the grain highlighting finishing wax is just so unique and pretty! I absolutely love it and am looking forward to trying it out on a lot of my upcoming projects. Do you like it? Would you try it on a project?
Want more home DIY project ideas?
For more inspiration from Minwax, click HERE.
To learn how to paint outdoor furniture in 4 easy steps, click HERE.
To explore all my latest DIY projects, head HERE and scroll down to see them all!
SIGN UP HERE FOR MY EMAIL LIST SO YOU ARE ALWAYS THE FIRST TO KNOW ABOUT NEW DIY TUTORIALS!


7 Comments
Zoe
This is seriously SO GOOD. I love every bit of it and I need to get my hands on all those stain colors stat!
admin
Thank you so much, Zoe!! I’m in love with these colors too and now I want to try about 25 other colors just for fun – hah!
Marie
Mary, I love how the shape of the table ties to your built-ins. That green stain is so good!
admin
Thanks so much, Marie! I debated the shape a million times, trying to find something that would match the shelving so I’m excited that you noticed 🙂 Have a great day!!
Carol Karl
Great job. Wonderful tips. Thanks so much for sharing.
Linda Coleman
This turned out so beautiful! You have a lovely blog.
admin
Thank you so much, Linda! So glad you like it.