How to Make a Gorgeous Candle Centerpiece for Christmas: A Great Gift Idea!
It’s the most wonderful time of the year! However, finding the right gift for someone can be really challenging. So here’s a simple yet beautiful gift idea that anyone with a kitchen or dining room table will love.
I partnered with Minwax on this project to show you how their products make wood look so very beautiful! I think you’re going to love the color stain I chose for this – subtle and gorgeous! Keep reading for more details and the full tutorial.
Thanks to Minwax for sponsoring this post. I received compensation from Minwax but all opinions stated here are my own. I’ve used and loved Minwax products for years!
Time to Complete
3 days, including dry times, with about 4 hours of work across the days
Tools & Materials
- Minwax Pre-Stain Wood Conditioner for Oil-Based Stains
- Minwax Wood Finish Penetrating Stain in Simply White
- Minwax Polycrylic Protective Finish in Satin Finish
- Minwax Stainable Wood Filler
- Purdy 2” XL Paint Brush
- Purdy Premium Folding Multi-Tool
- 10′ 1×6 oak board
- Wood Glue
- Clamps
- Miter Saw
- Tape Measure
- Drill press with forstner bits the same size as your candle bases
- 220 Grit Sandpaper
- Tack Cloth
- Rags
- 12 Twisted Taper Candles
Click HERE to find a local retailer for Minwax products!
Candle Centerpiece Tutorial
STEP 1: First cut your 1×6 oak board into 3 pieces, each 3′ long
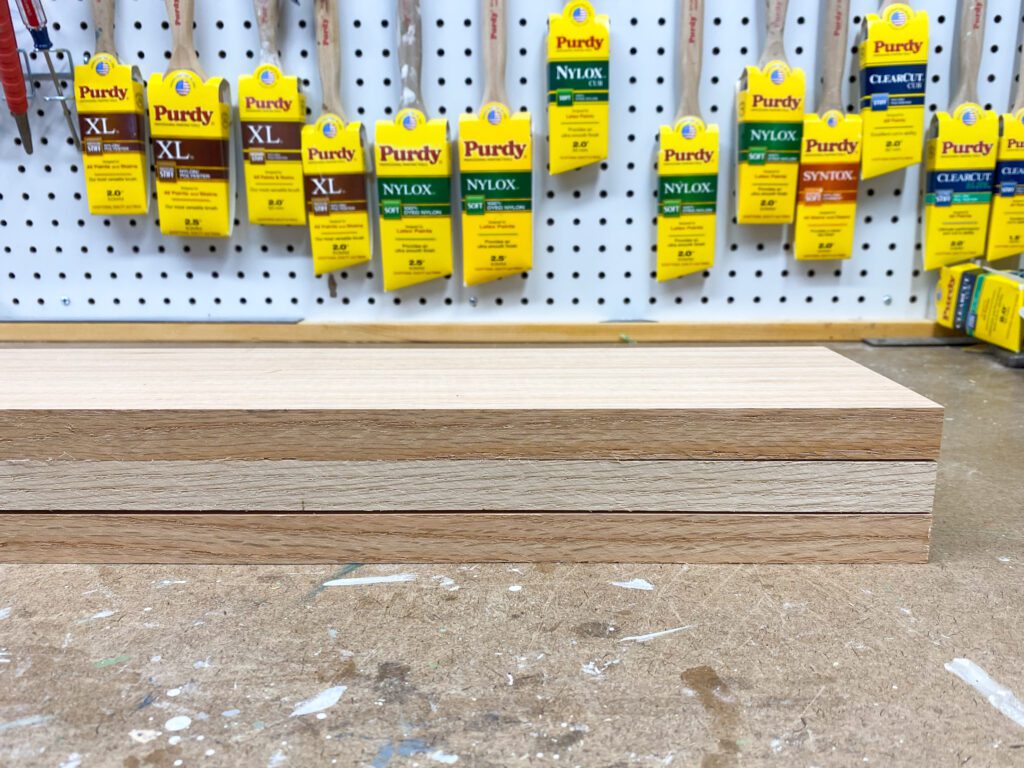
Use a miter saw to give each of them straight end cuts. They should line up nicely as the picture above shows.
STEP 2: Sand your boards using 220 grit sandpaper.
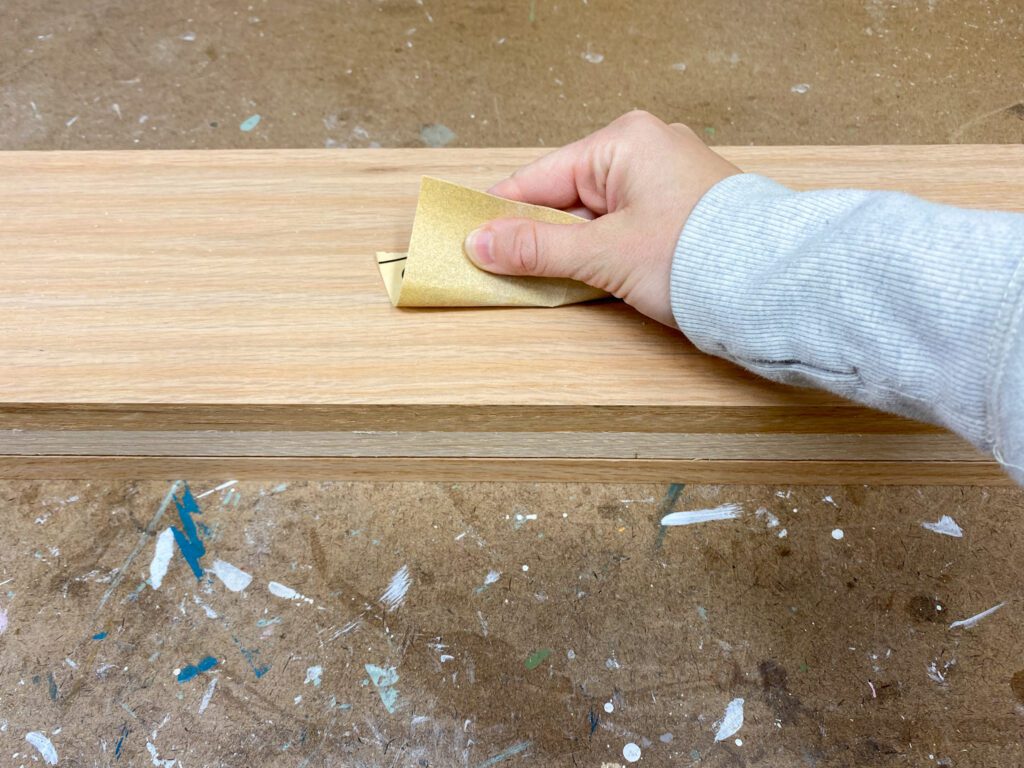
Sanding your boards helps prep them for stain and removes any little pieces that could cause splinters.
Once sanded, remove all sanding dust using a tack cloth.
STEP 3: Glue the boards together.

Apply wood glue to the boards to glue all 3 of them together, one on top of another.
Clamp them together and let dry for at least a few hours.
STEP 4: Apply Minwax Stainable Wood Filler to any crevices between the boards.
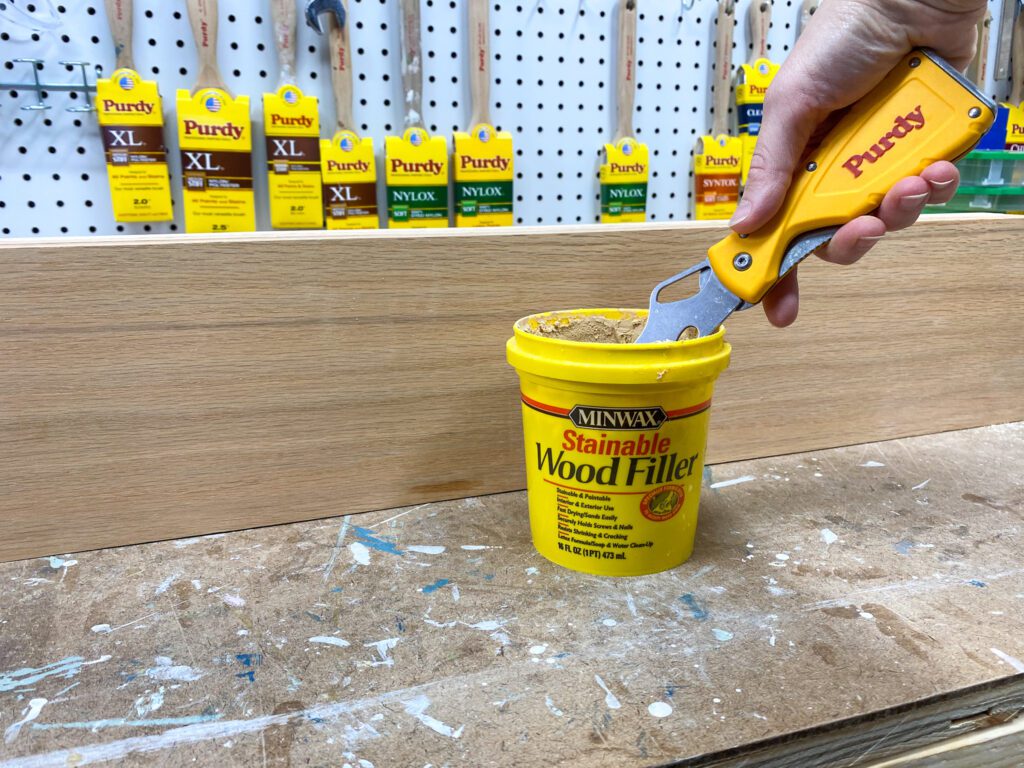
Using a Purdy Premium Folding Multi-Tool, push Minwax Stainable Wood Filler into any crevices between the boards. This will fill in any imperfections.
Allow the wood filler time to dry. Then sand it smooth using 220 grit sandpaper. Remove all sanding dust using a tack cloth.
STEP 5: Drill holes into your stack of boards.
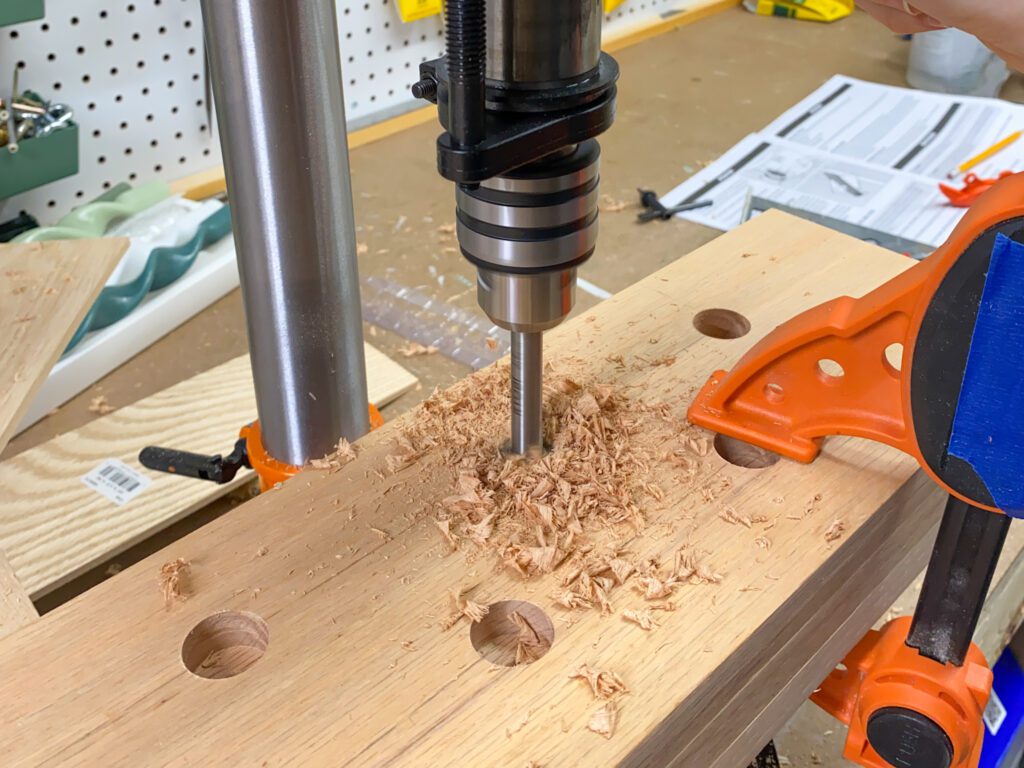
Because you want larger holes that are relatively flat on the bottom, forstner bits are the best bits for this project. To use forstner bits, you’ll need a drill press. I recently purchased one and am really surprised by how easy it is to use and how handy it is to have!
I measured the bottom of my candles and determined that my holes should be 1″ and 3/4″ in diameter. Depending on what candles you buy, you might need different sizes so make sure to check before drilling.
Measure out on your board where you plan to drill holes. This will make sure you don’t mess up once it’s time to drill.
Then drill holes in your board.
STEP 6: Apply Minwax Pre-Stain Wood Conditioner for Oil-Based Stains to the boards.
When staining wood, you always want to follow a 3-step staining process: Pre-Stain Wood Conditioner, Stain, and then a Protective Topcoat.
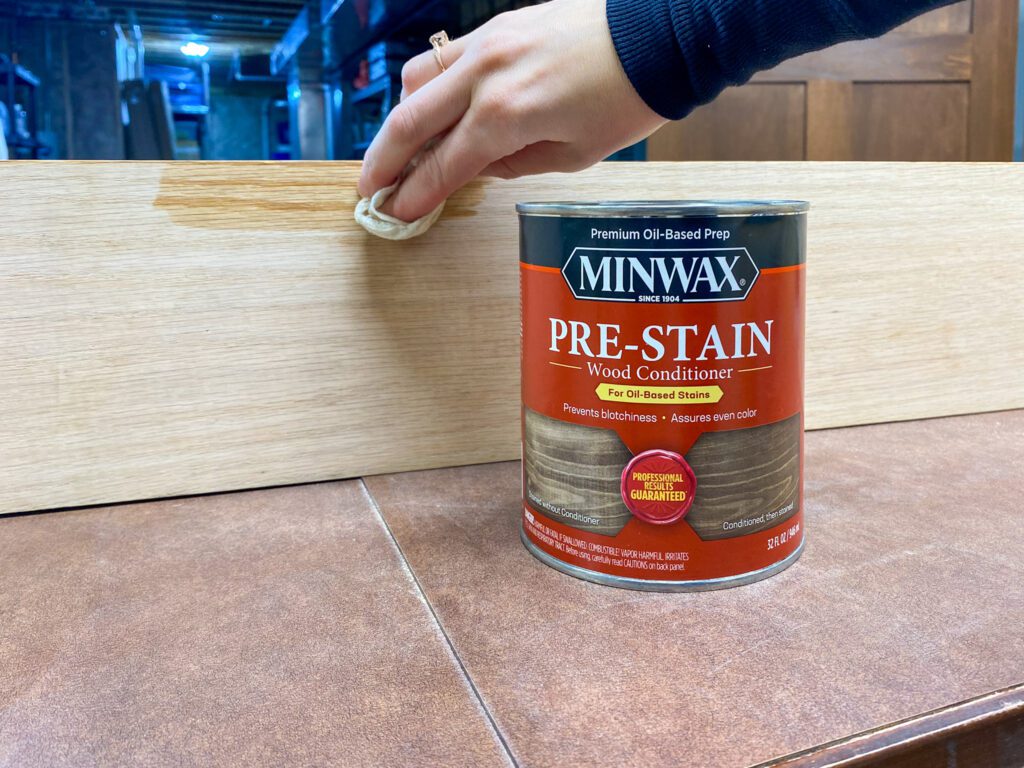
Use a rag to apply Minwax Pre-Stain Wood Conditioner for Oil-Based Stains to the boards. You simply wipe it on and after 5-15 minutes, use a clean rag to wipe off any excess. Reference the can for how to properly dispose of the dirty rags.
Make sure to apply your stain in the next 2 hours.
STEP 7: Apply Minwax Wood Finish Penetrating Stain in Simply White.
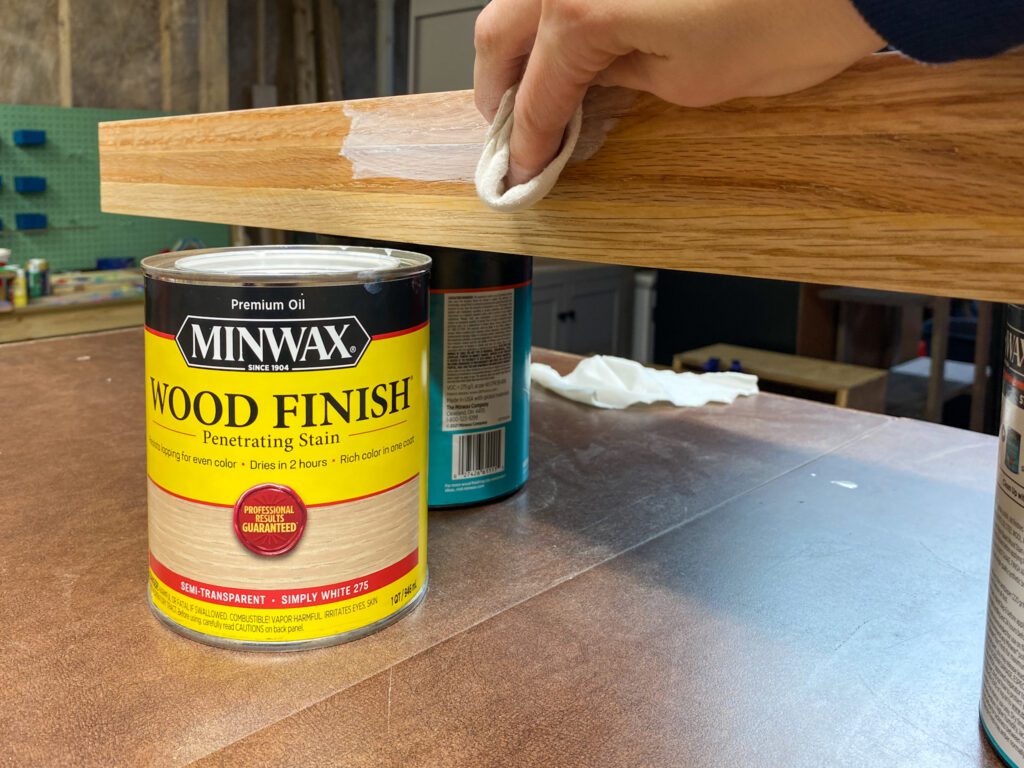
Minwax has a ton of high-quality, beautiful stain colors to choose from. Simply White is one of my favorites. It gives wood just a bit of a whitewashed look. For red oak, it covers up some of the red undertones. For pine, it covers up some of the yellow undertones.
I applied it using a rag. Let it penetrate the wood for 5 minutes and then remove any excess with a clean rag.
If you would like a deeper color, you can leave the stain on the wood for up to 15 minutes or apply two coats. I only applied one coat because I liked the color after one coat.
STEP 8: After 24 hours, apply Minwax Polycrylic Protective Finish in Satin Finish.
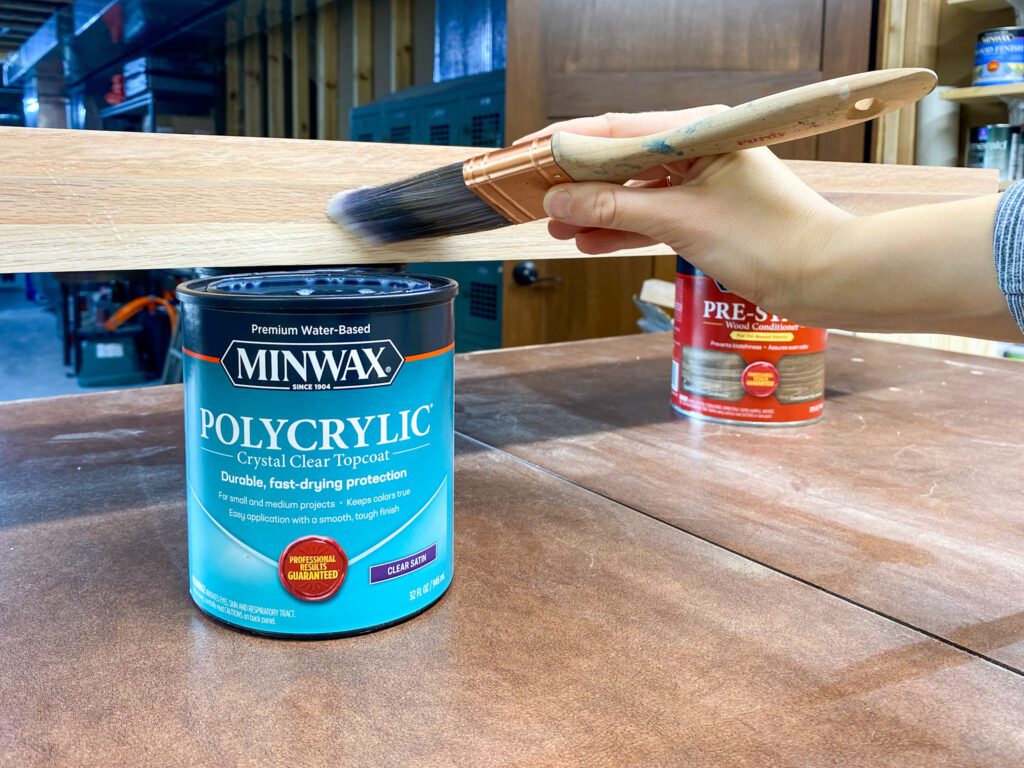
Every time you stain wood, you need to protect it. My go-to protective topcoat is Minwax Polycrylic Protective Finish. If you are applying it over an oil-based stain, you will want to wait at least 24 hours before applying it.
Apply it using a Purdy 2” XL Paint Brush. Allow it time to dry. Then lightly sand it with 220 grit sandpaper and apply one more coat.
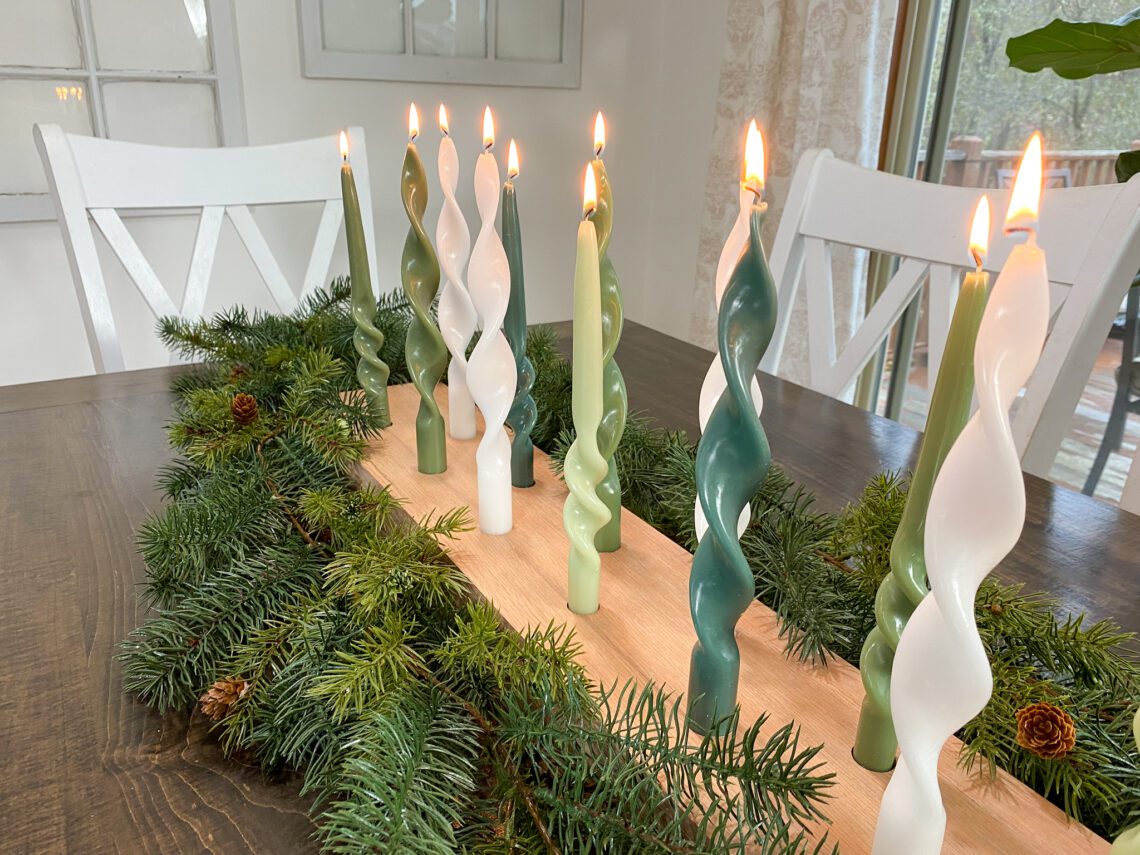
STEP 9: Insert your candles and you’re finished!
The Finished Candle Centerpiece!

How festive is this?! Super simple yet beautiful. I love how the simply white stain is a gorgeous base for these green and white candles. Also, it looks great next to holiday garland.

So grab your tools and Minwax products, and make one for a friend or family member this Christmas!
Looking for other DIY gift ideas?
Here are some simple DIY modern bookends and snow-capped mountain bookends!
And here’s a quick tutorial on how to make wood ornaments that you can give to others.
Head to the Minwax website for more project ideas and to explore all their different amazing stain colors!