Easy Inexpensive DIY Planter: With a Bold Color Stain!
Summer is here and what better way to enjoy it than to sit outside on a lovely summer evening? I love decorating and enjoying outdoor spaces. The more planters and flowers, the better. Therefore, an easy inexpensive DIY planter is exactly my type of project!
I must admit that I’m not great at keeping flowers alive but that doesn’t stop me from building planters for them. What I have for you today is a quick, easy, and inexpensive DIY planter. It has a fun bold pop of color on it too!
Thanks to Cabot for sponsoring this post. I received compensation but all opinions stated here are my own. I’ve loved and used Cabot premium woodcare products for a long time.
Tools & Materials
- Cabot Solid Color Acrylic Stain + Sealer in Shade Green
- Purdy 2.5″ XL Sprig Paint Brush
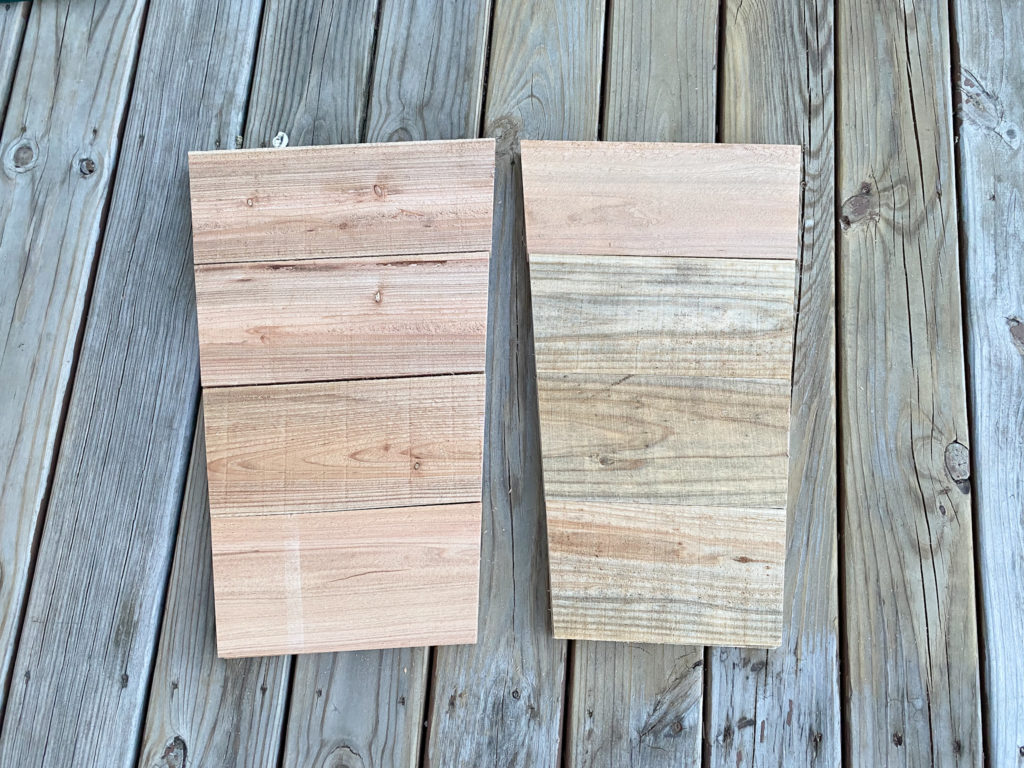
- Four 1 x 6 x 6′ Cedar Dog Ear Fence Picket
- Scrap Wood (I used two 1 x 2 x 6′ pine boards but many types of boards could work)
- Random Orbital Sander with 180 grit sandpaper
- Tack Cloth
- Wood Glue
- Nail Gun with 1″ brad nails
- Tape Measure
- Miter Saw
- Pencil
Wondering where you can purchase Cabot premium woodcare products? Head HERE to see what retailers near you carry Cabot products.
Time to Complete
This could easily be a one-day project but I took two days to finish it, allowing ample time for the wood glue to dry before staining it.
Step by Step Tutorial for an Easy Inexpensive DIY Planter
STEP 1: Cut wood
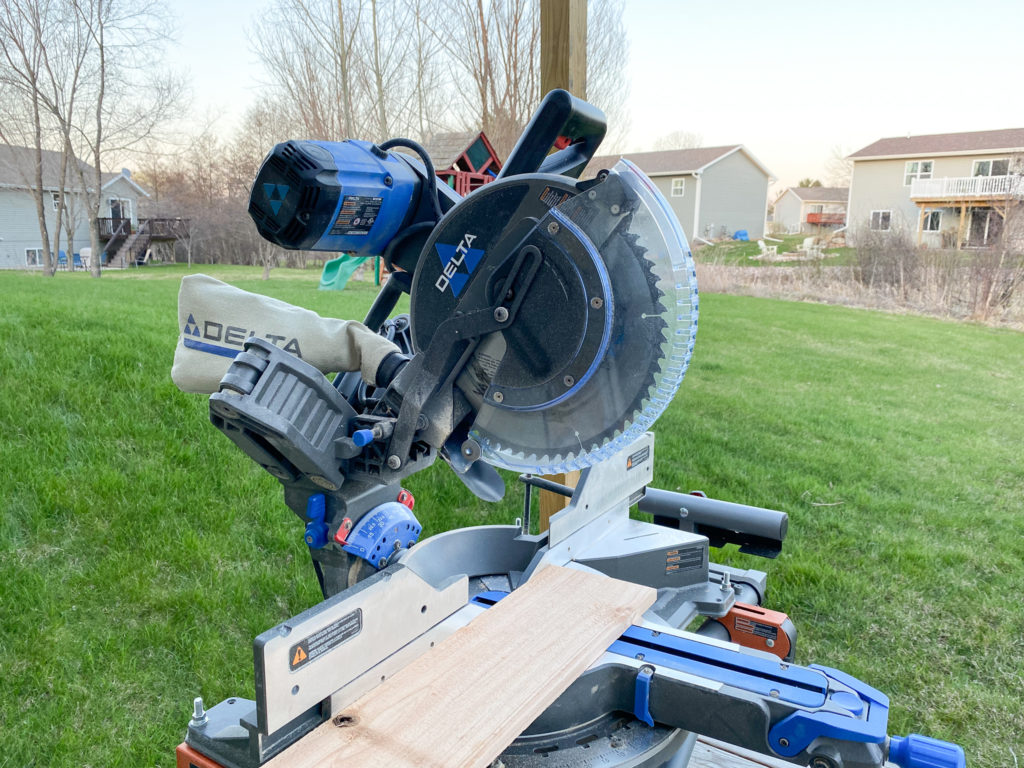
Using a miter saw, cut your cedar fence picket boards. All of them are cut at a 5 degree angle on both sides.
The following boards will form two opposite sides of the planter. Throughout this tutorial, I’ll refer to these as the wider sides of the planter.
- 2 14″ boards
- 2 13″ boards
- 2 12″ boards
- 2 11″ boards
The following boards will form the other two sides of the planter. Throughout this tutorial, I’ll refer to these as the shorter sides of the planter.
- 2 13″ boards
- 2 12″ boards
- 2 11″ boards
- 2 10″ boards
For the scrap wood pieces, you will want to find or cut the following:
- 4 20″ 1 x 2 boards
- 3 8″ 1 x 2 boards (the length of these will vary depending on how far down you want your pot to sit inside your planter)
STEP 2: Sand the wood
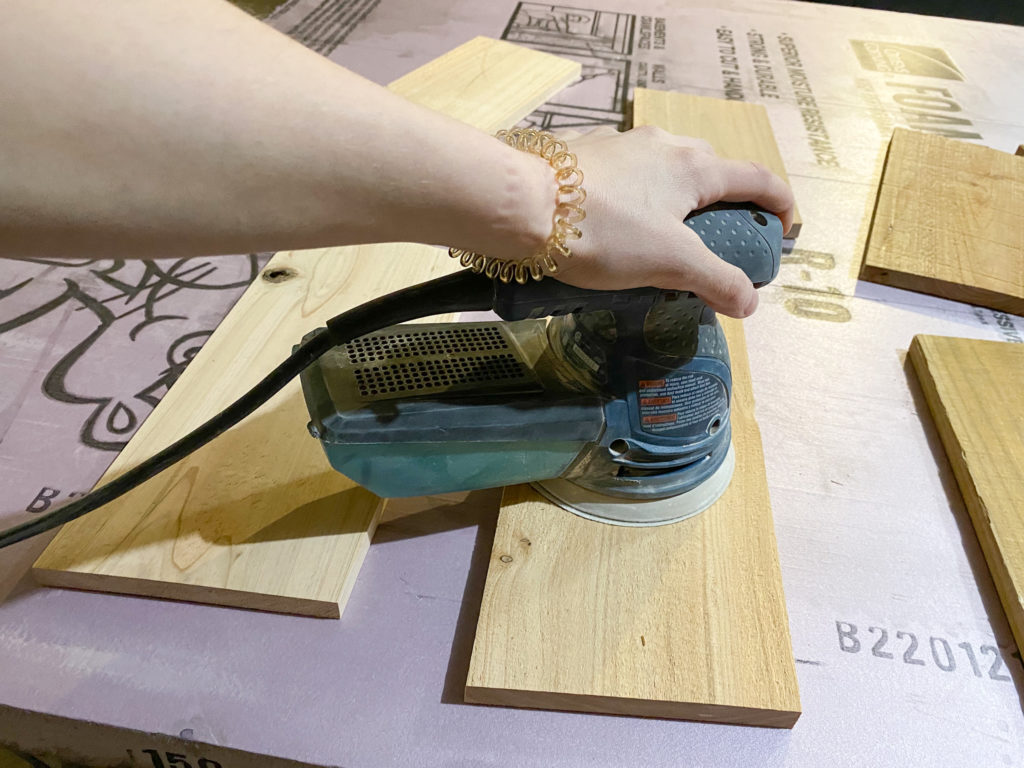
Using a random orbital sander, sand all the pieces of wood using 180 grit sandpaper. This will help smooth the wood and also prep it for stain.
Remove excess sawdust with a tack cloth.
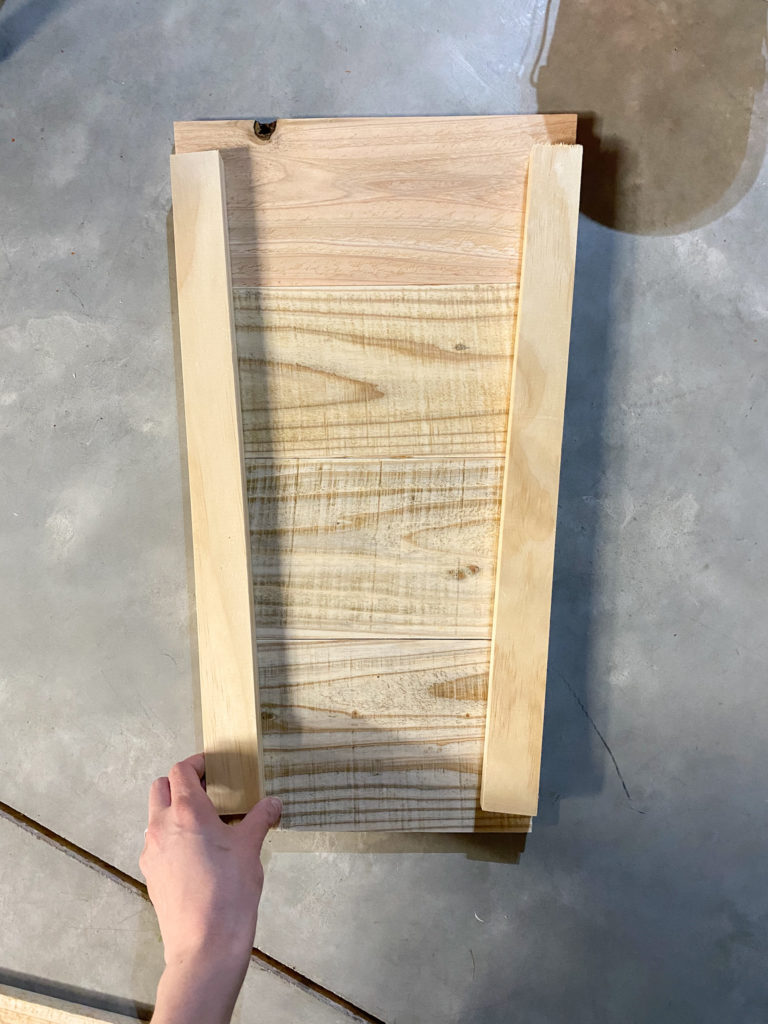
STEP 3: Assemble the planter
Next you will assemble the planter using both wood glue and a nail gun. First assemble the shorter sides of the planter, attaching the 20″ 1 x 2 boards to the back side of the cedar boards to hold them all together. See below for a visual of this. Create two sides that look like this.
Next attach the wider sides of the planter to the shorter sides with wood glue and brad nails. See below for a visual of this process.
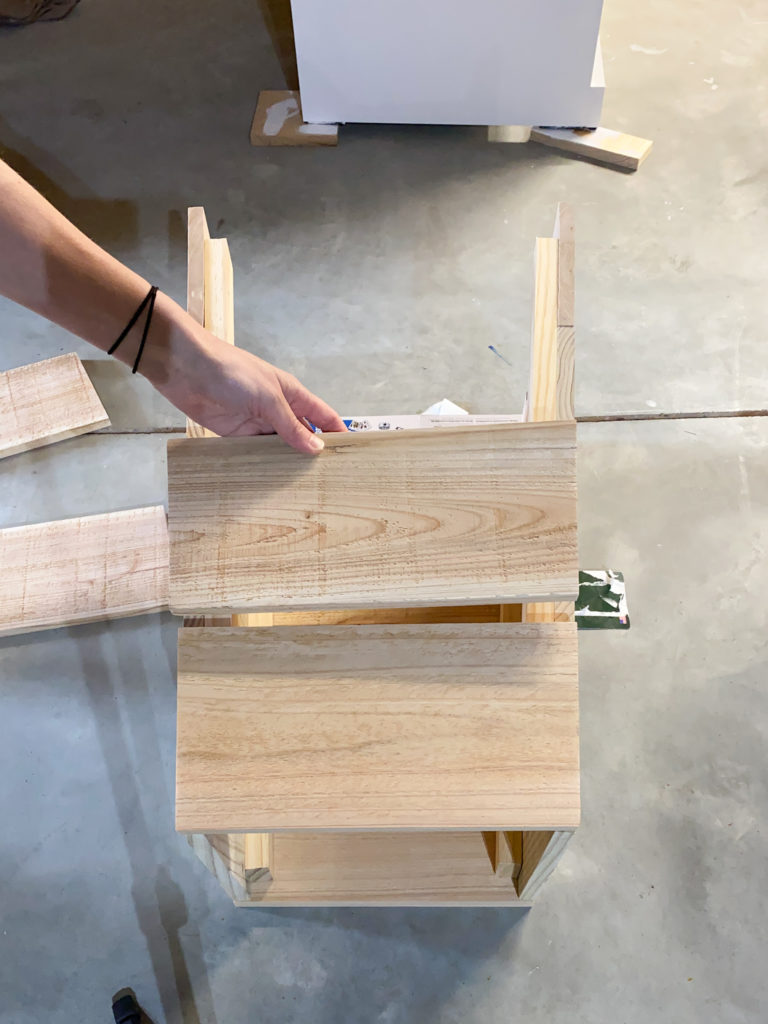
Allow ample time for the wood glue to dry. This planter doesn’t have a bottom. You could certainly add one but it’s not necessary.
Add the remaining 1 x 2 boards to the inside of the planter so that they can hold up a pot. The exact length of your 1 x 2 boards and where you place them will depend on how deep of a pot you want to put in your planter. I simple attached 1 x 2 boards to two opposite inner sides of the planter and then placed boards across them to hold up the pot.
STEP 4: Stain the planter.
Cabot is my go-to brand for high quality and durable exterior stain. We’ve used it in past years on the entire exterior of our cabin and on many outdoor furniture projects. I’m always really impressed by it.
However, I had never tried their Solid Color Acrylic Stain + Sealer so I was excited to try it out on this planter.
The awesome part about this type of stain is that it comes in a ton of different colors! Exterior stains don’t have to be boring. It can be colorful and fun! Head here to see all their color options for this solid color stain.
I chose Shade Green as the color for my planter.
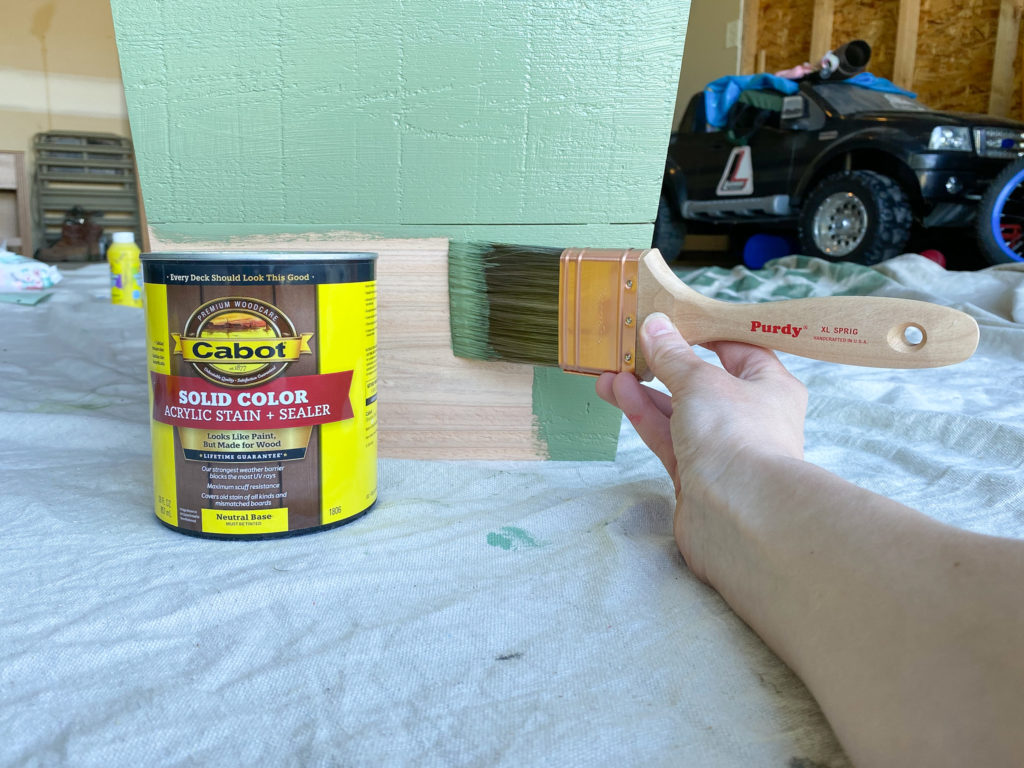
I applied the stain with a Purdy 2.5″ XL Sprig Paint Brush since this stain recommends that you use a nylon or polyester brush for application. It went on really easily and covered well.
How gorgeous is this green color?!
Since my wood was new (not worn or damaged in any way), one coat of stain was sufficient to cover it well.
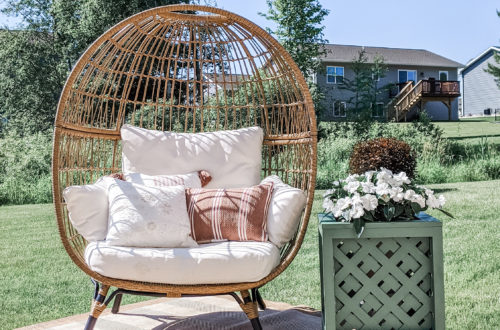
The Finished Planter: Easy, Inexpensive, & BEAUTIFUL!
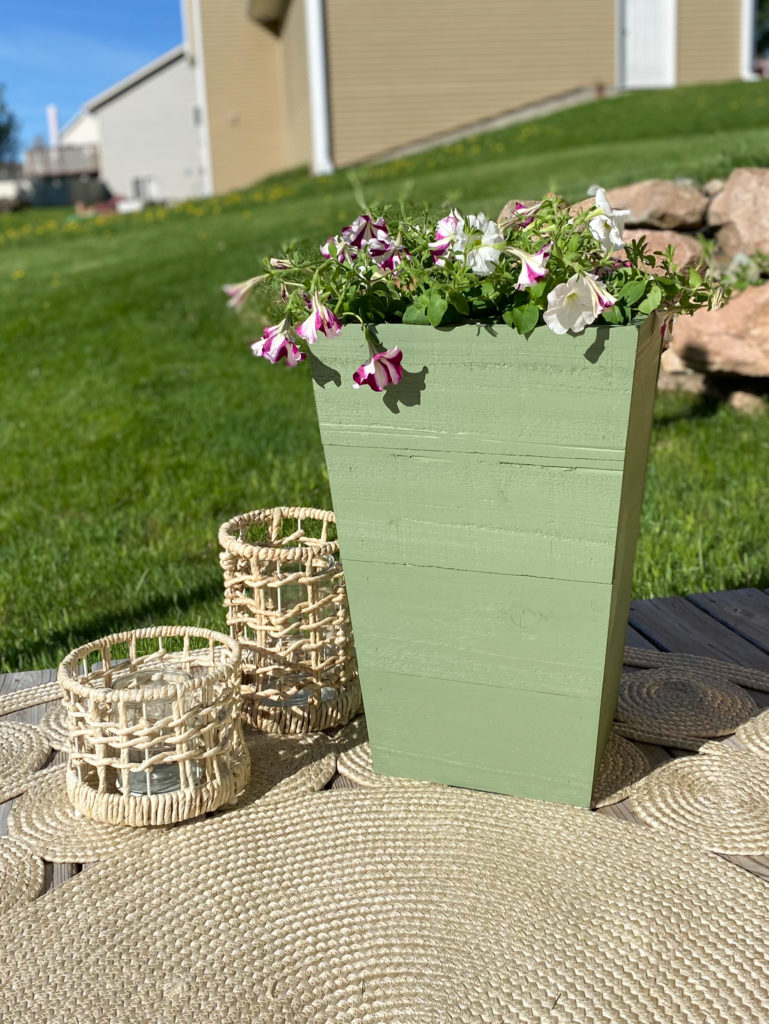
My flowers need to grow a bit more but I absolutely love the planter! It’s simple yet stunning with its tapered look.
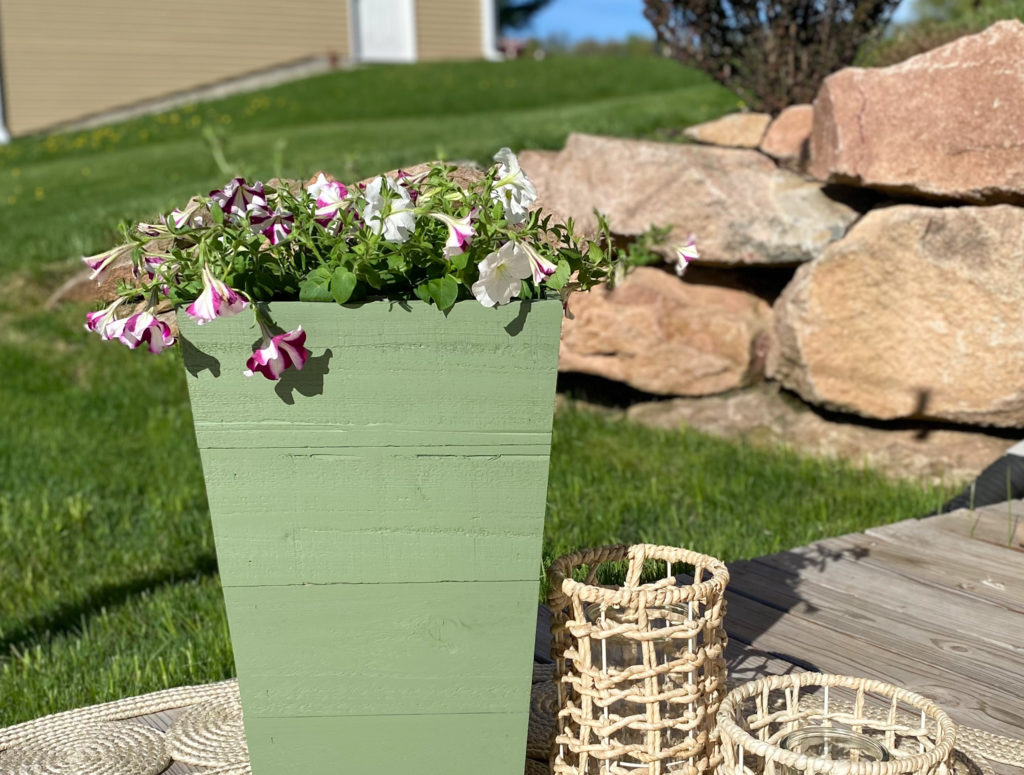
The shade green color goes perfectly with my home’s aesthetic, which is mostly white and pale greens.
Have Questions? Want to Explore More Easy Woodworking Projects?
If you have questions or comments, please leave a comment below or message me on Instagram. I’d be happy to answer any questions.
Want to build a super simple coastal-style bench? Head here.
Or head here to learn how to build a console table and wall art!
Want to explore all my latest home DIY project ideas? Click here.
Head here to explore all of Cabot’s amazing products; they have a wide variety of high-quality stains to choose from!