DIY Modern Color Block Wall
I love white. Nearly every wall in my home is white. I love the clean, calming look of it.
However…
Sometimes you just need to add a little color and fun to a wall! Especially a wall in your young daughter’s room.
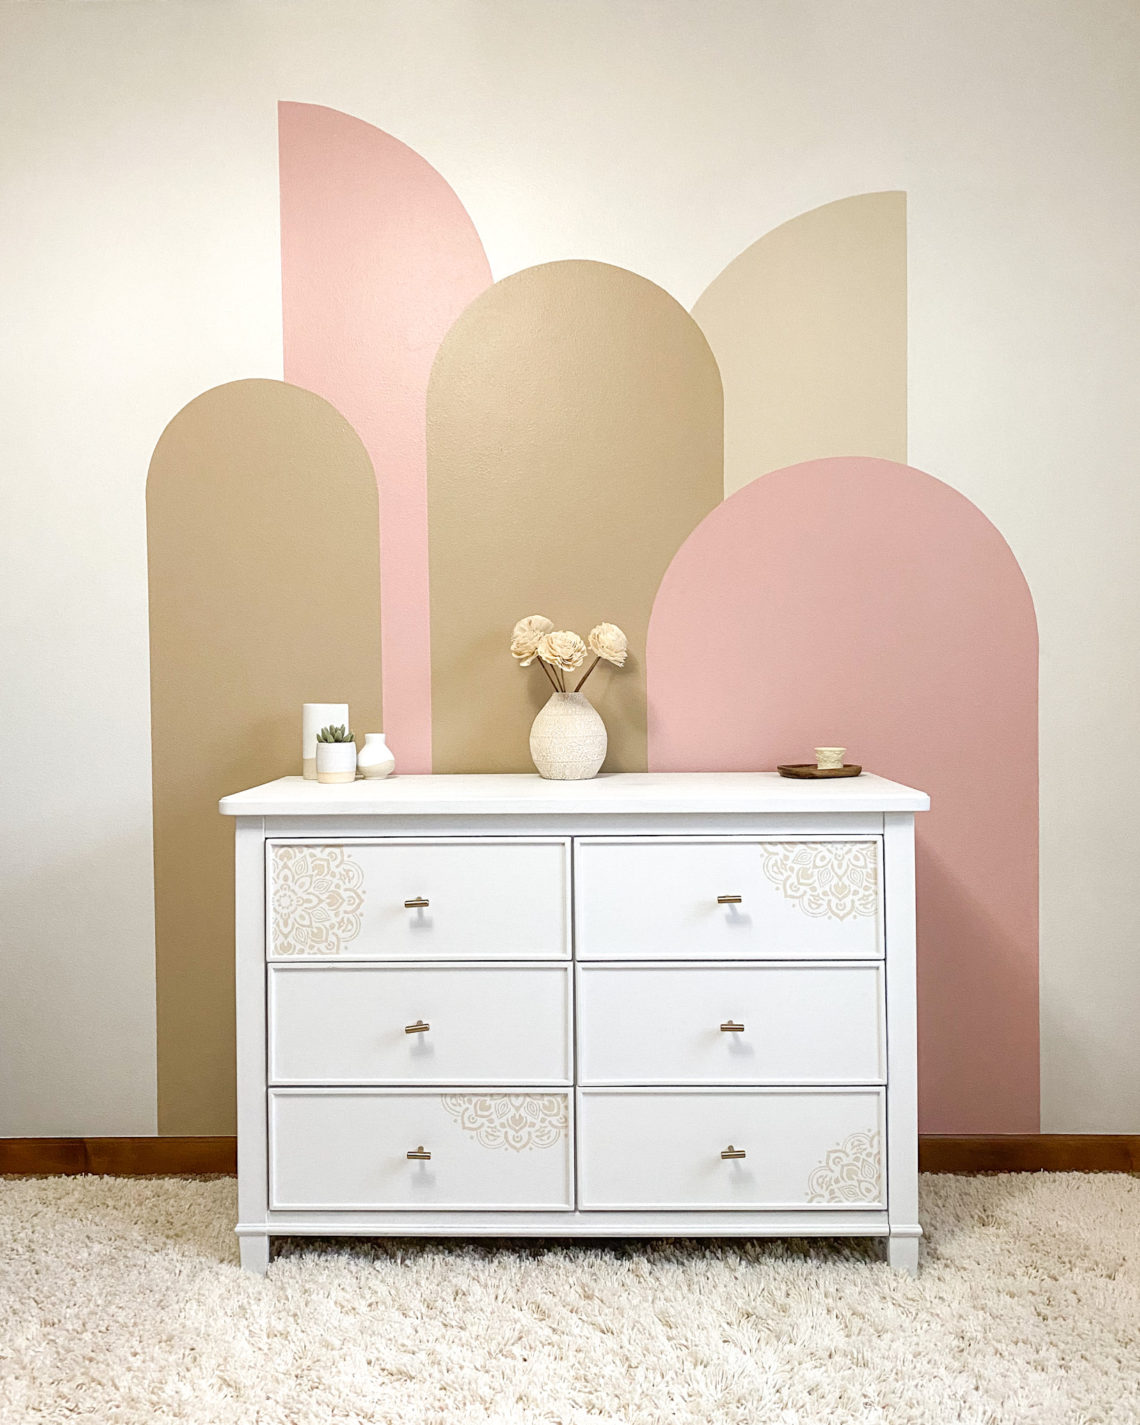
Let me share with you the super simple steps to creating a gorgeous, modern accent wall. And bonus: The wall will remind you of neapolitan ice cream and your fun, carefree childhood days.
Thanks to Purdy for sponsoring this post. I received compensation and free product but all opinions stated here are my own.This post contains affiliate links which means that I may receive compensation when you click on links. This is no extra cost to you.
Sign up HERE for my emails so that you never miss a new DIY home idea!
How to Create a Color Block Wall
Color blocking doesn’t have to be hard. The two key elements to color blocking are:
- An amazing design
- Crisp, clean lines between paint colors
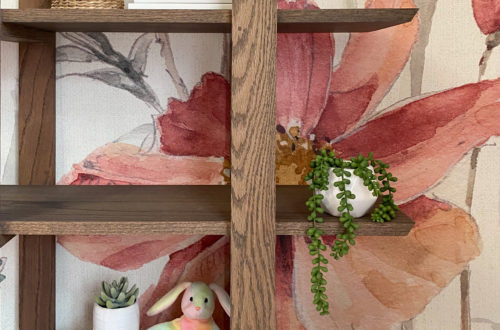
Pinterest can be an amazing resource for finding all sorts of amazing ideas for a design. Also, just looking at everyday objects, patterns and artwork can inspire you. I’m currently loving the arches trend and therefore, I chose to create a mix of arches, adding some half-arches into the design as an extra dose of creativity and uniqueness.
In order to get crisp lines when you are painting curved lines such as arches or circles, you need the right tool. Here is the magic tool: the Purdy Clearcut Elite paint brush. It’s amazing. It has stiff bristles that are perfect for creating really clean lines along trim or along a color block design.
Tools & Materials You’ll Need for Color Blocking
- Purdy Clearcut Elite Paint Brush
- Purdy Revolution 9” Frame
- Purdy White Dove Roller Cover
- Purdy Revolution™ Jumbo Mini Roller Frame & Cover
- Purdy NEST 9″ Paint Tray
- Purdy NEST 9″ Paint Tray Liner
- Purdy Pail
- Purdy Pail Liner
Looking to purchase Purdy paint brushes for an upcoming project? Head HERE to see which retailers near you carry Purdy products.
- Level
- Pencil
- Measuring Tape
- Drop cloth
- String
- Sherwin-Williams Pure White Interior Paint
- Sherwin-Williams Creamy Interior Paint
- Sherwin-Williams Rose Colored Interior Paint
- Sherwin-Williams Nomadic Desert Interior Paint
Time to Complete: 1-2 Days
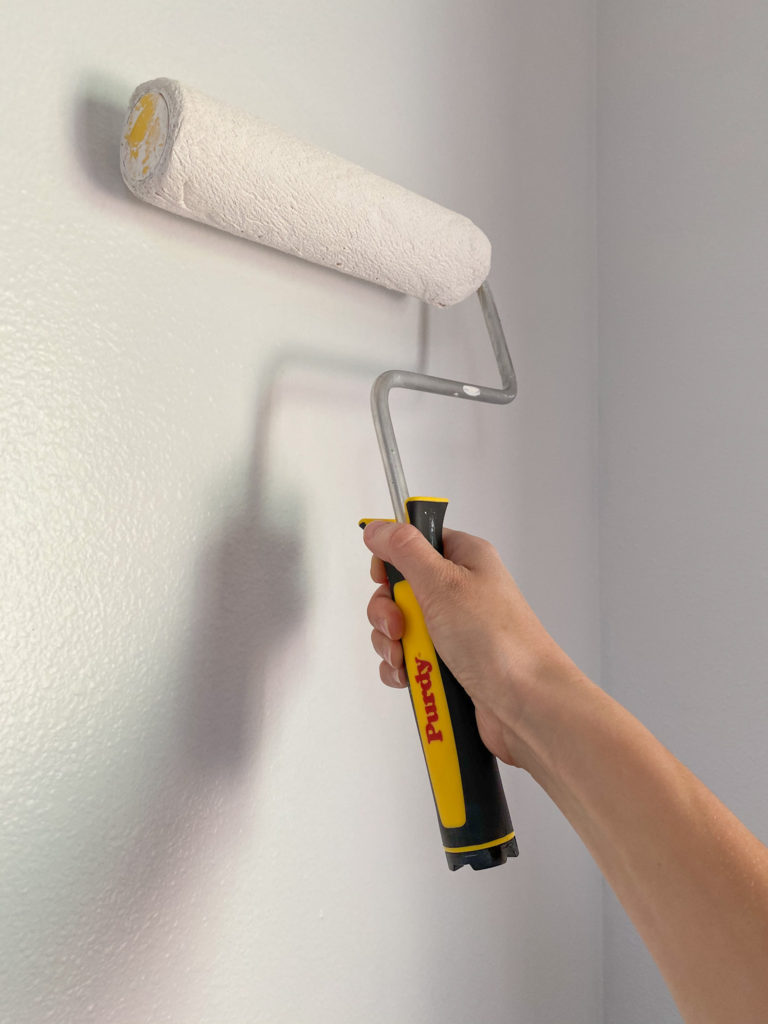
Step 1: Apply a fresh coat of paint to your entire wall.
This might not always seem necessary but it’s a great way to make sure that you’re starting with a really clean wall as the base for your design.
I like to use the following Purdy products to get this job done quickly and easily: A paint tray, a paint tray liner, a 9” roller frame, a White Dove roller cover and a Clearcut Elite paint brush. The White Dove roller cover is perfect for a wall – it leaves a smooth, lint-free finish. Also, like I said previously, the Purdy Clearcut Elite paint brush will help you get really clean, crisp lines around the edges of your wall because of its stiff bristles.
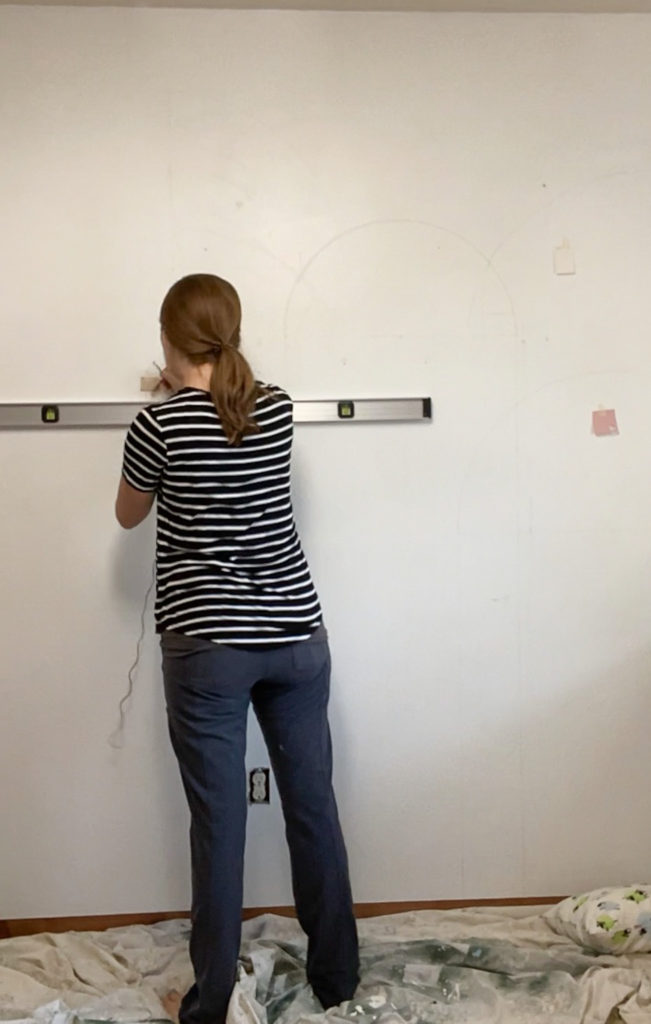
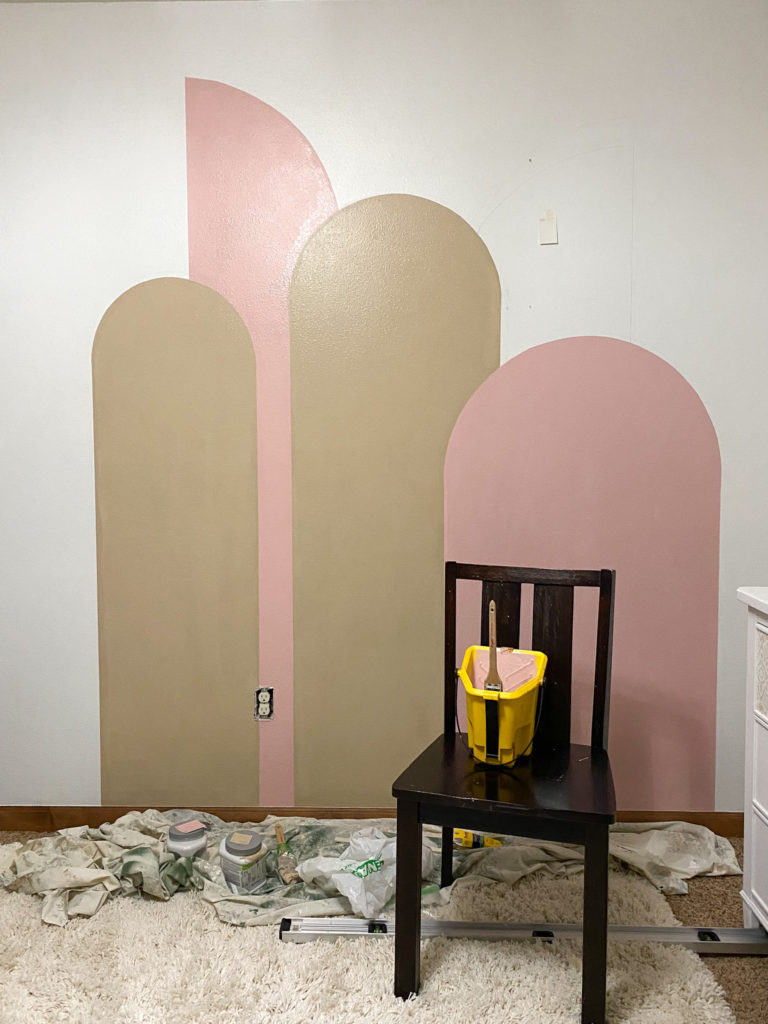
Step 2: Draw the design on the wall with a pencil
Using a level, measuring tape, pencil and string, draw out the design on your wall. To make my design, I first freehanded it to get a really solid idea of what I wanted. Then I went back and measured everything out to ensure that it was perfect.
To make perfect arches I used a pencil and a piece of twine. You could use string instead of twine. It doesn’t matter.
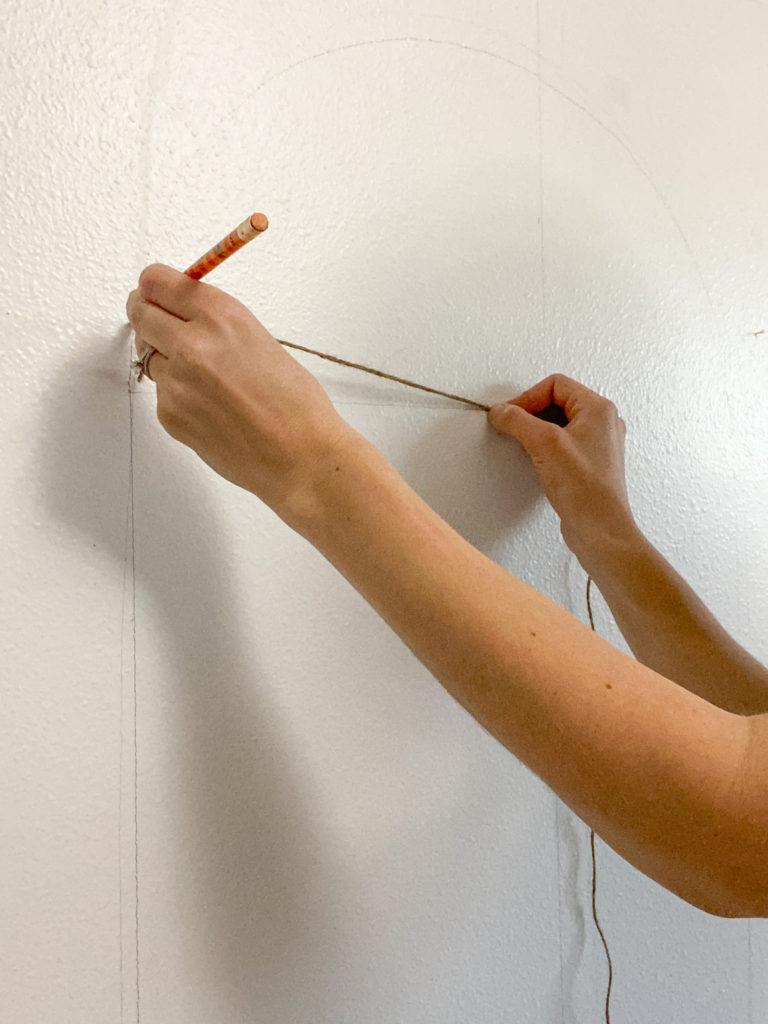
Tie the pencil to the end of the twine or string. Place the other end of the string in the center of the circle. Move the pencil around in a circular motion, drawing a line on the wall. Since I was making arches instead of circles, I simply only drew half of the circle onto the wall, creating an arch.
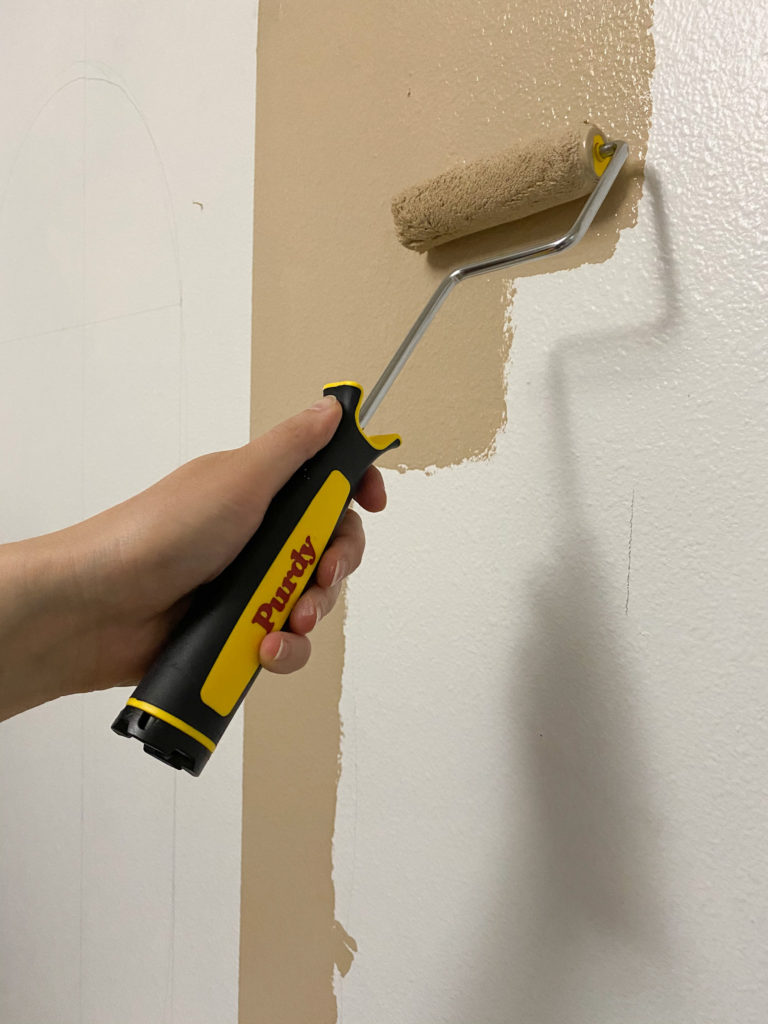
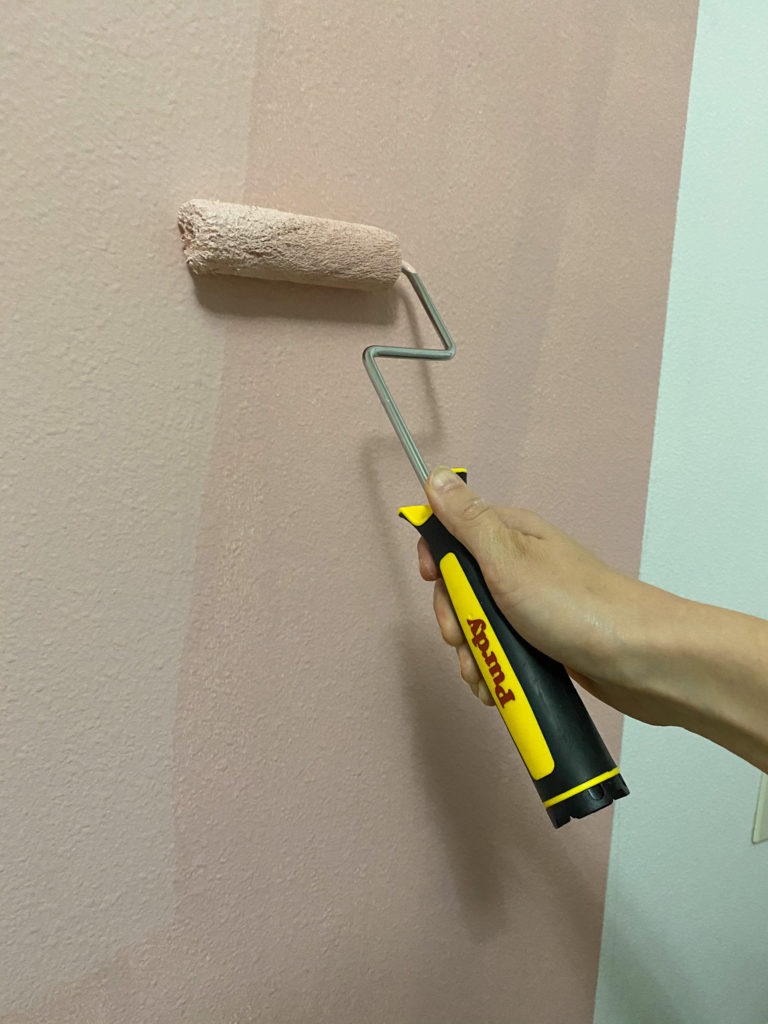
Step 3: Use a mini roller and paint brush to paint each section of the design
A mini roller is a good size for this design. It allows you to cover the area quickly but it isn’t so big so that you accidentally go outside of your design lines. The mini roller fits perfectly into the Purdy pail, which also holds your paint brush.
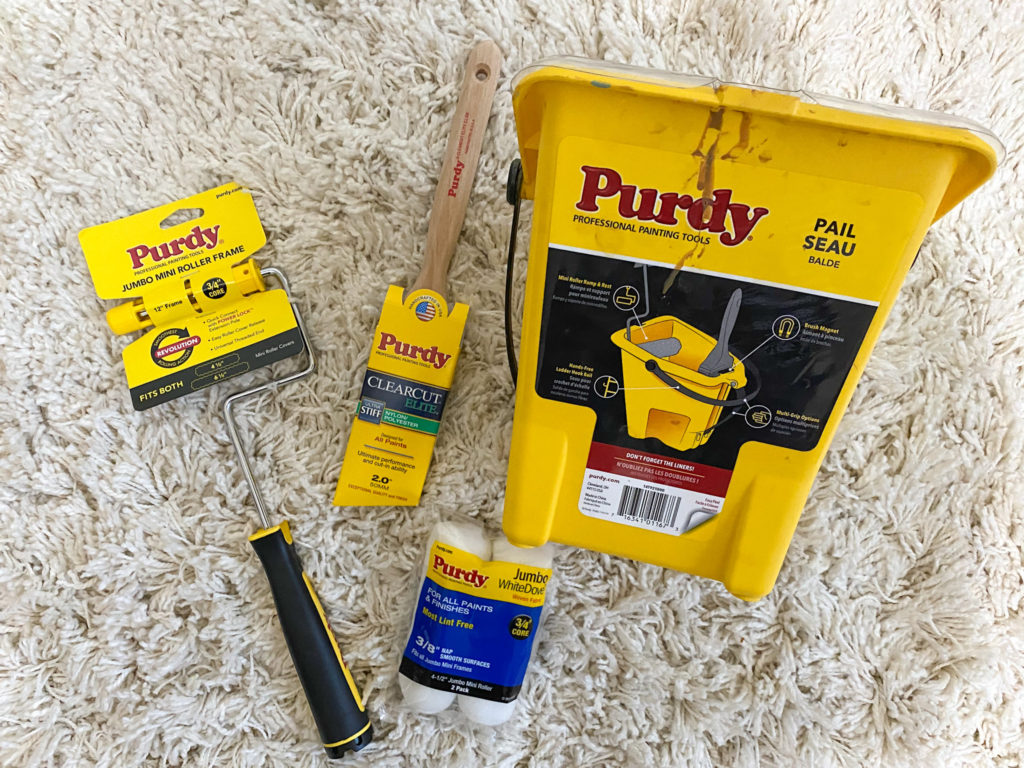
Here are the 4 tools that will help you complete the design: A mini roller, mini roller covers, a Purdy paint pail and a Purdy Clearcut Elite paint brush.
Curious about Purdy? To learn more about The Purdy Difference and Purdy products, click HERE. Their products are honestly so wonderful and high-quality!
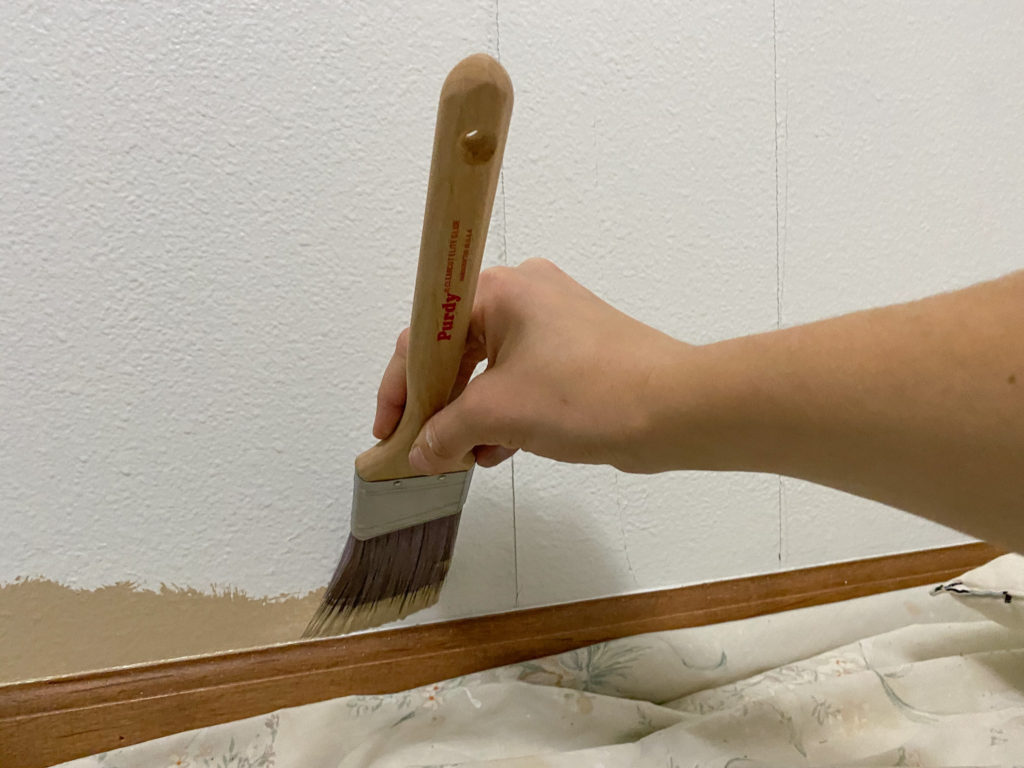
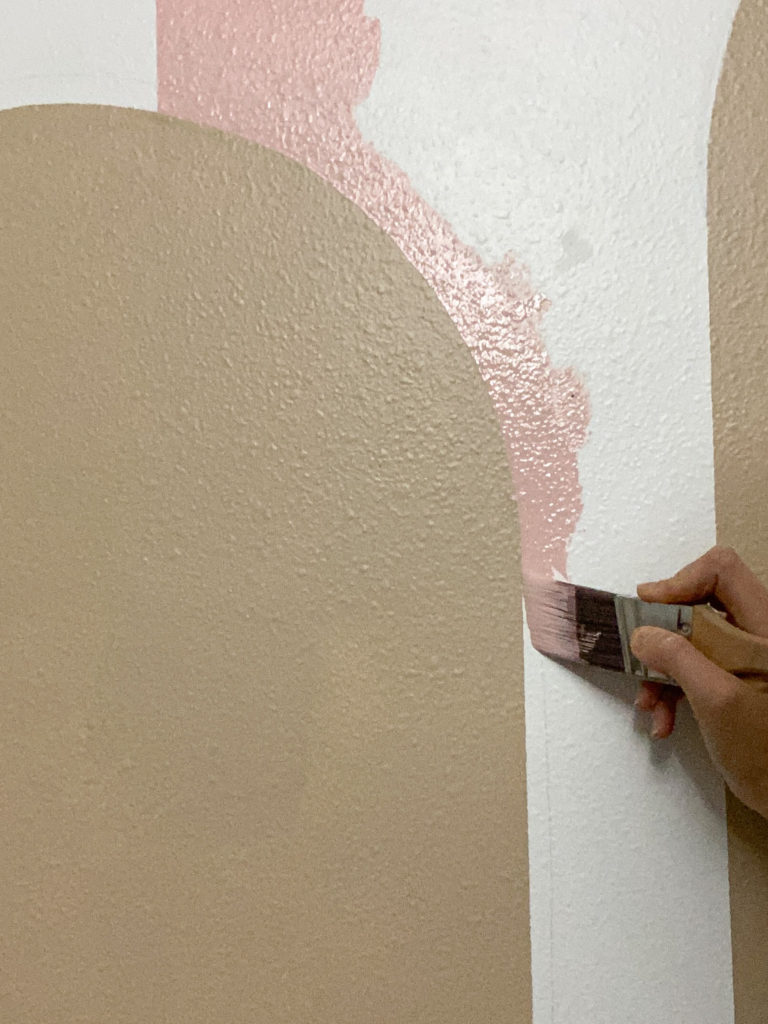
The Clearcut Elite paint brush will help you cut along the trim and also create perfect lines within your design.
Move from one color to another, allowing enough dry time in between colors to avoid any issues where the colors meet.
Step 4: Apply a second coat of paint to your design
Most of the time paint needs a second coat to make it cover perfectly. I applied a second coat, which fixed any areas I might not have gotten full coverage on the first time.

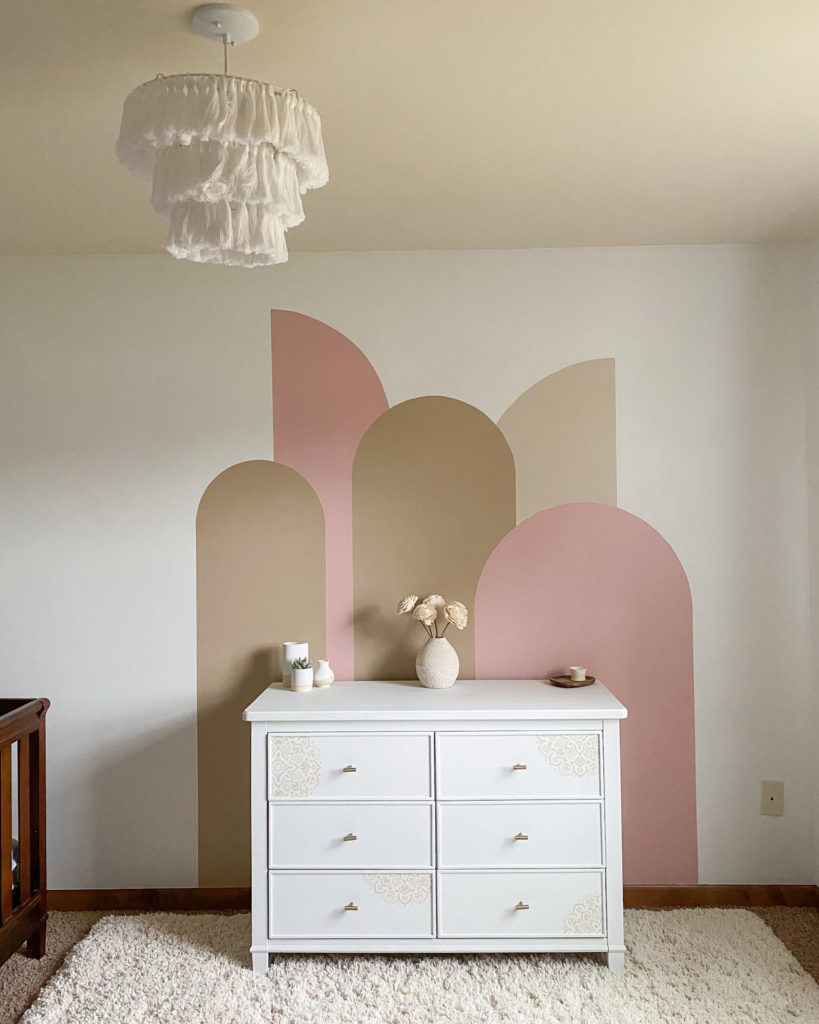
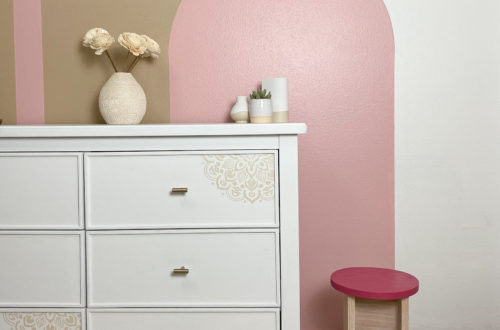
Now your wall is done! Painting projects are some of my favorite projects because they are inexpensive, easy to complete and can make a HUGE difference in a space!
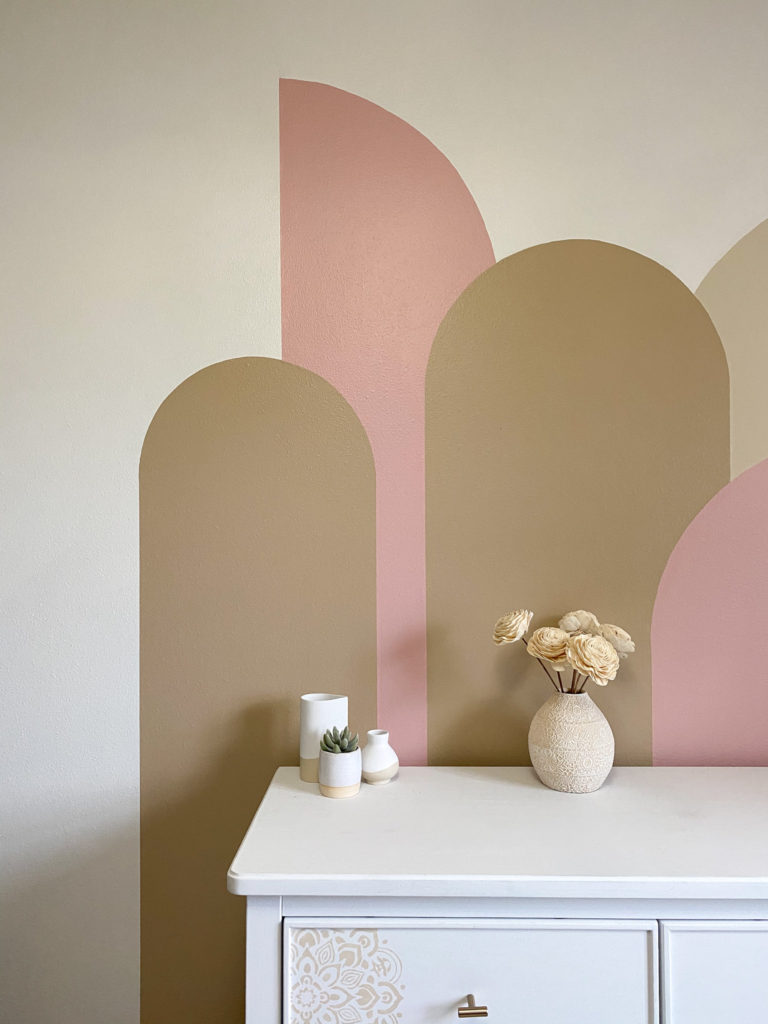
Plus, I find this one extra fun given the colors and the placement in my daughter’s room.
If you try color blocking, I’d love to see it! Tag me on Facebook or Instagram to show me your color blocking creations.
To find the right Purdy tool for your next project, head HERE.
Sign up HERE for my emails so that you never miss a new DIY home idea!
Want to See More Inexpensive & Easy Home DIY Projects?
Want to see an R2-D2 Dresser Ikea Hack?! Head here.
Head here to learn how to build a mid-century modern console table and wall decor.
Head here to learn how to whitewash furniture!
Or just head here to browse through all my projects and home DIY tips!
18 Comments
Danielle
This is so pretty! You did a great job on those curves!!! Aren’t Purdy products just the best!
admin
Thank you so much! They really are! I’ve had a lot of mine for years and they are still in great shape!
Carol Karl
What a lot of great information. You’ve obviously got a really steady hand. It looks fabulous.
admin
Thanks so much, Carol! Yes, it does take a bit of a steady hand to get the curves just right 🙂
Kim Waldorf
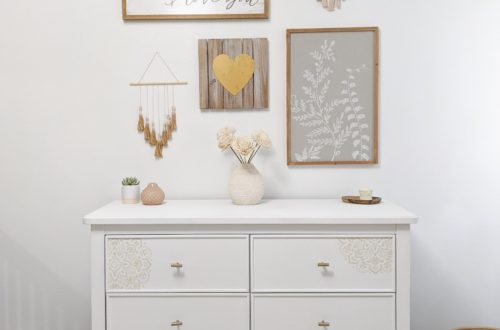
The wall treatment is so pretty and I love the dresser! Nice work!
admin
Thanks so much, Kim!! I painted the dresser too 🙂 Always a few DIY projects in each picture!
Jen
What a fun project, and so creative!
admin
Thanks so much, Jen! 🙂
Kimberly Snyder
so pretty! i love the colors! thank you for showing us how to do this!
admin
Thanks so much, Kimberly!
Christin
Yes!! I love this painting technique! I’m totally saving this for when I finish my dining room makeover. Thanks for sharing!!
admin
Yessss! So glad you found this helpful and inspiring. Thanks so much, Christin!
Marie
A pop of color is always fun, especially when it is a feature like this! Great job!
admin
Thanks so much, Marie! 🙂
Rachel
Such a great idea with a beautiful finish, your finished design looks beautiful x
Livelouddesignyouloveme.org
admin
Thank you so much, Rachel!
720p
Pretty! This has been a really wonderful post. Thanks for providing these details. Lorena Rand Hawkie
admin
You’re welcome! So glad you enjoyed it!