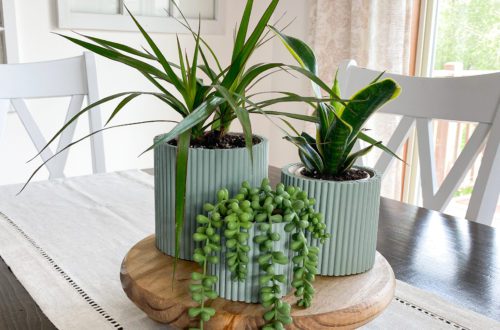
Container Gardening Solution for Small Yards!
Have a small yard or no yard at all? Good news- I have a container gardening solution for you! It’s so small that it can easily sit on a balcony, patio, or even in an entryway. Also, it’s super simple to construct if you have just basic woodworking skills. It’s stained with super durable exterior stain to withstand the natural elements.
Thanks to Cabot for sponsoring this post. I received compensation but all opinions stated here are my own. I’ve loved and used Cabot premium woodcare products for a long time.
Tools & Materials
- Cabot Semi-Transparent Stain + Sealer in Canyon
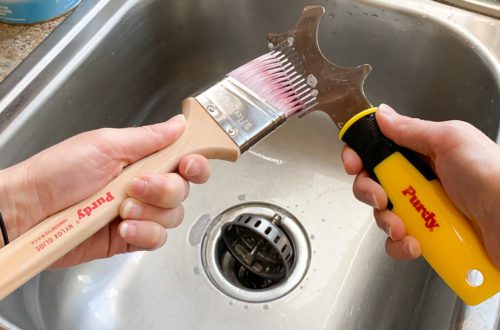
- Purdy 2″ White Bristle Sprig Brush
- One 6″ cedar fence picket
- One 6′ cedar 2 x 4
- Tape measure
- Random orbital sander with 120 and 220 grit sandpaper
- Miter saw
- Tack cloth
- Wood glue
- Exterior wood screws
- Drill and drill bits
- Small pots
- Flowers, herbs, or seeds
- Soil
Wondering where you can purchase Cabot premium woodcare products? Head HERE to see what retailers near you carry Cabot products.
Time to Complete
It took me 2 days to complete this project, given glue and stain dry times. It took only about 4 hours of active work though!
Container Gardening Solution Tutorial
I decided to make a small tiered stand that could hold pots of vegetable plants, herbs, or flowers. In other words, a super simple container gardening solution! If you have basic woodworking skills, this will be super simple for you.
STEP 1: Cut boards to size using a miter saw.

Cut the cedar fence picket into three 18″ long sections.
Cut the cedar 2 x 4 into two 16 1/2″ sections, two 11″ sections, and two 5 1/2″ sections.
STEP 2: Sand the boards.

Using a random orbital sander, sand the boards first with 120 grit sandpaper and then with 220 grit sandpaper to remove any rough spots and prep the wood for stain.
Remove sanding dust with a tack cloth.
STEP 3: Assemble the tiered plant stand.
The 2 x 4 boards will serve as the sides. First glue them together, putting the 16 1/2″ 2 x 4 down first and then stacking the 11″ section on top, followed by the 5 1/2″ section. See the picture below for what this will look like.

Next place the cedar fence picket pieces across the sides you just made. Attach them with glue and screws. These fence picket pieces will be the bases on which you place pots of vegetable plants, herbs, or flowers.
Allow time for the glue to dry.
STEP 4: Apply a durable exterior stain.

I chose to use Cabot Semi-Transparent Stain + Sealer, which I’ve used on numerous outdoor projects. It’s a high quality and durable stain that is semi-transparent, meaning that you can see some of the wood grain through it.
I wanted a natural look for my tiered plant stand so I went with the stain color Canyon.
I applied it using a Purdy 2″ White Bristle Sprig Brush, which is perfect for oil-based paints, stains, and clears.

I applied one coat.
STEP 5: Place flowers, seeds, or vegetable plants into pots and place them on the tiered plant stand.
Then you’re all set to enjoy this little container garden!
The Completed Container Gardening Tiered Plant Stand
I love how simple this project is and yet how it creates a beautiful tiered display for your plants.

Change it up throughout the growing seasons, putting different flowers, plants, or herbs in it.

Looking for more outdoor DIY projects?
HERE’S a tutorial for a carrying tray and end tables for your outdoor gathering space.
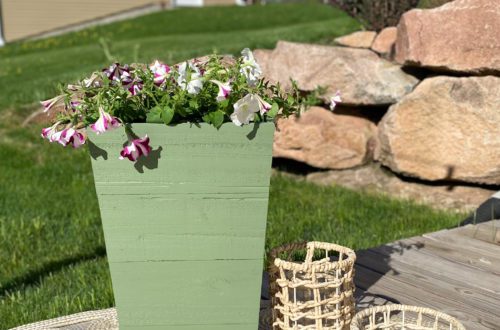
Head HERE to see a budget-friendly outdoor planter with a bold color stain!
Have a deck that needs a fresh coat of stain? Click HERE to see how to accomplish a deck staining project.
Head HERE to explore Cabot’s premium woodcare products.