What’s the best paint brush for refinishing furniture?
Not all paint brushes are the same. Some are specifically designed to work best with certain types of paint or stain. Some are designed to leave a smooth finish while others are designed for maximum coverage on rough surfaces. Therefore, people often ask me: What’s the best paint brush for refinishing furniture?
Well, I’m about to tell you just that!
I recently refinished my daughter’s dresser so I’ll walk you through how I refinished it and what brushes and rollers I chose to use along the way.
Thanks to Purdy for sponsoring this post. I received compensation but all opinions stated here are my own. I’ve loved and owned Purdy products for a very long time!
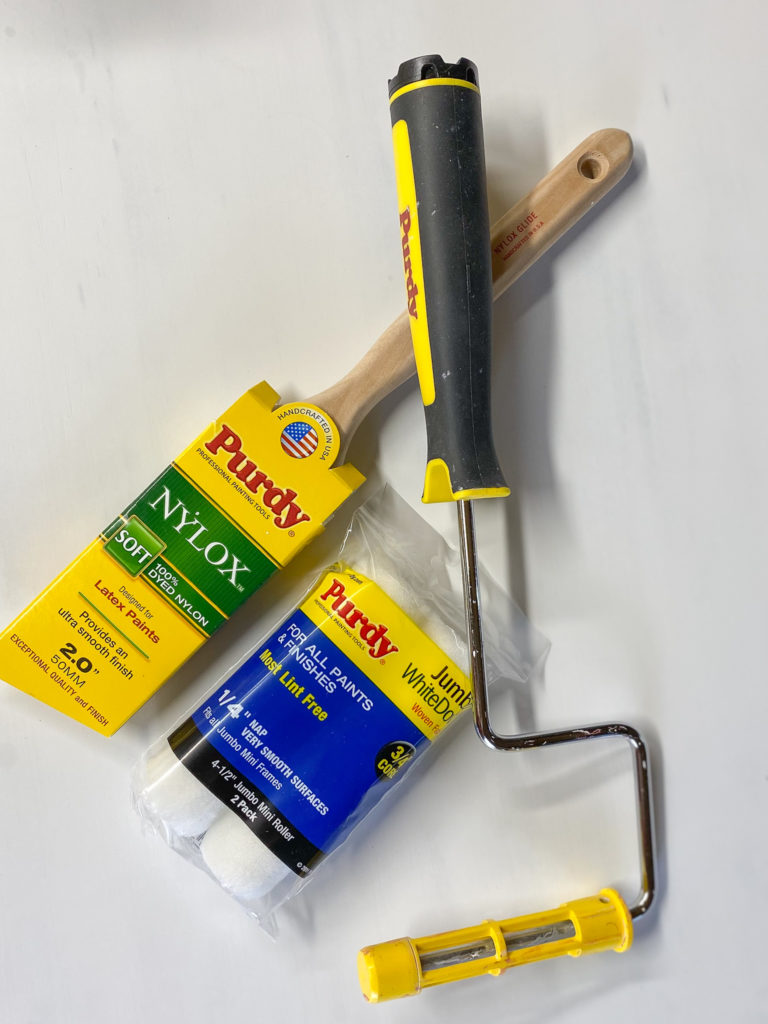
Tools & Materials
- Purdy 2″ Angled Nylox Glide Paint Brush
- Purdy Revolution Jumbo Mini Roller Frame
- Purdy White Dove 1/4″ Nap Mini Roller Cover
- Purdy Paint Pail
- Purdy 2″ XL Sprig Paint Brush
- Sherwin-Williams ProClassic Interior Acrylic Latex
- Minwax Water-Based Pre-Stain Wood Conditioner
- Minwax Wood Finish Water-Based Semi-Transparent Color Stain in Pure White
- Minwax Polycrylic Protective Finish in Matte Finish
- Random orbital sander with 220 grit sandpaper on it
- Tack cloths
- TSP cleaner & rag
- Paint stir sticks (I used 112 of them, including a few practice ones!)
- Drill
- 220 grit sandpaper
- Wood glue
- Miter saw
- Painter’s tape
- Rags
- Tape measure
Looking to purchase Purdy paint brushes, rollers and other products for an upcoming project? Head HERE to see what retailers near you carry Purdy products.
Time to Complete
This project took me about 4 days to complete, since I worked for a few hours each day. You could probably finish it in 2 days if you worked longer hours each day.
Step-by-Step Tutorial Explaining What Paint Brush and Roller to Use for Refinishing Furniture
This is the dresser that I started with. I refinished it once a few years ago but now I want to refinish it again to better match the other decor in my daughter’s room.
STEP 1: Sand dresser until smooth

Use a random orbital sander to create a smooth surface. I used 220 grit sandpaper since I didn’t need to sand the dresser down much. This sanding removes any imperfections, prepping the surface for paint.
Wipe the dresser down with a tack cloth and clean with TSP. Allow to dry before starting to paint.
STEP 2: Paint the dresser
These are your go-to tools for a super smooth finish on furniture!
- Purdy 2″ Angled Nylox Glide Paint Brush: This brush has soft bristles, which help create an ultra smooth finish. The angled cut of the brush helps me get into the corners and crevices of the dresser. This brush is perfect for latex paint, which is what I used on this dresser. This is my go-to paint brush for refinishing furniture!
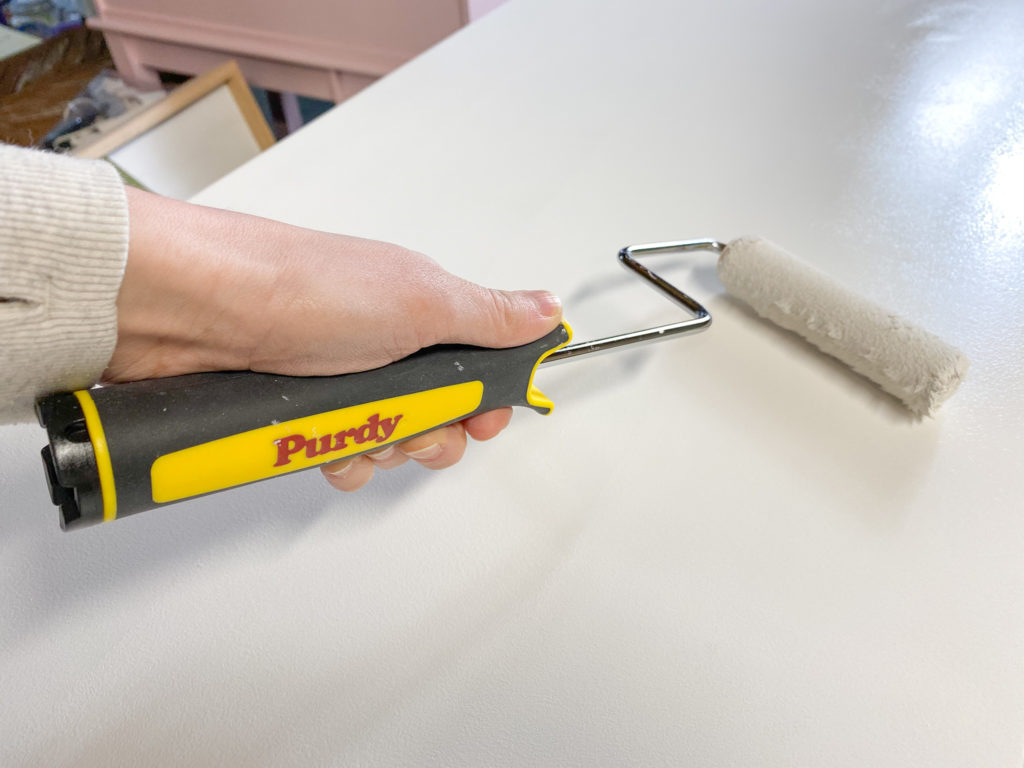
- Purdy White Dove 1/4″ Nap Mini Roller Cover: When choosing a roller cover, remember that shorter naps leave smoother finishes. Therefore, I recommend using this White Dove 1/4″ nap when painting furniture.
- Purdy Revolution Jumbo Mini Roller Frame: This mini roller frame is the perfect size for painting furniture. It’s small enough to fit on a lot of small furniture surfaces but it also makes the work go a lot faster than using a paint brush for the entire furniture piece.
One of my go-to paints for painting furniture is Sherwin-Williams ProClassic Interior Acrylic Latex. It’s extremely durable and goes on really smooth, leaving a beautifully smooth finish.
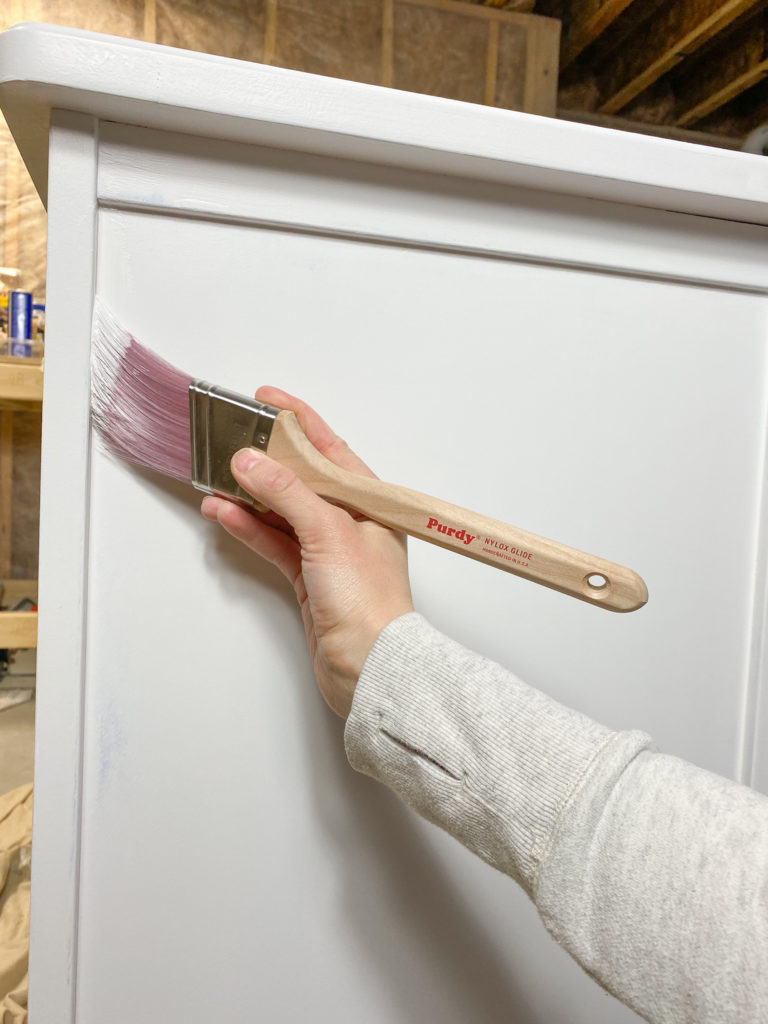
I applied two coats of paint, just to ensure perfect coverage.
STEP 3: Tape together and cut paint stir sticks
You could be done refinishing your dresser at this point but I wanted to add a fun design to it. Also, I wanted to share with you what paint brush to use if you are staining parts of your furniture.
Given the current high cost of wood, I decided to have some fun and use paint sticks to add a unique element to this dresser.
Since I had to cut a lot of paint sticks, I first taped them together in groups of 10, using painter’s tape to keep them together while I cut them.
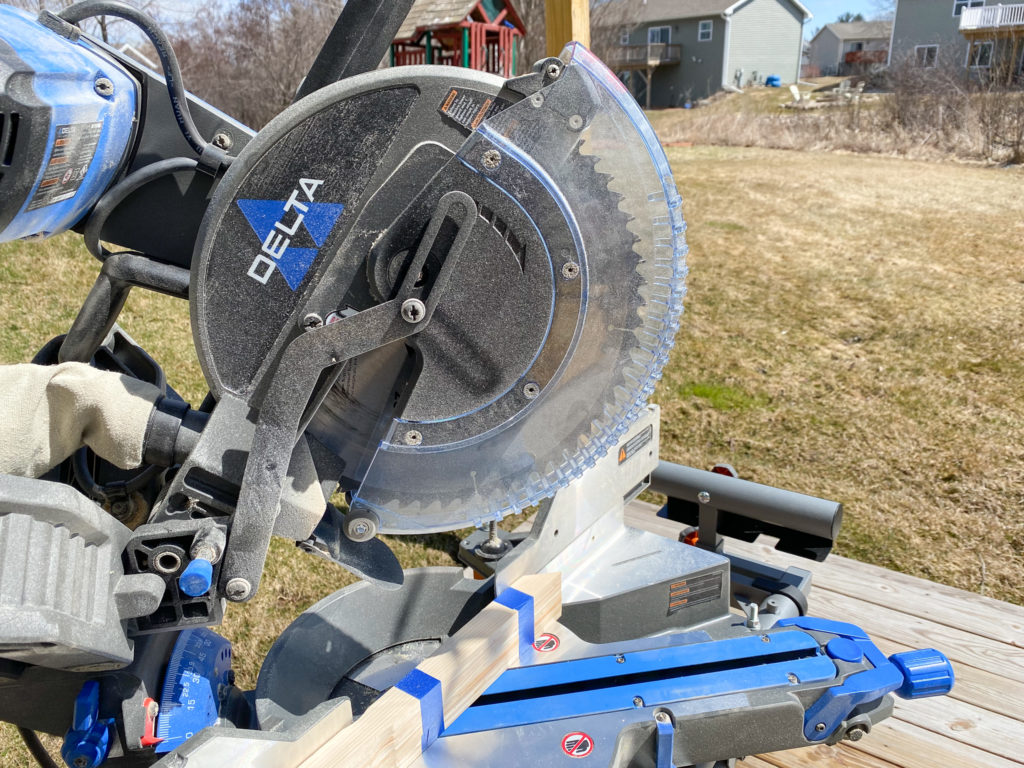
I used a miter saw to cut them at 45 degrees on each end, each stick measuring 6″ long. The exact size you cut yours will depend on the size of your dresser drawers.
STEP 4: Decide on your design
I had a hard time deciding because there are so many fun options. I cut a lot of different size strips of wood so that I could test numerous designs.
STEP 5: Apply Minwax Water-Based Pre-Stain Wood Conditioner to the paint sticks
For the next three steps (applying pre-stain wood conditioner, stain and polycrylic), you can use the same versatile Purdy paint brush, the Purdy 2″ XL Sprig Paint Brush. It’s versatile in that it can be used with many different types of paints and stains. I chose to use the straight-edged brush since there aren’t any crevices or corners to get into on the paint sticks.
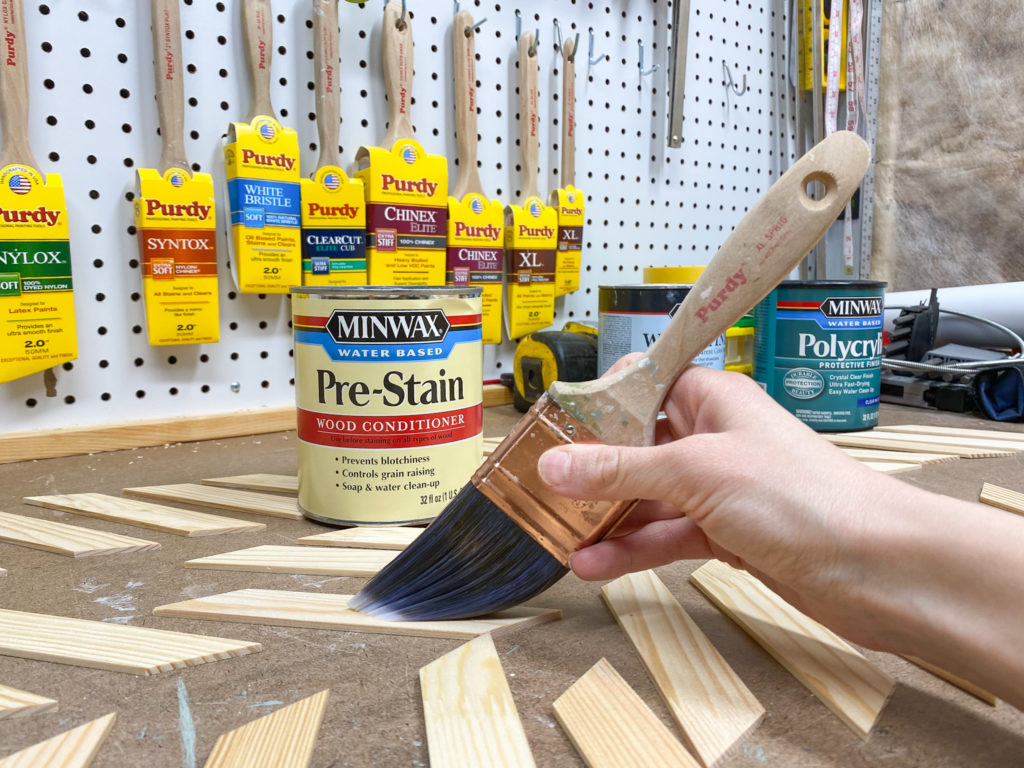
I first applied the pre-stain wood conditioner, which helps prevent blotchiness and controls grain raising. I applied it and after 1-5 minutes, I wiped off any excess with a rag.
I then waited 15-30 mins before sanding with 220 grit sandpaper to remove any raised grain. Next, I used a tack cloth to remove all the sanding dust before moving on to the next step.
STEP 6: Apply stain using a Purdy 2″ XL Sprig Paint Brush.
I chose to use a water-based stain that dries quickly and is easy to clean up with soap and water. I chose Minwax Wood Finish Water-Based Semi-Transparent Color Stain in Pure White. This stain is one of my favorites. It does a good job of taking away the yellow tones in pine and giving wood just a bit of a whitewashed look.
I applied the stain with the Purdy 2″ XL Sprig Paint Brush and immediately removed any excess with a rag.
STEP 7: Apply a protective finish, Minwax Polycrylic Protective Finish in Matte Finish, using the same Purdy 2″ XL Sprig Paint Brush that you used in the last two steps (wash in between steps).
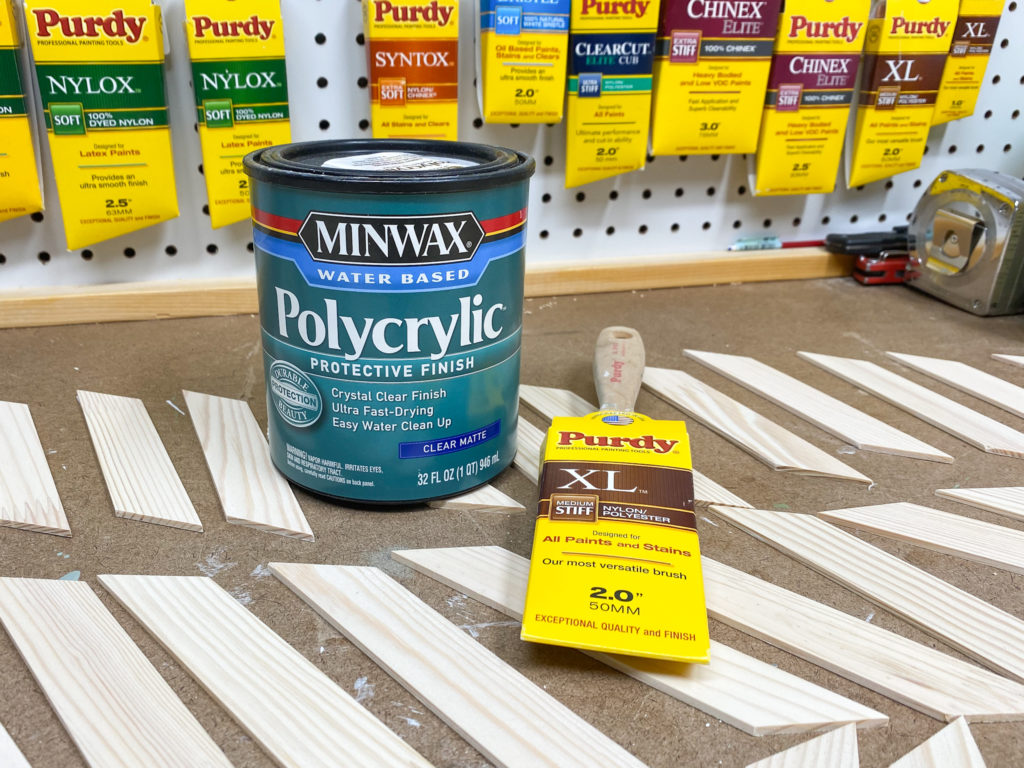
Apply two coats of polycrylic, sanding lightly with 220 grit sandpaper in between coats. This will help protect the wood.
STEP 8: Glue the paint sticks to the dresser

Use wood glue to glue the paint sticks to the dresser in the design that you selected.
Put paint cans or something heavy on top of them while they dry.
STEP 9: Reattach drawer pulls and you’re done!
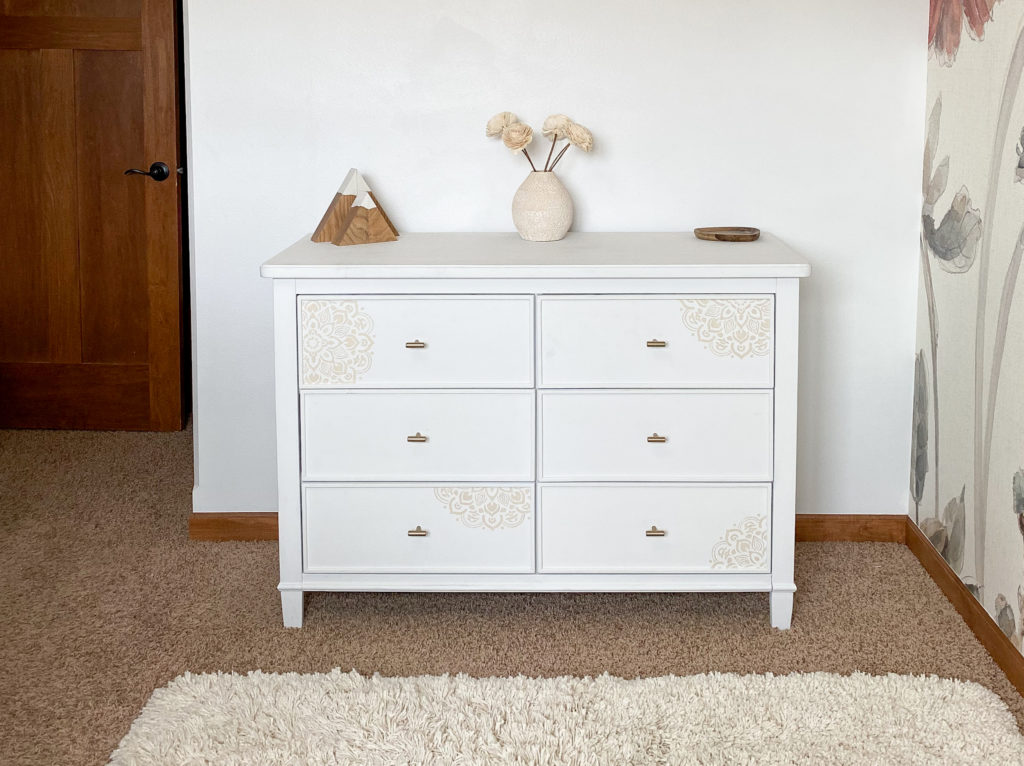
The Completely Refinished Dresser
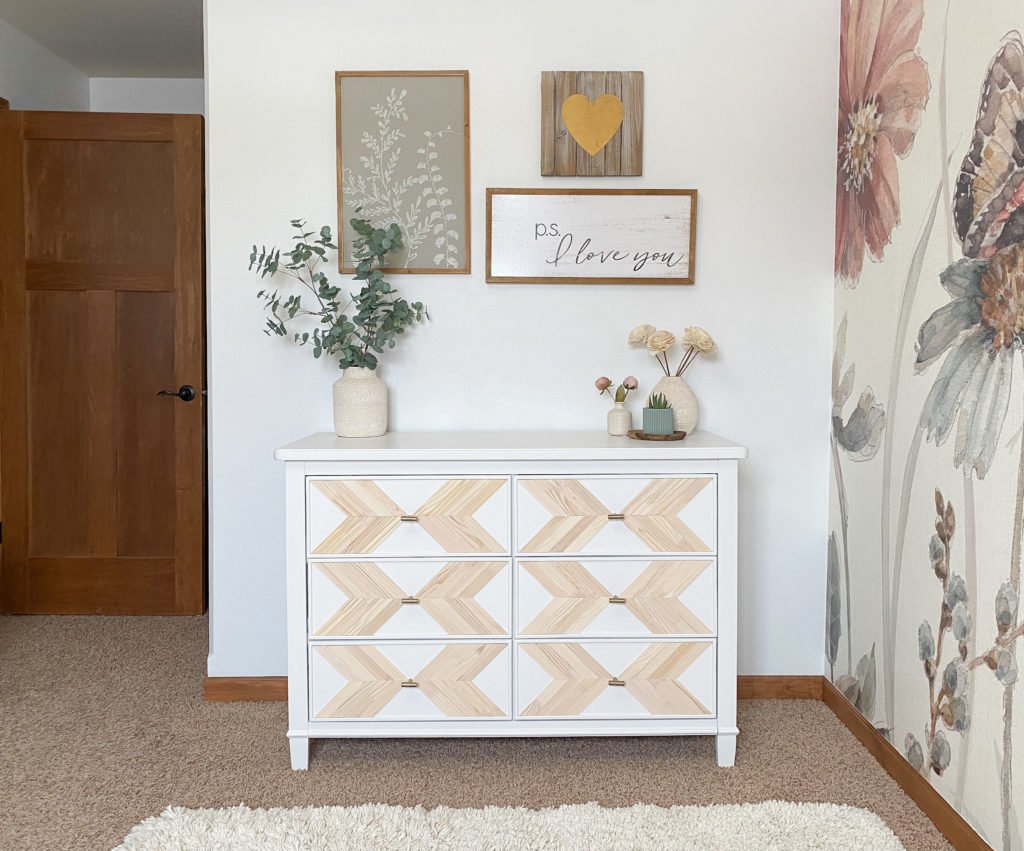
What do you think of it?! I love it! It’s soft and sweet, matching my daughter’s room well. It’s also unique, which is a quality I’m always going for when I refinish furniture.
Here’s a close-up view of the design.

Want more amazing painting project ideas?
Head HERE to learn how to paint cabinets (kitchen, bathroom, laundry room, etc.).
Love a bold color block wall? Check THIS out!
Want to explore all sorts of projects that you can use Purdy paint brushes on? Head HERE.
Follow me on Instagram to always stay in the know on new projects!