Tiling a Bathroom Wall in a Perfect Herringbone Pattern
I love a beautiful herringbone tile pattern. There’s something about the clean lines and perfect angles that just make me happy. The tough part? Laying it out perfectly!
For week 4 of the Jeffrey Court Renovation Challenge, we started tiling a bathroom wall in a herringbone pattern. Today I’ll be sharing with you our progress so far and I’ll make sure to tell you how to make a beautiful herringbone pattern when tiling.
Head HERE now to vote for me in the challenge!
First let’s talk about the Jeffrey Court Renovation Challenge!
If you missed my week 1-3 posts, here’s a quick overview to get you up to speed. The Jeffrey Court Renovation Challenge is an amazing 6-week challenge where Home DIYers compete against one another for a grand prize of $5,000. I’m one of the DIYers! To be honest, I still am in shock about being chosen 🙂
The challenge is sponsored by Jeffrey Court, FrogTape and Sinkology. I have 6 weeks to completely renovate my bathroom. How is the winner chosen? Based on votes from people like you! You can vote once a day so I’d love for you to VOTE and support me in my work. Thank you SO much for your support and encouragement.
If you want to see what I’ve done so far in my bathroom, check out my inspiration board, the vertical shiplap half wall and my painted vanity.
Disclosure: This post contains affiliate links, which means that sometimes I get a very small commission off your purchases. It’s no extra cost to you.
How to Tile a Herringbone Pattern
Tools & Materials
- Taffeta White 3″ x 12″ Glossy Textured Ceramic Wall Tile
- Premixed Thin-Set Mortar
- 3/16″ x 5/32″ V-Notch Trowel
- Ceramic Tile Cutter or Tile Saw
- Tile Sander/Rubbing Stone
- 1/8″ Tile Spacers
- Laser Level
- Tape Measure
- Dry Erase Marker
- Speed square
- Rags and Baby Wipes
- FrogTape
How to Choose the Right Tile
Before I get into all the steps, I wanted to quickly touch on the type of tile I chose to use and why I chose it.
First, if you are going to be doing a herringbone pattern, you will want to choose a rectangular tile. This could be a standard size subway tile. It could also be a less common size such as the 3″ x 12″ tiles I chose. I love how these unique dimensions add interest and a modern touch to the tiles.
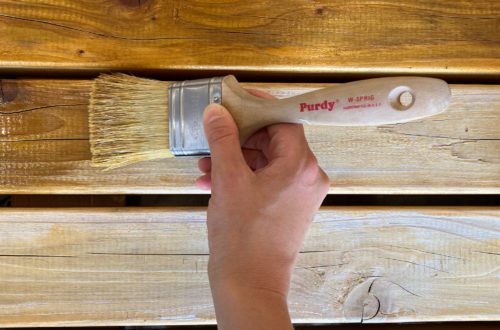
Also, the finish on these tiles is PERFECTION! They are slightly off white with a glossy finish. The top of the tiles are just a tiny bit uneven in places, creating a really custom look. I love it. I highly recommend checking out Jeffrey Court’s tile options! They are stunning!
Instructions for Installing Tile in a Herringbone Pattern
1. Lay out the pattern
I really didn’t want to spend the time doing this step. However, it’s really important and helpful. I measured the area on the wall I was going to tile and then I used FrogTape to tape out the area on the floor.

Then I started laying the tile, making sure to start exactly in the middle of the wall layout.
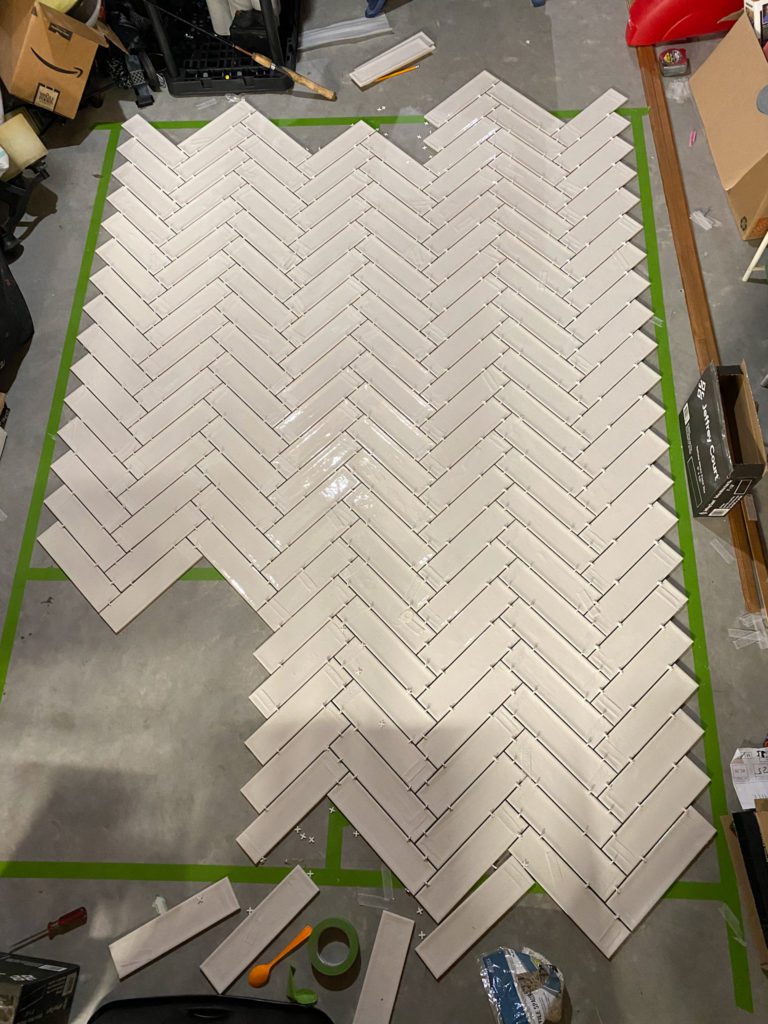
It’s important to do this for two reasons: 1) It helps you along the way when the herringbone pattern gets confusing and you need a layout to refer back to and 2) It helps you realize ahead of time if you are going to end with tiny tiles pieces or something else challenging. It gives you an opportunity to modify your layout before you begin securing them to wall.
2. Draw a line down the center of your wall and start tiling there

You will want to start in the center of the wall but in an area where the tile will be supported so that they don’t start sliding down before the mortar dries. Therefore, we chose to start in the center above the vanity.
3. Cut tiles as needed
One of the easiest ways to know where to cut tile is to lay it all out and mark on it with a dry erase marker where it should be cut. A speed square is a great tool for helping with this since the angles in a herringbone pattern are all 45 and 90 degrees.

We used two different tools to cut tiles: a wet tile saw and a tile cutter. The wet tile saw we used for more complicated cuts and the tile cutter we used for basic cuts. The tile cutter was more efficient for the basic cuts since we had it set up in the bathroom right by the wall we were tiling.

The tile cutter works by scoring the tile where you want to cut it and then snapping the tile on the scored line.

It’s pretty basic to use and if any tiles don’t snap perfectly on the line, you can use a tile sander/rubbing stone to smooth it out.
4. Apply thin-set mortar to the wall
Using a trowel, apply pre-mixed thin-set mortar to your wall. Once applied, move the jagged edge of the trowel through the mortar to give it a ribbed look. This will help the tile adhere well to the wall.

5. Secure the tiles on the wall
Before your mortar begins to dry, place your tile on the wall. Use your tile spacers to ensure even spacing between each tile.

Keep going until your entire wall is filled with tiles!
Two More Bonus Tips!
- Set up a laser level to line up with the corners of tiles. This way you can make sure that your design stays consistent as you work your way along the wall.
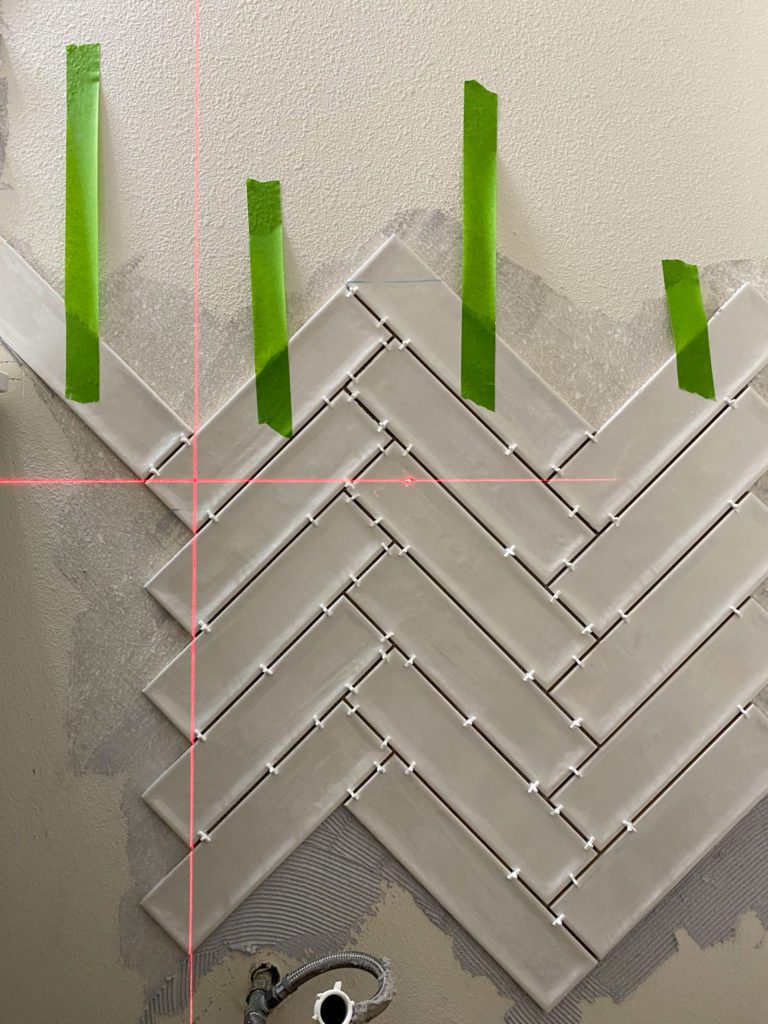
2. A speed square will be your best friend. As you go along, periodically place the speed square on the wall to make sure that your tiles are always at perfect 45 degree angles.

What’s up for next week?
We only have two weeks to go! Here’s what’s up for next week: Install the sink, counter top and faucet. Also, grout the tile. Then the final week is here and it will be a race to finish – of course!
Don’t forget to vote daily!
And check out what all other DIY contestants are up to this week with their renovations!
Looking for more home DIY ideas?
Sign up here for my emails to always be the first to know about my new paint projects and tips!
Follow me on Instagram for real-time DIY!
Want to see an R2-D2 Dresser Ikea Hack?! Head here.
Head here to see a beautiful art deco color block wall in my daughter’s room. (Hint: It reminds me of Neapolitan ice cream :))
And head here to see all the other tutorials on my website!