A Simple Way to Update Old Door Knobs & Vents
Unfortunately for us, our lovely 70s home had 15 nasty brass (aka shiny gold and really ugly) doorknobs in it. It also had about 15 nasty, rusty vents (how do vents get rusty?! I have no idea!). They all looked terrible and I really didn’t feel like spending a ridiculous amount of money buying brand new replacement knobs and vents. Fortunately, Rust-Oleum Spray Paint is one of my favorite products ever. Seriously. It’s amazing. Check out the step-by-step tutorial below for an easy and cheap way to update all the nasty door knobs and vents in your home 🙂
First, the nasty vents (and check out the nasty carpet – ahhhh!). Now you know how badly these needed help!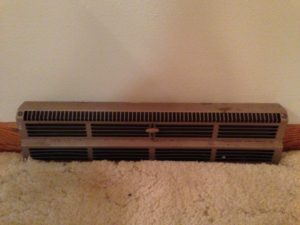
- Remove all vents and door knobs: This is pretty simple. Just unscrew all the screws and take them off. If you aren’t in the know on how door knobs work, it’s probably a good idea to just pay attention the first time you take one apart. It will save you time when you have to reassemble them. I didn’t keep track of which location each vent and knob came off of because they were all the same and therefore, it didn’t matter.
- Clean them all with soap and water: You could use something stronger but soap and water worked fine for me. I used a hose to spray off the vents since they were pretty dusty and it was tedious trying to get the dust out of every tiny vent area. Allow them to dry on their own or dry them off well. This is important.
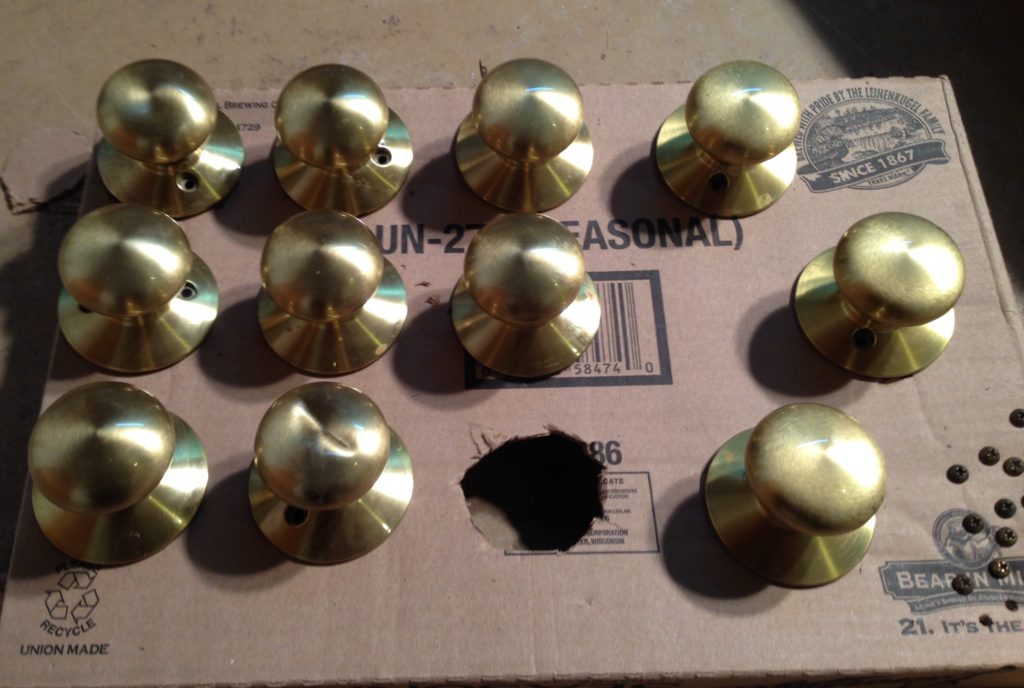
- Create a cardboard holder for your knobs: Knobs are tricky to spray paint because they are going to roll around and not sit nicely like vents will. Therefore, I created this handy knob holder out of an old cardboard box. To make it, you use a sharp knife to cut out circles just big enough to fit the back of the knobs. Then place them all in the holes so you in the end you have them all sitting there nicely, ready to be spray painted on all sides at once. I even put the screws through the cardboard since you’ll want to spray the heads of those too!

- Prime all knobs and vents: Now that you have all the knobs in place and all the vents laying there too, you’re ready to start spray painting! First, primer. With these old knobs and rusty vents, I wanted to ensure that I did a really good job painting them so they would last. Therefore, I did primer, paint and top coat. But first, primer. I used Rust-Oleum Ultra Cover 2x Primer. I followed the directions for application and dry time. I did just one coat, trying to get an even spray on all items.
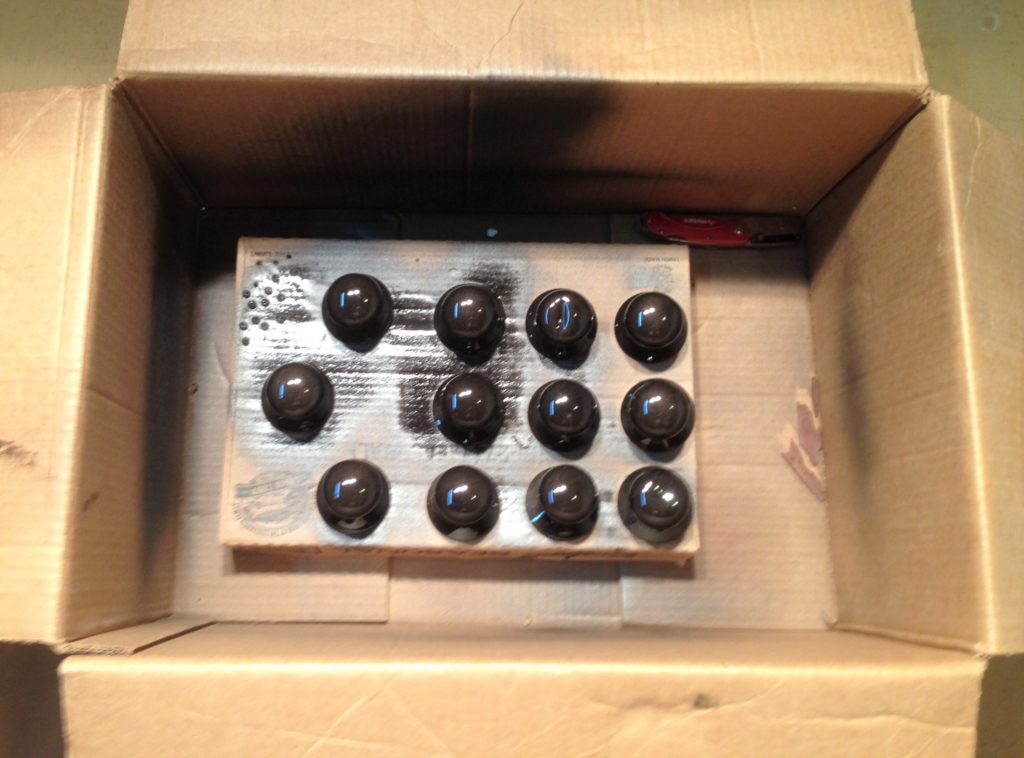
- Paint all knobs and vents: Now you’re ready to move on to spray painting them the color you want them. I spray painted the vents white and the door knobs oil rubbed bronze. I used this product for the vents: Rust-Oleum Ultra Cover 2x Spray Paint – Gloss White. Gloss makes sure they are really easy to clean and is the most durable against nicks and dings. I used this product for the door knobs: Rust-Oleum Ultra Cover 2x Spray Paint – Metallic Oil Rubbed Bronze. Once again I followed the instructions on the cans, trying to get as even a spray as possible. I did two coats to ensure good coverage. (I did do three coats on some but they turned out a little too thick with paint so I don’t recommend that.) It’s messy so I wore gloves when I did it. Up to you. I also put the knobs in a box since it was freezing outside so I had to spray paint them indoors.

- Spray a top coat on them all: To ensure the best durability, spray a top coat on at the end. I used yet another Rust-Oleum product (I told you I loved them!!): Rust-Oleum Multi Purpose Spray Paint – Satin Clear. Follow the directions on the can and spray on just one coat to finish off all your items.
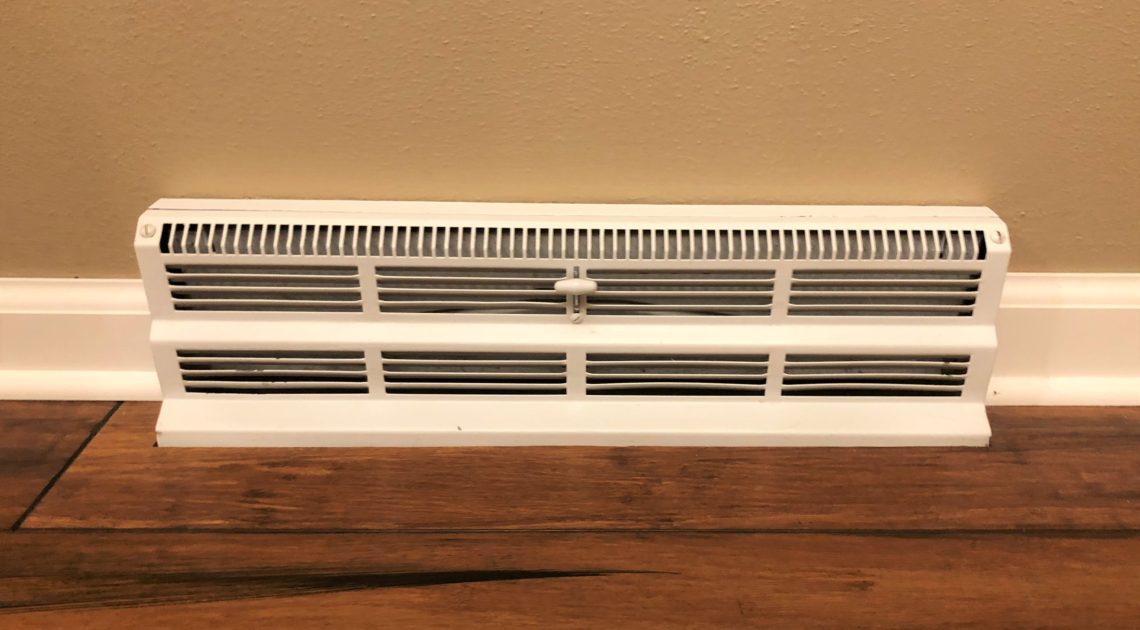
- Put all knobs and vents back where they were: Reattach them to the doors, screw them back into the floorboards, etc. Depending on your vents you may need to paint a piece a metal that is secured to the wall/floor. That’s fine. I just used white semi-gloss white paint and it matches great.
And there you have it! Completely updated door knobs and vents for the price of a few cans of spray paint! I did this project about 6 years ago and they are holding up really well. There are a few little nicks and dings in some of them but you only notice when you get down close to them and really look (or crouch down to take a close-up picture like the below – hah!) Check out the “After” picture below – soooo much better than that first picture in this post, right? 🙂 Happy spray painting!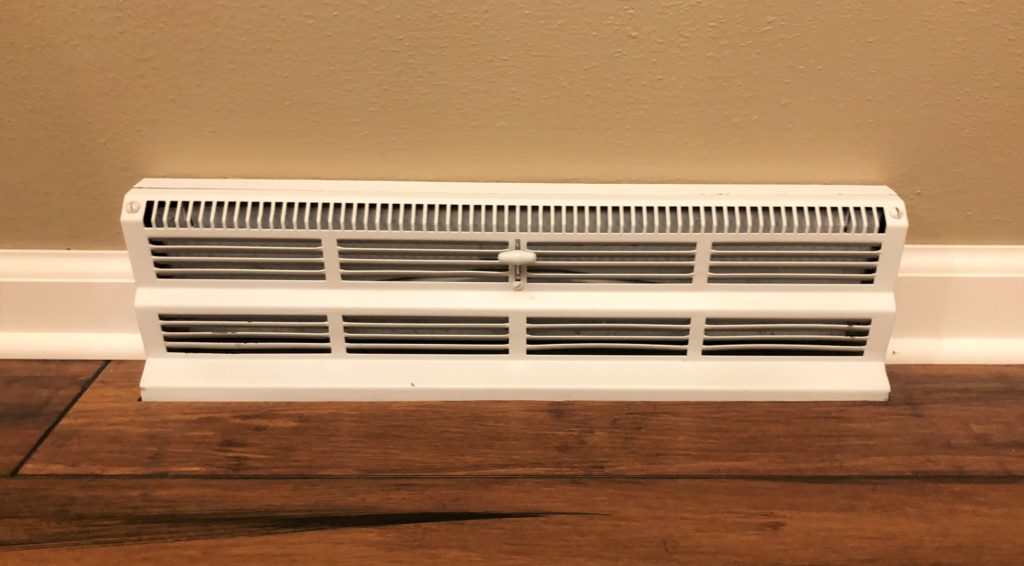

2 Comments
Cathy D Duncan
Wow I’m going to try that. Clever idea cutting holes in the box for the knobs.
admin
Thanks! It’s so much better than trying to get all sides of the door knob sprayed when it won’t stand upright nicely!