How to Stencil Without Paint Bleeding: A Review of Materials
It turns out that there are about a million different types of stencils you can buy. There are also about a million different methods you can use to stencil. Therefore, please, let me SIMPLIFY this for you! I went out and bought a wide array of stenciling products with the goal of finding the very best products and the very best method to use. Below you’ll find a review of products and methods, with a simple recommendation on the best way to stencil. Hopefully this saves you both money and time spent on exploring options!

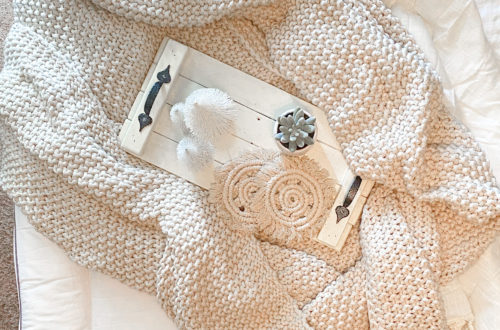
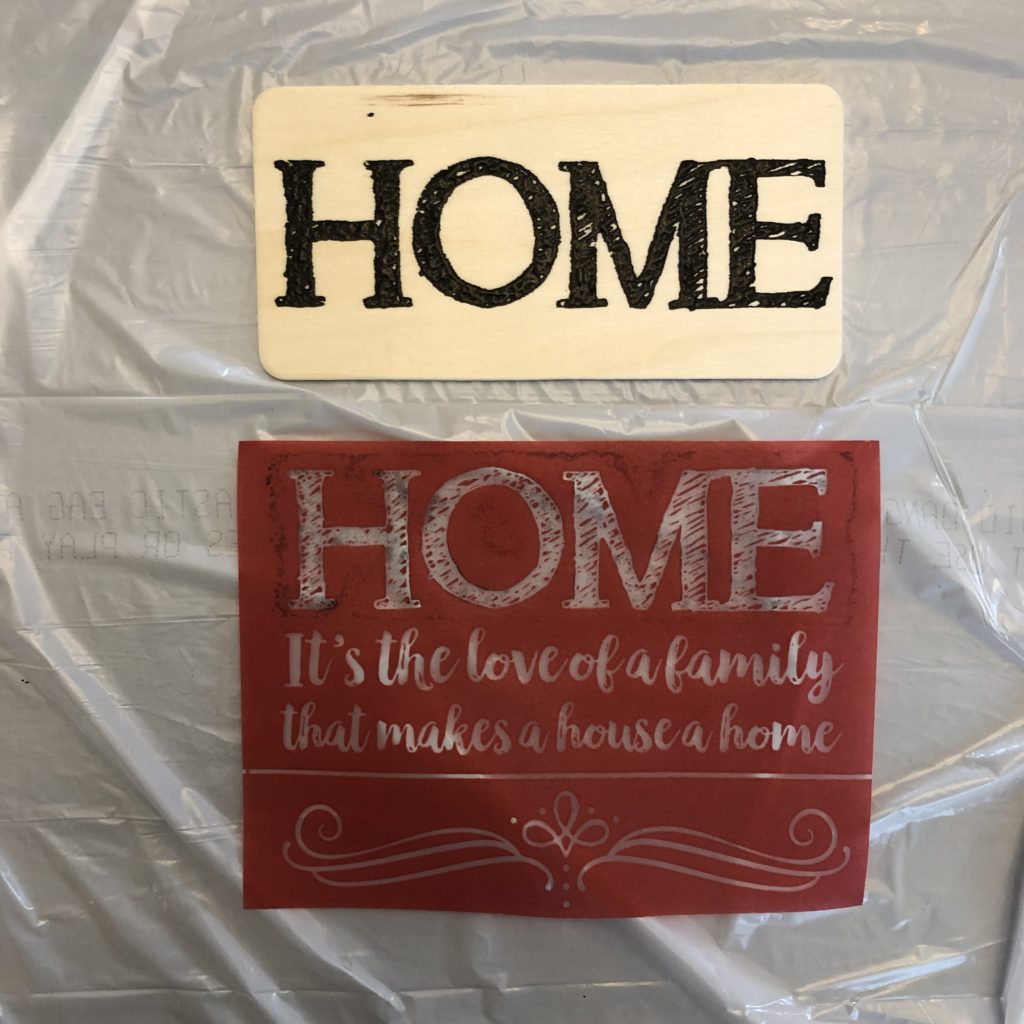
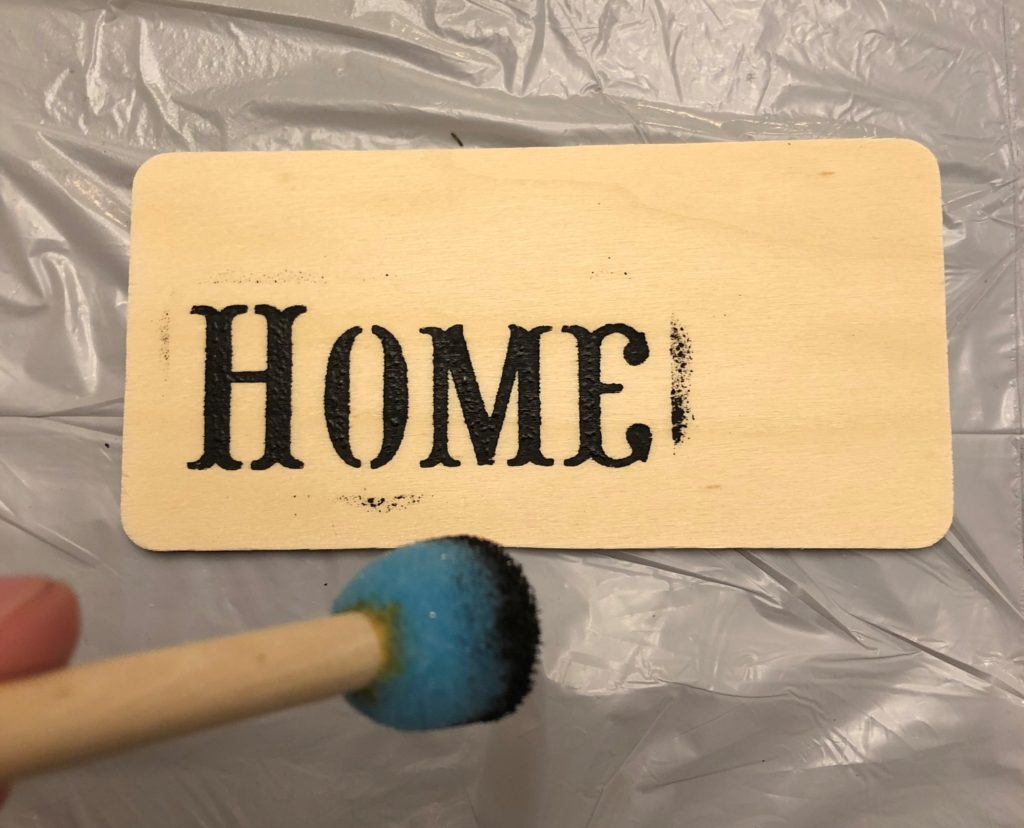
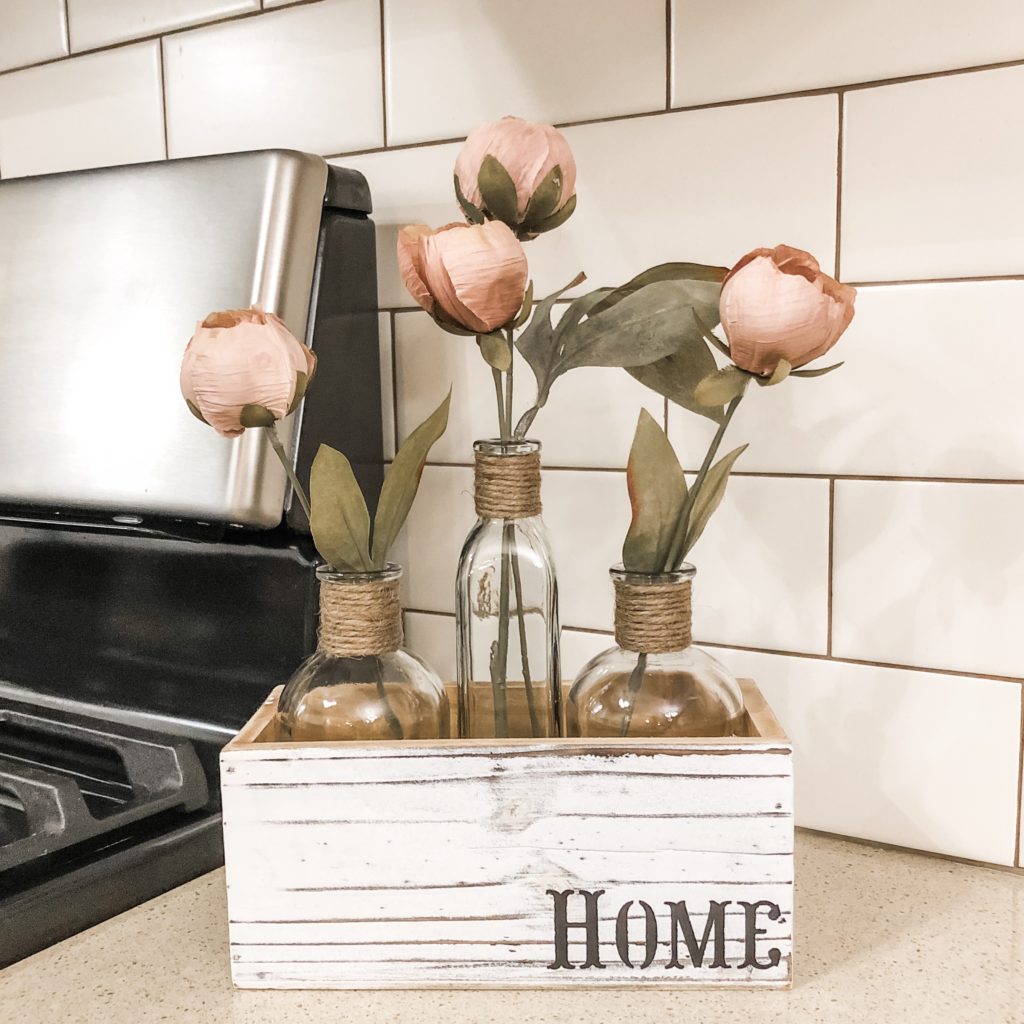
After all my stenciling trial-and-error, I made the above home decor item. And guess what?! The stenciling turned out great! I probably held my breath the whole time I did this “HOME” stenciling 🙂 but I’m so happy with how it turned out. Read on to find out what products and method I used.
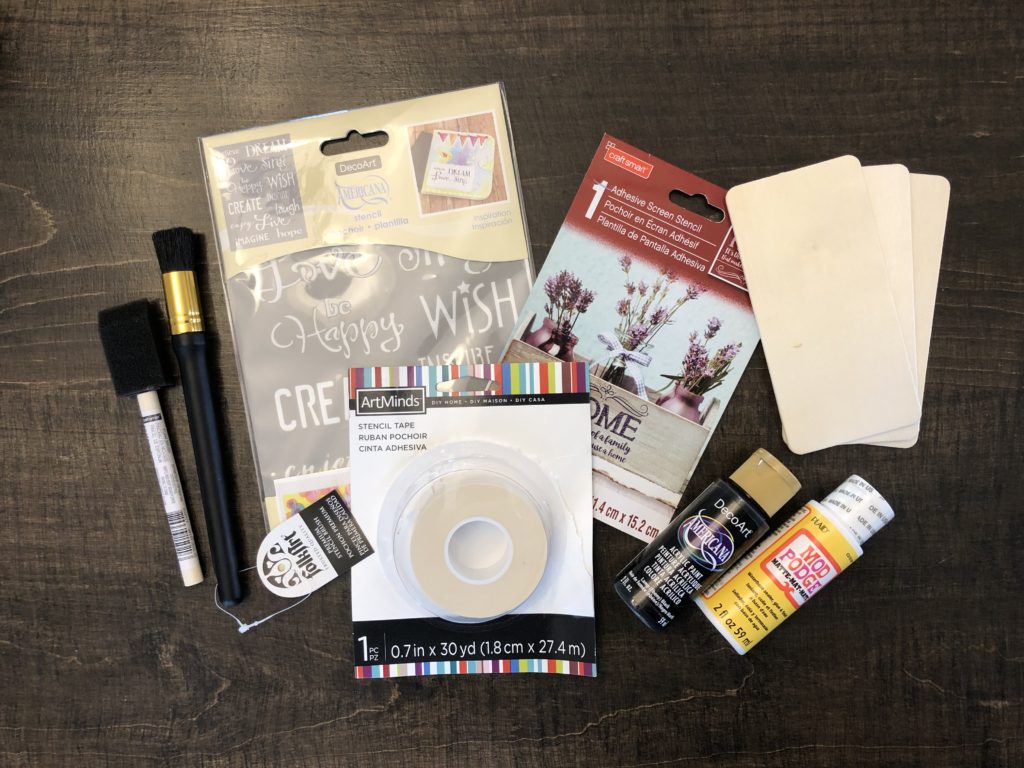
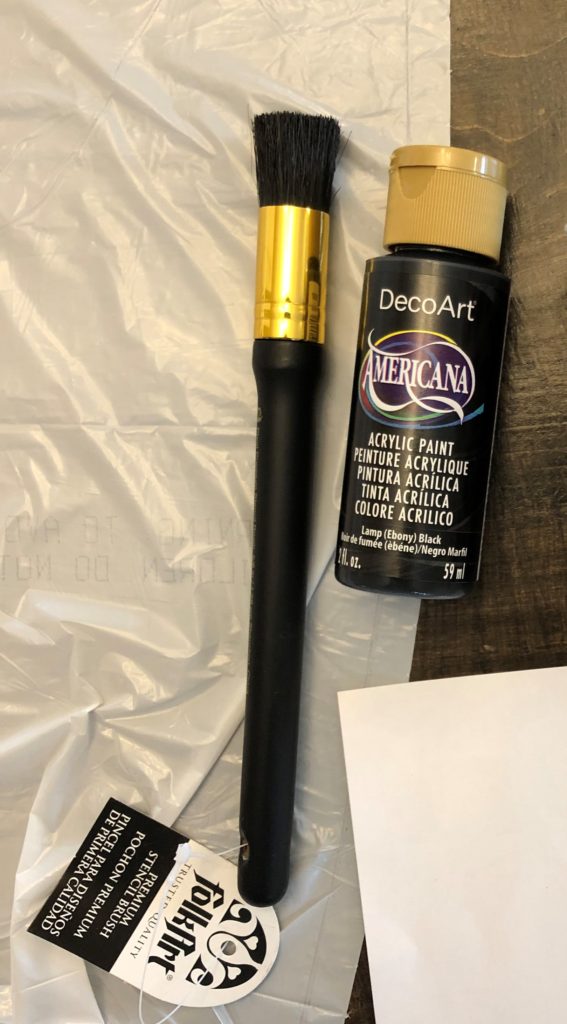
There are 4 main products you need to stencil: 1) A Stencil 2) Paint 3) A Paint Applicator and 4) Adhesive (optional). You’ll see in the photo above that I purchased a few different options. I also made another trip to the craft store later in the day to buy a few more options to make sure I really liked what I decided to use long-term.
Below you’ll find a review of each main product category. Most importantly, I’ll give you a recommendation on what type to use for your stenciling projects.
Stencil
I tried 3 different kinds of stencils: 1) An Adhesive Screen Stencil 2) A Peel & Stick Stencil and 3) A Standard Plastic Stencil. I will tell you about how easy each one was to use and the durability of each stencil.
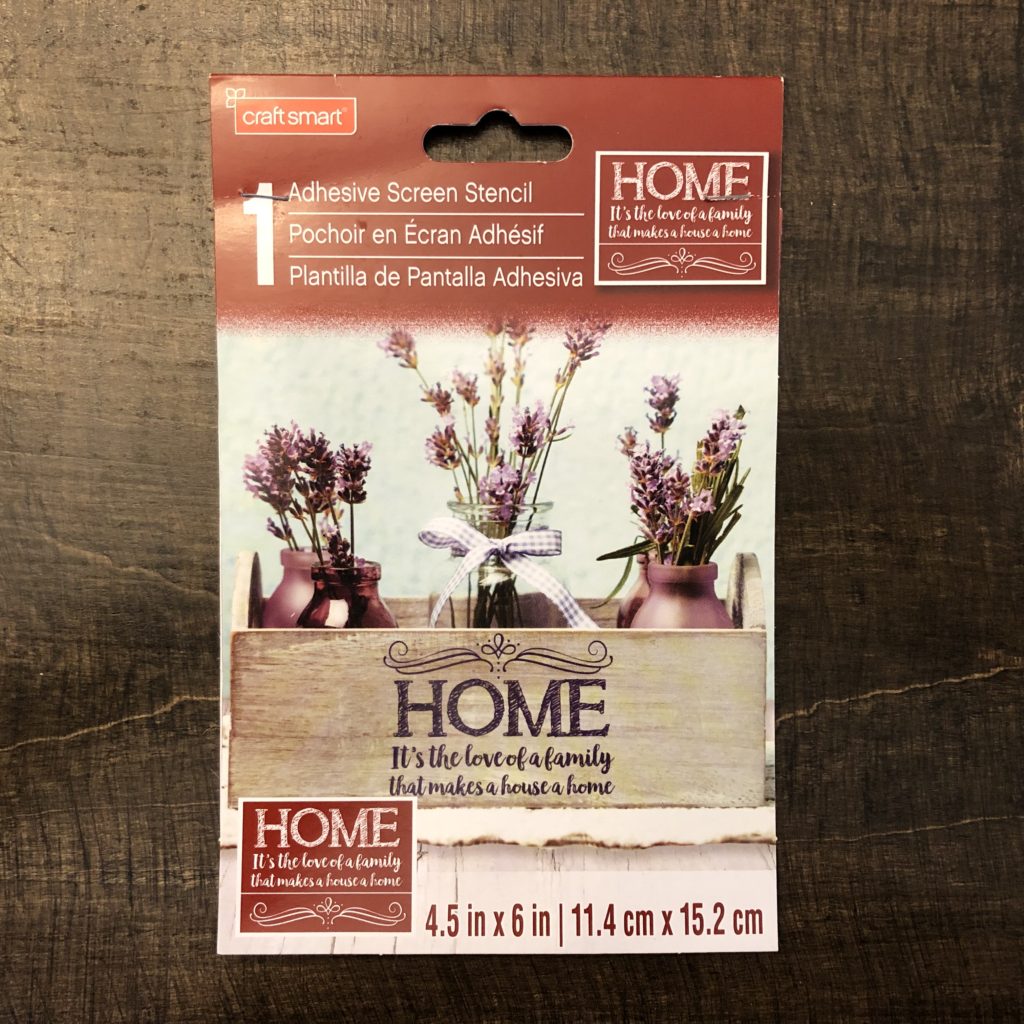
I thought that this stencil format was really interesting. Rather than just having open space where the paint lands in the stencil, it has a screen material instead. This stencil is adhesive, meaning it is sticky on the back side. I placed the stencil on a scrap piece of wood and used a stencil brush to apply paint to the stencil.
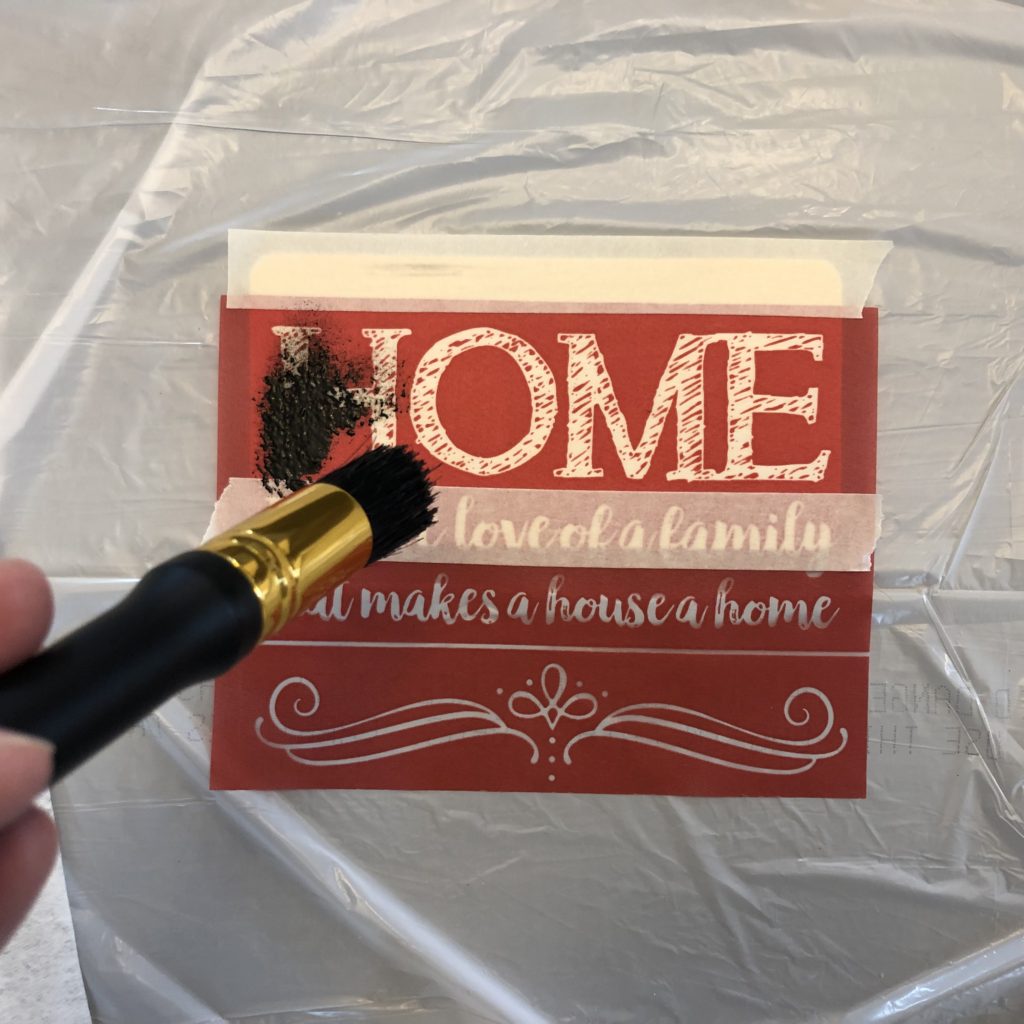
Overall, the process was pretty simple and the stencil worked really well. The paint didn’t bleed out under the stencil and the stencil peeled back off very easily. The only watch-out would be if you plan to use this stencil numerous times, the back would likely get less sticky over time. Probably not a concern for most of us who do not use the same stencil a ridiculous amount of times in a row! This could be a great choice for you if you plan to only use the stencil a few times for special projects!
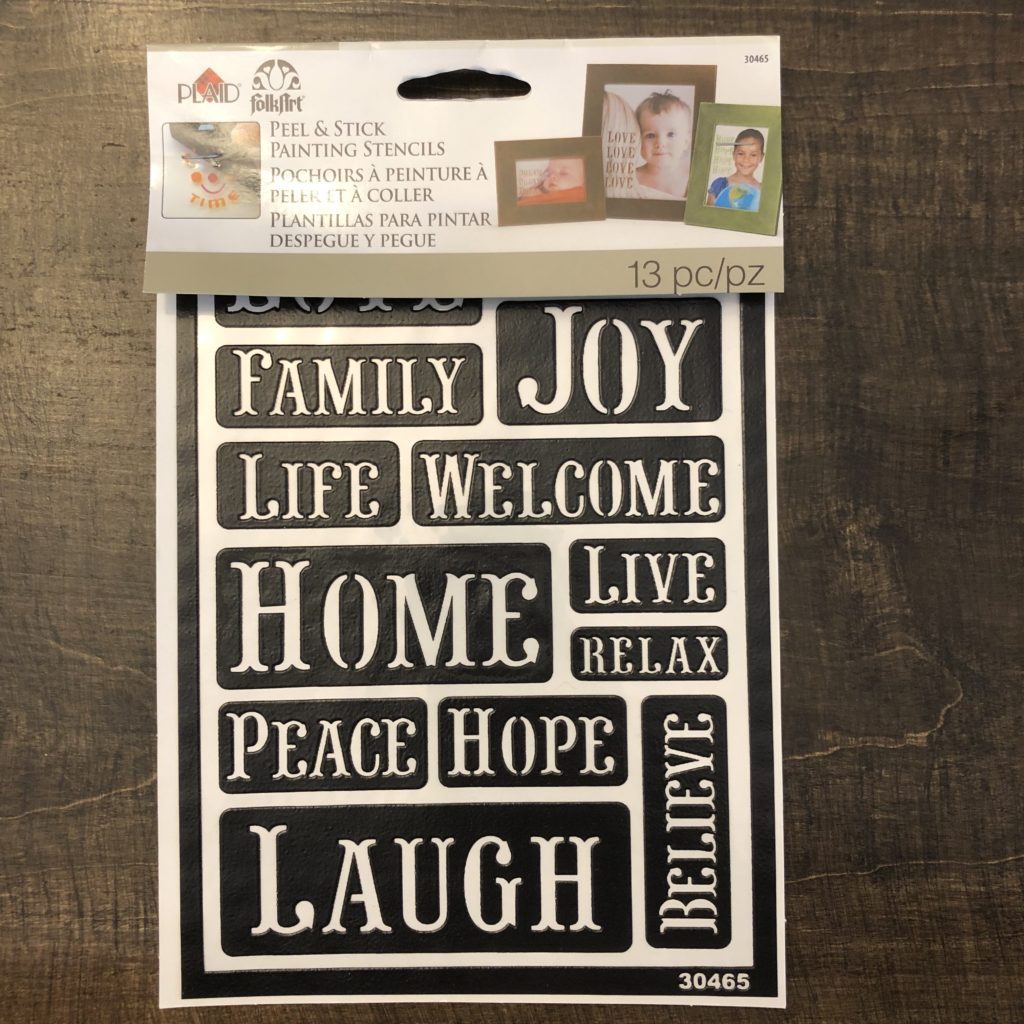
This stencil format seemed pretty straight-forward yet innovative. Basically these stencils are thick stickers. I peeled one off, stuck it on a piece of wood and applied paint to it.
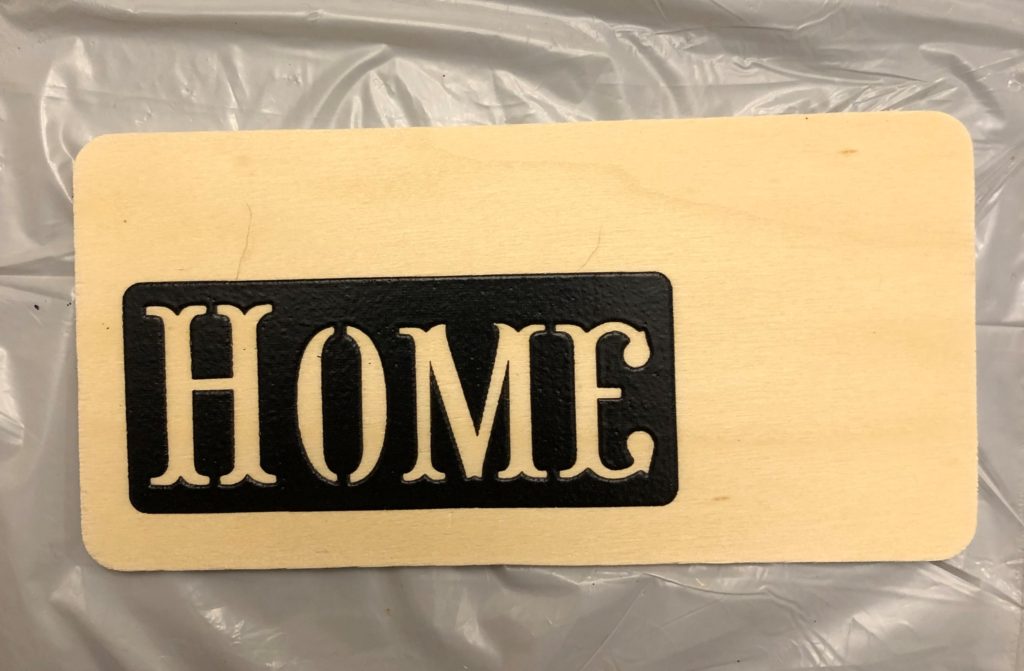
Other than forgetting to tape around the outside of the stencil (my bad!), this stencil worked really well! Perfectly actually. The clean-up went pretty well too. My only concern is that the stencil could easily tear or not be sticky after a lot of uses. The packaging is great and specifies that the stencil will stay sticky for about 20 uses. Therefore, this is a great option if you plan to use a stencil less than 20 times. Overall, I highly recommend this stencil.

What about a good ol’ plastic stencil? I had to give it a try. If you don’t use any adhesive, good luck. I had a very hard time keeping the paint from bleeding under the stencil. Maybe if you are a pro at stenciling, you’ll be fine but if you aren’t a pro (I’m not!), it’s going to be challenging. Take a look at my resulting “laugh” when I didn’t use any adhesive. It’s truly laughable (haha, good one, right? ;))

Use some adhesive like the below Elmer’s Multi-Purpose Spray Adhesive and you’ll be creating beautiful stencils in no time.

In the end, this stencil was fairly easy to clean and should be very durable too. If you want a stencil that you can use over and over again for hundreds of stenciling projects, this is the one for you! It just might take a little extra practice to avoid paint bleeding.
Paint
Let’s keep this simple. Buy inexpensive acrylic paint. If you really want to deviate from acrylic paint, try to choose a dry paint. Thin, runny paints will increase your chance of having paint bleed under the stencil.
Paint Applicator
Along with the stencil, the paint applicator is one of the most important tools for stenciling. An important part of stenciling is to apply the paint little by little. You need an applicator that allows you to do this effectively. I tried 3 different kinds of paint applicators: 1) A Stencil Brush 2) A Foam Brush and 3) A Sponge Stippler. I will tell you the pros and cons of each one.
I thought that the stencil brush would be the best tool for stenciling. However, I struggled to get paint onto the stencil and when I did, it often came off the brush in wet globs rather than little by little. Maybe if I was a stenciling pro, it would work great but as a beginner, I struggled. Stenciling pros, does this work amazingly well for you? I’d guess it does!
2) A Foam Brush
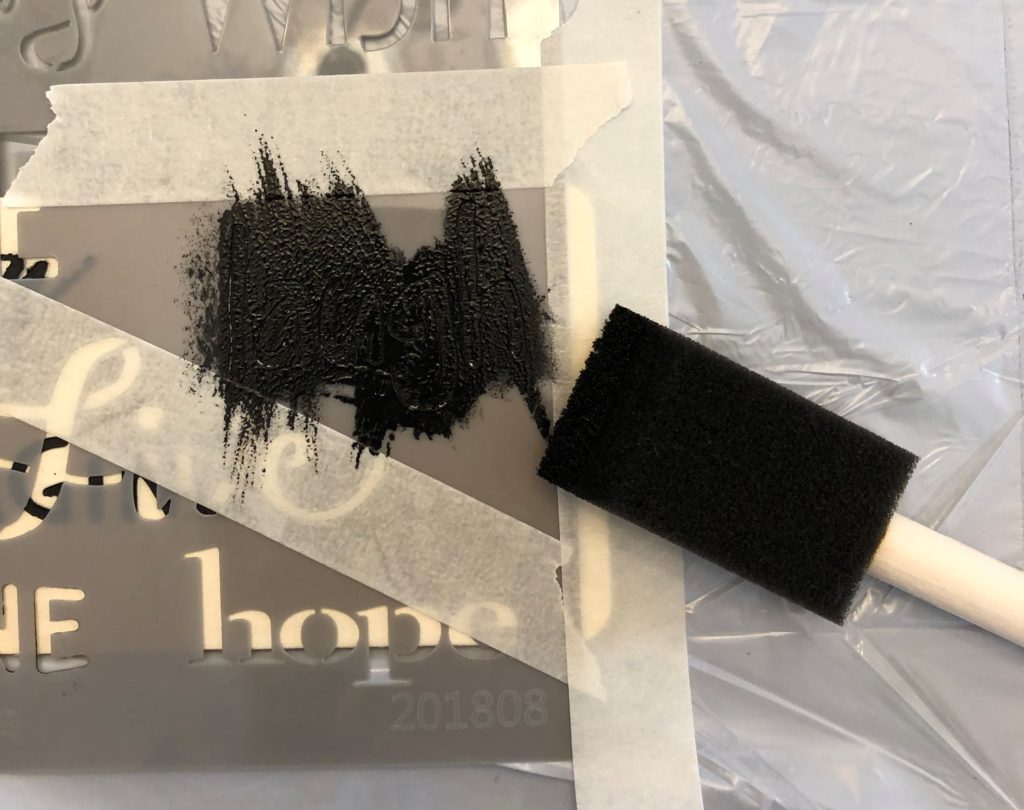
I really liked the foam aspect of this brush but I quickly discovered that the shape of the brush wasn’t quite right. It was challenging to get paint in every area of the stencil without having to push on the foam brush, causing too much paint to come out onto the stencil. Check out my next option, a sponge stippler and you’ll see how I took the best of this foam brush and found a different shape that worked better.
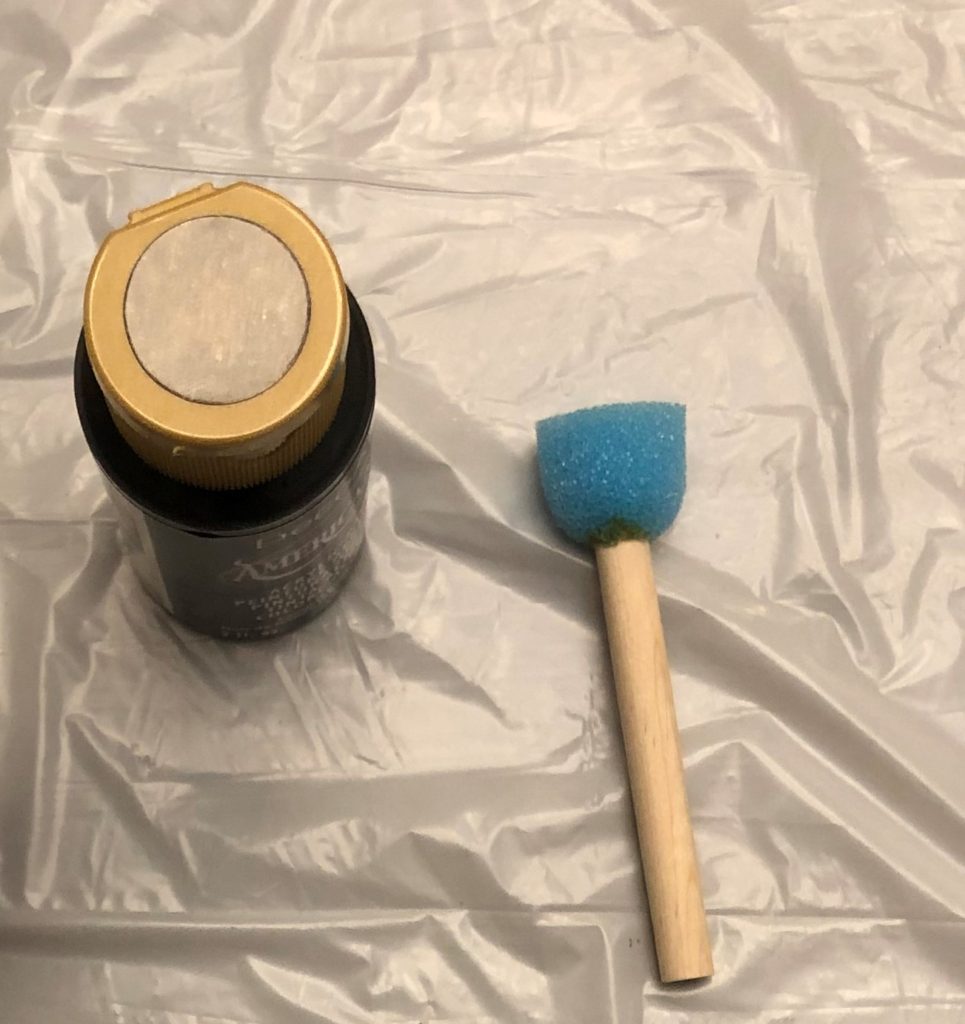
This sponge stippler was perfect for stenciling. It was easy to apply the paint to the stencil in a controlled, even fashion. I highly recommend this sponge stippler for stenciling beginners. Also, they are incredibly inexpensive!
Adhesive (Optional)
Adhesive is optional and depends mostly on what kind of stencil you choose to use. If your stencil already has adhesive on the back when you purchase it, of course there is no need to buy adhesive separately. However, if your stencil does not have adhesive on the back, I highly recommend purchasing this Elmer’s Multi-Purpose Spray Adhesive.
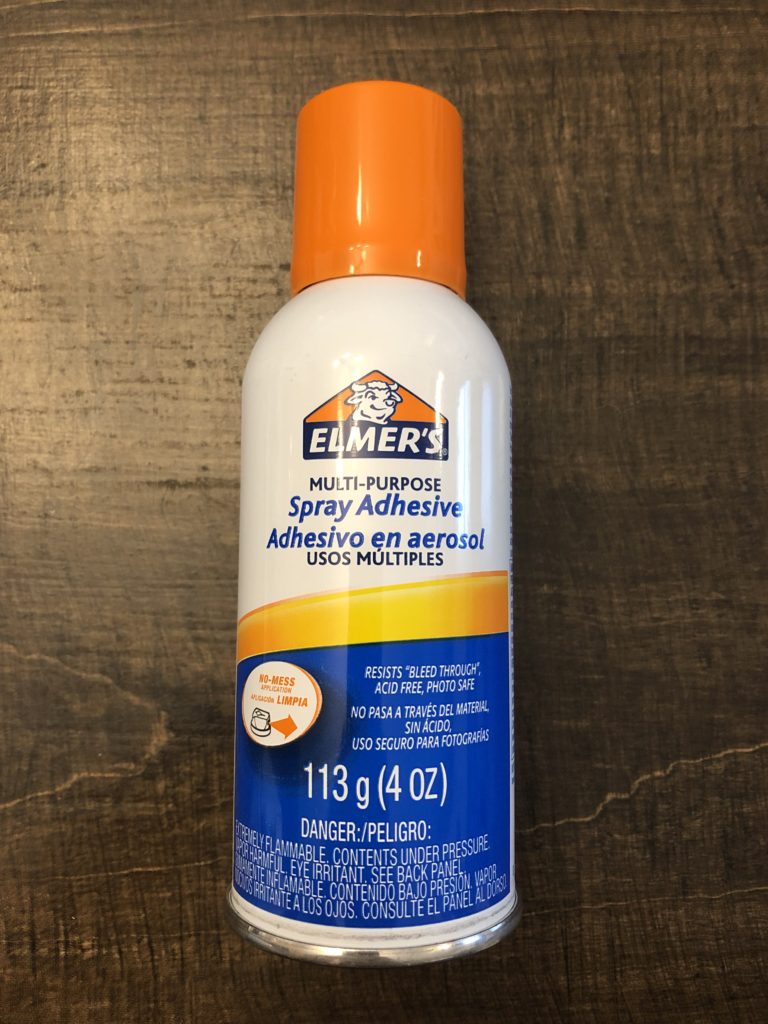
Make sure to follow the directions on the can. The most important part, in my opinion, is to allow the adhesive to dry for 3-5 minutes. If you don’t, you will have a very hard time getting the stencil off your material. If used properly, this adhesive works great for preventing paint from bleeding under your stencil. You might be tempted to try other methods you find online – like Mod Podge or simply not using an adhesive. I don’t recommend it. If they make a product specifically for this purpose, it’s probably the best!
Final Recommendation
Do you want my stenciling recommendation in a nutshell? Here you have it: If you plan to do a lot of stenciling, buy a standard plastic stencil to ensure durability over time. Buy acrylic paint, a sponge stippler and spray adhesive. You’ll be set – but don’t forget to practice before you dive right in! A little practice can go a long way in helping you perfect your technique. Then let me know how it went. Did it work out well for you? Do you prefer different products or methods? Happy stenciling!

Disclaimer: This post contains affiliate links which means I might get a very small commission off any purchases made from my links. It doesn’t cost you anything extra. Thanks for your support!