Searching for the Perfect Sage Green? Try Gentle Olive, the Minwax 2022 Color of the Year!
My go-to colors for my home are white, sage green and blush pink. They’re soft, clean, bright and airy. They’re organic, natural and calming. Therefore, when Minwax told me that their 2022 Color of the Year was going to be Gentle Olive, I’m pretty sure I said “AHHH! That’s amazing! That’s all over my home already!”
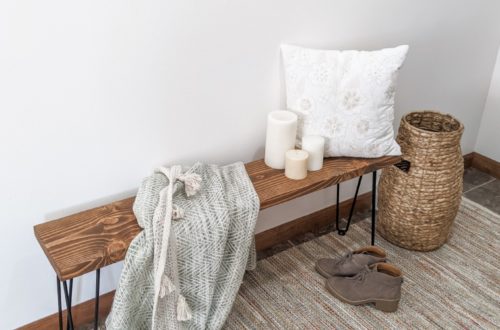
It’s a gorgeous, nature-inspired sage green. Last year I created some wall decor and a console table in my living room using this color. I also created some modern bookends using this beautiful sage green color. As part of Minwax’s Color of the Year announcement, I created a giant piece of wall art featuring this gorgeous Gentle Olive color paired with soft, clean whites.
This post is sponsored by Minwax but all opinions are my own.
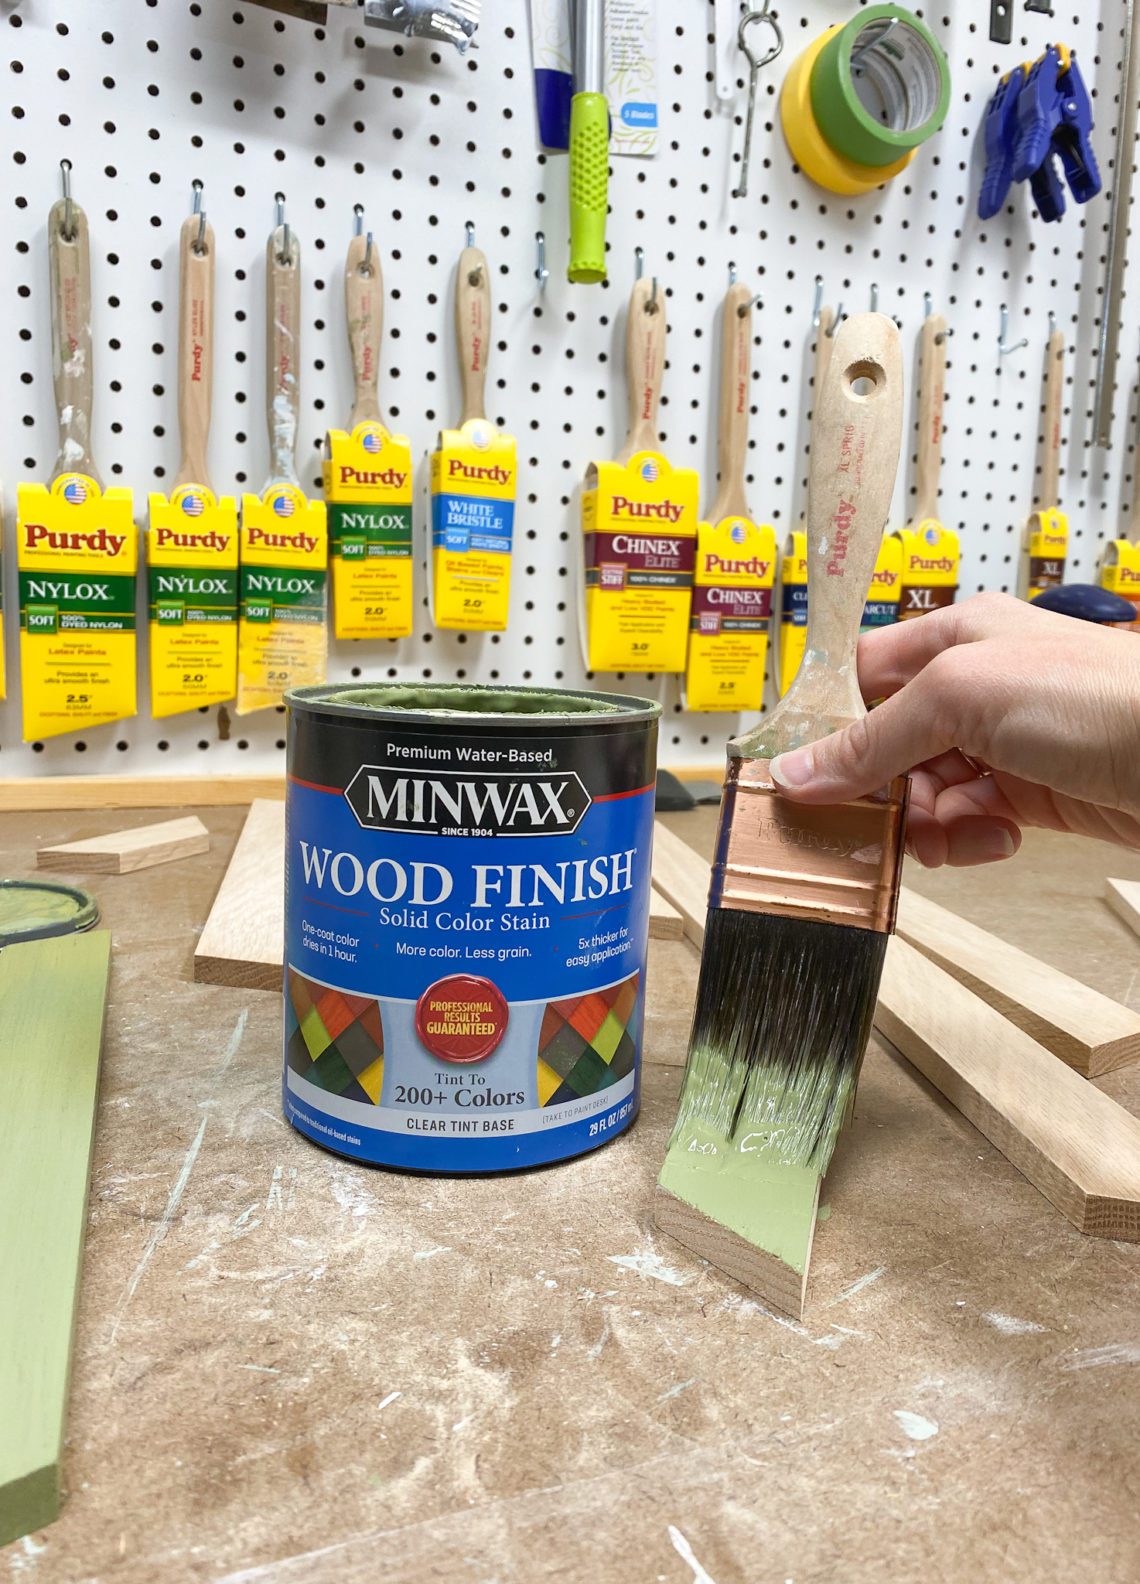
The Minwax 2022 Color of the Year, Gentle Olive
First, I’d like to tell you a little bit about the Minwax 2022 Color of the Year. It’s available in both solid and semi-transparent water based color stain.
Minwax’s color stain is a product that I love to use on my projects. There are over 200 colors to choose from! You can also choose between semi-transparent and sold opacities, depending on the look you are going for. It’s water based, which means that it cleans up easily with soap and water. It’s easy to work with and adds a ton of fun color to your woodworking projects.
Gentle Olive is just one of the many available colors. It’s earthy. It’s natural. It’s calming and rejuvenating. It’s everything I love in a color.
It’s a favorite of mine!
Head HERE to hear directly from Minwax about their 2022 Color of the Year, Gentle Olive, and to see how other people used this color in their homes!
Now let’s jump into talking about my most recent project, a giant piece of geometric wall art!
Time to Complete
3 days (if you had full days available, you could do the whole thing in a day or two!)
Materials & Tools
- Minwax Water-Based Pre-Stain Wood Conditioner
- Minwax Wood Finish Water-Based Semi-Transparent Color Stain in Pure White
- Minwax Wood Finish Water-Based Solid Color Stain in Gentle Olive
- Minwax Wood Finish Water-Based Solid Color Stain in Pure White
- Minwax Polycrylic Protective Finish
- Purdy 2” XL Sprig Paintbrush
- Synthetic Pad
- 1 1″ x 2″ x 10′ Oak Board
- 1 1″ x 2″ x 6′ Oak Board
- 5 1/2″ x 2″ x 6′ Oak Boards
- 2′ x 4′ Oak Plywood
- Miter Saw
- Measuring Tape
- Pencil
- 220 grit sandpaper
- Nail Gun & 1 1/2″ Brad Nails
- Tack Cloth
- Clamps
- Wood Glue
- Rags
- D-Ring Hangers and Screws
Click here to find a local retailer for Minwax products!
Directions for Giant Modern Geometric Wall Art
Step 1: Cut Wood
Using a miter saw, cut your 1/2″ x 2″ oak boards into sections to create the design of your choice.

I decided to create a simple geometric design, leverage diamonds and chevrons. I encourage you to measure and cut as you go since each piece of 2′ x 4′ plywood can be slightly different. Use your personal preference to determine your exact design.
Next cut your 1″ x 2″ boards at 45 degree angles to create a frame around the plywood.
Step 2: Sand Wood
Sand your wood boards using 220 grit sandpaper. Remove dust with a tack cloth.

Step 3: Apply Minwax Water-Based Pre-Stain Wood Conditioner to boards
Using a Purdy XL Sprig paint brush, apply pre-stain wood conditioner to wood boards and plywood. Wipe off with a clean rag after 1-5 minutes. After 15-30 minutes, lightly sand the surface with 220 grit sandpaper.

Pre-stain wood conditioner is important because it helps the stain go on evenly. Especially when you are working with soft woods like pine, it’s important to use pre-stain wood conditioner to help the wood evenly absorb the stain. It also helps control grain raising.
Step 4: Apply Minwax Wood Finish Water-Based Solid Color Stain
I chose to use this type of stain in two colors: Gentle Olive (the Minwax 2022 Color of the Year!) and Pure White.
I applied it using a Purdy XL Sprig brush. Then I removed any excess stain within 2 minutes by going over it with a synthetic pad.

I did this process for both colors, using the Gentle Olive on some of the cut 1/2″ x 2″s and the Pure White on the oak plywood.
Step 5: Apply Minwax Wood Finish Water-Based Semi-Transparent Color Stain
Minwax’s semi-transparent color stain requires a slightly different applcation than their solid color stain.
First apply the stain using a rag or Purdy XL Sprig brush.

Remove excess with a rag immediately (within 2 minutes). Water based stain dries quickly so you’ll want to move relatively quickly.
Step 6: Apply Minwax Polycrylic Protective Finish
You always want to protect stained wood. Minwax’s Polycrylic Protective Finish is one of my favorite ways to protect wood.
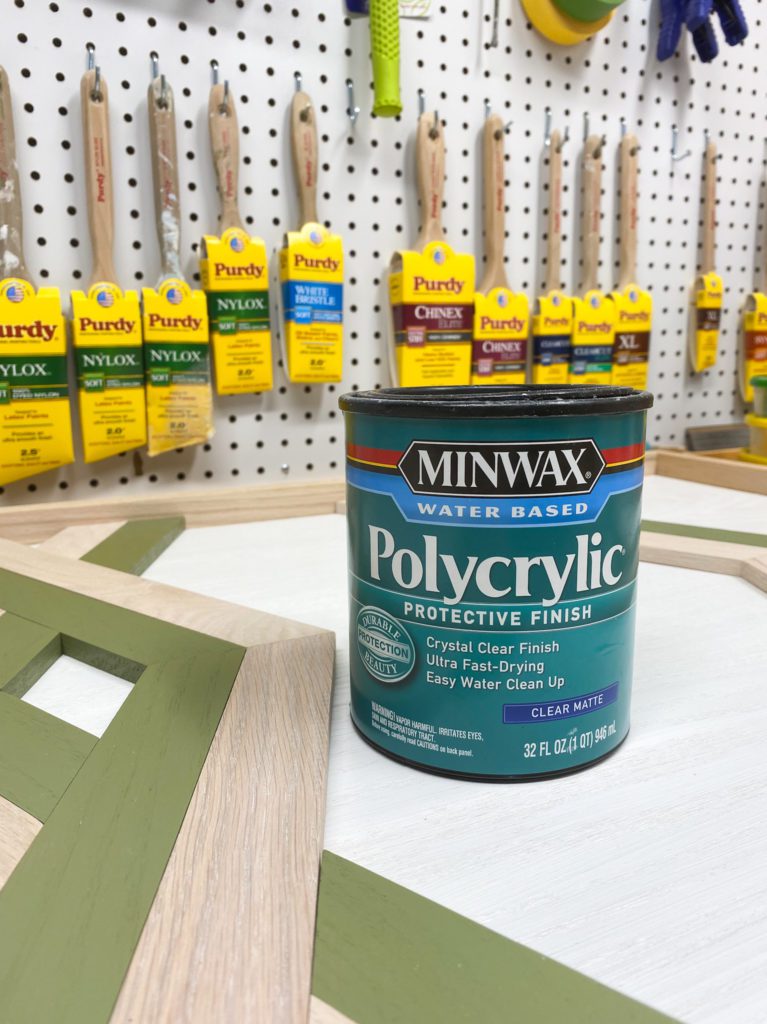
Simply apply it using a Purdy XL Sprig paint brush. Once dry, sand lightly with 220 grit sandpaper and apply one more coat.
Step 7: Attach Frame with Glue and Brad Nails
Line up the 1″ x 2″ frame pieces around the plywood. Attach the frame pieces together and to the plywood using wood glue and brad nails.

Step 8: Adhere 1/2″ x 2″ Wood Pieces Using Wood Glue
Next create your design using the cut and stained 1/2″ x 2″ boards. You can apply them in whatever design or pattern that you like! Give them time to completely dry.

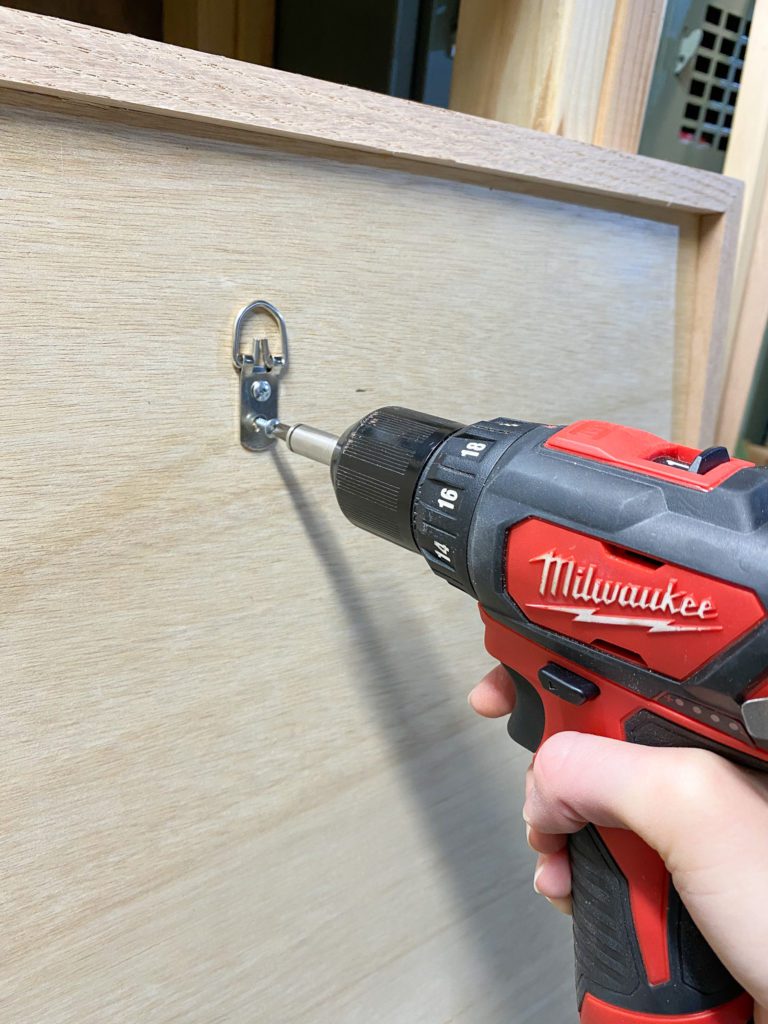
Step 9: Add Hanging Hardware
There are many options for hanging hardware. The most important thing to pay attention to is how much weight each type of hanging hardware can hold. Make sure that the hanging hardware can hold the weight of the wall art.
The Completed Giant Geometric Wall Art!

Now you’ll have a huge, gorgeous statement piece for your home or for a friend’s home. It can be easily customized by altering its design, color and size. (However, why would you NOT want to use the Gentle Olive color!?)

Hope you enjoyed reading about this project and seeing the Minwax 2022 Color of the Year, Gentle Olive, come to life!
If you use this color in your upcoming projects, please tag me on social media so I can see it and share it with my followers as well. I always enjoy seeing your creations!