
How to Grout and Seal Tile: Plus THE Most Gorgeous Copper Sink!
It’s week 5 of the 6-week Jeffrey Court Renovation Challenge. We have one week to go. I’m not panicking….I’m not panicking….just keep telling myself this and it will be true, right?! Ah!
Please keep voting daily! Thanks so much. Vote by clicking here.
Here are the highlights from this week:
- FrogTape is officially my best friend.
- The stomach flu can really set you behind on a renovation project – ah!
- Sinkology makes THE most gorgeous copper sinks
- GIANT messes come before beautiful transformations. Hang in there 🙂
In case you missed it: The Jeffrey Court Renovation Challenge!
If you missed my week 1-4 posts, here’s a quick overview to get you up to speed. The Jeffrey Court Renovation Challenge is an amazing 6-week challenge where Home DIYers compete against one another for a grand prize of $5,000. I’m one of the DIYers! It’s fun and crazy and exciting – and I 100% need your support along the way!
The challenge is sponsored by Jeffrey Court, FrogTape and Sinkology. I’m so thankful for these generous sponsors. I have 6 weeks to completely renovate my bathroom. How is the winner chosen? Based on votes from people like you! You can vote once a day so I’d love for you to vote and support me in my work. Thank you SO much for your support and encouragement.
If you want to see what I’ve done so far in my bathroom, check out my inspiration board, the vertical shiplap half wall, my painted vanity and my herringbone design tile.
Disclosure: This post contains affiliate links, which means that sometimes I get a very small commission off your purchases. It’s no extra cost to you.
First, how to grout and seal tile
Last week we finished placing all the tile on the wall. Therefore, this week we tackled the grouting, caulking and sealing.
Tools & Materials Needed
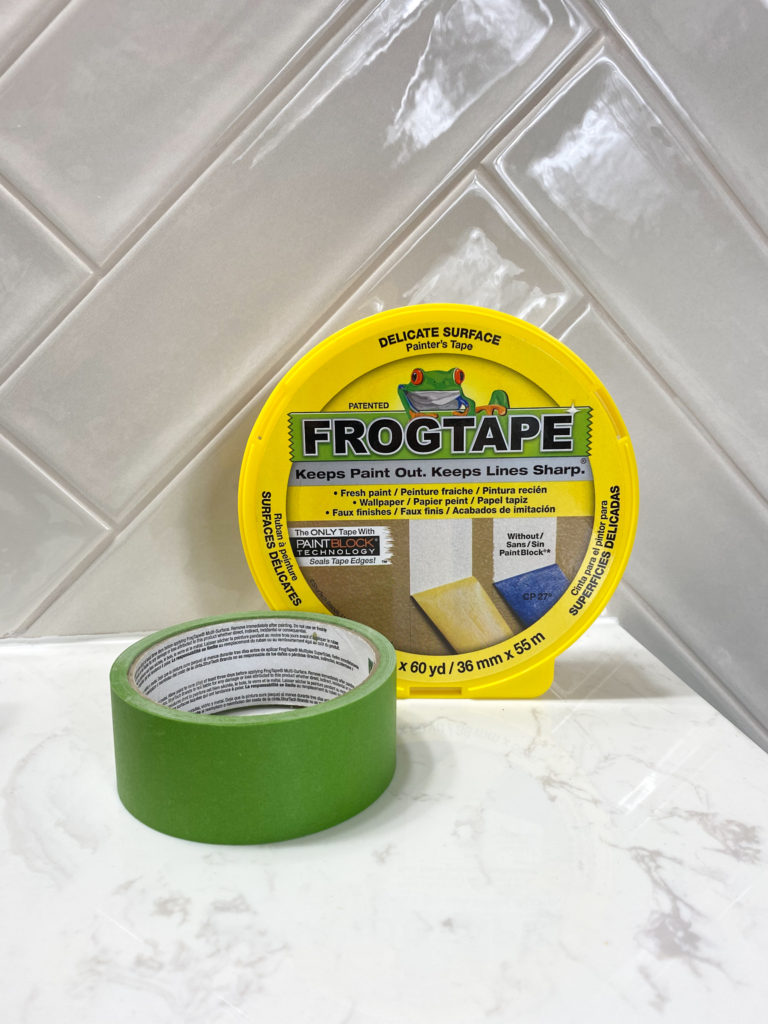
- FrogTape Painter’s Tape
- Premium Unsanded Grout in Pearl color
- 5 Gallon Bucket
- Drill with Mud Mixer Attachment
- Grout Float
- Sponge
- Bucket of Water
- Tile, Stone & Grout Sealer
- Tub & Tile Caulk
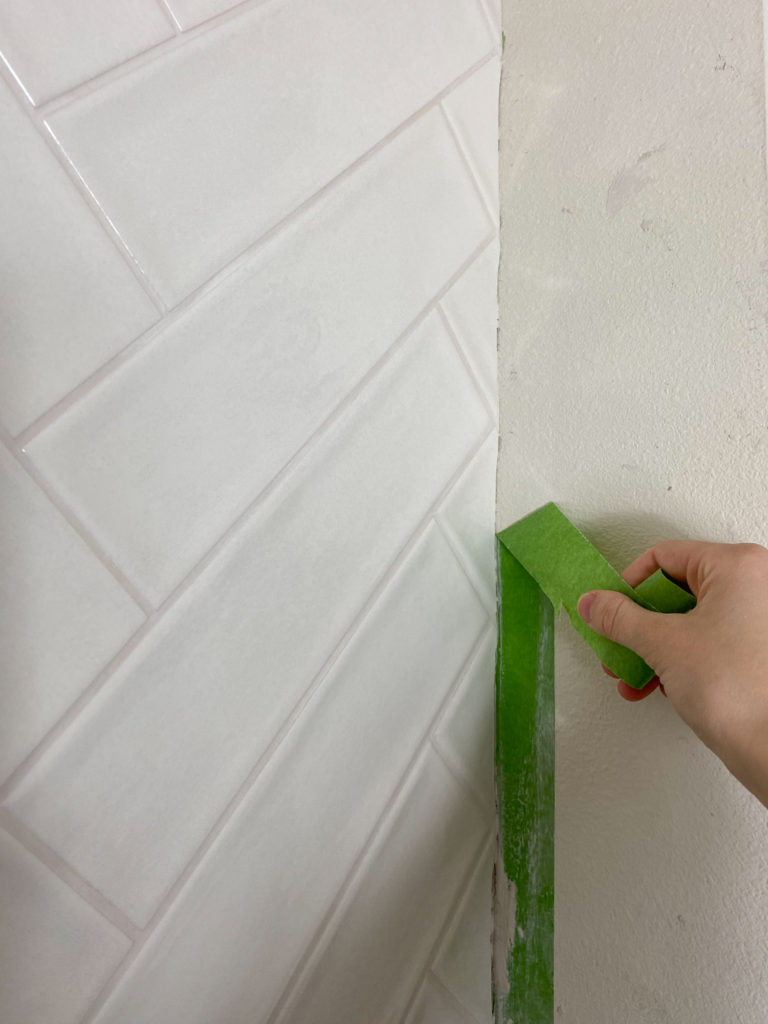
Step 1: Apply FrogTape painter’s tape around edge of tiles
Grab your best friend, FrogTape, and apply it around the outside of the tiles. This will help keep the grout off the walls, floors, etc.
And hey, want to know why FrogTape is my best friend? I’ve said this for awhile now and I’ll keep saying it – ONLY buy FrogTape painter’s tape. It creates amazingly perfect lines unlike any other type of painter’s tape I’ve tried. Trust me. It’s amazing. How is it this amazing? Well, it has patented PaintBlock Technology on the tape that seals the edges of the tape to create super crisp lines. Seriously. It’s brilliant.
Step 2: Mix up grout
Using a 5 gallon bucket, a drill with a mud mixer attachment, grout and water, mix up your grout. You will want to add water to your grout until it’s about the consistency of peanut butter.
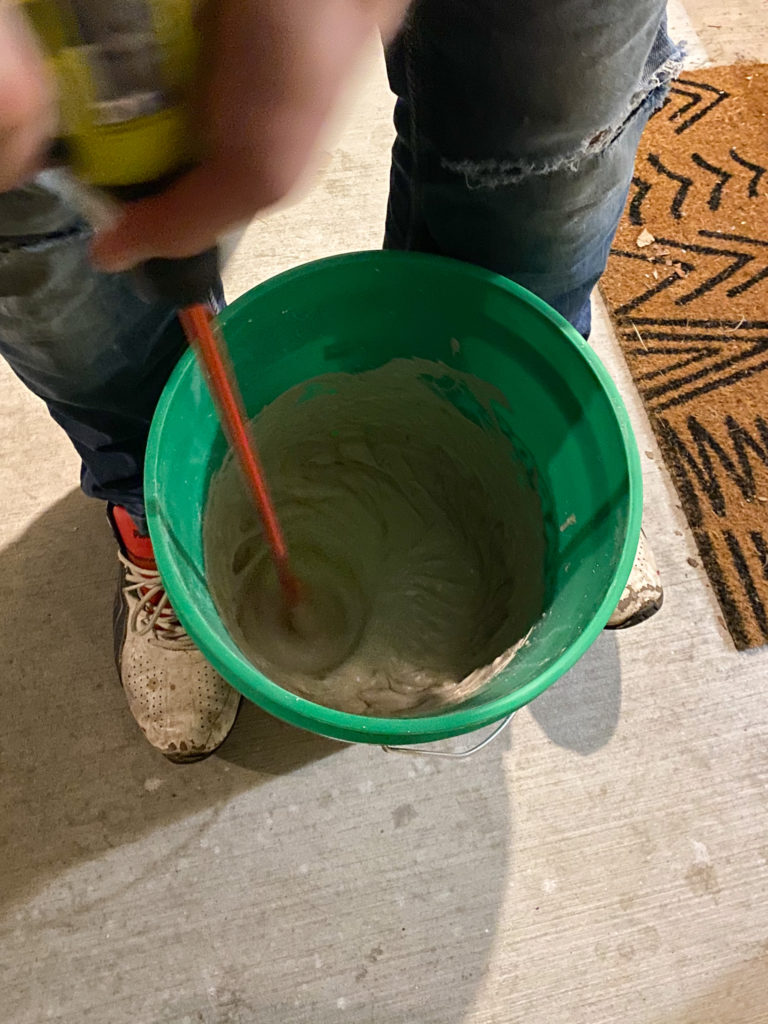
Make sure to mix it sufficiently so it doesn’t have any lumps in it. Let it sit for 10 minutes and mix it one more time. Then it will be ready to use!
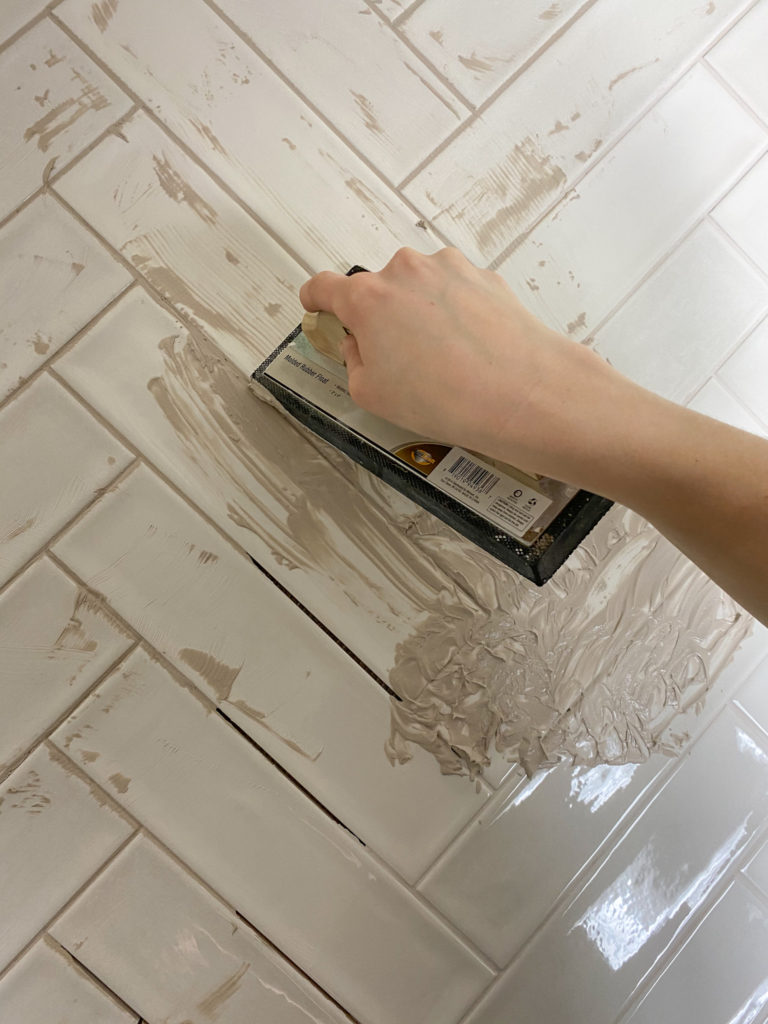
Step 3: Apply grout to the tiles, pushing it in with a grout float
Work your way across all the tiles, pushing the grout into all the crevices with a grout float. It doesn’t have to be perfect right now since you’ll be cleaning it up in the next step.
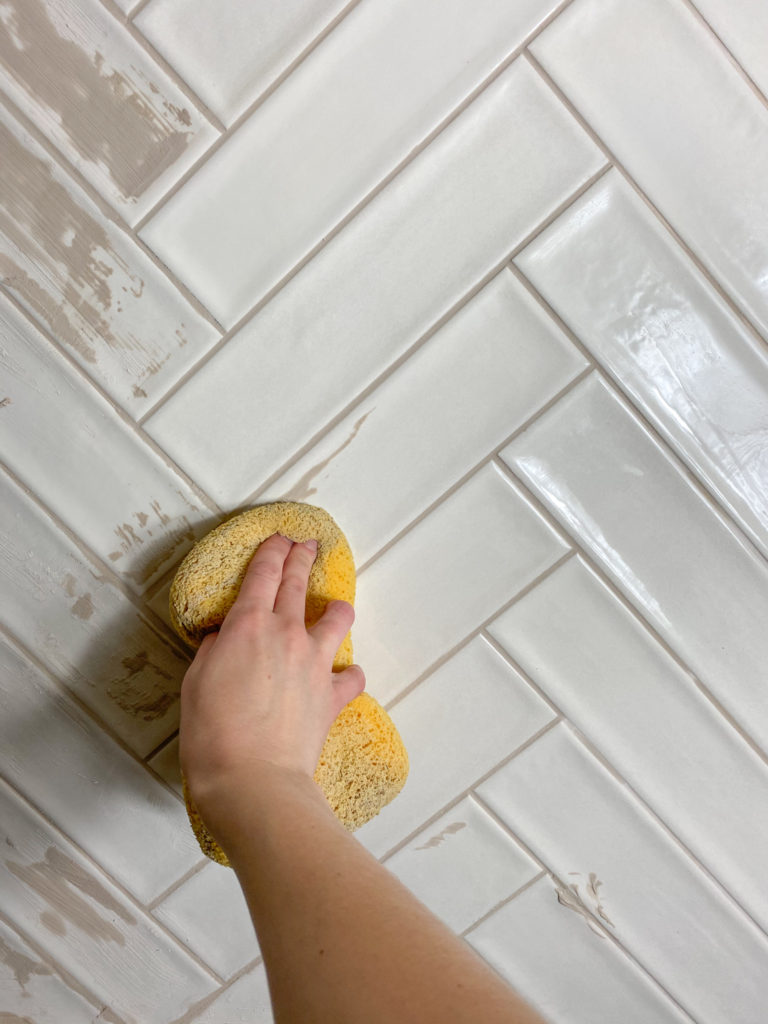
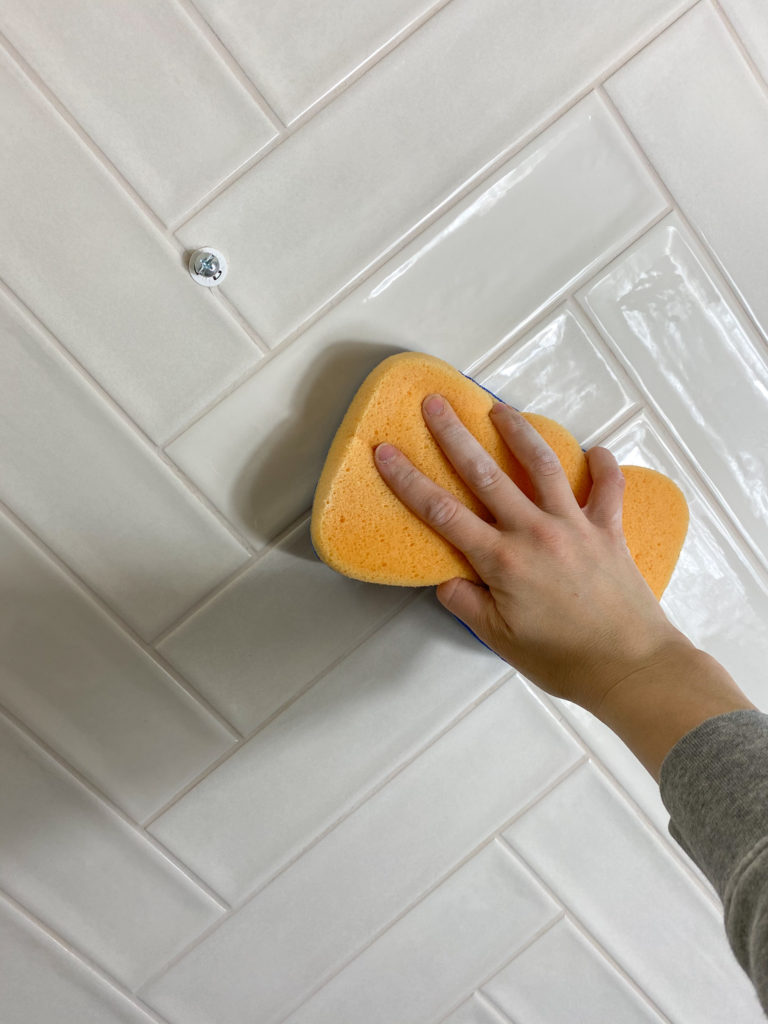
Step 4: Remove excess grout with a damp sponge
Grab a soft sponge and a bucket. Wet the sponge and ring it out, making sure it is damp but not dripping. Then pull the sponge across the tiles, removing excess grout and creating smooth, even grout lines between tiles.
Step 5: Remove FrogTape painter’s tape
Carefully peel away the FrogTape painter’s tape.
Step 6: Remove haze
Let the grout dry for at least an hour and then remove any haze on the tiles using a dry sponge. It should come off easily with a little buffing.
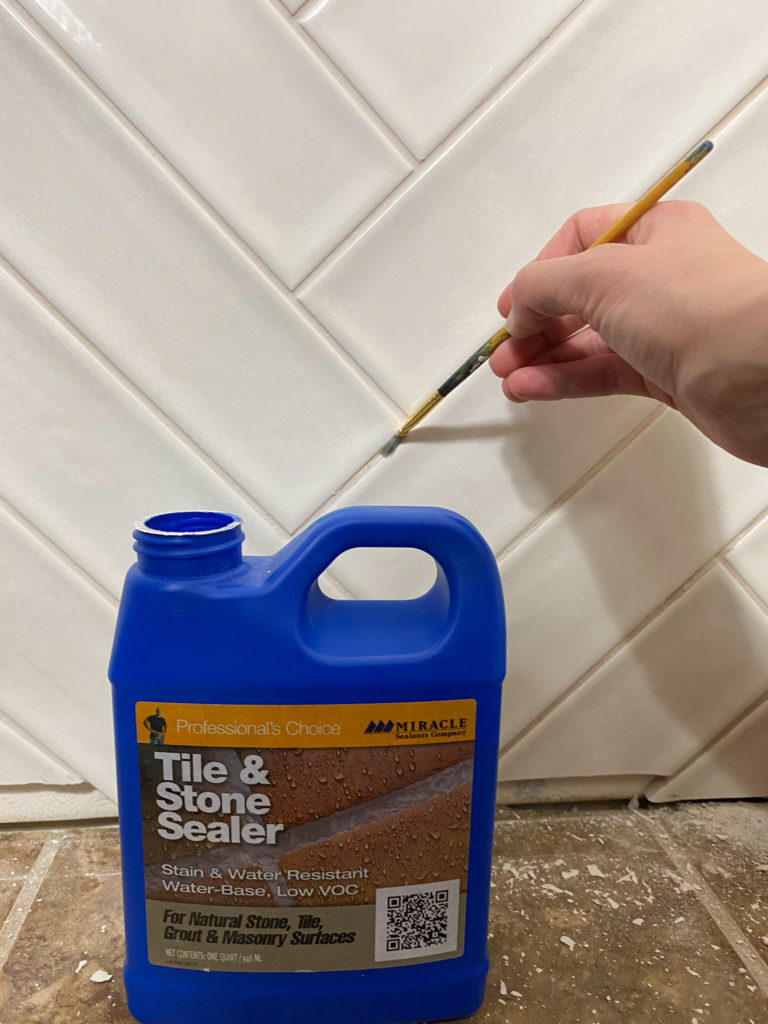
Step 7: Seal grout lines with tile sealer
Because the tile might get wet, it’s a good idea to seal the grout lines with tile & grout sealer. After the grout has dried at least 24 hours, seal it by applying a grout & tile sealer. I applied it using a tiny brush, letting it sit on the grout for 3-5 minutes and then removing any excess with a clean rag.
Step 8: Caulk around the edges of the tile
Before you caulk, guess what you need?? FrogTape painter’s tape again! Place painter’s tape around the edges of your tile. This will help you create a perfect caulk line.
Then, using tub and tile caulk, caulk around the edges of your tiles. Smooth out the lines using your finger.
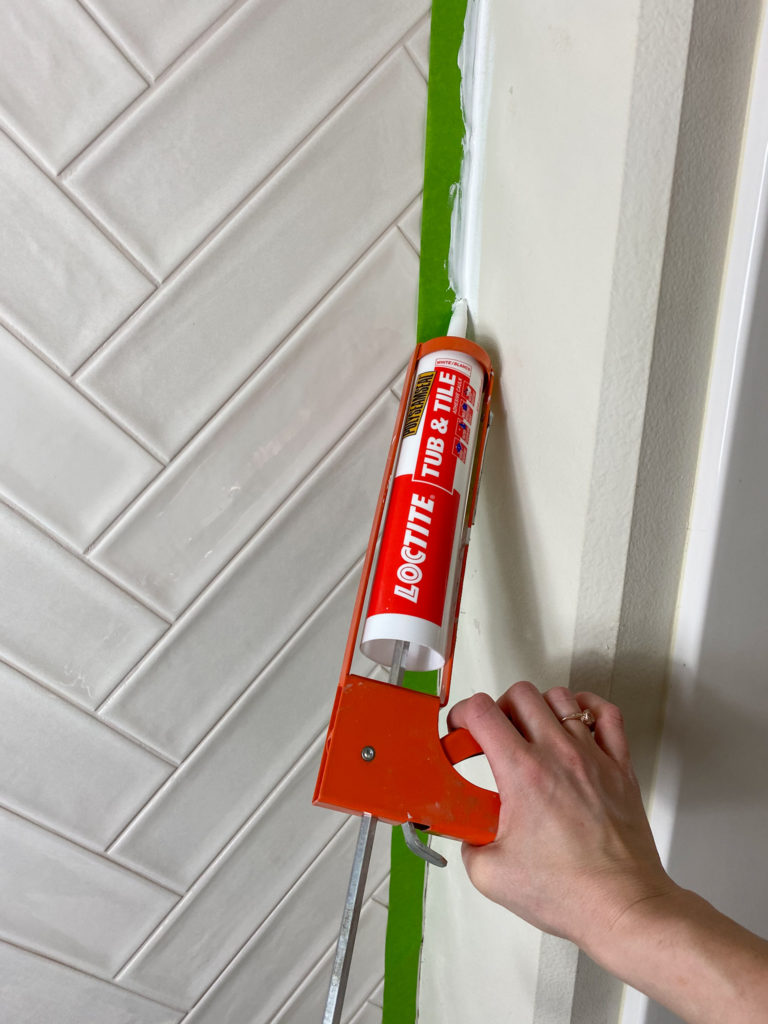
Remove the FrogTape painter’s tape before the caulk dries.
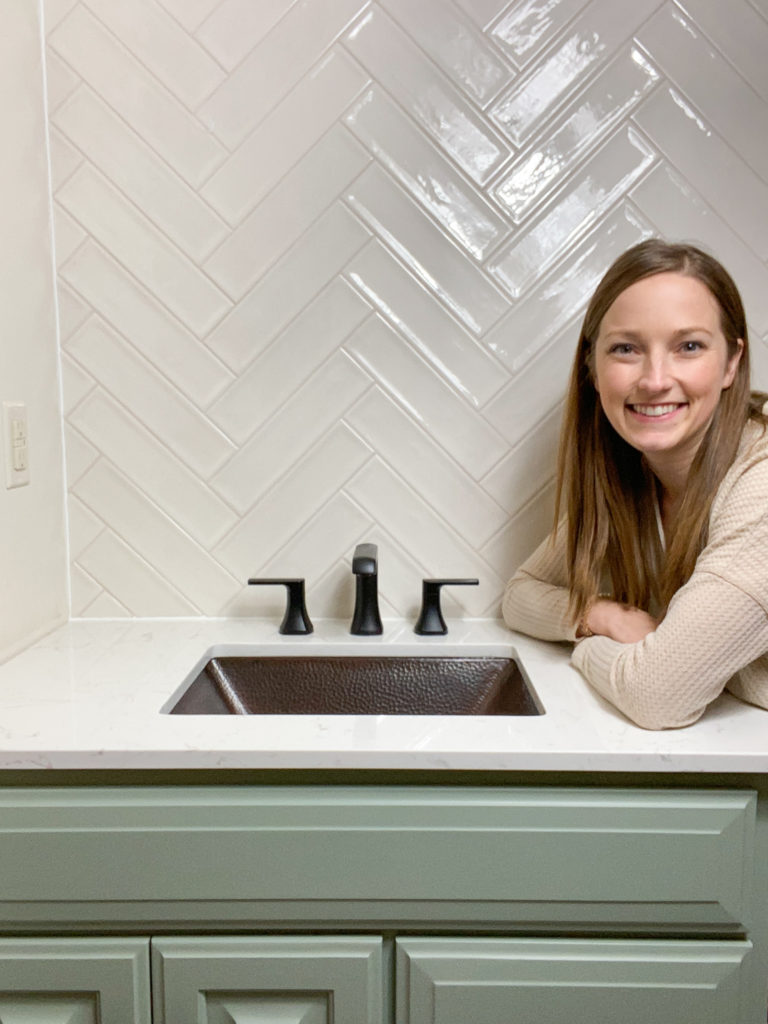
A beautiful tiled herringbone pattern wall!
And there you have it. Our tiled wall is complete and I just love it! It’s soft and serene, while also interesting and beautiful. I couldn’t be happier with it.
Let’s not forget about the gorgeous sink!
A bathroom isn’t complete without a sink. Obviously 🙂
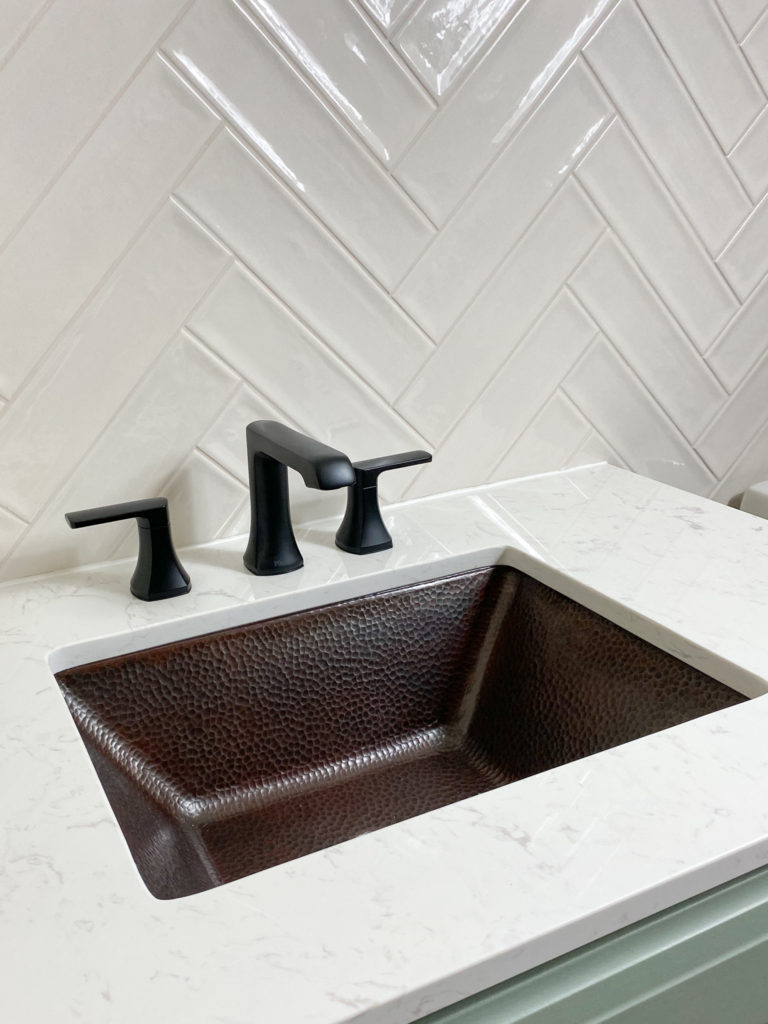
I received the most gorgeous sink from Sinkology! I honestly wasn’t sure if I would love a copper sink but as soon as I opened it up, I told my husband “Ah! It’s SO beautiful! I love it!”
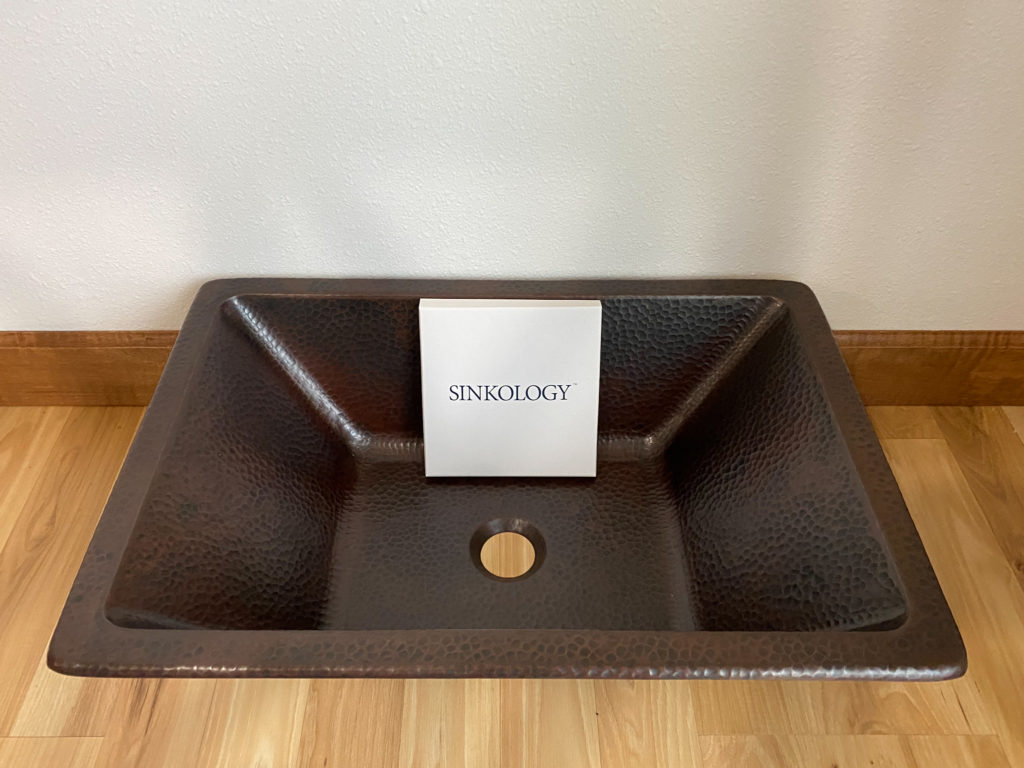
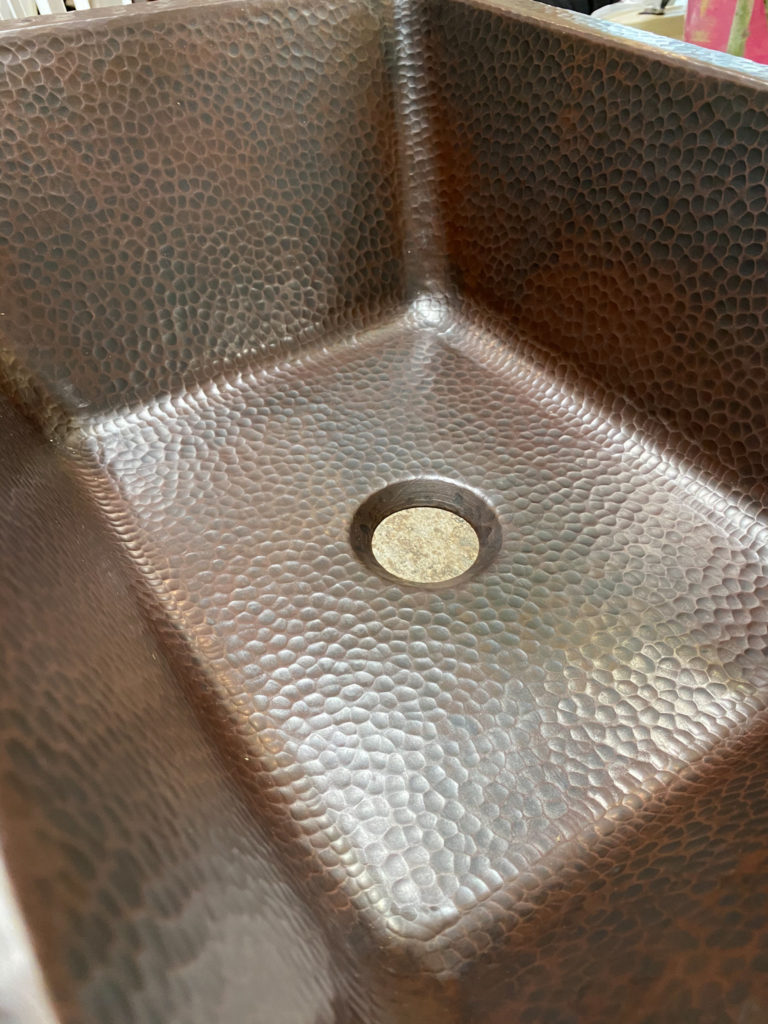
The texture and beauty of the copper is just perfect. Here’s a close-up view of it so you can see it too! It’s their Hawking Copper Bathroom Sink – Spa Series. Click HERE to go check out the details.
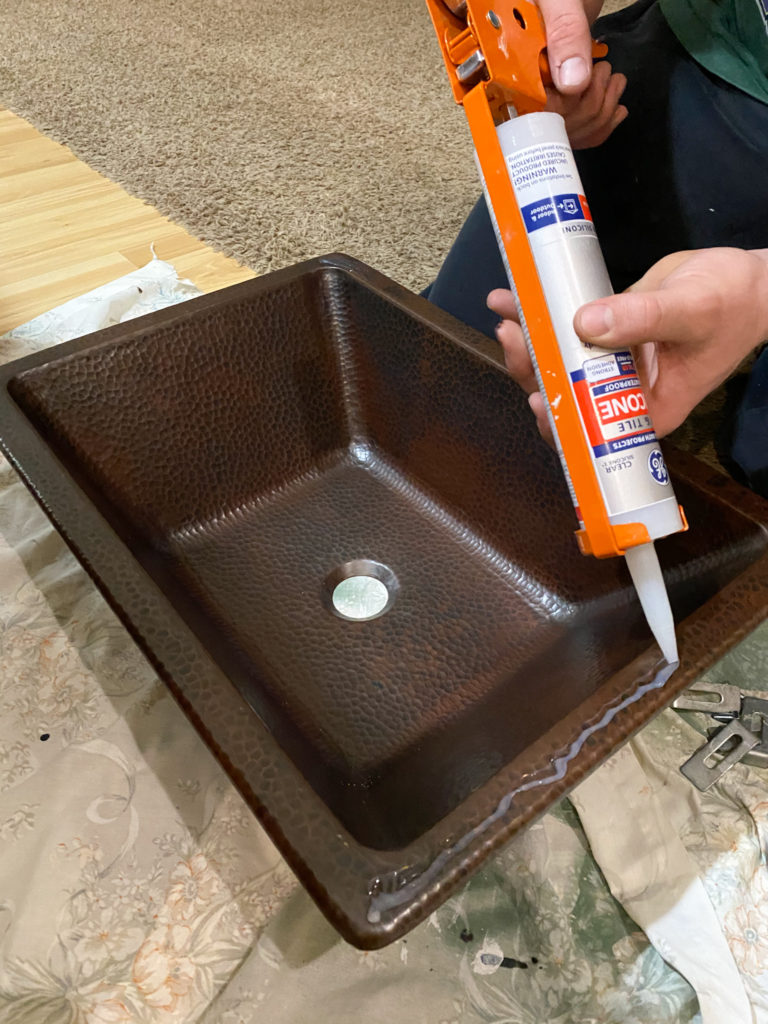
It was really easy to mount on the underside of our engineered marble vanity top. We applied silicon to the top edges of the sink and placed it on the upside down vanity top.
We made sure to measure carefully so that it was centered over the hole for the sink.
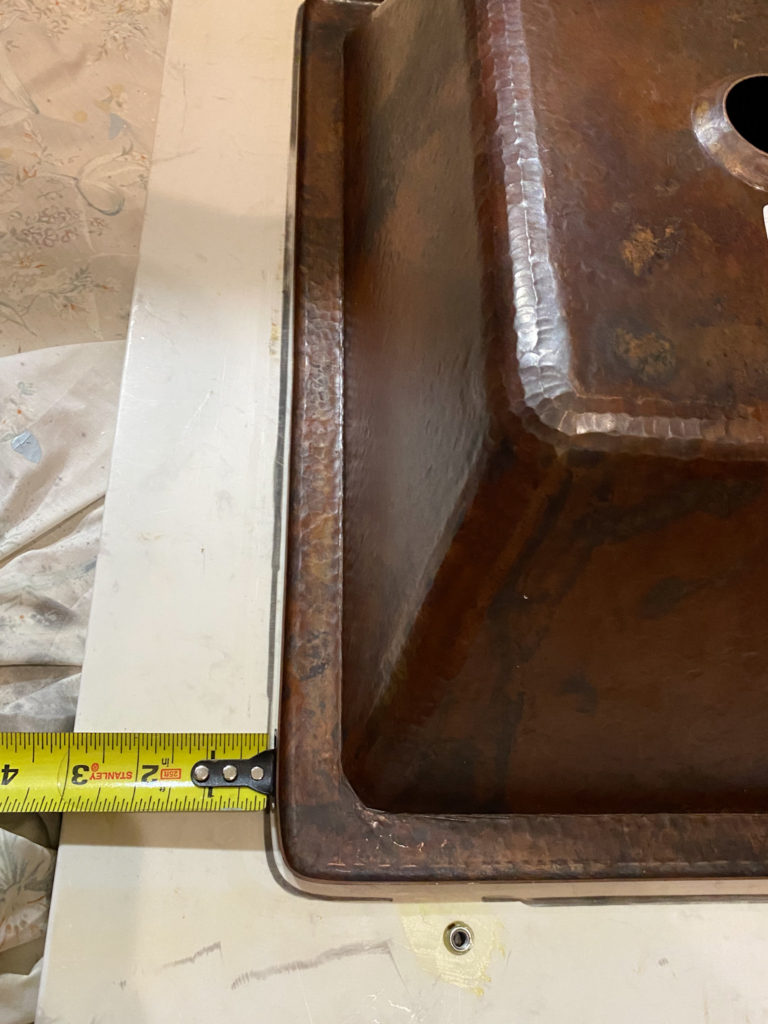
We then secured it with the bolts that came with the vanity top. We let it dry before installing it onto the top of the vanity.
If you have never looked at Sinkology’s selection of sinks, I highly recommend that you take a look! They are even more beautiful in person than on their website. They are also really high quality and add a unique touch to your home.
The Final Week!
You know how in every home renovation show, they act like it’s a race to the finish and they barely make it in time? I always think that’s fake – that they probably finish in plenty of time. Well…..here I am, racing to the finish as well! Hah. I guess the racing at the finish line probably happens all the time 🙂
I’m finishing on time though. I’m determined – and it’s gonna be gorgeous. Just wait!
Don’t forget to vote!
In the meantime, please don’t forget to vote! You can vote once daily and I’m so grateful for every vote you cast my way. Thank you for your love and support.
When you’re done voting, check out what all the other amazing home DIYers are up to! Their spaces are looking truly amazing too!
One Comment
Pingback: