How to Paint Kitchen Cabinets The Right Way!
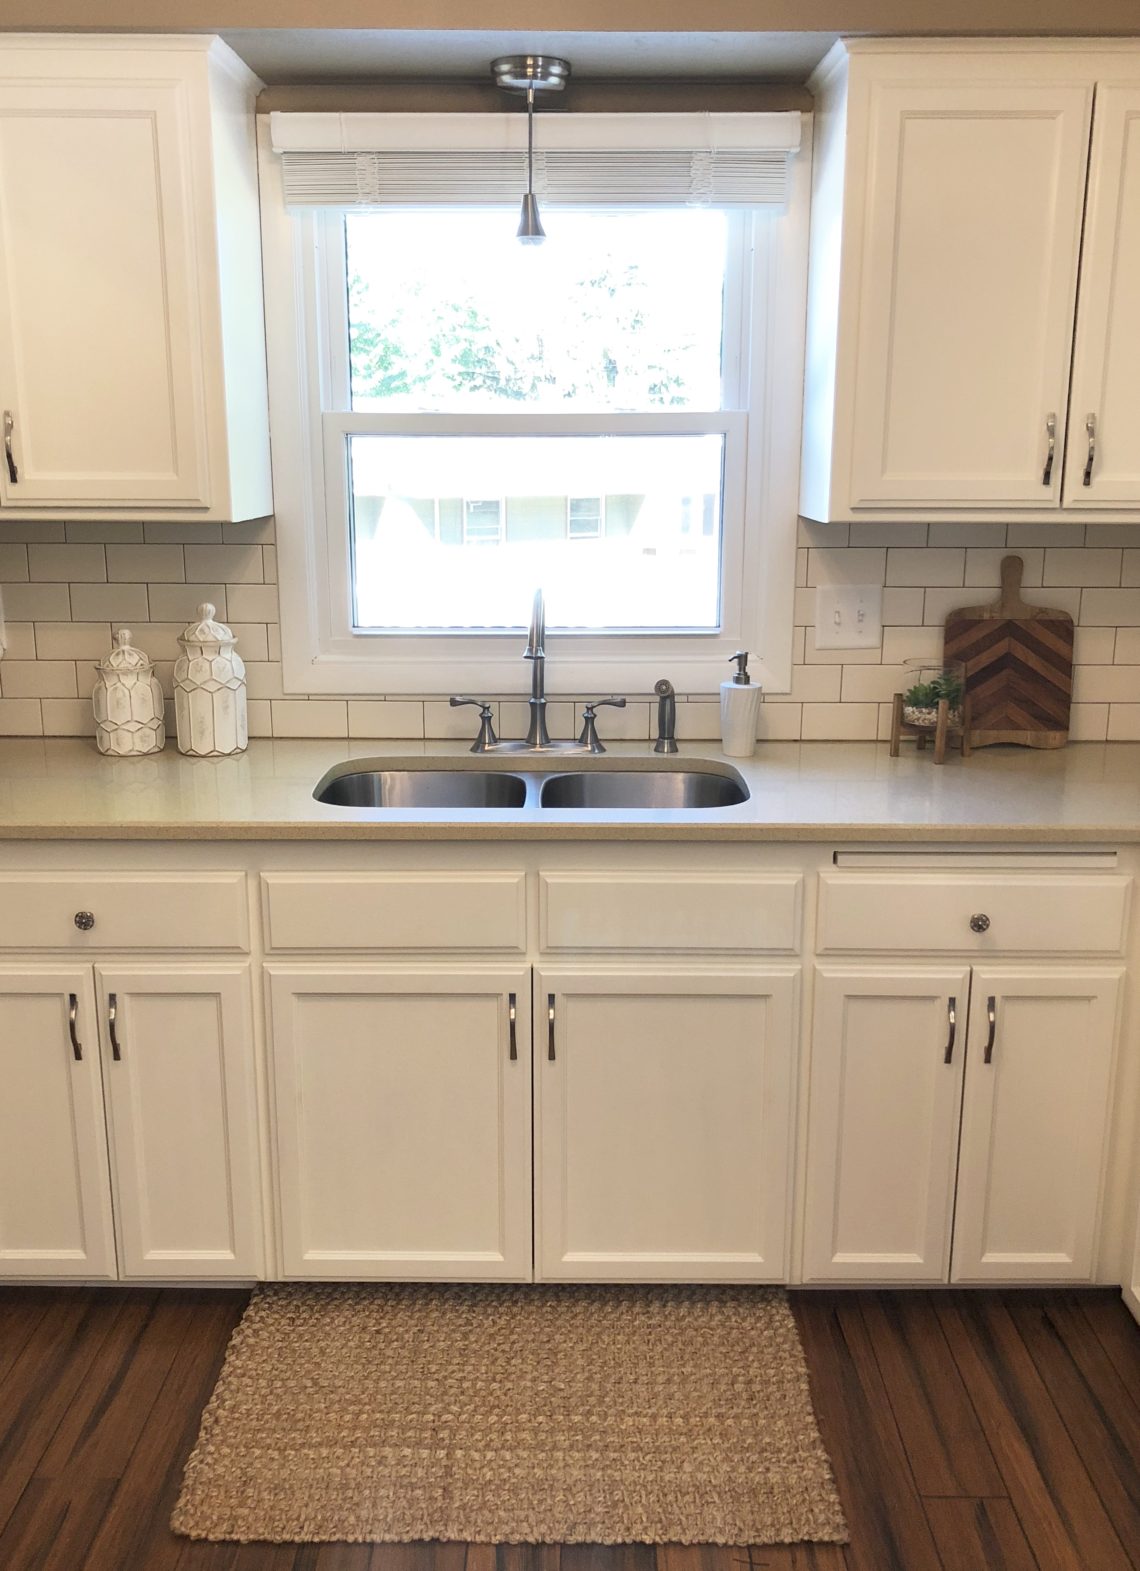
The hot home renovation trend – painted kitchen cabinets. I didn’t plan to jump on the bandwagon but I ultimately did and I can’t tell you how glad I am that I did! Check out our kitchen before and after in the picture below…clearly we bought this house based on potential, not current aesthetic appeal 🙂

Before I tell you exactly how to paint your cabinets, let me tell you this:
- This was HARD.
- This was my least favorite project in our house.
- I might have taken a two-month hiatus from it and finally my in-laws kindly mentioned that they would take some cabinet doors home to paint
- My office was piled high with kitchen supplies for months. Yes, months. And I work from home every day in that office. Awesome…
- I can’t believe how gorgeous it now looks!
With that said, let’s dive in. I’m going to keep this simple, telling you how to do this in 10 simple steps. However, in time I’ll create more posts to help you on the details like “How to pick the right paint color” and more. Most importantly, I’ll tell you what products and techniques to use to get a great finish and a LASTING one. Years later they will still look freshly painted.
- Create a vision! I searched Pinterest to get inspired and figure out how everything was going to fit together. This is important so that you don’t do one kitchen upgrade project only to realize you wish you would have done it differently based on what you want to do next…I know, it’s confusing but just have a vision ahead of time! Based on my searching, I knew I wanted off-white cabinets and tan/beige/cream tones in my kitchen. A soft, cozy, clean, warm feeling. Also, I knew what style of cabinet doors would and wouldn’t fit my style – not too modern, not too traditional. Below is an example of a pin you might find on Pinterest (ok, you WILL find it because it’s mine :)). Pins like this help me craft a vision before I start projects.

- Buy New Cabinet Doors (if needed): Our boxes were fine but our doors were flat ugly plywood – awful. Therefore, we decided to buy new cabinet doors from Fast Cabinet Doors. They have hundreds of options. It was fun to look through them and decide. A few tips: Ensure you pay more for boring and hinges; this will save you SO much time! Also, measure about 5 times to ensure you have exact measurements. Then you’ll be set! We had no problems with ours. They were gorgeous and perfect.
- Remove EVERYTHING: Take everything out of your cabinets, take off all the cabinet doors and all associated hardware. Take out the shelves as well. LABEL EVERYTHING. Just do it. You will not remember what shelf goes where and it will be terrible otherwise (I might have made that mistake on a few shelves…)
- Lightly sand and fill holes: Lightly sand the cabinet boxes and fill the holes, or any nicks, with wood putty. Make sure to sand over the wood putty to get a smoother finish. Just a quick light sanding will do – you don’t have to get all the gloss off of the wood or anything crazy (thank goodness because I think sanding is very boring).
- Clean: Wipe everything down with a tack cloth and then with TSP. This will prep all the surfaces for paint. It’s more important than you think.
- Priming time!: Let’s get to painting – errr…priming at least! Do yourself a favor and use Zinsser B-I-N Shellac Base Primer . It’s very thin so make sure it doesn’t run (aka don’t put it on too thick) but it will cover over anything. Put on 2 coats, allowing it to dry in between coats. Prime everything – inside cabinets, outside cabinets, shelves and cabinet doors. At this point you’ll realize just what you’ve committed to doing :O
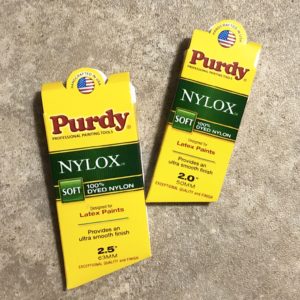
- Painting time (the never-ending task): Use a high quality paint. If you don’t, you’ll regret it for years because you’ll have to re-paint everything or it will just look terrible right away afterwards, after all your hard work. Here’s the best: Sherwin Williams ProClassic Interior Waterbased Acrylic-Alkyd paint. It’s so expensive, right?? I’m incredibly frugal and this felt painful for me to buy but trust me, it’s worth every penny. It was recommended to me by a Journeyman Painter (aka someone with their PhD in Paint). Use a very soft paint brush to avoid significant visible brush strokes – Purdy Nylox brushes are simply the best and also worth the investment. Here are two good examples: Trim Brush and Flat Surface Brush.
 Give everything 2 coats of paint allowing very ample time in between coats for the paint to dry. A light sanding in between coats, following by a tack cloth to take off any dirt is ideal. This makes for the best ultimate paint finish.
 - Reassemble everything and you’re done! Put the doors on, add the hardware you like best (Tip: match it to the finish of your faucet, lighting, etc.) and you’re done! (Ok, this sounds easy but it takes some time – check out the below “in progress” picture of my son crawling out of a cupboard – hah!)

- Wait 21 days until you put items back in your cabinets. If you do so sooner, you will do what I did and have bowls and glasses sticking to your paint, pulling up the paint – and you’ll feel distraught. Trust me. Just wait.

 Give everything 2 coats of paint allowing very ample time in between coats for the paint to dry. A light sanding in between coats, following by a tack cloth to take off any dirt is ideal. This makes for the best ultimate paint finish.
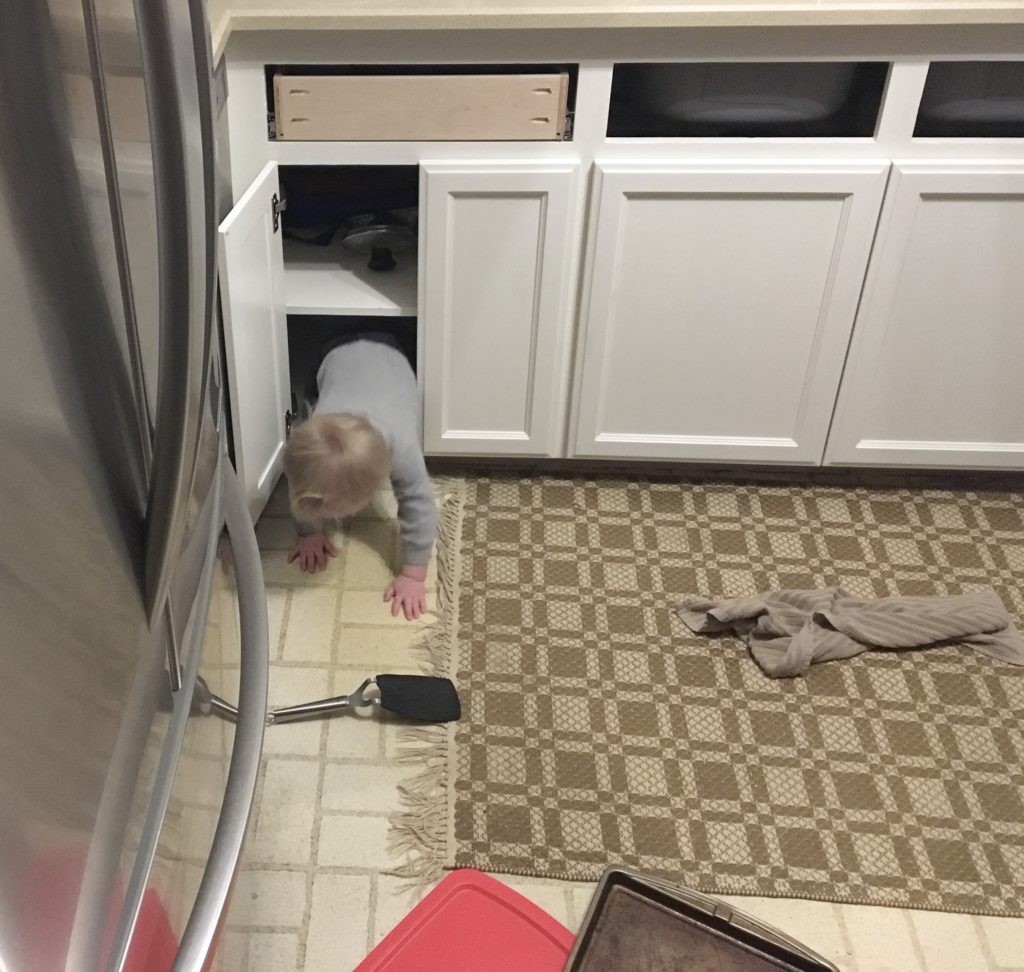
More to come in a later post on common problems you may run into and how to fix them, along with how to choose paint color and how to choose a cabinet door style.
Good luck, brave one. It will be worth it, I promise.
Disclaimer: This post contains affiliate links which means I may get a very small commission off any purchases made from my links – since I helped drive you there. It’s no extra cost to you so don’t worry!


