How to Make a Coastal Style Wood Bench with the Minwax 2021 Color of the Year: Vintage Blue!
I’m so excited to share with you the Minwax 2021 Color of the Year! It’s gorgeous. It’s soft. It’s natural. It’s absolutely perfect for your home.
The Minwax 2021 Color of the Year is…Vintage Blue! As the name states, it has blue in it but it also has greens and a soft gray undertone. It’s perfect for so many home styles including coastal, modern, farmhouse and more. The natural, organic look of it adds comfort and happiness to a room!
Minwax asked if I wanted to show you how their 2021 Color of the Year stain looks on one of my projects and of course I said yes! This post is sponsored by them but all opinions stated here are my own.
This post contains affiliate links which means I may get a small commission off any purchases made from my links. It’s no extra cost to you.
My DIY Coastal Bench
I decided to try out this amazing color on a bench for my entryway. The bench that was previously in my entryway was a bit wobbly and I felt ready for a change.
The colors of my home are soft and natural – white walls, soft blush pink colors, natural wood tones and some greenery. Therefore, I knew that this Vintage Blue color would fit in perfectly in my home!
Below is the tutorial on how to make the bench and what this beautiful stain looks like on it.
Head here to hear directly from Minwax about this beautiful Vintage Blue color and to see how other people used this color in their homes!
Time to Complete
1 day
Materials and Tools
- 2″ x 11″ x 4′ Oak Board
- 2″ x 2″ x 8′ Oak Board
- 1/2″ x 4″ x 2′ Oak Board
- Miter Saw
- Measuring Tape
- Pencil
- Random Orbit Sander with 120 grit and 220 grit sandpaper
- 2″ Wood Screws (12)
- Drill
- Tack Cloth
- Clamps
- Wood Glue
- Minwax Stainable Wood Filler
- Minwax Water-Based Pre-Stain Wood Conditioner
- Minwax Wood Finish Water-Based Semi-Transparent Color Stain in Pure White
- Minwax Wood Finish Water-Based Solid Color Stain in Vintage Blue
- Minwax Polycrylic Protective Finish
- Purdy 2” XL Sprig Paintbrush
- Synthetic Pad
- Rags
Click here to find a local retailer for Minwax products!
Directions to Make an Easy DIY Bench
STEP 1: Cut wood using a miter saw.
Cut the following pieces from the 2″ x 2″ board:
- 4 boards at 16 1/2″ long cut at 11 degrees at both ends
- 2 boards at 6″ long cut at 11 degrees at both ends
- 1 board at 34 1/4″ long cut at 90 degrees at both ends

Also cut two pieces from the 1/2″ x 4″ board, each measuring 8″ long and cut at a 90 degree angle at each end.
STEP 2: Sand wood
Using 120 grit sandpaper, sand the pieces of wood using a random orbit sander. Finish sanding using 220 grit sandpaper.

Remove any sawdust with a tack cloth.
STEP 3: Assemble the bench legs
Assemble the bench legs using the wood that you just cut and sanded. First assemble the outer two triangle pieces, placing the 6″ boards between two of the 16 1/2″ boards. Use wood glue and screws to secure.

Next add the 1/2″ thick 8″ boards to tops of each assembled triangle.
Then add the long middle board. Make sure to use both wood glue and screws for a strong, tight hold.
STEP 4: Apply Minwax Water-Based Pre-Stain Wood Conditioner to the top of the bench.
Since I am creating a two-toned bench with the top and legs different colors, I decided to stain the top before attaching it to the legs. This made staining easier. If you are making your bench all one color, you could assemble it all first and then stain it.
This pre-stain wood conditioner helps ensure that your stain goes on evenly. I’m choosing to use a water-based wood conditioner because I will be using a water-based stain on top of it.
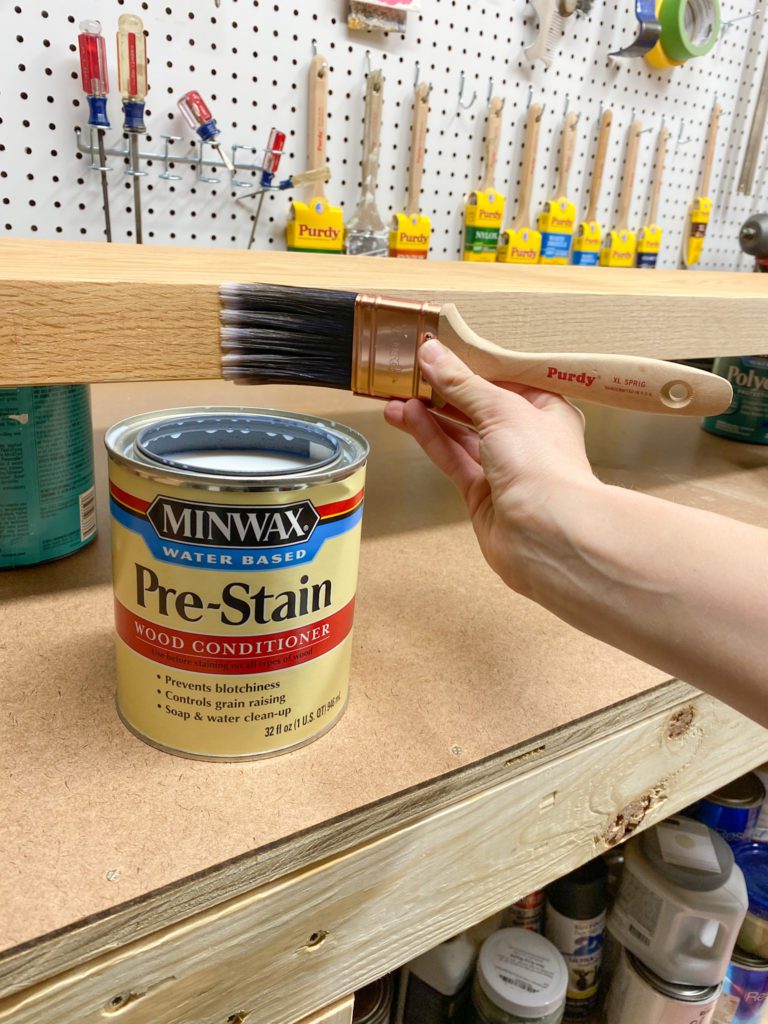
Using a Purdy 2” XL Sprig Paintbrush, apply the wood conditioner to the top of the bench. After you have applied it, remove any excess with a rag within 1-5 minutes of application. After 15-30 minutes, lightly sand the surface with 220 grit sandpaper.
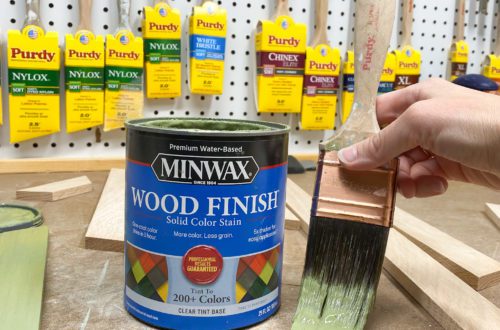
STEP 5: Apply Minwax Wood Finish Water-Based Solid Color Stain in Vintage Blue.
Apply the Solid Color Stain using a Purdy 2” XL Sprig Paintbrush. It’s really easy to apply because it’s a really thick formula: It’s 5 times thicker than traditional oil-based stains. Also, it dries in an hour! I’m impatient so I love this part of it.

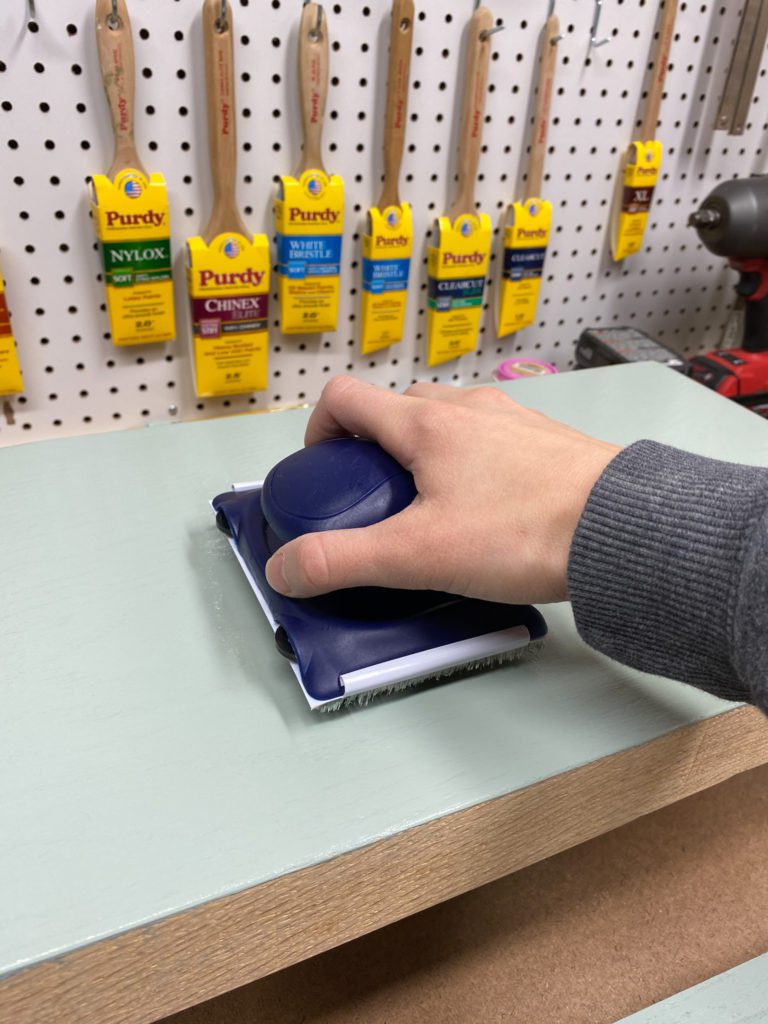
Immediately (within 2 minutes) remove any excess stain with a synthetic pad. (Also, how gorgeous is this color?!)
STEP 6: Attach the top of the bench to the legs
Next I placed the top of the bench onto the legs and secured it from underneath, using screws. The screws are put through the 1/2″ thick pieces of wood that are on the top of each set of legs.

STEP 7: Fill screw holes with wood filler, sand and remove dust with a tack cloth
Fill the screw holes with wood filler, slightly overfilling them. Make sure that the wood filler you are using is stainable if you’ll be staining your bench legs like I did.

Let wood filler dry.
Sand it smooth in line with the wood surface using 220 grit sandpaper. Remove any dust using a tack cloth.
STEP 8: Apply Minwax Water-Based Pre-Stain Wood Conditioner to the bench legs.
Just like you did with the top of the bench, apply the wood conditioner using a Purdy 2” XL Sprig Paintbrush.

After you have applied it, remove any excess with a rag within 1-5 minutes of application. After 15-30 minutes, lightly sand the surface with 220 grit sandpaper.
STEP 9: Apply Minwax Wood Finish Water-Based Semi-Transparent Color Stain in Pure White to the bench legs.
This semi-transparent stain is similar to the solid color stain in that it is water based, dries quickly and is 5 times thicker than traditional oil-based stain. The main difference is how much wood grain shows through the stain. This semi-transparent stain is exactly as the name states: semi-transparent. Therefore, you can see the wood grain really well through the stain.
Apply the Semi-Transparent Color Stain using a Purdy 2” XL Sprig Paintbrush.
Immediately (within 2 minutes) remove any excess stain with a rag.
STEP 10: Apply Minwax Polycrylic Protective Finish with a Purdy 2” XL Sprig Paintbrush.
Applying a polycrcylic finish to the top will help protect it. It will look milky white when you apply it but it dries perfectly clear.

After the polycrylic dries, sand lightly with 220 grit sandpaper. Then apply a second coat of polycrylic.
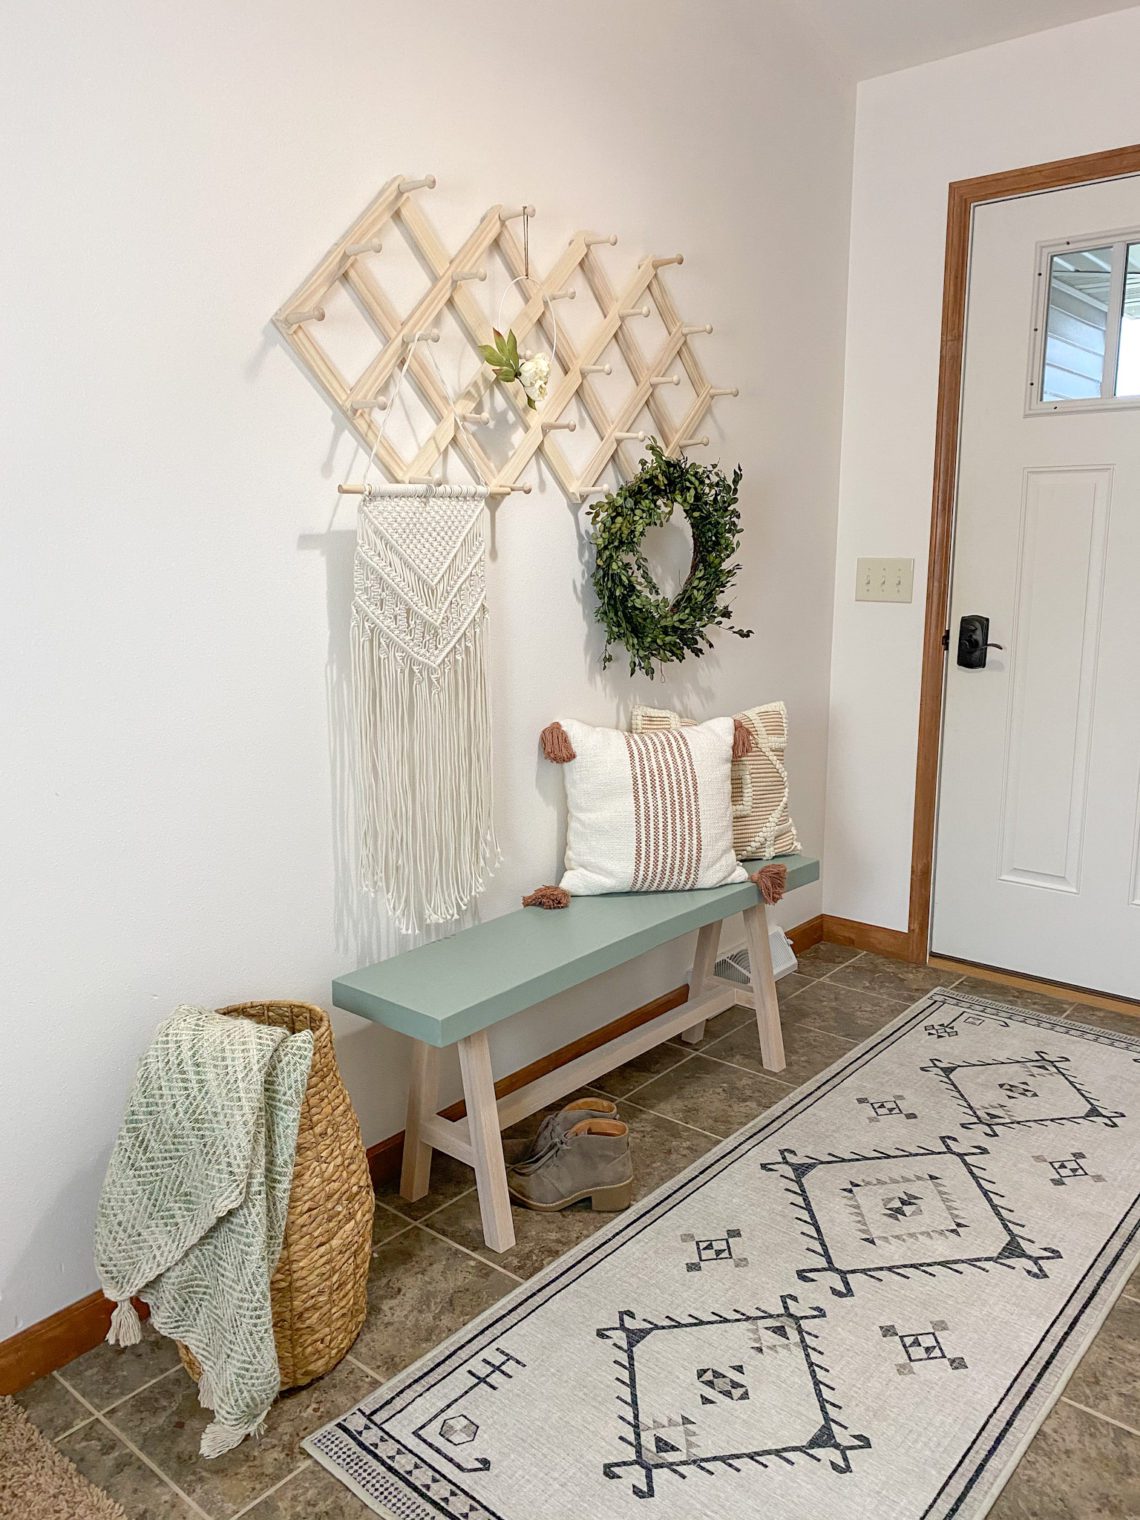
The Completed Bench!
Your bench will be completely finished now! I love the custom look of it and the warm, organic Vintage Blue color.

Here’s a close-up of it so you can see how beautiful the color is with the wood grain showing through just a bit.

I love the warmth that it adds to my entryway!


Want more easy woodworking projects for your home?
Head here for more project inspiration from Minwax – and to hear all about this gorgeous Vintage Blue color!
Head here to see how to make 2 styles of decorative bookends: modern and mountains!
Head here to learn how to make a modern console table and wall decor.
Head here for a modern style stool for a child’s room. It has a really fun pop of color in it!
Want to always be in the loop? Sign up for my emails here.
23 Comments
Cathy D Duncan
The bench is beautiful and perfect for your entryway. I love the new color. I have always liked blues and this one is so soft and attractive to the eye. Thanks for your directions. I appreciate the details. So easy to follow. Can’t wait for more!
admin
Thanks so much!
Jennifer
What a beautiful shade of blue! It turned out beautifully.
Linda
The color is beautiful and it looks lovely in your foyer!
admin
Thanks so much, Linda!
Danielle
It’s soooo cute!!! I love it! We were going to make one for our entry, but then I found one at Target and bought it instead.
admin
Thanks so much, Danielle! Sometimes you just find that perfect one – especially at Target 🙂
Kim Waldorf
Well, that is soooo cute! What a good job you did. I really like the color and the bench looks perfect in that space.
admin
Thanks so much, Kim!
Kimberly Jones Snyder
the bench is perfect! I love the style of it and the color is beautiful! Thank you for sharing your talents with us!
admin
Thanks so much, Kimberly!
Jennifer Howard
Mary…This is amazing!! I love the entire vibe of it! That’s one of my favorite colors too.
admin
Thanks so much, Jennifer!!
Pingback:
Christin
This is a beautiful bench! I’m loving the new miniwax colors! Great tutorial!
admin
Thanks so much, Christin!
Carol Karl
Oh, this is absolutely my jam! That colour is divine. Love the bench and the way you’ve styled it too.
Morgan Nelson
I love the colors! It turned out great!
admin
thanks so much, Morgan!
Marie
That color is so pretty! The bench turned out terrific. Did you change up your site? It looks really bright and fresh:)
admin
Thanks so much, Marie! I changed up some of it (the photos at the top, my logo and a few other minor things). I’m so glad that you noticed! 🙂
KariAnne Wood
That color is so pretty! I love the bench and you have the best style!
Happy day!
KariAnne
admin
You are so kind! Thanks so much, KariAnne! Have a wonderful day too.