


I can’t believe that my Jeffrey Court Renovation Challenge reveal is here! I’m so excited to share it with you.
First, thank you so much for all your support and encouragement along the way!
Secondly, let’s delve into this bathroom renovation! I’ll be starting with what the bathroom looked like before and walking you through how we transformed it during the 6-week Jeffrey Court Renovation Challenge.
Thanks so much to my generous sponsors, Jeffrey Court, FrogTape, Sinkology and Lamps Plus. I received compensation for my work but my opinions stated here are my own. Affiliate links are used, meaning that I could earn a small commission on some links if you decide to purchase products. It’s no additional cost to you.
The Before Bathroom

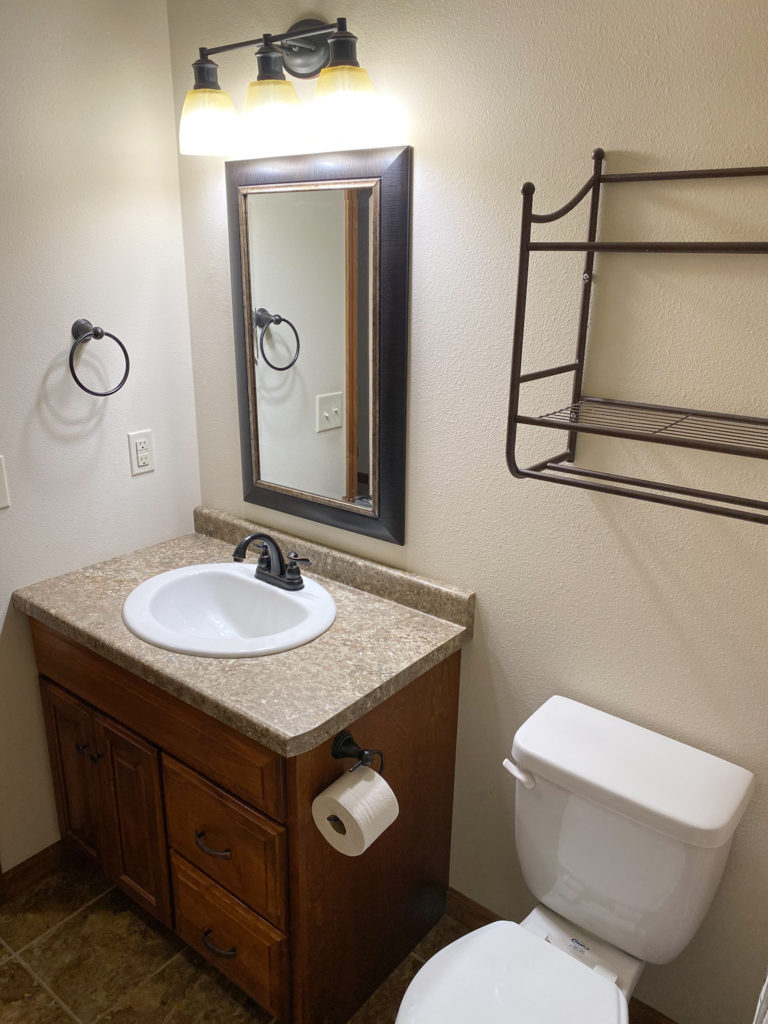
It wasn’t bad. It just wasn’t my style. I was so excited to make it my own! I was especially excited to add a gorgeous tiled wall on the vanity/toilet wall.
First, an Inspiration Board

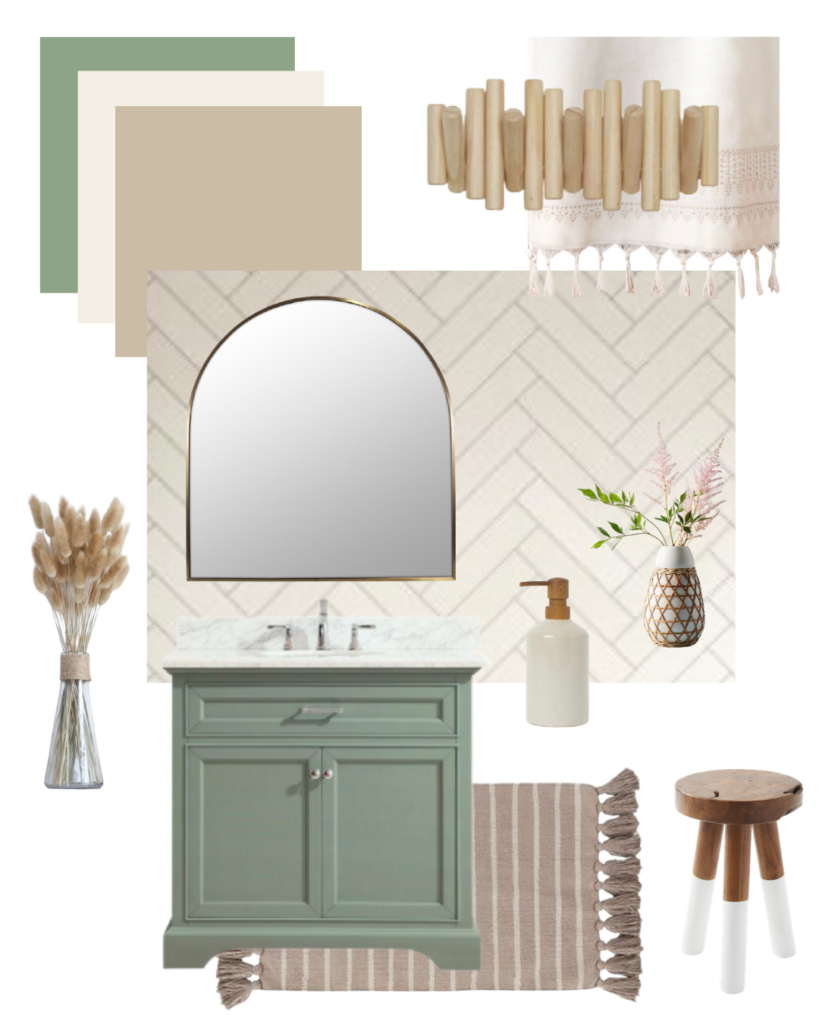
I wanted a bathroom with a soft, calming, light and airy feel. I wanted it to feel bright and clean but not sterile. This inspiration board is what kicked it all off for the Jeffrey Court Renovation Challenge!
Also, my renovation needed to be budget friendly. That’s key for me. I actually just wrote a post with 7 tips for renovating a bathroom on a budget. Head HERE to read all the tips! Also, don’t forget to check out this page for all sorts of beautiful bathroom vanities, mirrors and more from Kitchen Bath Collection.
Painting the Vanity
I kicked off the renovation by first painting the vanity.
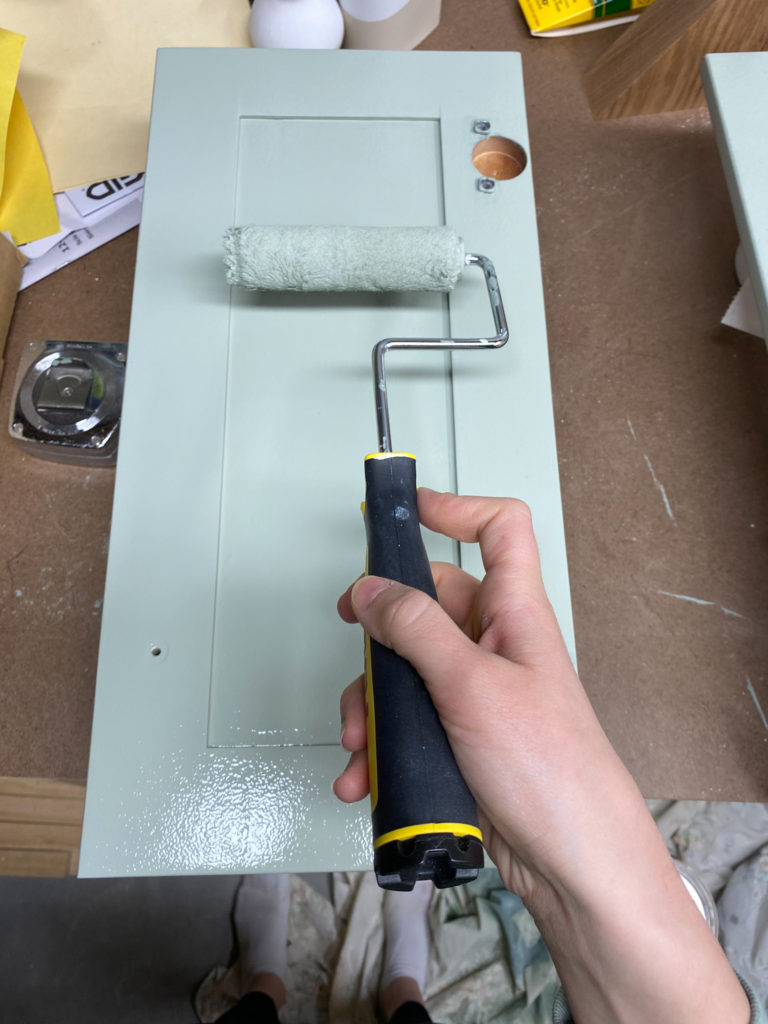
I painted it a warm sage green using a custom match color from Sherwin-Williams. To ensure a perfect finish, I used a combination of the perfect paint (Sherwin-Williams Emerald Urethane Trim Enamel) and the perfect applicators (Purdy Nylox brushes and White Dove mini roller).
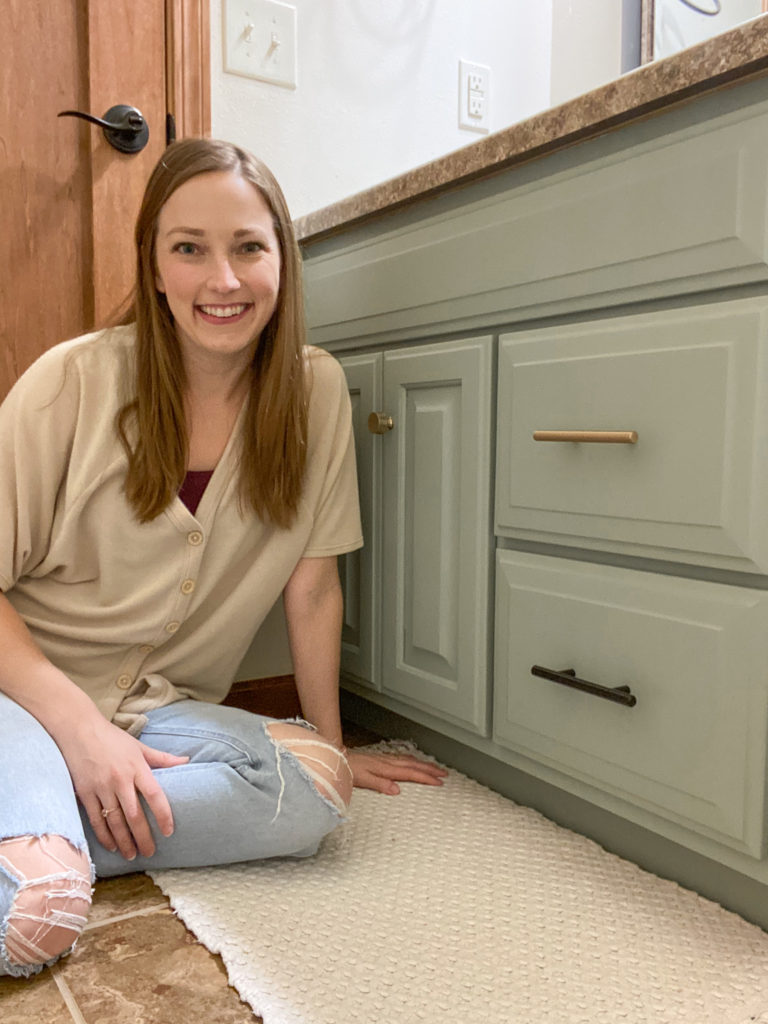
I finished off the painted vanity with a debate on what hardware finish was best! (Spoiler Alert: I chose the brushed brass :))
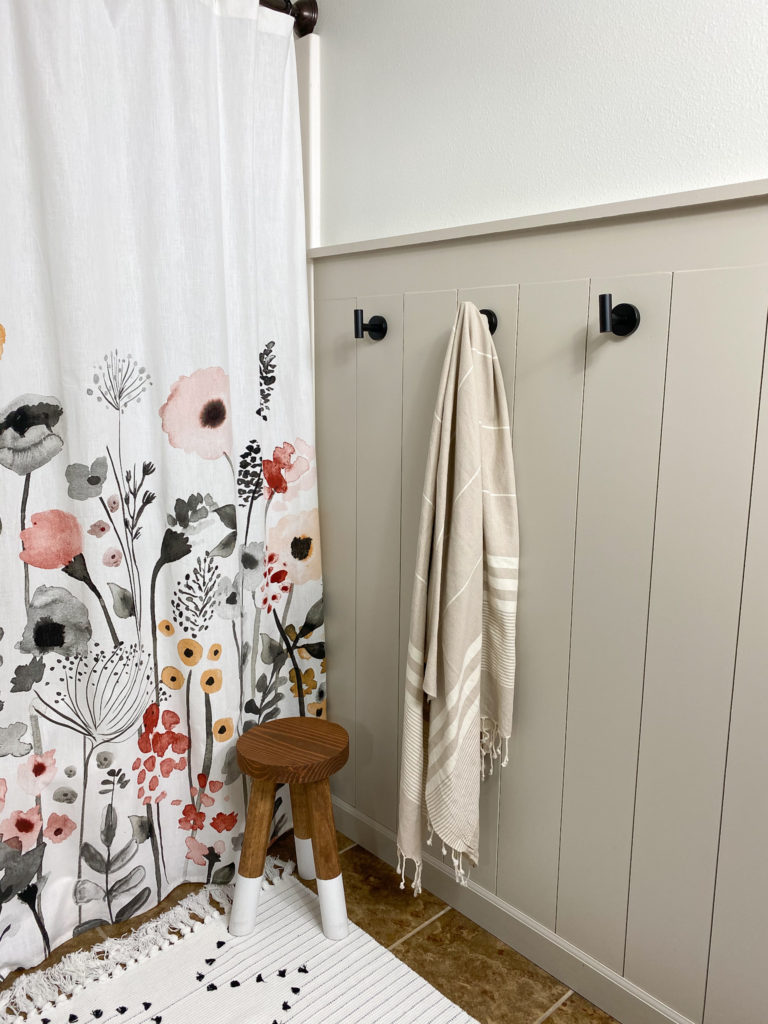
A Vertical Shiplap Half Wall
Next I created a vertical shiplap half wall on one side of the bathroom. I wanted to add some interest and character to that wall.
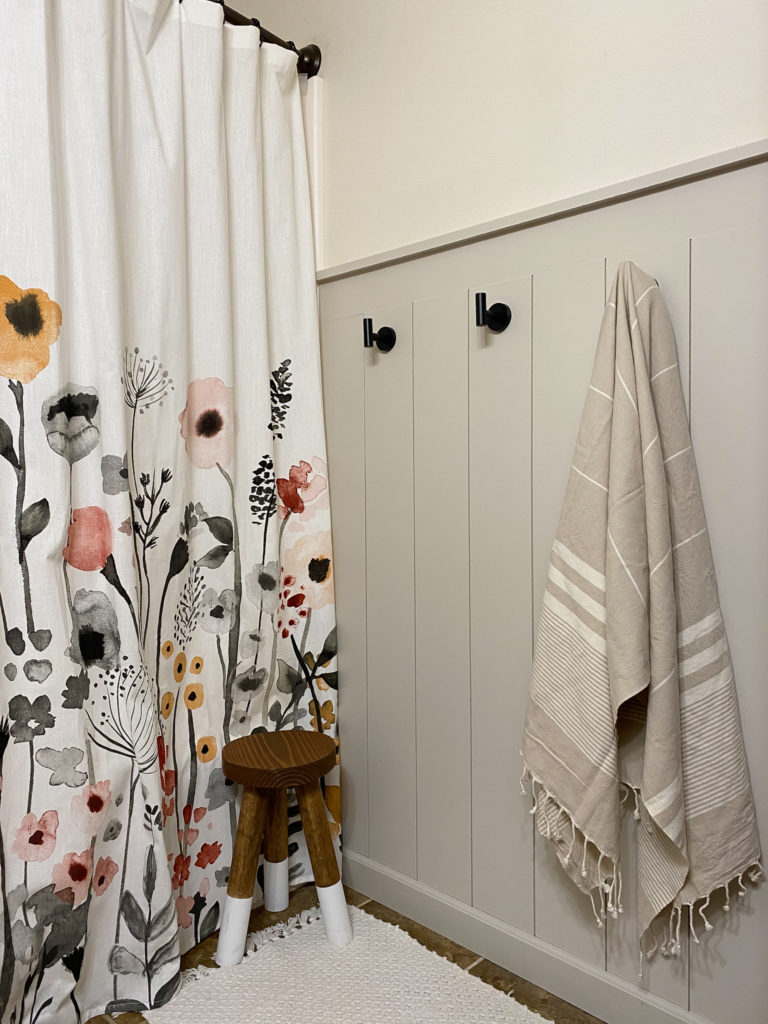
I used PVC boards to avoid any potential issues with moisture around wood. I painted it Accessible Beige by Sherwin-Williams. The matte black towel holders were a welcome upgrade from the towel bars that the prior owner had on this wall. I added in my DIY dipped leg stool just for fun to warm up the space a bit.
Let’s Start Tiling!
Next step was the tiling, which I knew would be a lot of work but would make SUCH a huge difference in the room!
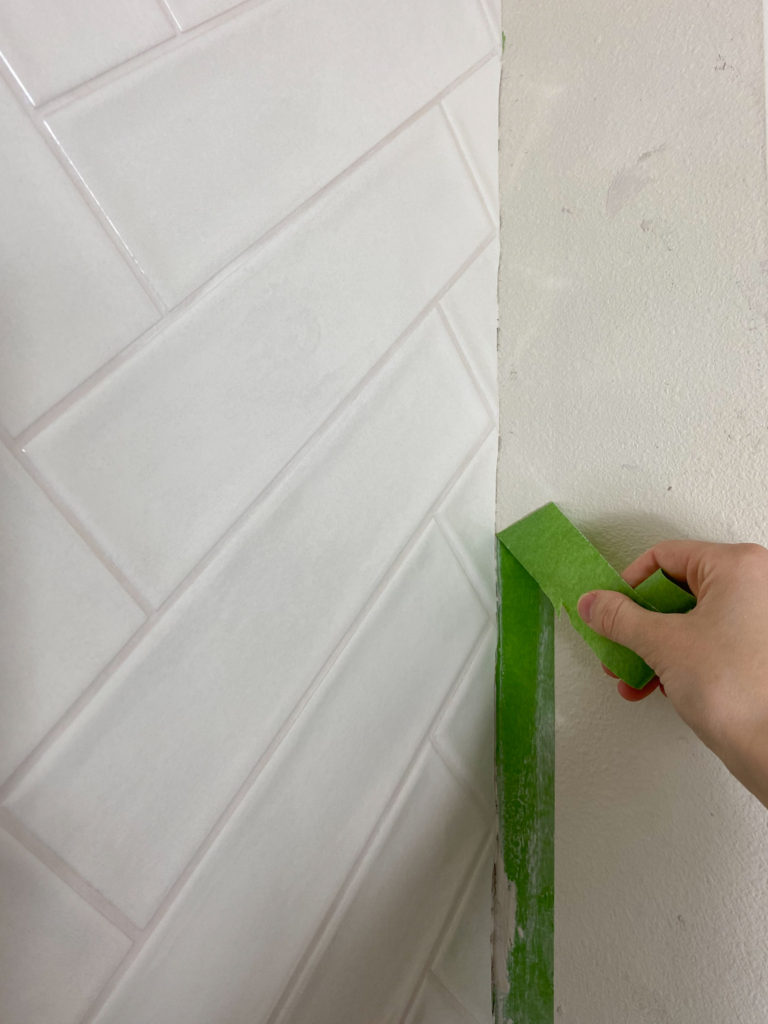
We started with gorgeous Taffeta White 3″ x 12″ Glossy Textured Ceramic Wall Tiles by Jeffrey Court. These tiles are very high quality and have a handmade look to them, which I love.
Getting every herringbone pattern angle exactly perfect was a big job but we got it done – and I couldn’t be happier with the design!

We busted out my best friend, FrogTape painter’s tape, to help us create clean, crisp lines during all of our work – especially grouting and caulking!
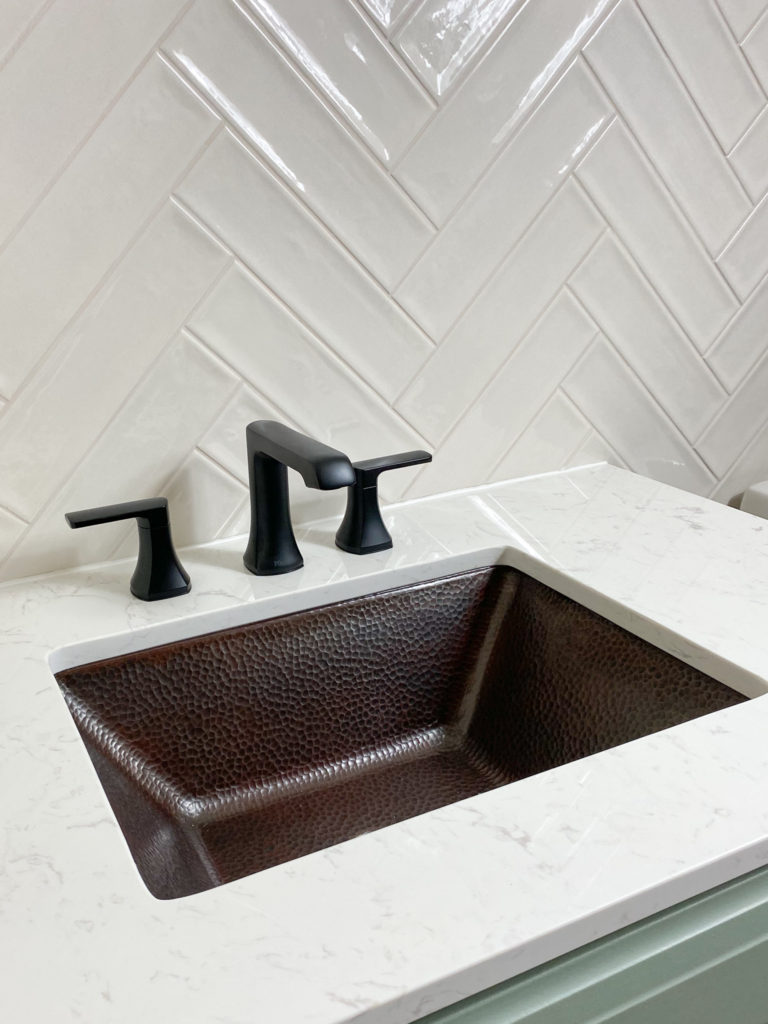
Adding a Beautiful Copper Sink, Brushed Brass Mirror and Light
I love how these three unique pieces add a custom look to the room.
We added a Sinkology copper sink that is seriously gorgeous! I was amazed when I opened it up, seeing how incredibly pretty it is. This is the Hawking Copper Bathroom Sink – Spa Series from Sinkology. If you haven’t checked out their sinks before, definitely head over to their website to see their selection!
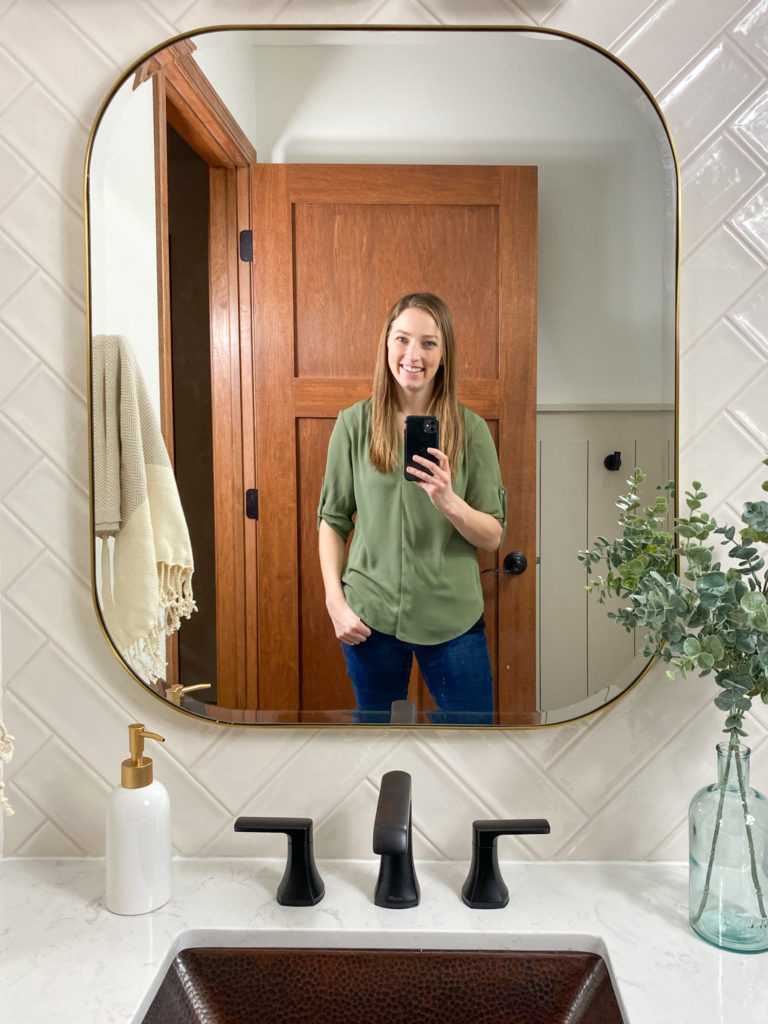
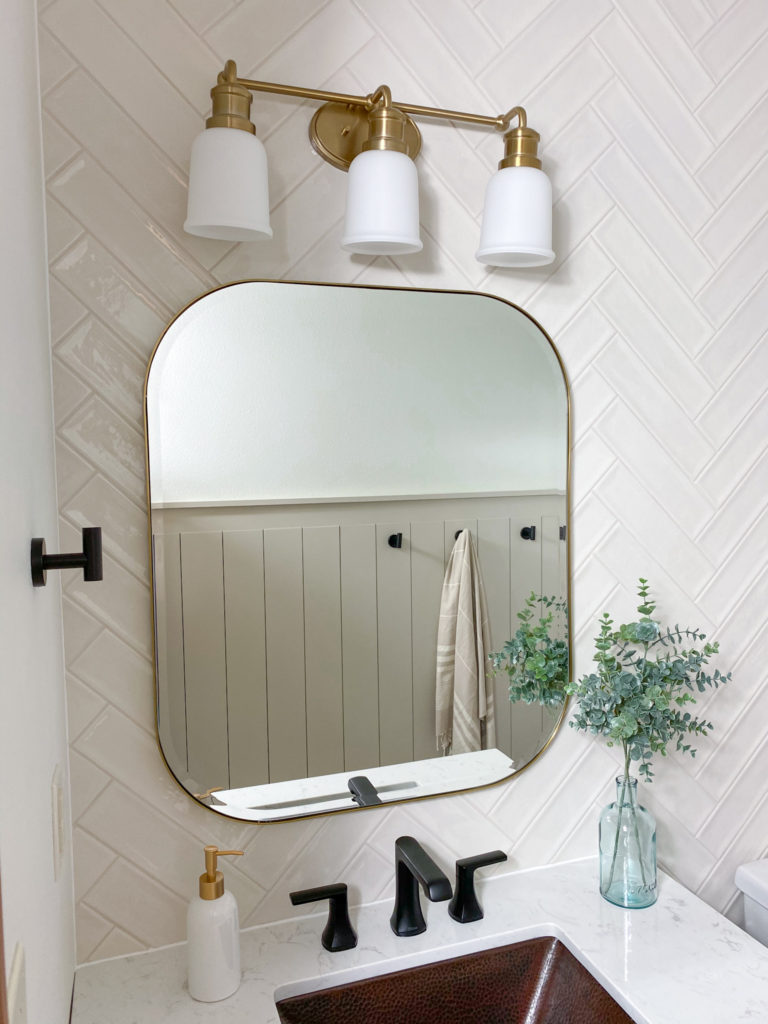
We also added one of my favorite features: A large mirror from Lamps Plus that has a gorgeous brushed brass frame on it. It makes the small bathroom look SO much bigger. Also, it’s such a high quality mirror! Heavy and very well made. I love it’s elegant look.
We also added a beautiful brushed brass light fixture. This was a huge upgrade from the prior light fixture, which gave off a yellow-ish glow, which wasn’t my style. This brushed brass fixture from Lamps Plus is perfect for the space.
The Grand Reveal!
I bet by now you are saying “Okay, enough of the progress details, show me the full finished bathroom!” Well, here it is!
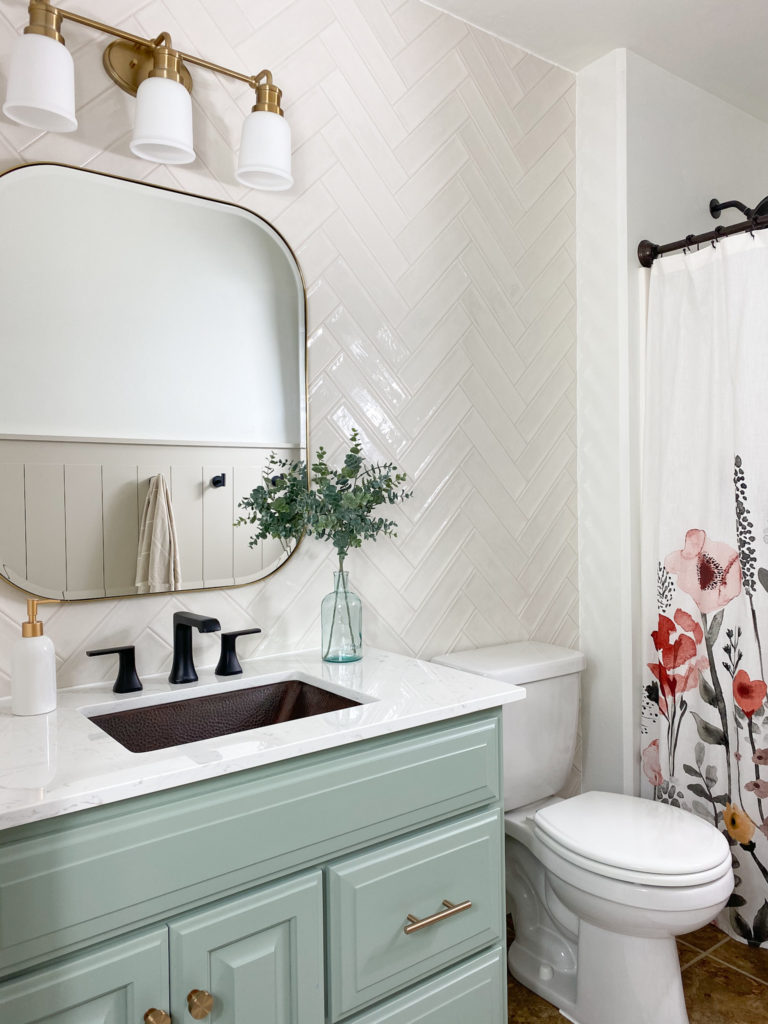
I love how bright and calming it is.
I love how the floral design on the shower curtain balances out the white walls and tiles.
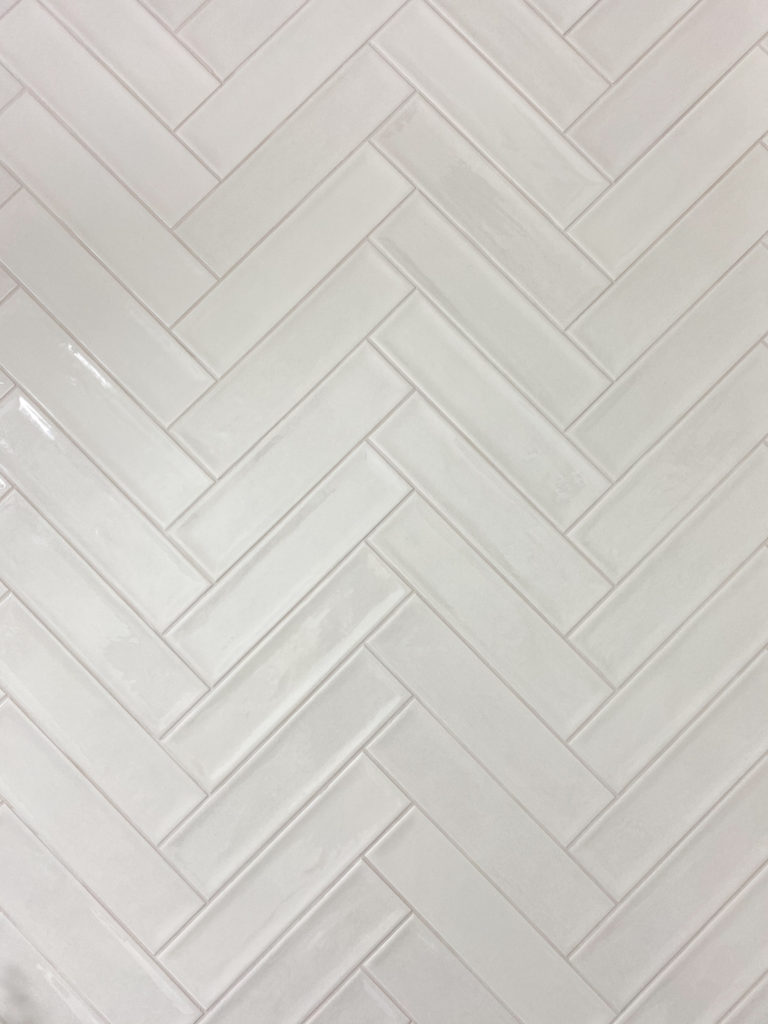
I love how each tile is unique, slightly different than the others, giving the wall a high-end handmade look.
I love the herringbone pattern.
I love the warmth of the green vanity combined with the bright white of the vanity top and the rich copper sink.
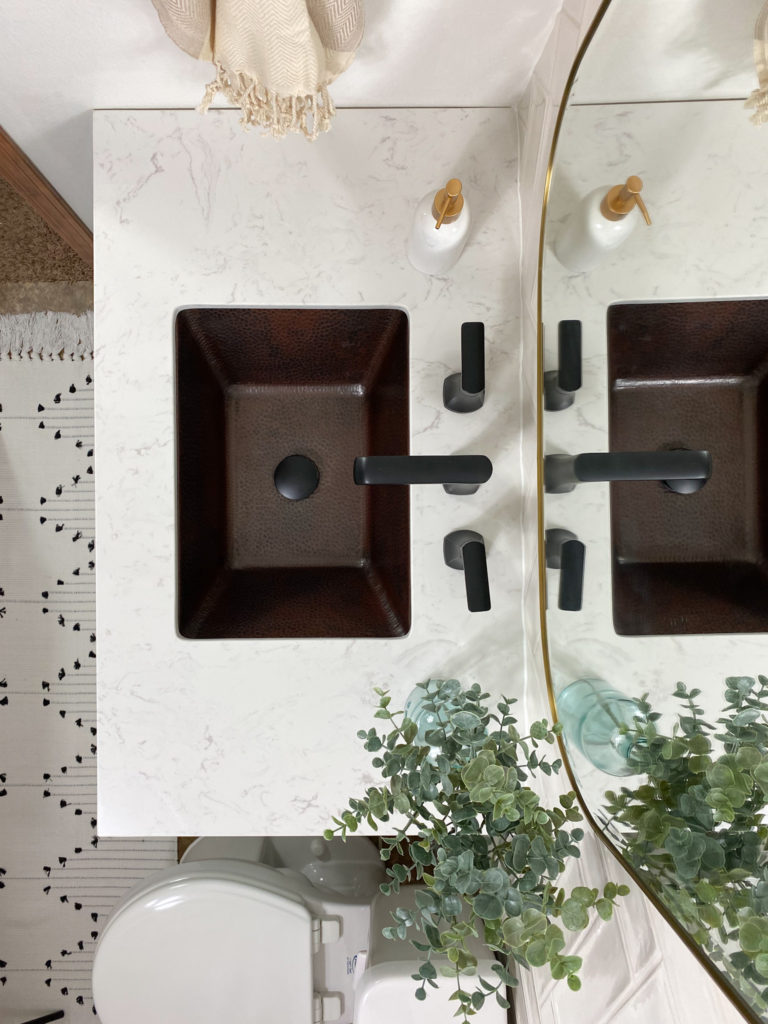
I love the combination of matte black and brushed brass, creating a balanced modern yet warm look.
I am so thankful for my generous sponsors, Jeffrey Court, Sinkology, FrogTape and Lamps Plus. Thank you for supporting me and believing in my design and DIY skills. It means so much to me.
Don’t Forget to Go Vote While You Still Can!
Thank you for encouraging me in this amazing adventure.