

It’s week 2 of the Jeffrey Court Renovation Challenge and I’ve been busy diving right in! This week I’ve been painting my bathroom cabinets. I’m here to tell you that this doesn’t have to be a scary undertaking. It can be easy, look professional and you can avoid brush strokes!
Below I’ve laid out a quick “How to Paint Bathroom Cabinets” tutorial. Here’s the most important piece of advice I have for you: Don’t skip any steps! I’m impatient so many times I want to skip steps like sanding and just get the job done. Don’t do it. Follow the steps to get a perfect finish on your bathroom cabinets!
Wait. What is the Jeffrey Court Renovation Challenge?
Did you miss my week 1 post? If so, head here to read ALL about the challenge and my bathroom renovation plans.
You can also head over to the Jeffrey Court Renovation Challenge home page to see what all the other DIYers are up to!
In a nutshell, the Jeffrey Court Renovation Challenge is sponsored by Jeffrey Court, FrogTape and Sinkology. I have 6 weeks to completely renovate my bathroom. During these 6 weeks, I am competing against other Home DIYers for a grand prize of $5,000. How is the winner chosen? Based on votes from people like you! You can vote once a day starting April 14 so I’d love for you to vote and support me in my work. Thank you SO much for your support and encouragement.
This post contains affiliate links, which means that sometimes I get a small commission because of your purchases. It’s at no cost to you.
Back to it: How to Paint your Bathroom Cabinets!

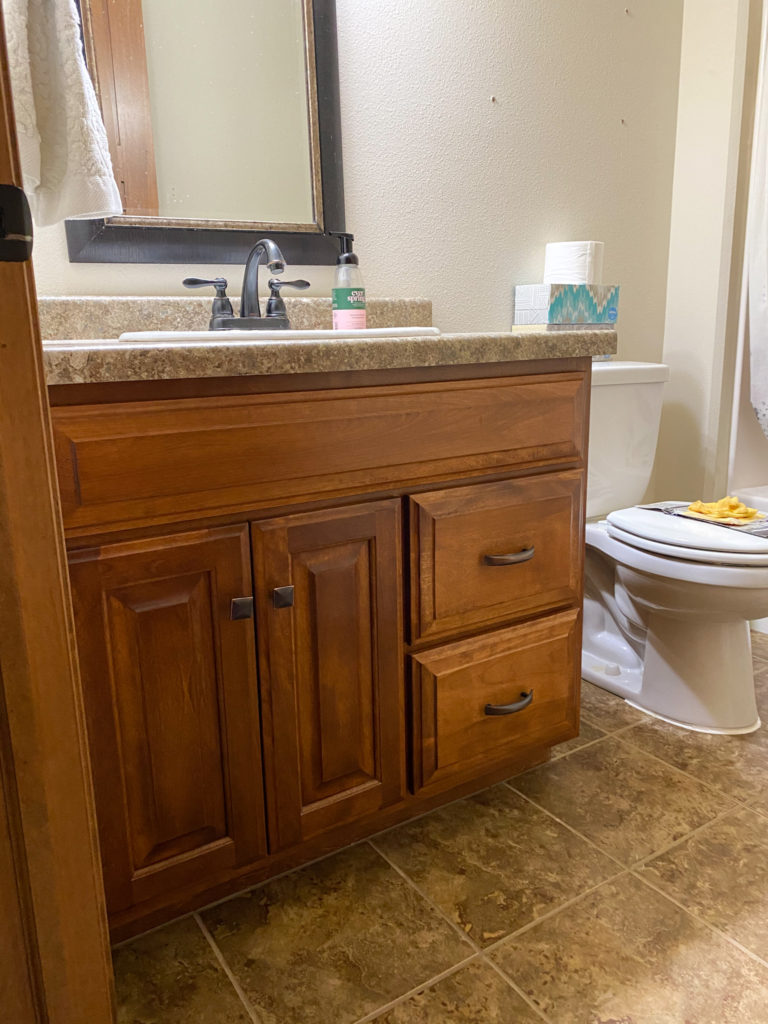
My bathroom vanity was beautiful before and part of me felt bad painting it since I really do love stained wood. However, it wasn’t what I was dreaming of in here so I decided to GO FOR IT!
Tools & Materials
- Drill
- 220 grit sandpaper
- Tack cloths
- TSP cleaner & rag
- Sherwin-Williams Extreme Bond Primer
- Sherwin-Williams Emerald Urethane Trim Enamel
- Purdy Nylox Paint Brush
- Purdy White Dove 1/4 Nap Mini Roller
- FrogTape Multi-Surface Painter’s Tape – Green
- Purdy Paint Pail
Step 1: Remove Hardware
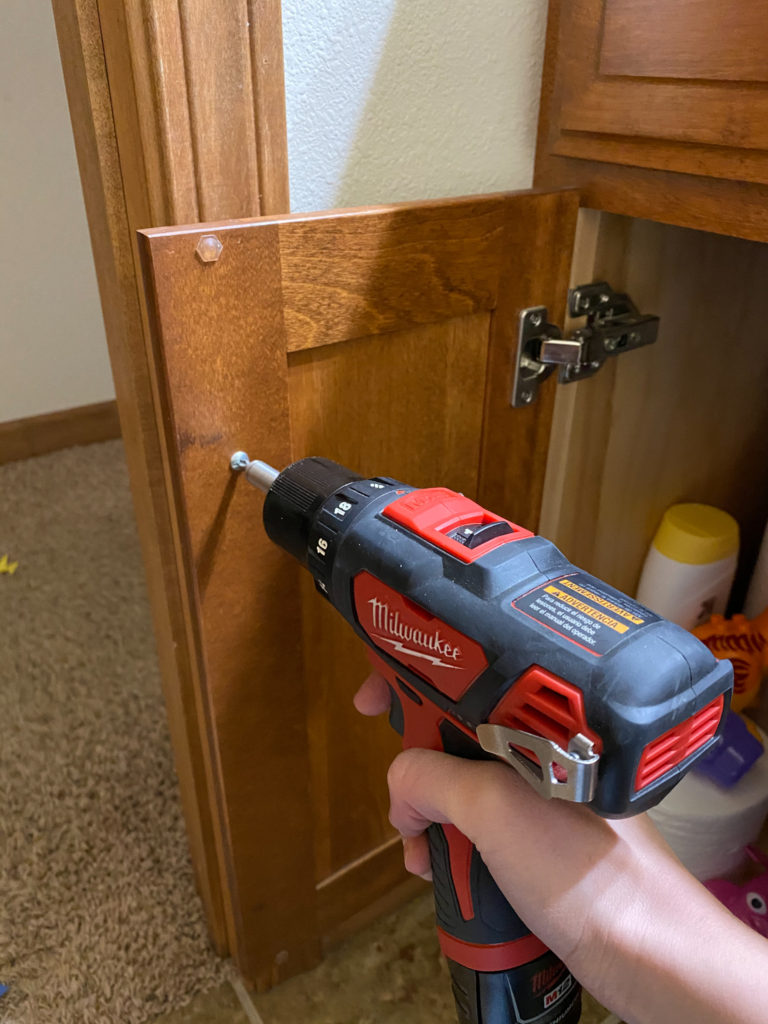
First remove all the hardware, including the knobs and pulls. Also, take the doors off the cabinet by removing the hinges.
Step 2: Clean with TSP Cleaner
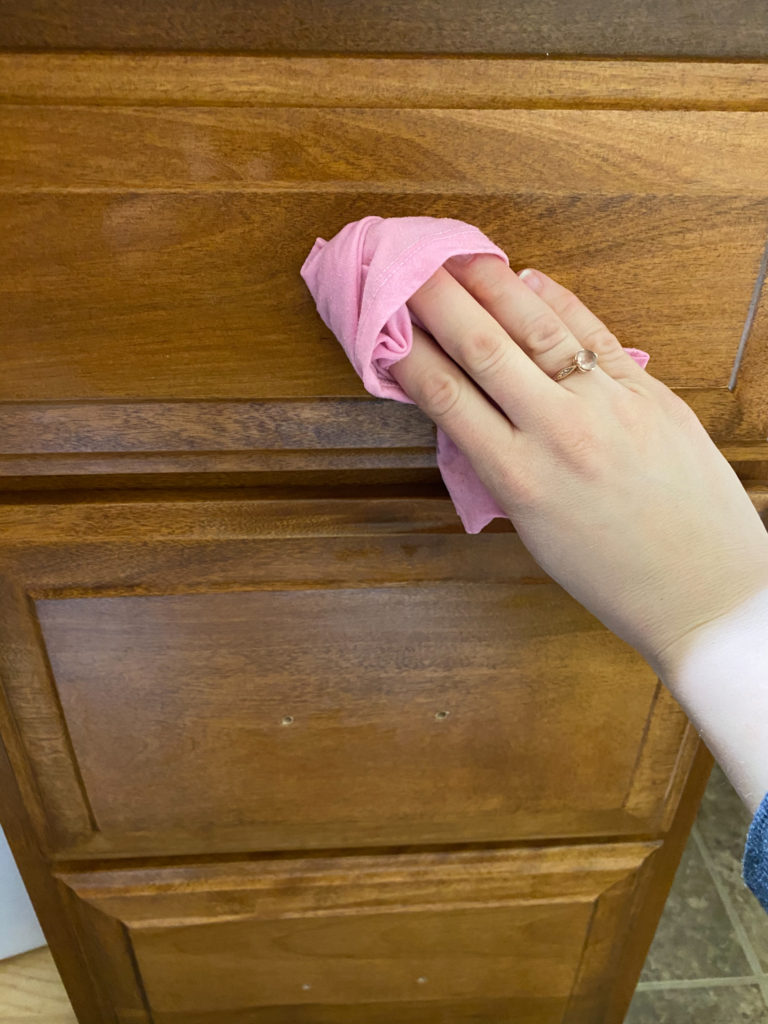
Next I mixed TSP with water to clean off any grime from the cabinets. Some people skip this step since next you’ll be sanding. However, in my opinion, I recommend doing this step since your sanding will be very light (only with 220 grit sandpaper). This cleaning step helps make sure that you won’t need to really work at sanding off grime.
Step 3: Lightly Sand & Remove Dust with Tack Cloth

Lightly sand the cabinets with 220 grit sandpaper. This can be done very quickly. You just want to rough up the surface a bit. Then remove any dust with a tack cloth.
Step 4: Apply the Primer
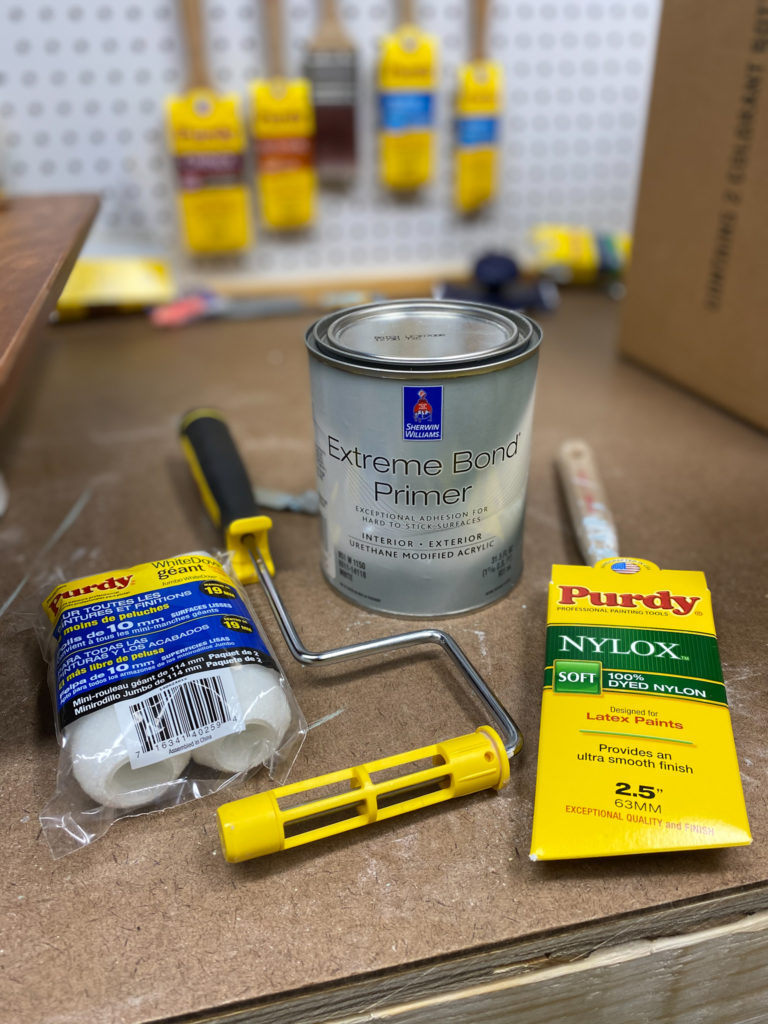
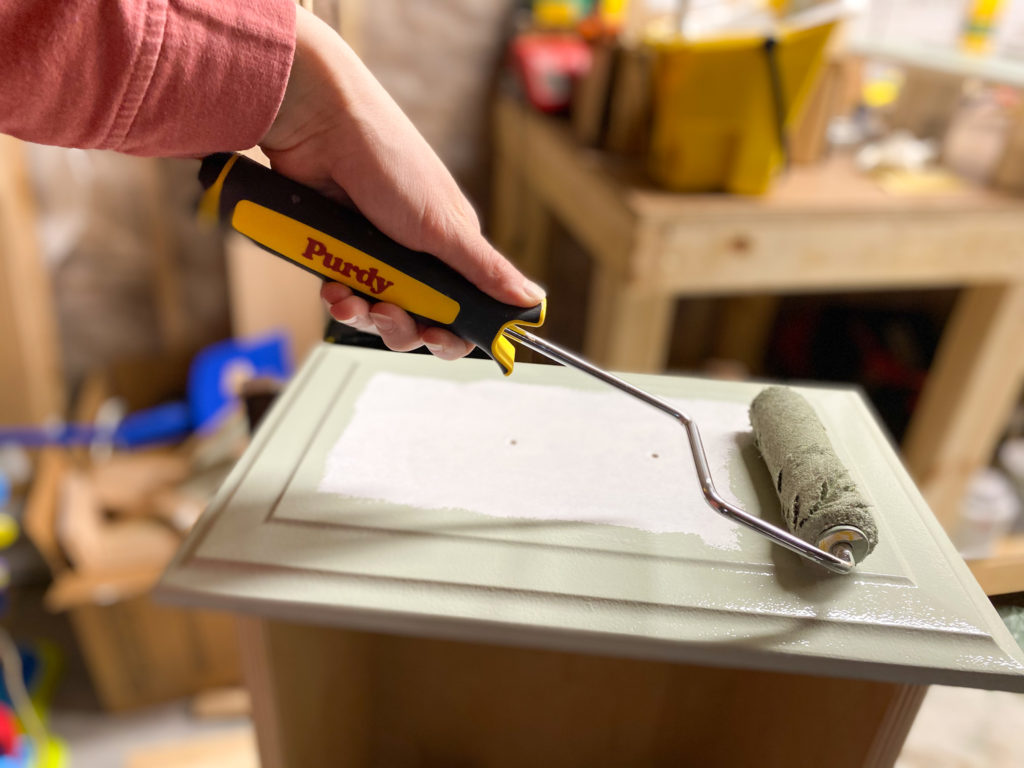
Here is what you will need for applying the primer: Sherwin-Williams Extreme Bond Primer, an angled Purdy Nylox Paint Brush and a Purdy mini roller with a White Dove 1/4″ nap roller cover.
This primer will create a nice surface for your paint to adhere to. The paint brush has very soft bristles, which will help eliminate visible brush strokes. The mini roller will help you get the job done quickly. The low nap of the roller cover will help you get a smooth finish.
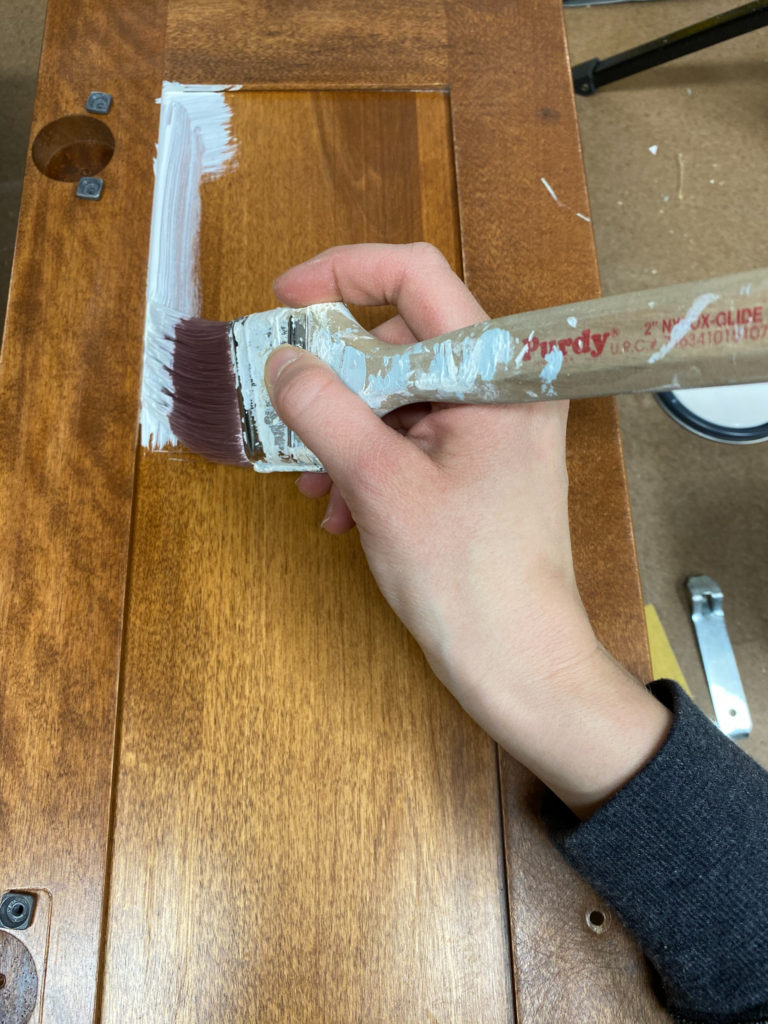
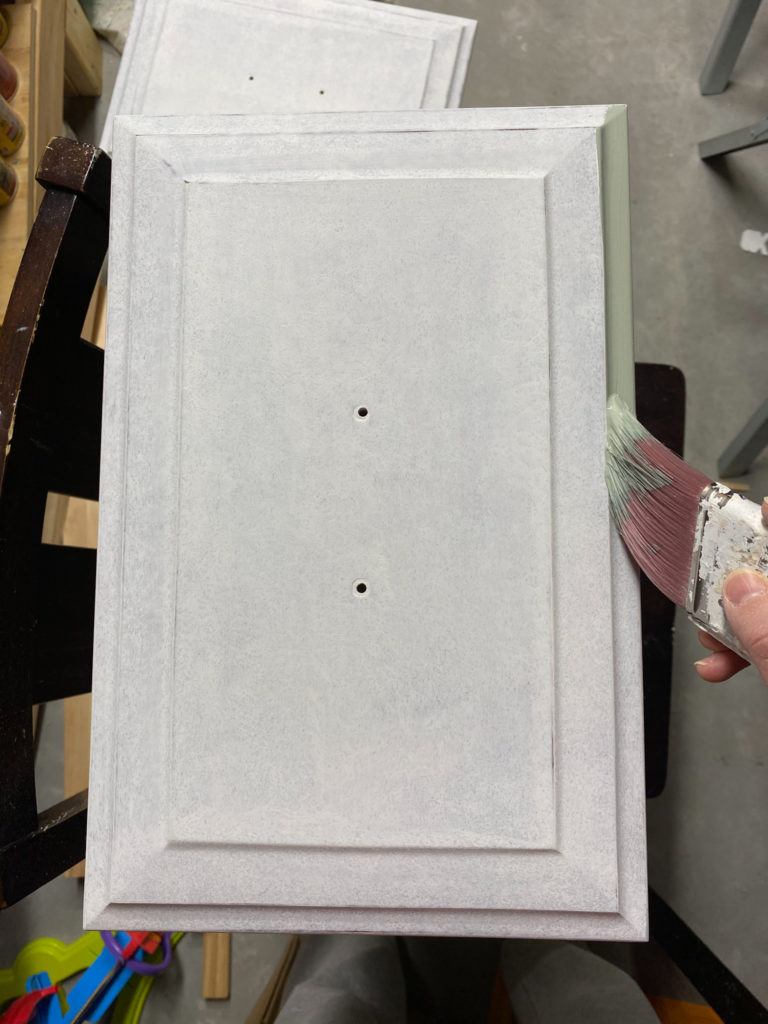
First paint the crevices of the doors/drawers with the paint brush. Apply a thin coat to avoid running and beading of paint. The primer will not cover perfectly and that’s okay! That’s not the point of a primer.
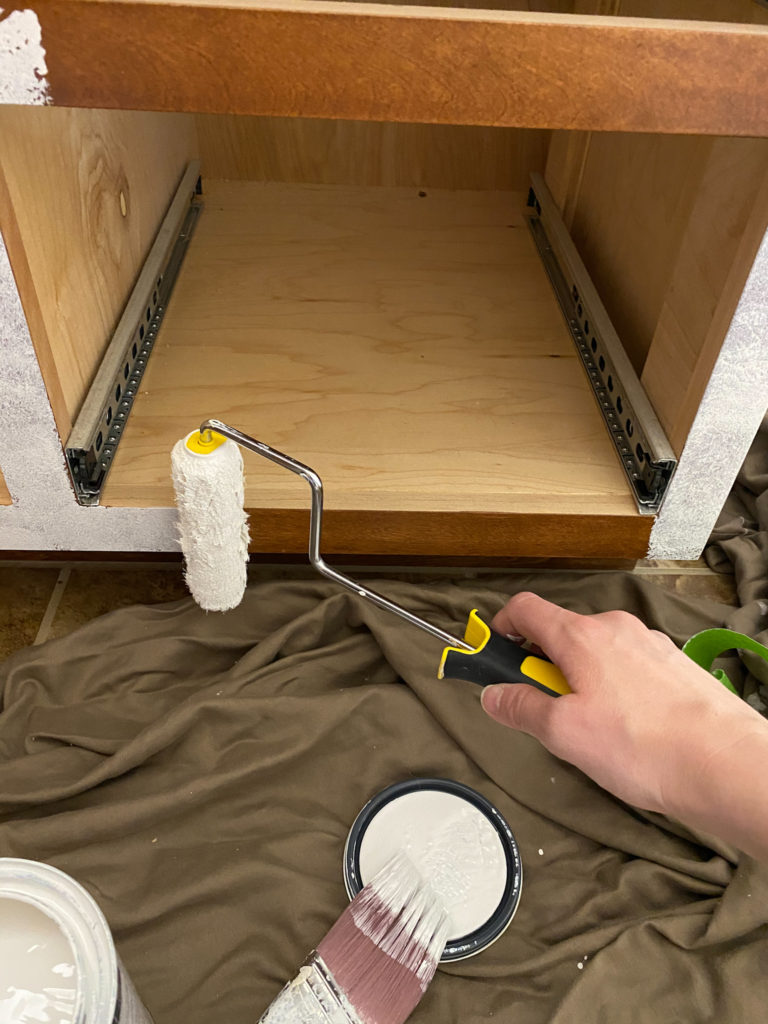
Immediately after painting crevices, go over the rest of the drawer/door/vanity with the roller. The roller will help smooth out the finish and give the cabinet a uniform finish. Once again, make sure to apply a light coat of paint.
Step 5: Lightly Sand the Primer and Remove Dust with a Tack Cloth
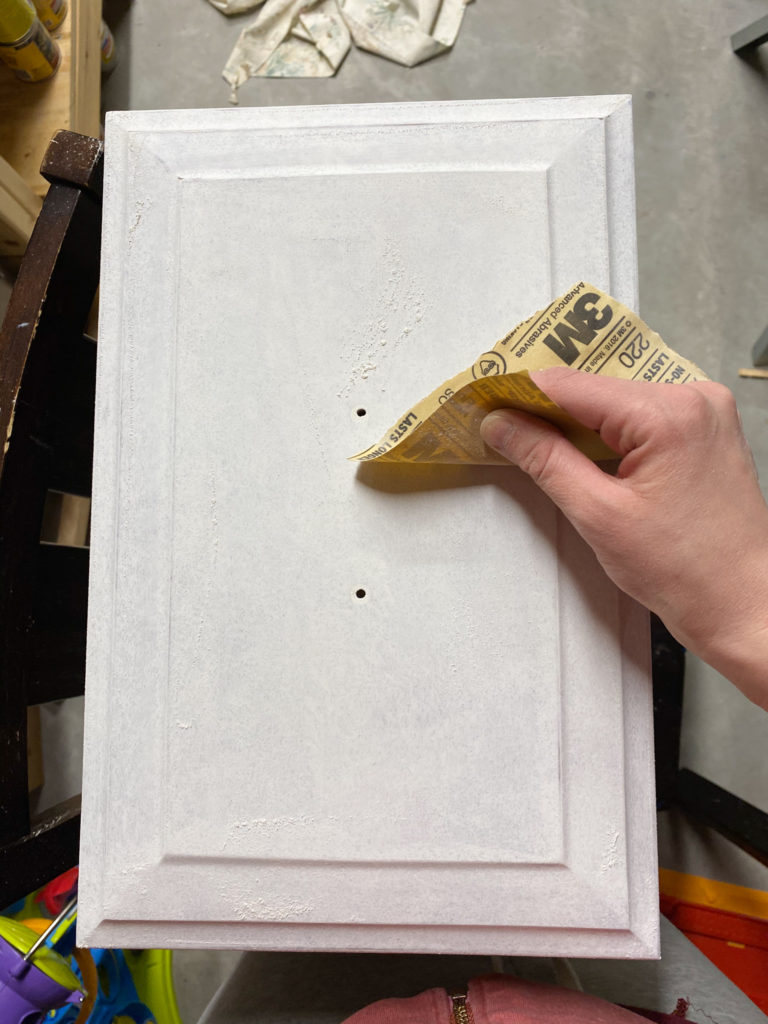
Once the primer is dry, lightly sand it with 220 grit sandpaper. Run your hand over the dried primer to ensure that you have a nice smooth finish.
Remove any dust with a tack cloth.
I applied two coats of the primer but I don’t think this was actually necessary.
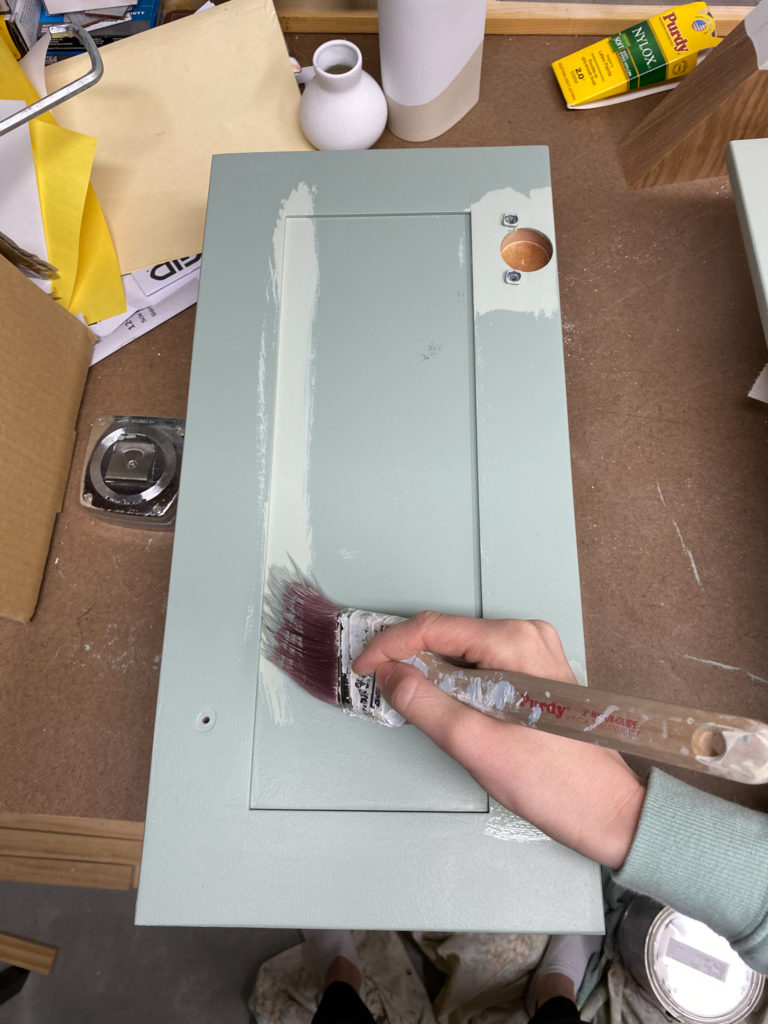
Step 6: Apply Two Coats of Paint
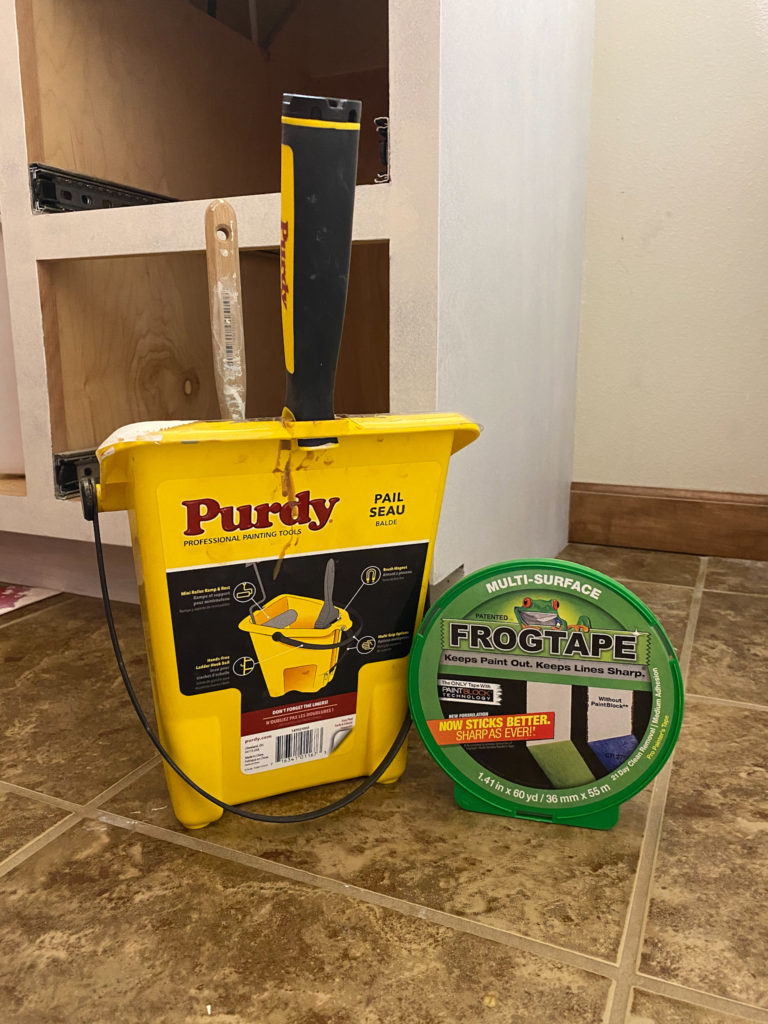
Here are the tools that are your best friend for this step: Purdy paint pail, an angled Purdy Nylox Paint Brush, a Purdy White Dove 1/4″ nap mini roller and Frogtape Multi-Surface Painter’s Tape. The Frogtape will help you tape off the areas that are super hard to reach/get paint into without touching other surfaces.
You will want to follow the same process that you did for applying the primer. First, use the paint brush to paint any crevice areas (areas that can’t be painted well with a roller).

Immediately after you paint the crevices, go over the rest of it with the roller, smoothing it all out to be one texture. Once again, make sure to apply only a thin coat of paint.
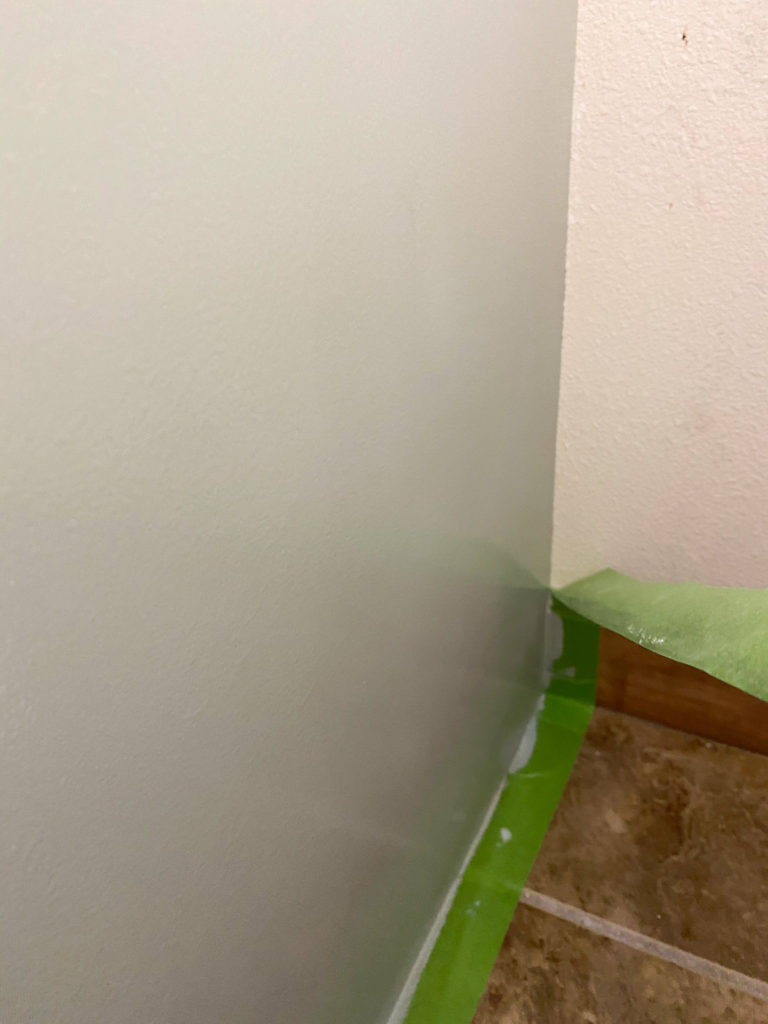
Make sure to use FrogTape when you want to achieve a really straight line in hard to reach areas. I’ve said it many times and I’ll say it again: FrogTape is AMAZING! Unlike any other painter’s tape I’ve tried. I didn’t like painter’s tape until I met FrogTape. If you haven’t tried it yet, definitely try it!
Once the first coat of paint is dry, apply one more coat using the same technique.
Step 7: Attach the Doors, Put in the Drawers and Attach Pulls/Knobs
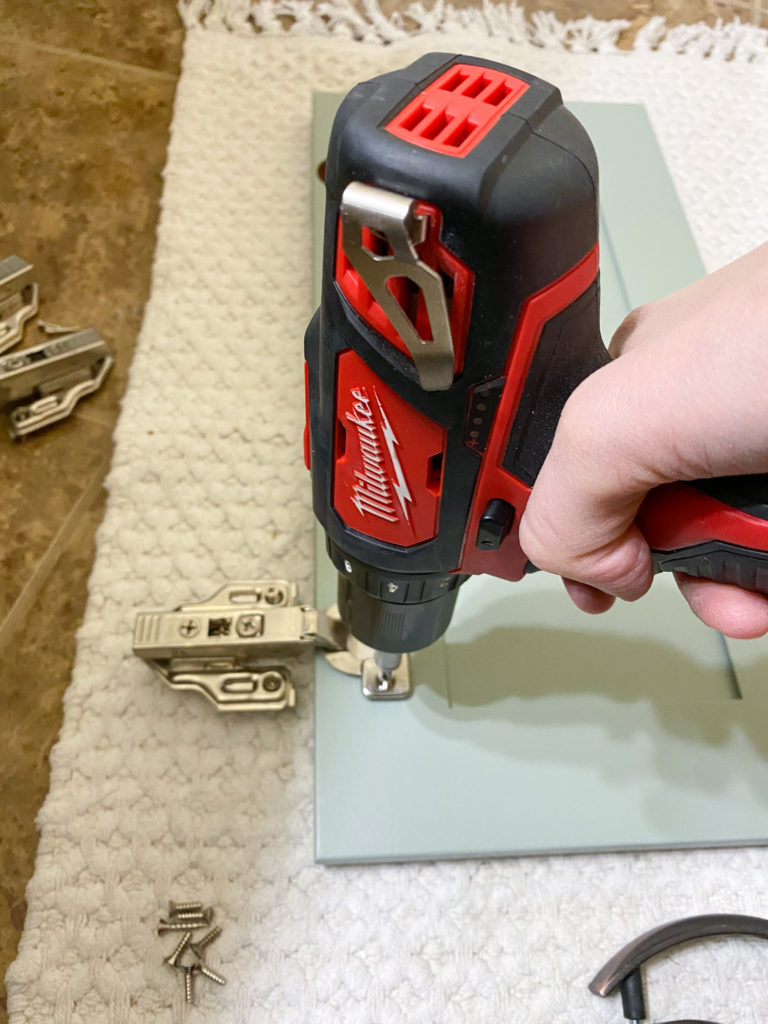
You’re to the last step! Once the paint is fully dry, put the hardware back on and the drawers back in.

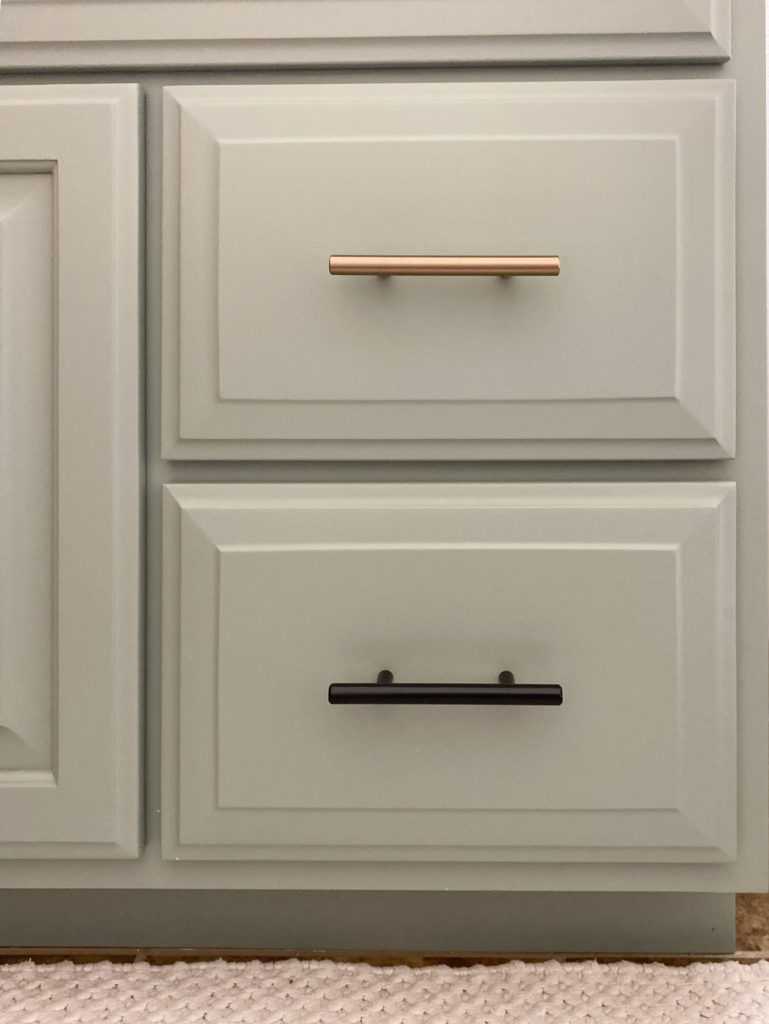
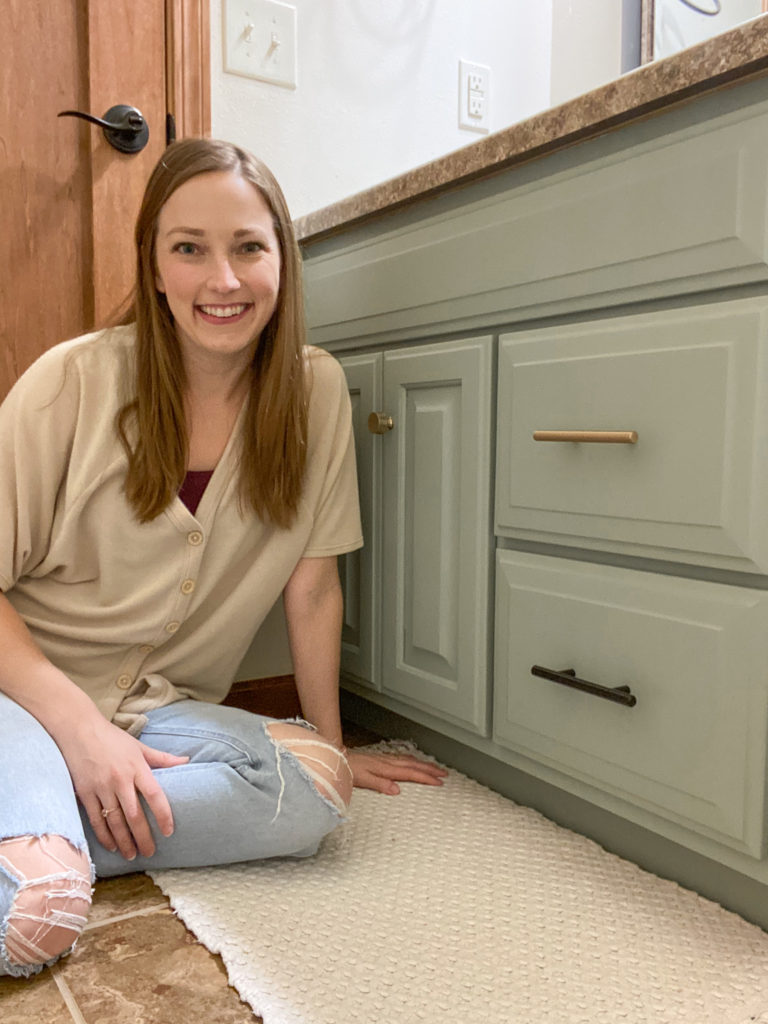
Next add new pulls/knobs! Well, as you can see, I can’t decide what finish I like better. The top finish is a beautiful champagne bronze while the bottom is a modern black. What finish do you like best? I think I know which one I’ll be going with but we’ll see!
The Finished Painted Bathroom Vanity
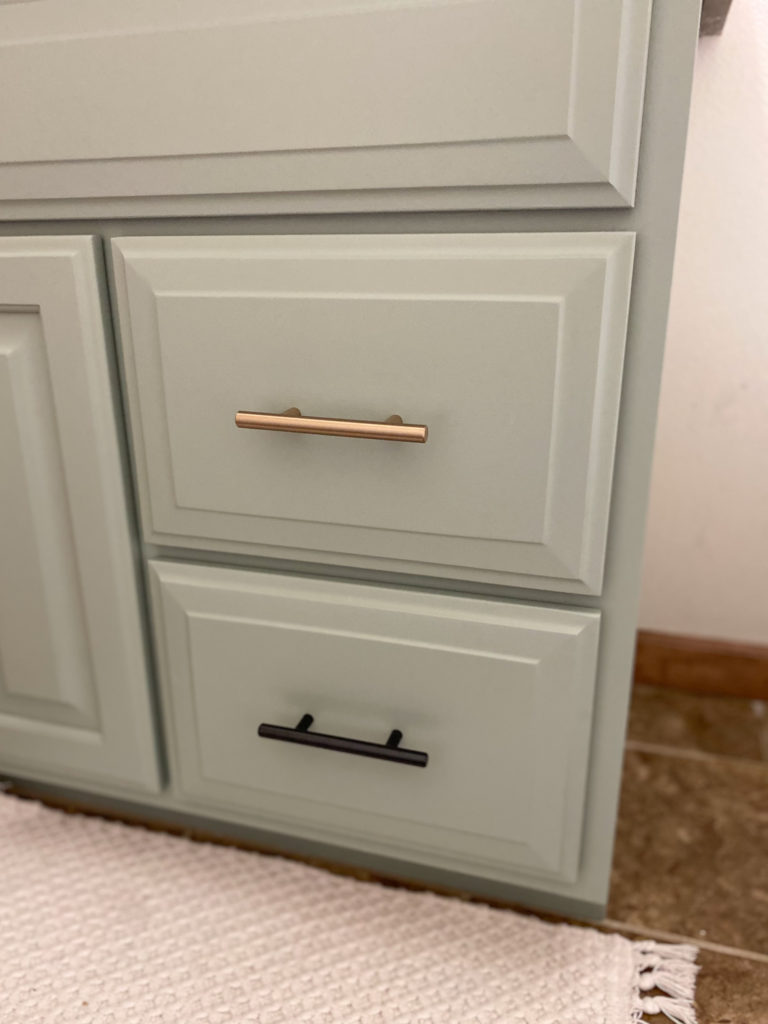
My vanity is done and the finish is so good! I’m honestly amazed at how well the paint went on and self-leveled. This type of paint doesn’t require a top coat so I’ll report back in time on how it holds up to my children’s antics.
Any questions on how to paint bathroom cabinets? Send them my way!
What’s Next in the Challenge?
Well, voting of course! If you like where my renovation is heading, mark your calendars for April 14 and then head over to the Jeffrey Court Renovation Challenge site and vote for me! You can vote daily. I greatly appreciate your support.
This next week I’ll be finishing up a vertical shiplap half-wall and then comes the tiling – AH! I’m so excited for that step in the process. It is going to completely change the look of the space.
Sign up for my email updates here to know about all my projects coming up!
Looking for More Home DIY Ideas?
Head here to find out what paint brush is best for your upcoming project!
Want a simple yet beautiful DIY gift for someone? Check out how cute these are!
And who doesn’t love a crazy beautiful accent wall?!