
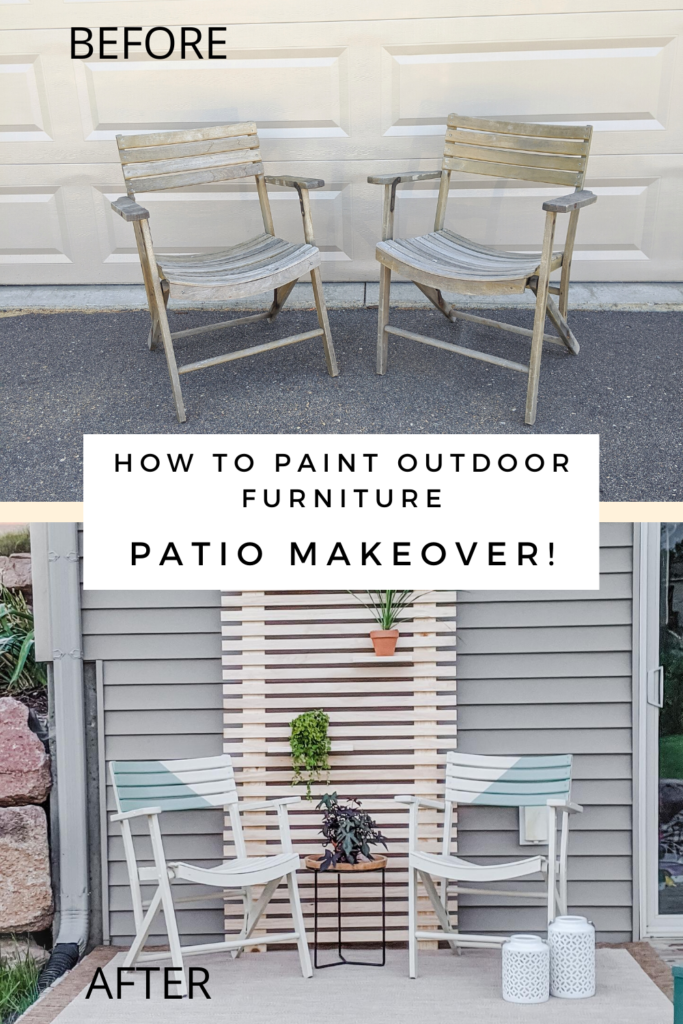
Today I’ll be sharing with you how to paint your old outdoor patio furniture. Faded furniture? Paint it! Worn-out wood? Paint it! Furniture that isn’t quite your style? Paint it! I’ll also be sharing with you how to create a giant wood slat wall for your plants. This adds a unique, really customized look to your outdoor space.

Thanks to Purdy for sponsoring this post. I received compensation and free product but all opinions stated here are my own. This post contains affiliate links which means that I may receive compensation when you click on links. This is no extra cost to you.
Curious about Purdy? To learn more about The Purdy Difference and Purdy products, click HERE. Their products are honestly so wonderful! I used six Purdy products just for this project!
Dreaming of a Beautiful Outdoor Space
I’ve always wanted a beautiful outdoor space. I’ve imagined myself sitting outside sipping a drink under an umbrella in perfect 70 degree weather. Anyone else?! Winter is so long here in Wisconsin that I just want to soak up every last bit of spring, summer and fall!
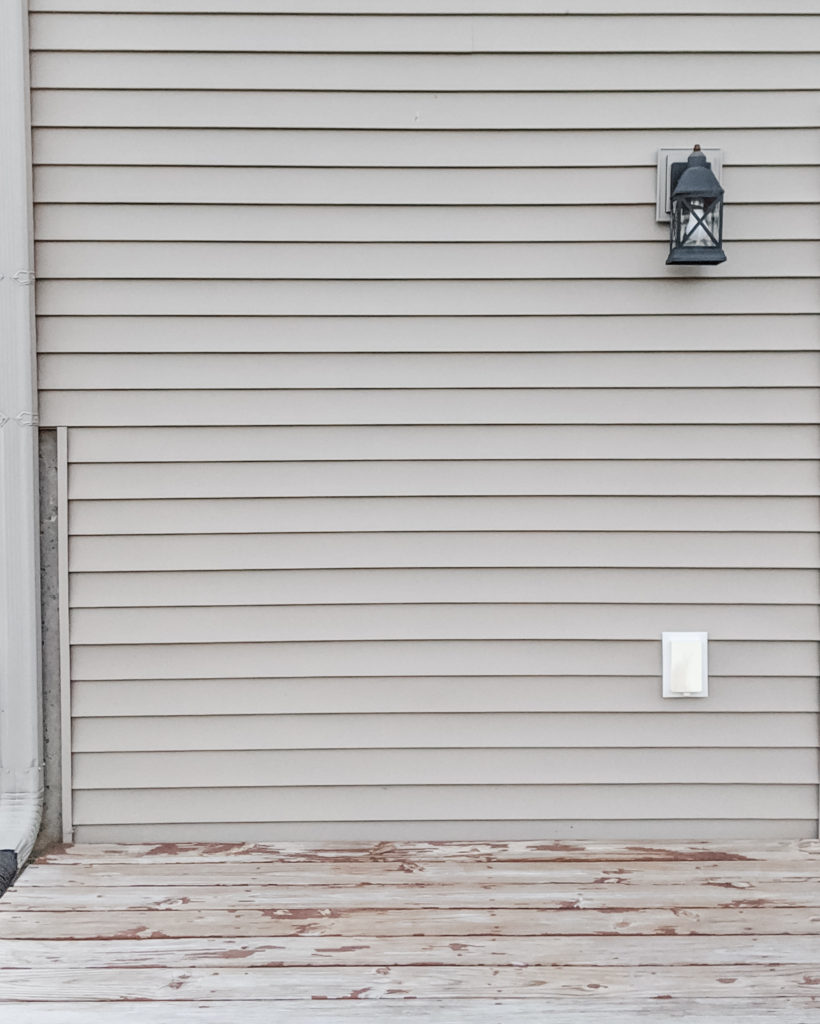
However, let’s be real: My outdoor spaces have normally included peeling and rotting deck boards, faded patio furniture and a lot of kid sand toys. Here is what my outdoor space looked like after I threw the kid toys and faded furniture out of the picture.


BORING! I decided to change this. I created an outdoor patio space that started with a $40 Facebook Marketplace find, continued with a lot of paint and Purdy paintbrushes and finished with a giant wood slat plant wall. I’ll show you how I did it so you can join in and create a beautiful space too!
How to Paint Outdoor Wood Chairs
Facebook Marketplace is one of my favorite places to shop. I love the excitement of finding something you love. I love messaging the seller and seeing if you are first in line. I love the joy of picking up an item that is just perfect! Anyone else share my love for Facebook Marketplace?

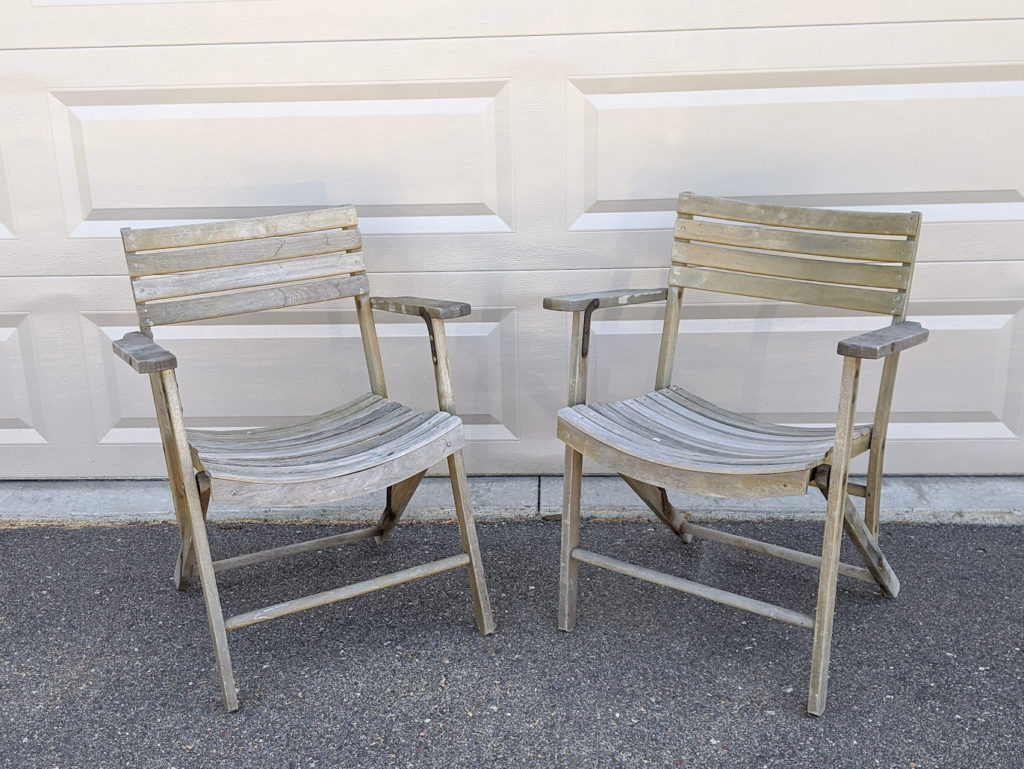
I found these two unique wood outdoor chairs on Facebook Marketplace for $40. I wanted my outdoor chairs to be unique, durable and easy to store. These chairs fold up for easy storage. They have a unique curved back and seat design. I was so excited to paint them to customize them to my unique style preference!
MATERIALS
- Purdy 1-1/2” White Bristle Extra Oregon Brush
- Purdy 2” Nylox™ Glide™ Brush
- Purdy Clearcut® 1-1/2” Dale™ Brush
- Purdy Lambskin 9″ Roller Cover
- Purdy Revolution™ 9″ Frame
- Purdy NEST™ 9″ Paint Tray
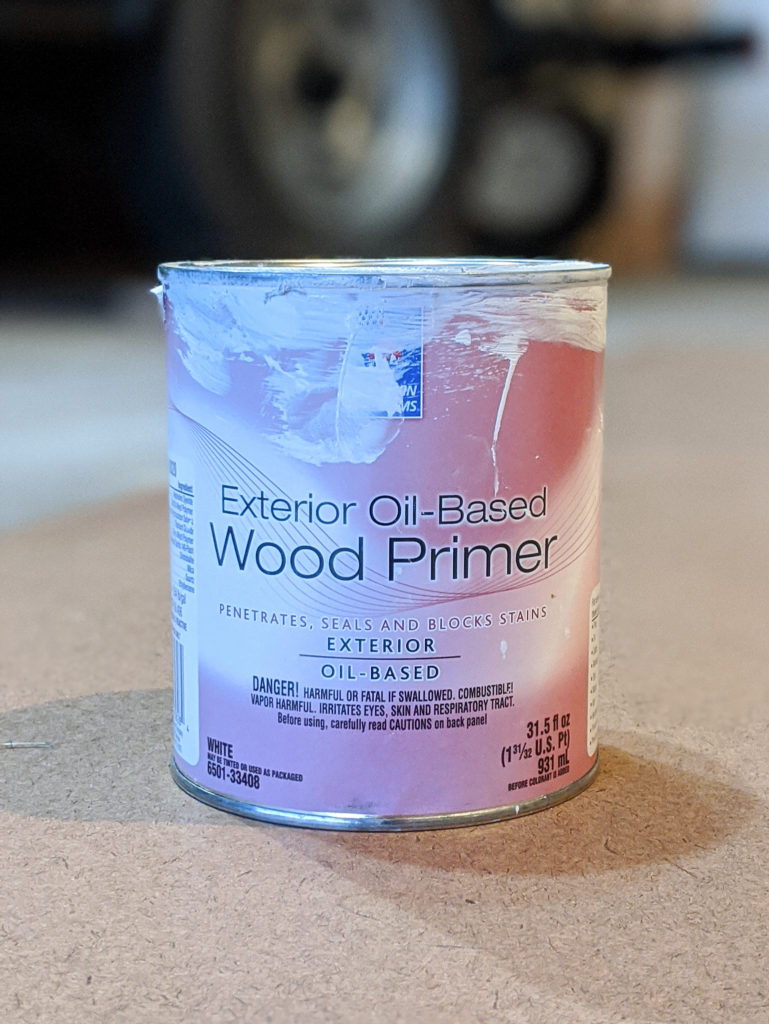
- Sherwin-Williams Exterior Oil-Based Wood Primer
- Sherwin-Williams Resilience Exterior Acrylic Latex tinted to Softer Tan
- Sherwin-Williams Resilience Exterior Acrylic Latex tinted to Tricorn Black and Haven (I mixed these two colors to get my final green color)
- Wood Outdoor Patio Chairs
- Soap & Water
TIME TO COMPLETE: 4 days
STEP 1: CLEAN CHAIRS
First I cleaned the chairs with soap and water. These chairs were pretty clean already. They had some spiderwebs and dirt on them. Therefore, soap and water was sufficient. If your chairs have more substantial grime on them like grease, you will want to use a more powerful cleaner or consider a specialized wood cleaner. It is important to have a clean and dry surface before applying paint.
STEP 2: APPLY PRIMER TO THE CHAIRS
Whenever you paint something, it is very important to use the proper paint and paintbrushes. Choosing the right products will ensure that you have a beautiful, long-lasting finish on your piece.
I chose to use Sherwin-Williams Exterior Oil-Based Wood Primer because I needed an exterior paint that was very durable.

When choosing a paint, made sure to check:
- If it’s exterior or interior (I needed exterior of course!)
- If it’s oil-based or water-based (I chose oil-based for a super durable finish on this worn wood)
- What surface it is best for (I chose this because it is made specifically for wood)
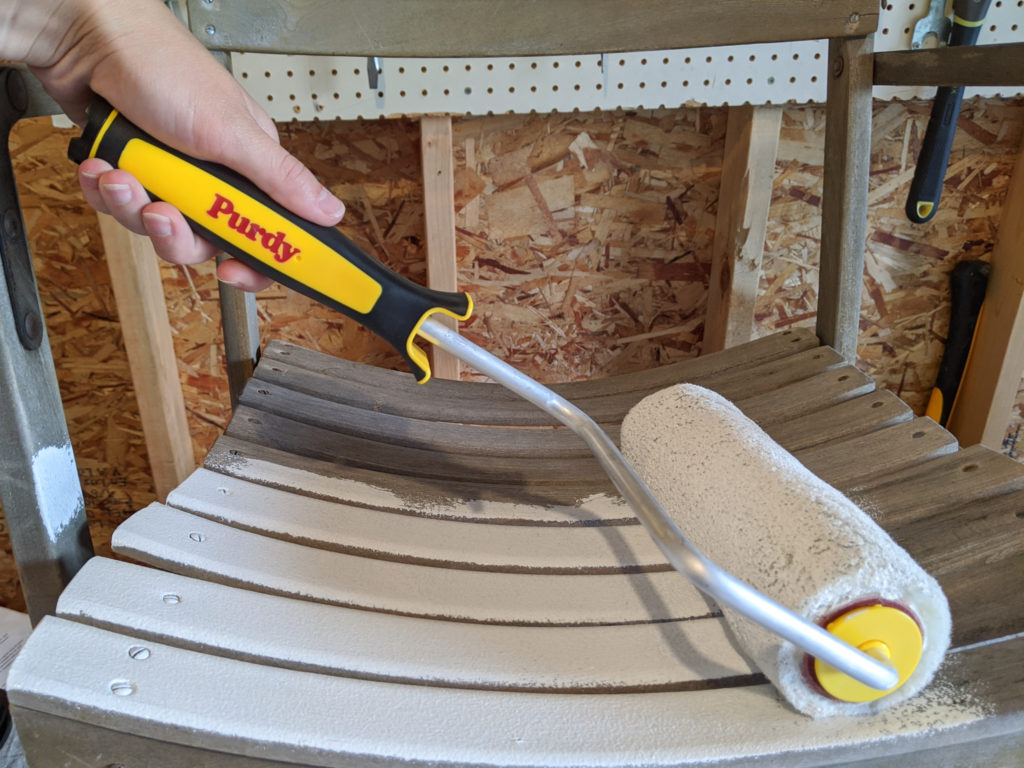
I chose to apply this primer first using a roller and then using a paintbrush. While you would not have to use a roller, I chose to use it because I wanted to speed up the application process.
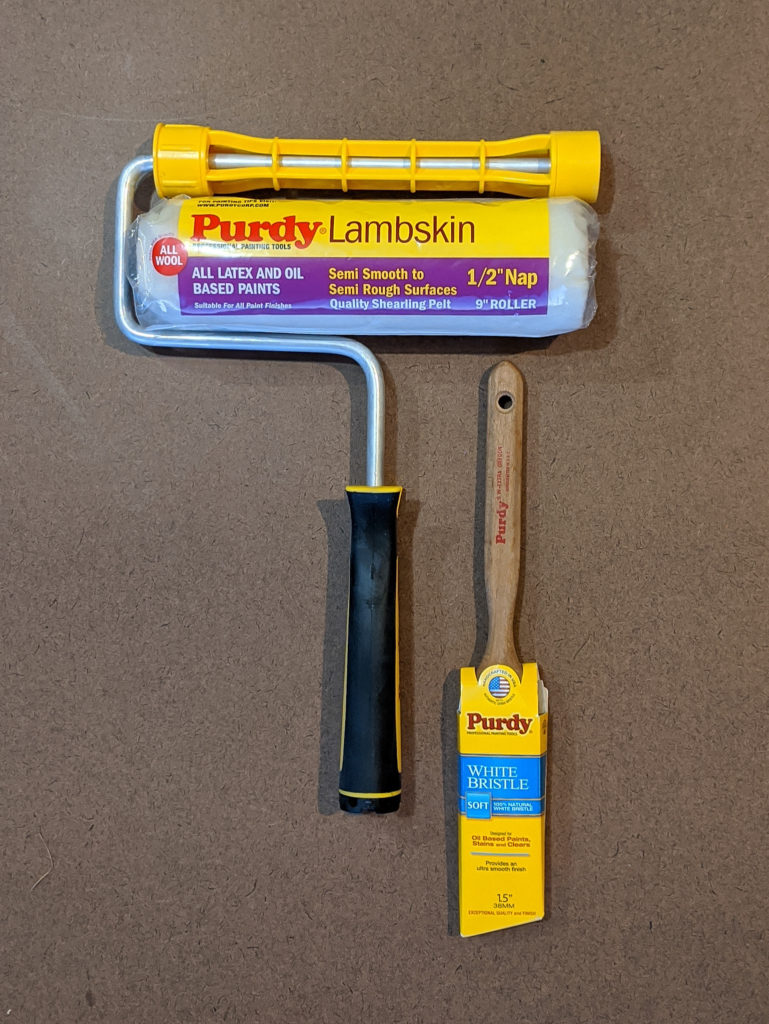
I first used the Purdy lambskin 9″ roller cover, a Purdy Revolution 9″ frame and Purdy NEST™ 9″ Paint Tray. I chose to use the lambskin roller cover for two main reasons. First, this roller cover works especially well with oil-based paints. Secondly, it holds a great deal of paint. Normally a mini roller would work best for furniture pieces like this but I was in a super hurry so I grabbed a large, full size roller cover and frame for this project. I wanted to ensure that I had a nice, thick coat of primer on my chairs given the current condition of the wood. The 1/2″ nap is perfect for my wood surface, which is not super smooth and not super rough.

Since these chairs have a lot of slats and corners, I used a Purdy 1 1/2″ White Bristle Extra Oregon™ Brush to get into all the grooves. I chose to use this brush for a few reasons.
- It’s perfect for oil-based paints.
- It has soft bristles meaning that it leaves a very smooth finish
- It’s small and angular so that it can get into all the crevices of the chairs.
Picking out the right brush is so important! If your head starts spinning with all of the paintbrush options, Purdy has great online resources to make it super simple for you to choose the right brush. Head HERE to figure out which brush you need for your next project.

Allow the primer to dry for at least 24 hours.
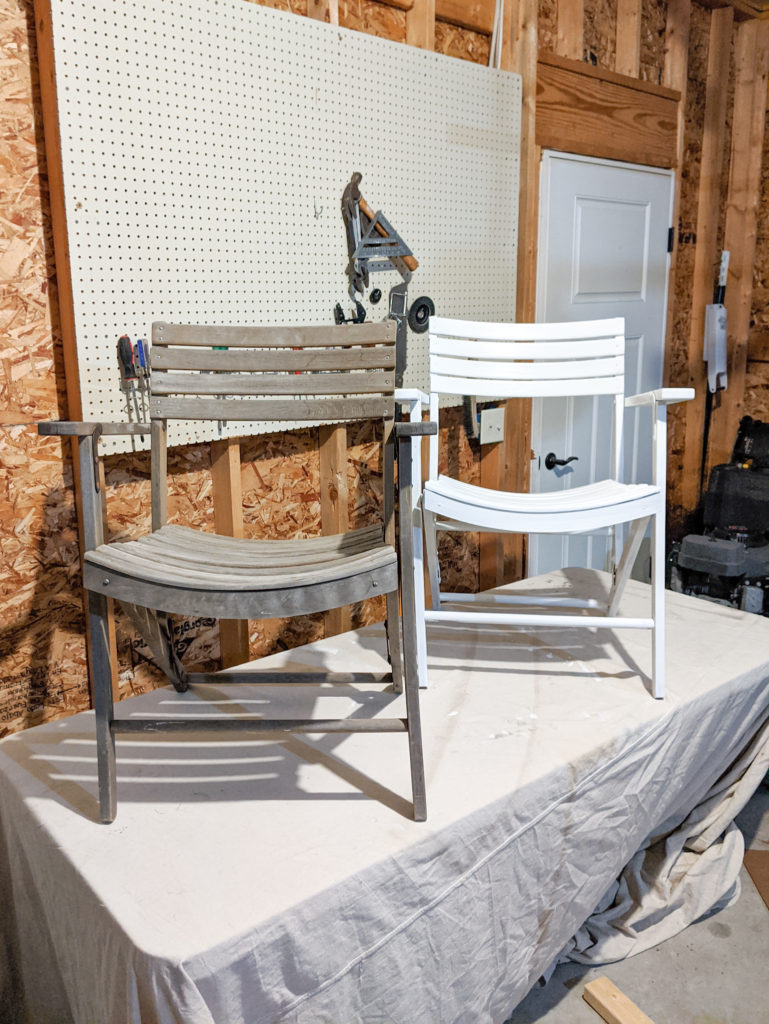
You can see what an incredible difference it makes to just have this chair primed! It provides a great protective layer on the wood. I only applied one coat of primer because it covered quite well the first time.
STEP 3: APPLY PAINT TO THE CHAIRS
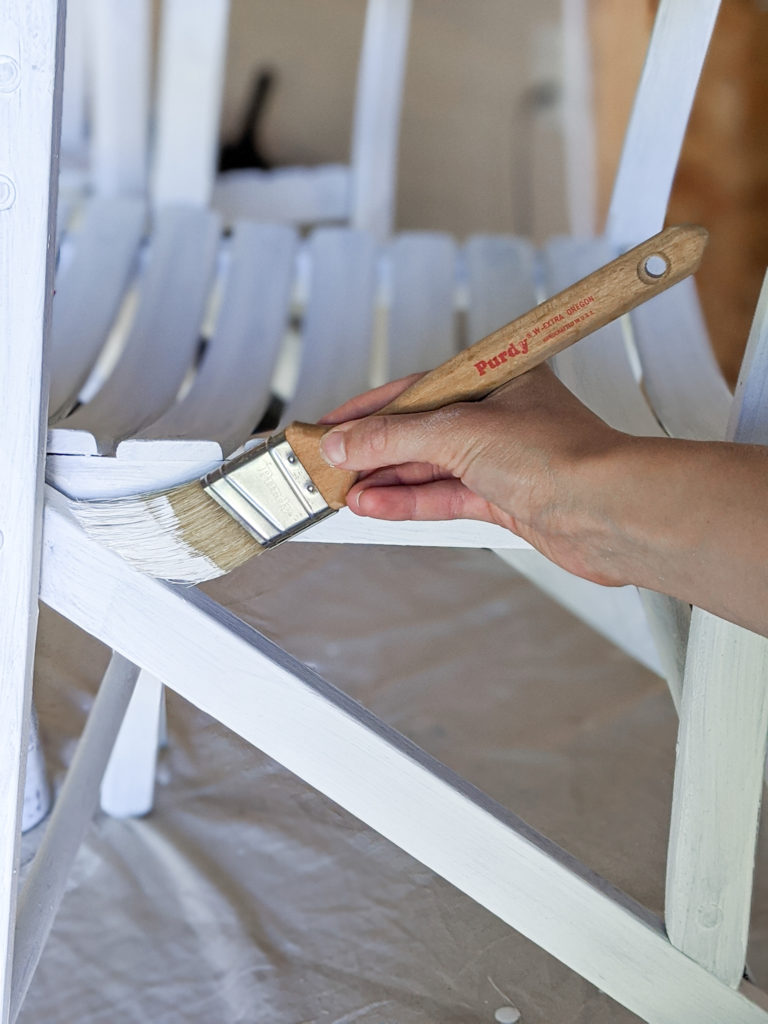
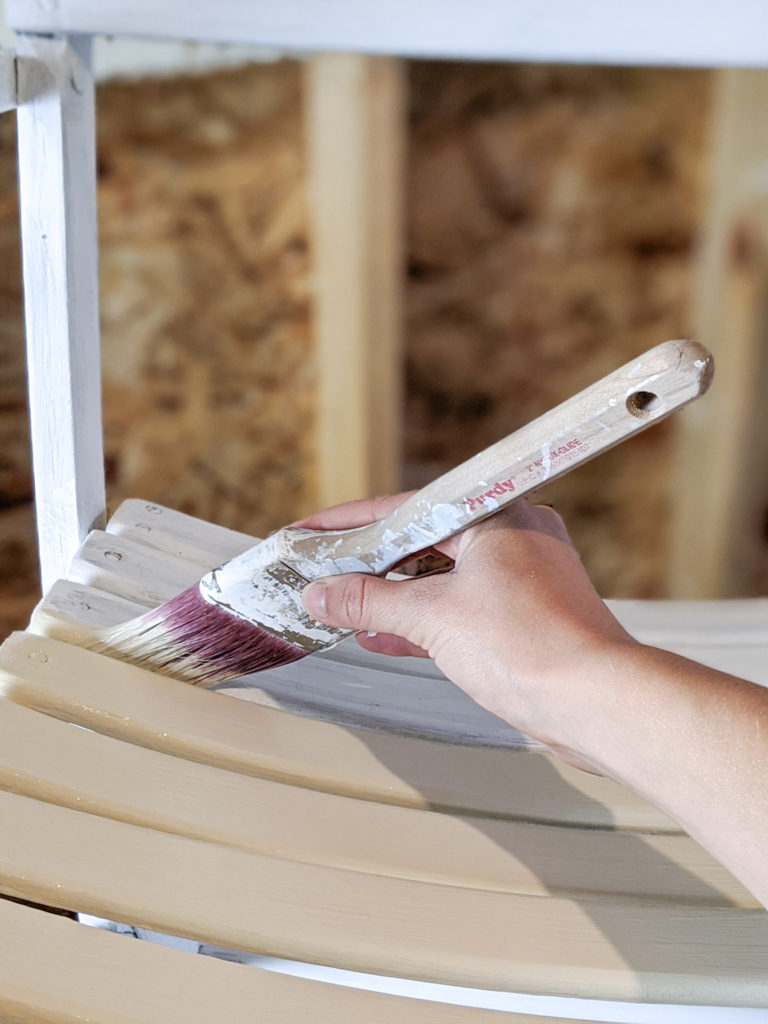
Once the primer is completely dry, you are ready to apply paint. I chose to use Sherwin-Williams Resilience Exterior Acrylic Latex.
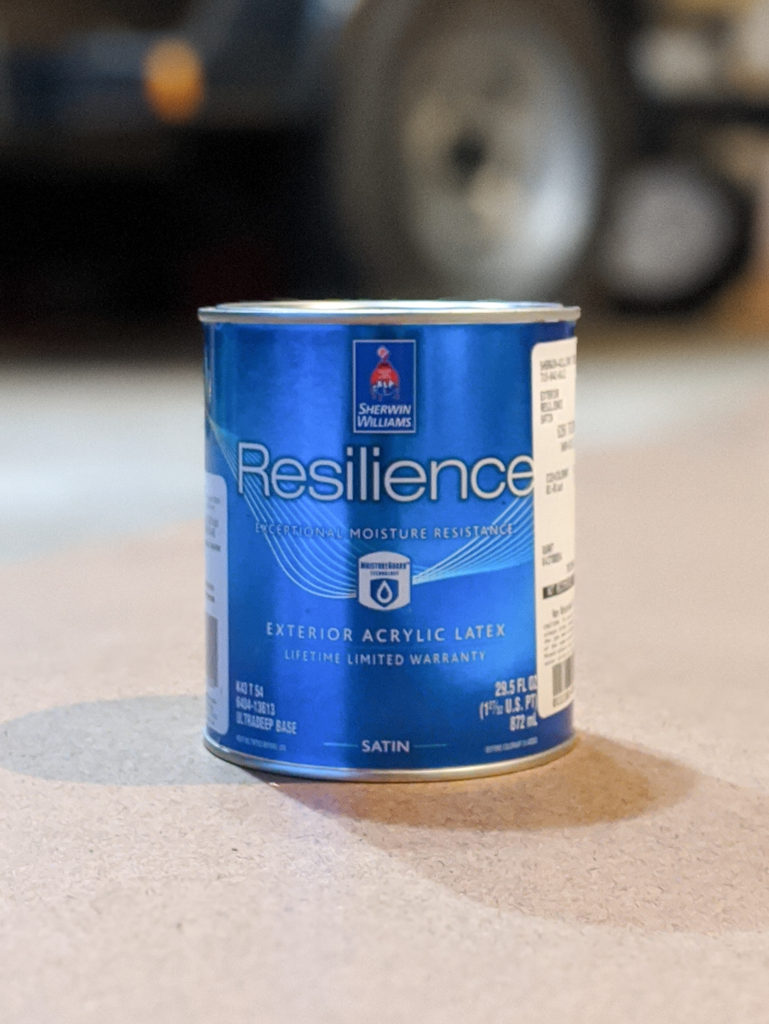
I chose this paint because it’s an exterior paint that is resistant to moisture. It is recommended for wood surfaces and it is tintable to many different colors. I got it tinted to Softer Tan to achieve a soft, neutral look. It is recommended for use after applying Sherwin-Williams Exterior Oil-Based Wood Primer. Therefore, I knew it would be perfect!
I changed what paintbrush I was using because the paint changed from oil-based to water-based. I decided to use a Purdy 2″ Nylox™ Glide™ Brush. This brush is my absolute favorite. It’s perfect for latex paints, which I often use when painting furniture. The angular nature of the brush helps me get into all the crevices of the chairs. Furthermore, the soft bristles leave a smooth finish on my furniture. Once again, if you’re confused about what brush to use or just want to explore your options, head HERE!
I applied one coat and then just touched up a few areas.
STEP 4: ADD A FUN DESIGN!
It’s time to make these chairs your own! I believe that one of the reasons why home DIY projects are so wonderful is because you can add your own unique twist to them. Therefore, I couldn’t resist the urge to add a bit of color-blocking to these chairs.
I’m a neutrals-loving gal. Green is about as bold as I like to get. Therefore, I decided to add in a green slanted color block just for a bit of fun and interest. You should feel empowered to create your own unique and beautiful design!
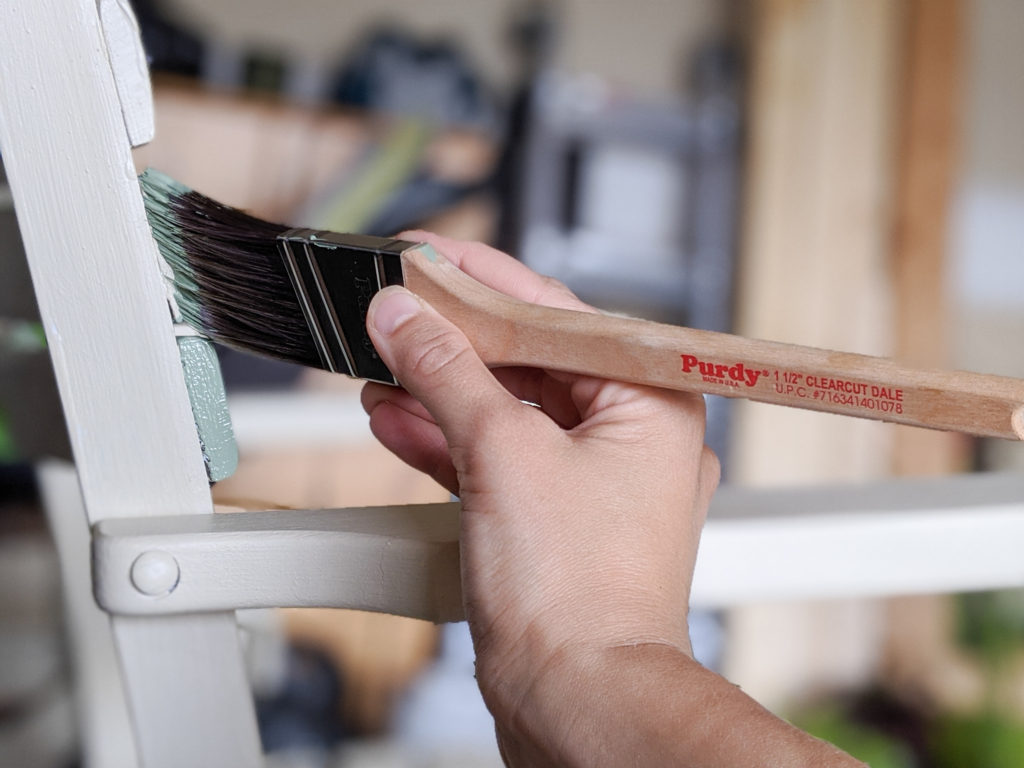
To make sure I got really straight lines, I used the a Purdy 1 1/2″ Clearcut® Dale™ Brush. This paintbrush has very stuff bristles so that it is able to create crisp paint lines. I chose to use a smaller angular brush so that I could get in between the slats on the chairs.
I applied only one coat of paint for the color blocking design. I mixed two paint colors, Sherwin-Williams Tricorn Black and Sherwin-Williams Haven, to create this green color.
Let your chairs fully dry and you’ll have beautiful and durable outdoor chairs!
Looking to purchase Purdy paintbrushes for an upcoming project? Head HERE to see which retailers near you carry Purdy products.
How to Create a Wood Slat Plant Wall
I knew I needed plants outside to make the space come to life (hah – no pun intended! :)). I decided to build a giant wood slat wall to add some height and interest to the space.
This plant wall was very simple to make and is a nice, large statement piece for a backyard patio.
MATERIALS
- 2 2″ x 4″ x 6′ Pressure-Treated Pine Boards
- 17 1″ x 2″ x 6′ Pressure-Treated Pine Boards
- 1 1″ x 4″ x 4′ Pressure-Treated Pine Board
- 1 3/4″ Exterior Screws
- Drill
- Miter Saw
- Measuring Tape
TIME TO COMPLETE: 2 hours
STEP 1: CUT ALL 1″ x 2″s IN HALF
This step will depend on how large you would like your planter wall. I chose to make mine 3′ wide and 6′ tall. Therefore, I cut each 6′ 1″ x 2″ in half to make them all 3′ long.
STEP 2: ATTACH EACH 1″ x 2″ BOARD TO THE 2″ x 4″s USING EXTERIOR SCREWS
For this step, you will want to first lay out all your boards. They do not have to be perfectly spaced right now. This just gets you ready to start assembling it in an efficient way. First lay down all the 1″ x 2″s and then place the 2″ x 4″s on top of them.
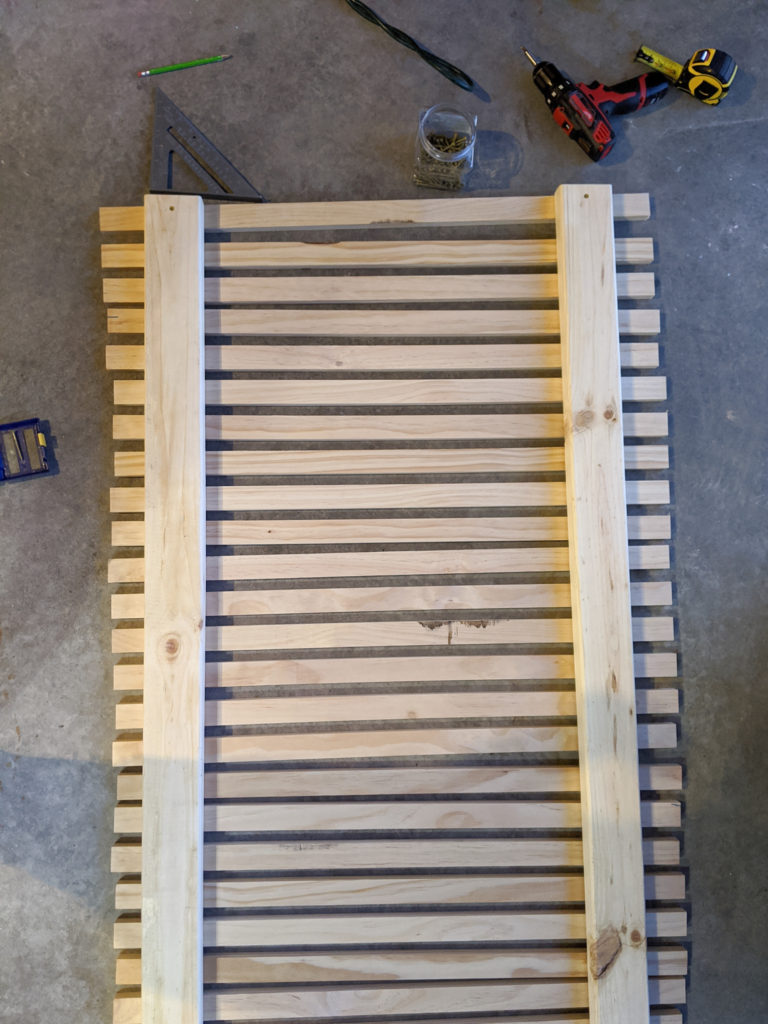
Use a spare piece of a 1″ x 2″ as a spacer to ensure consistent spacing between the 1″ x 2″s. Measure from the end of each 1″ x 2″ to the 2″ x 4″ to make sure that all the boards are lined up properly. I decided to place my 2″ x 4″s 3″ in from the ends of my 1″ x 2″s.
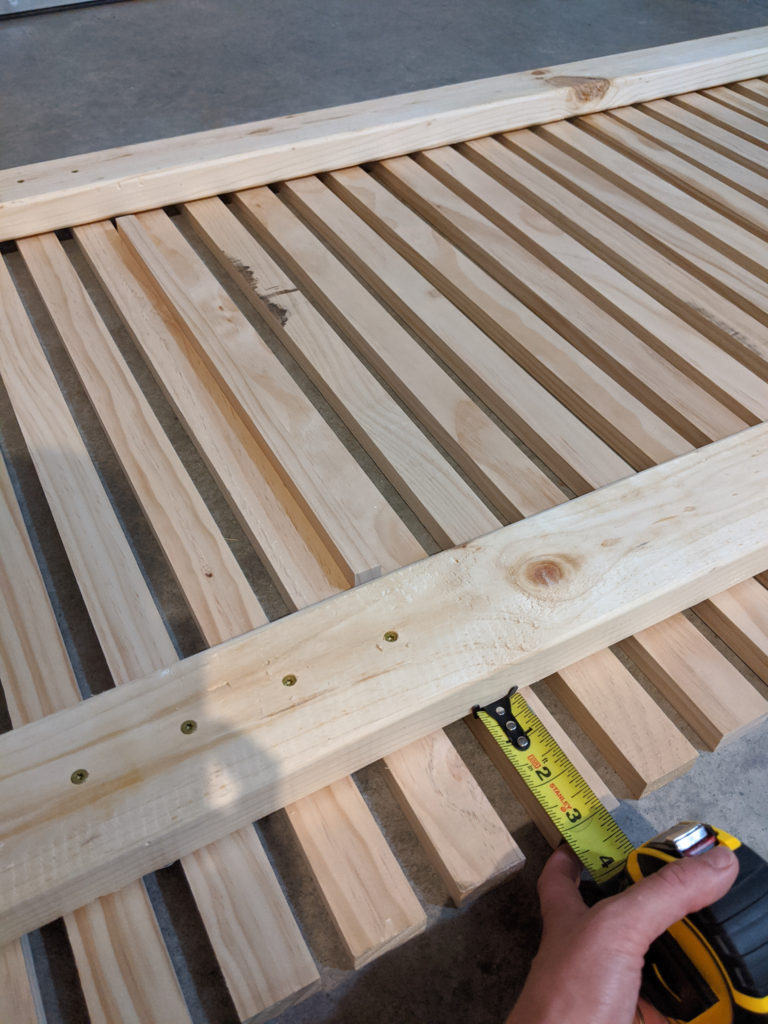
Then use your exterior screws and a drill to attach the 2″ x 4″s to the 1″ x 2″s.
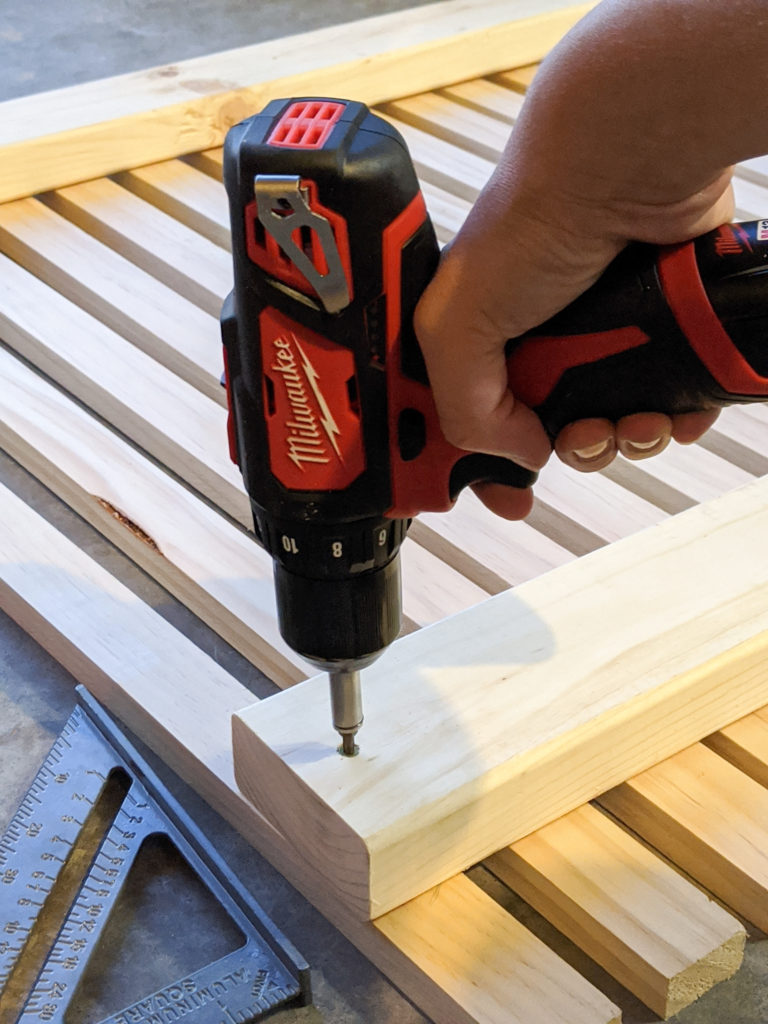
Attach all of the 1″ x 2″ slats to the 2″ x 4″s.
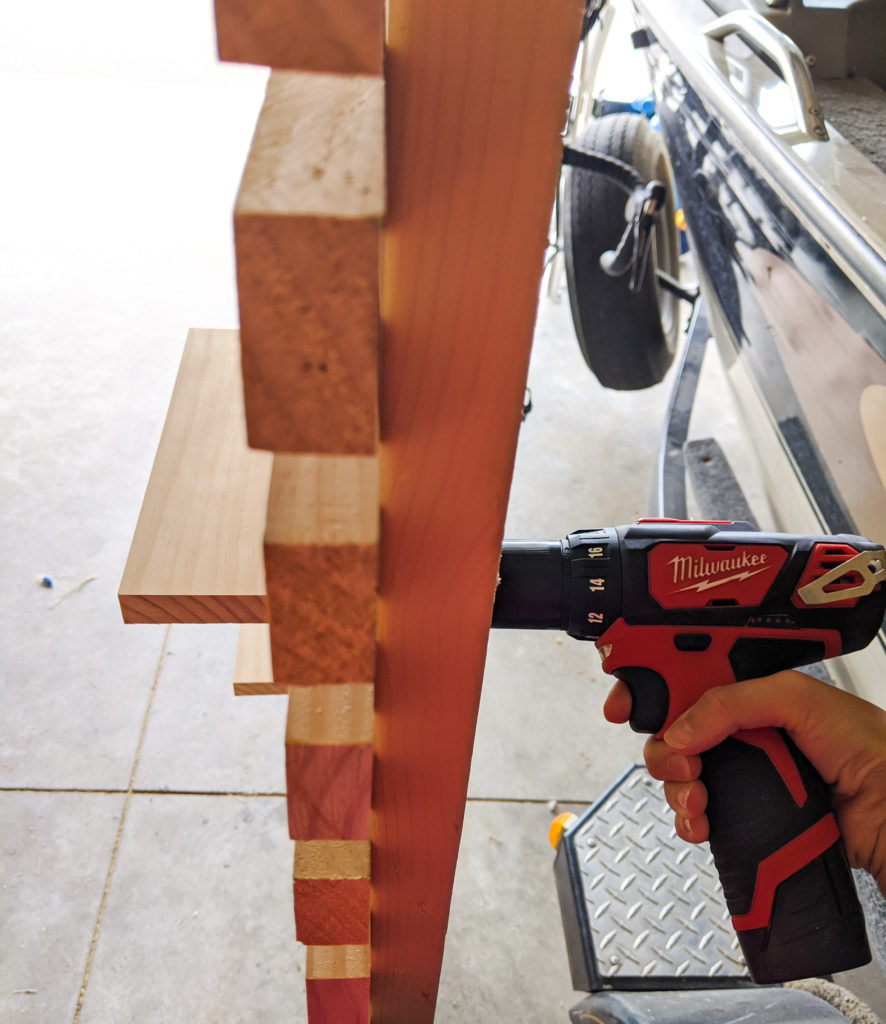
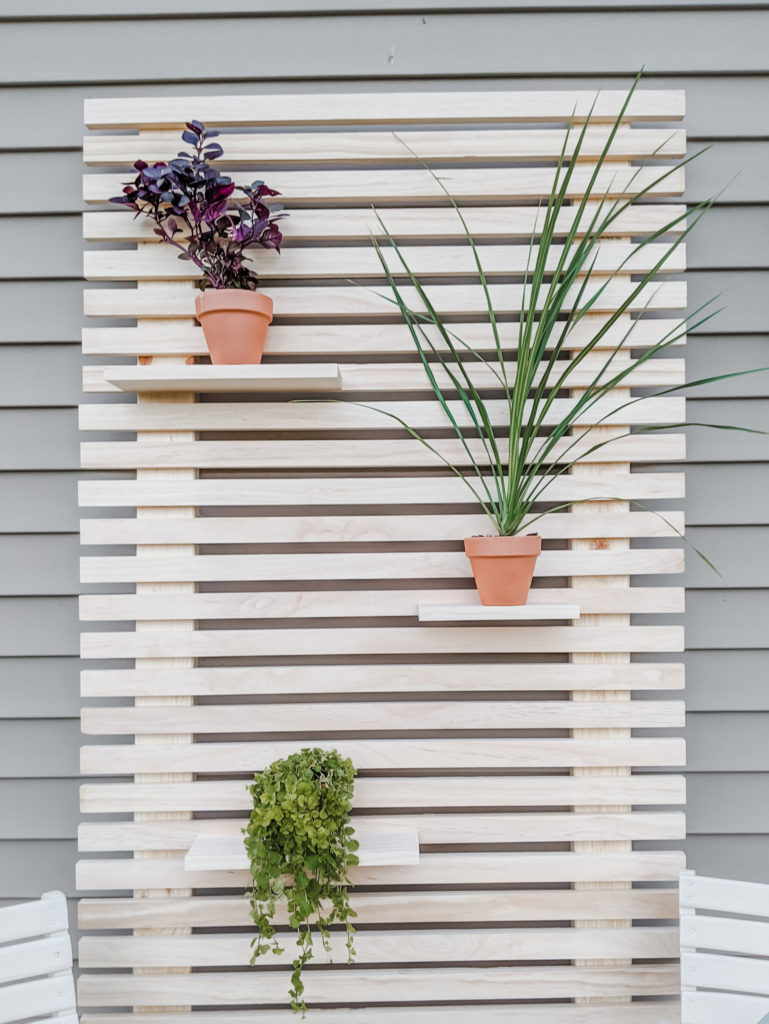
STEP 3: ATTACH THE SHELVES
Use your 1″ x 4″ board to make shelves for your planter wall. I decided to make my shelves all different lengths. I used a miter saw to cut my 1″ x 4″ into three pieces (13″, 10″ and 6″). I attached them to my slat wall with exterior screws and a drill.

STEP 4: INSTALL YOUR PLANTER WALL
Your installation will vary depending on the surface that you install the planter wall onto. I installed mine into the studs of my house using exterior wood screws. No matter where you are installing it, ensure that it is securely attached.
The Transformed Outdoor Space!
This is what the outdoor space looked like before. It had nothing in it.
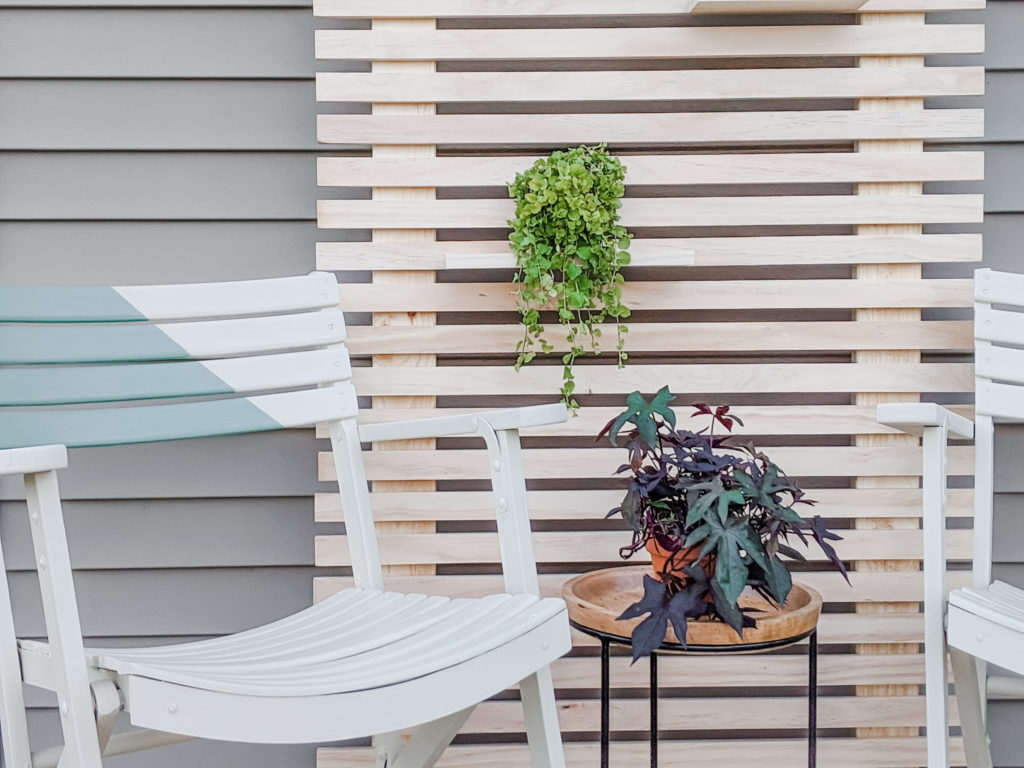
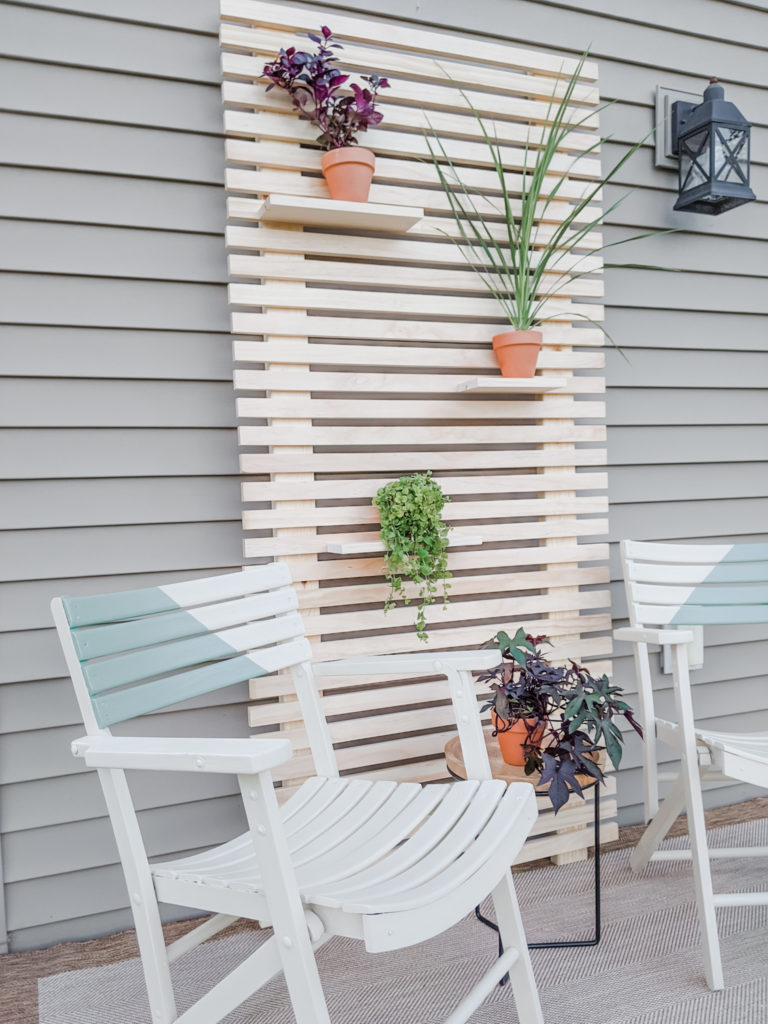
Here’s what it looks like now!
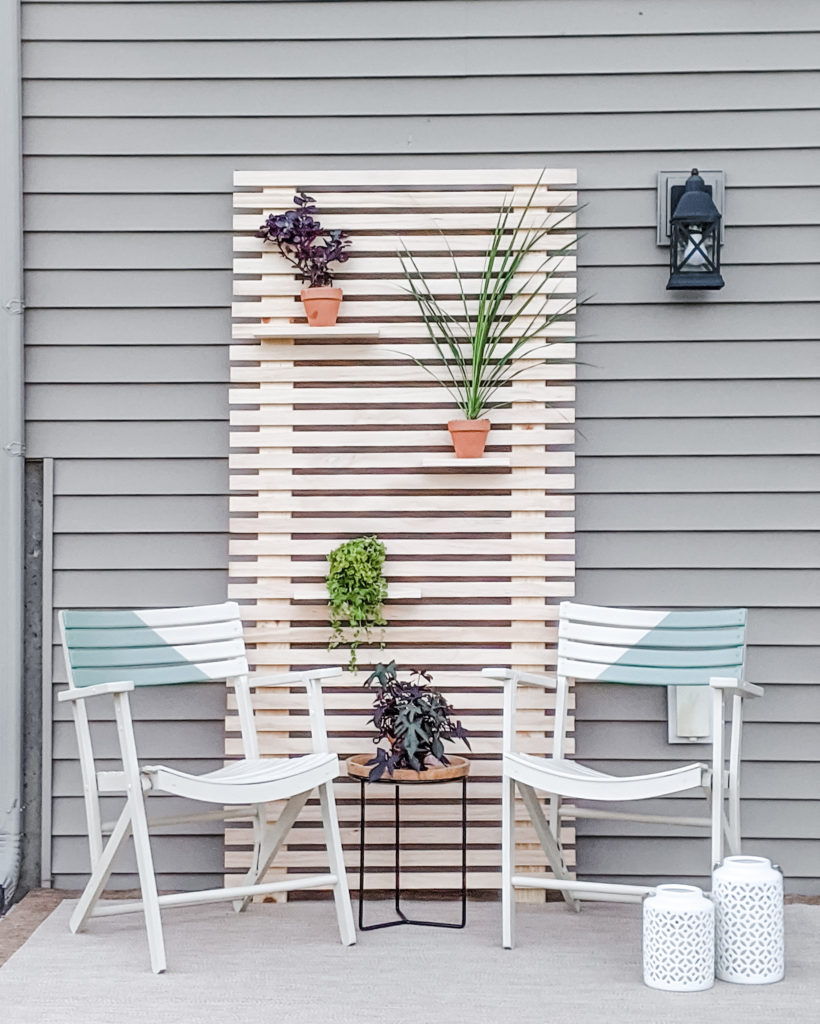
In addition to the chairs and the plant wall, I also added a small plant stand table, some modern lanterns and an outdoor rug. Now THIS is the type of place I want to sit in and enjoy the sunshine!
I hope this inspires you to create a beautiful outdoor space for yourself!
More DIY Home Projects to Explore!
Want to see another makeover but this time an old coffee table getting turned into a whitewashed dream? Head HERE.
Head HERE to learn how to make a $5 blanket ladder!
To find the right Purdy tool for your next project, head HERE.
Sign up HERE for my emails so that you never miss a new DIY home idea!