
I’m not great at keeping plants alive but I love having some greenery in my home! Therefore, I’ve opted for a few plants that are easy to take care of and a lot of faux plants. I love the current dowel trend so I decided to combine my love for plants and dowels by making some plant risers and dowel planters. This is a super simple project that has a lot of room for customization depending on your style preferences. Let’s dive into how to make plant risers and dowel planters!
Thanks to Minwax for sponsoring this post. I received compensation and free product from Minwax but all opinions stated here are my own. This post contains affiliate links which means I may get a small commission off any purchases made from my links. It’s no extra cost to you.
Time to Complete
This project took me three days to complete. You could probably tackle it in two days if you had periods of time to devote to it throughout the two days to allow for adequate dry times.
Tools & Materials for DIY Plant Risers and Dowel Planters
Plant Riser Tools & Materials
- Minwax Oil Based Pre-Stain Wood Conditioner
- Minwax Oil Based Wood Finish Stain in Special Walnut
- Minwax Polycrylic Protective Finish in Matte Finish
- Purdy 2” XL Sprig Paintbrush
- 220 Grit Sandpaper
- Tack Cloth
- Wood Glue
- Rags
- Two 12″ Pine Circles (1″ thickness)
- Four 1″ Wood Ball Knobs (or other items to use as legs for the risers)
Dowel Planter Materials
- Minwax Water-Based Pre-Stain Wood Conditioner
- Minwax Wood Finish Water-Based Solid Color Stain in Vintage Blue
- Minwax Polycrylic Protective Finish in Matte Finish
- Purdy 2” XL Sprig Paintbrush
- Synthetic Pad
- 220 Grit Sandpaper
- Tack Cloth
- Wood Glue
- Miter box and saw
- 1/4″ Wood Dowels (amount needed varies based on size of planters)
- Tall Round Paper Mache Boxes (one for each planter)
- Plants (whatever you like best!)
Click HERE to find a local retailer for Minwax products!
Step by Step Tutorial for Plant Risers & Dowel Planters
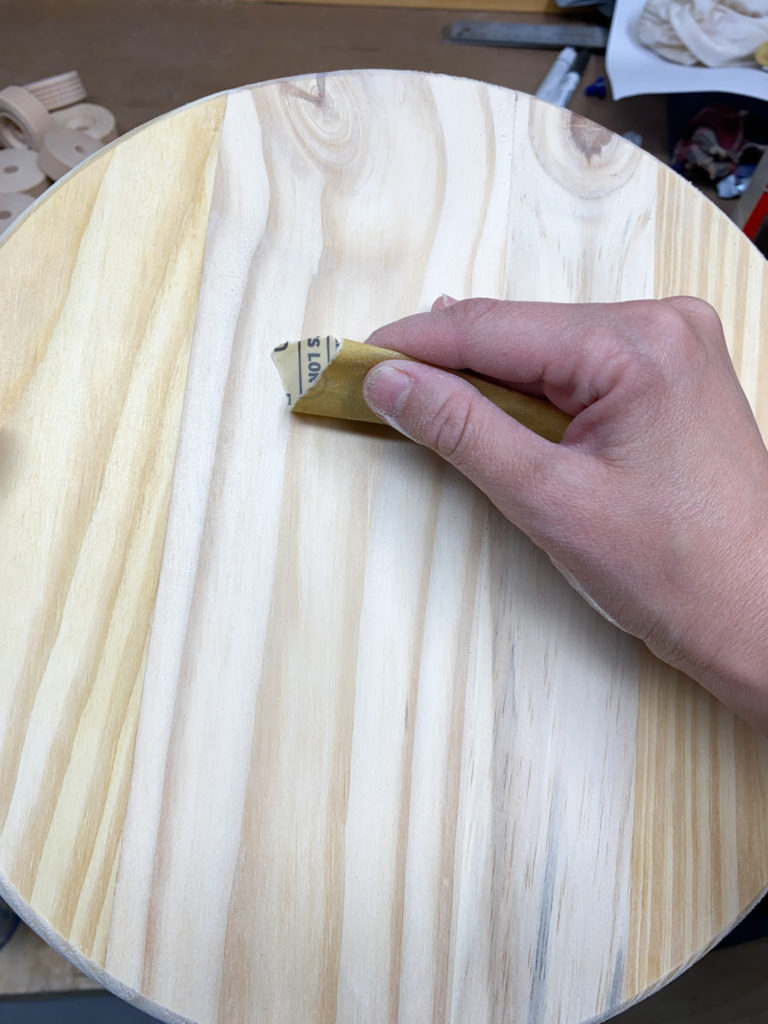
Step 1: Lightly sand the wood rounds
Using 220 grit sandpaper, lightly sand the wood rounds. Then use a tack cloth to remove any dust.

Step 2: Apply Minwax Oil Based Pre-Stain Wood Conditioner to wood rounds and legs
Since I planned to use an oil-based stain on the wood rounds, I first applied an oil-based pre-stain wood conditioner. Pre-stain wood conditioner helps prepare wood for staining and helps prevent blotchiness. It is especially important to use when you are working with soft woods like pine. Pine can stain unevenly if you don’t first apply pre-stain wood conditioner.
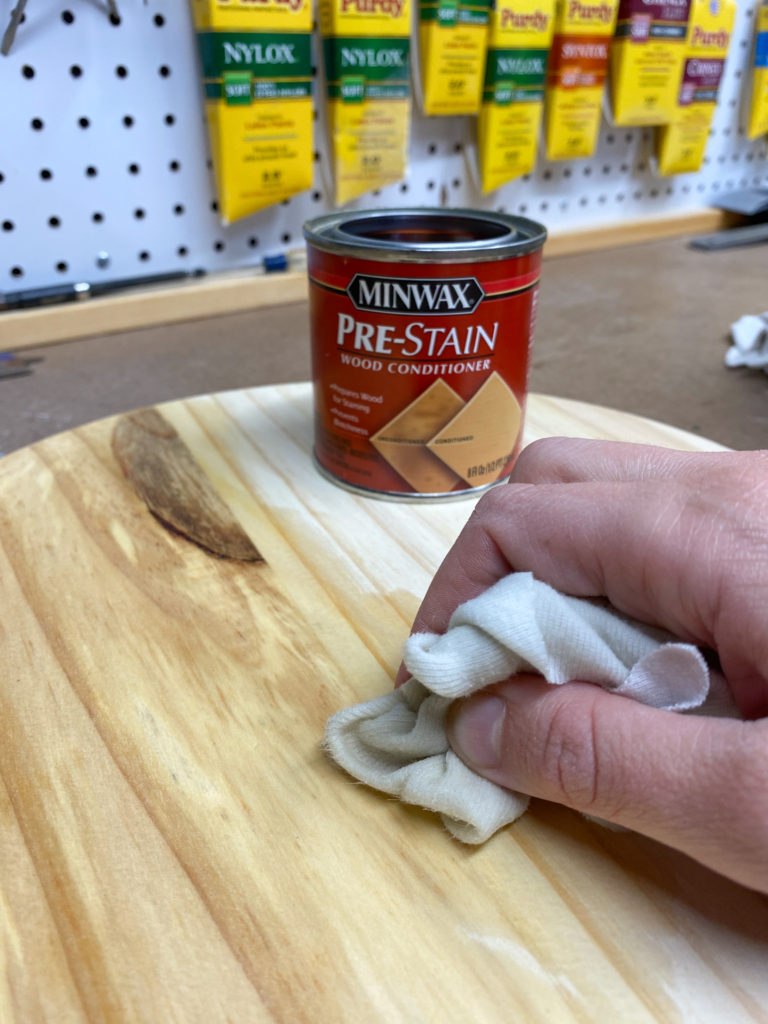
Apply it with a rag. Let it penetrate the wood for 5-15 mins. Then wipe off any excess with a rag. Only one coat is needed.
Step 3: Within 2 hours, apply Minwax Oil Based Wood Finish Stain in Special Walnut
Special Walnut is one of my very favorite stain colors! I’ve used it all over my home, including on my giant pony wall built-ins. It’s a gorgeous, rich color from Minwax.
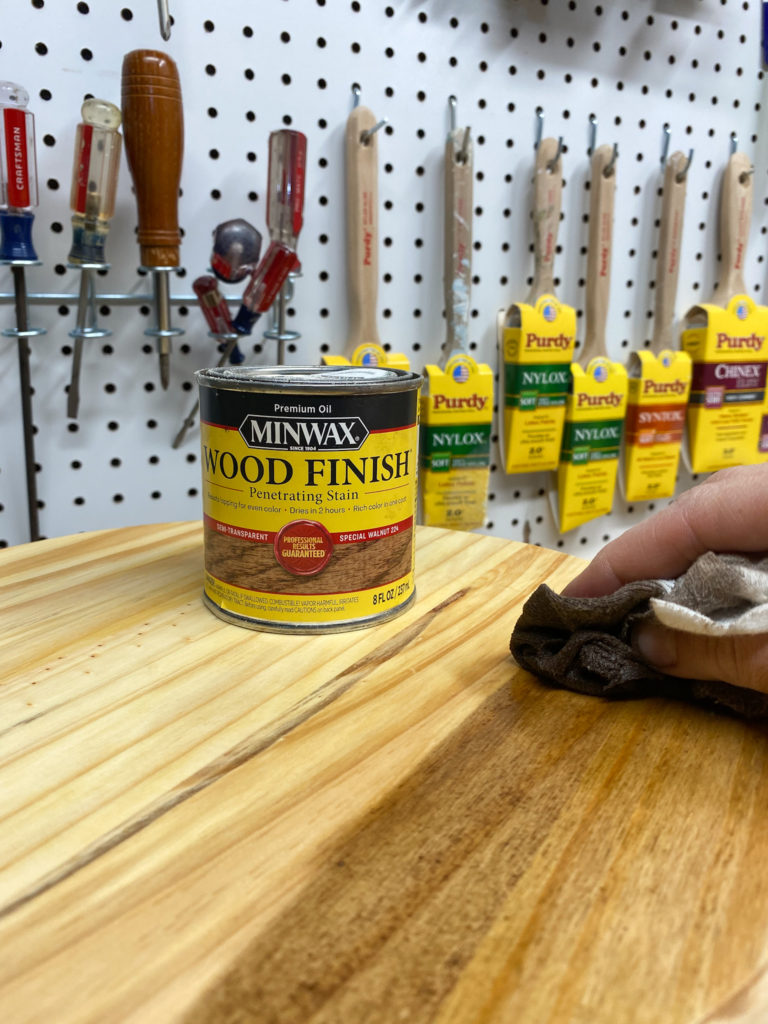
Apply it with a rag, making sure to apply in the direction of the grain. Let it penetrate the wood for 5-15 minutes. The longer you let it sit, the darker the color will be. Wipe off any excess with a clean rag. I only applied one coat but if you want to darken the color, simply wait 2 hours and apply the stain in the same way you did the first time.
Step 4: After 24 hours, apply Minwax Polycrylic Protective Finish in Matte Finish
When staining, it’s best to apply a topcoat to adequately protect the wood. When using oil-based stains, you can protect the wood with Minwax Fast-Drying Polyurethane or Minwax Polycrylic Protective Finish in Matte Finish. If you use the polycrylic as I did, you must wait 24 hours before applying it.
Apply Minwax Polycrylic Protective Finish with a Purdy 2” XL Sprig Paintbrush. Ensure that it’s a thin coat. Allow it to dry for at least 2 hours. Then lightly sand it with 220 grit sandpaper. Apply another coat. I applied 2 coats.
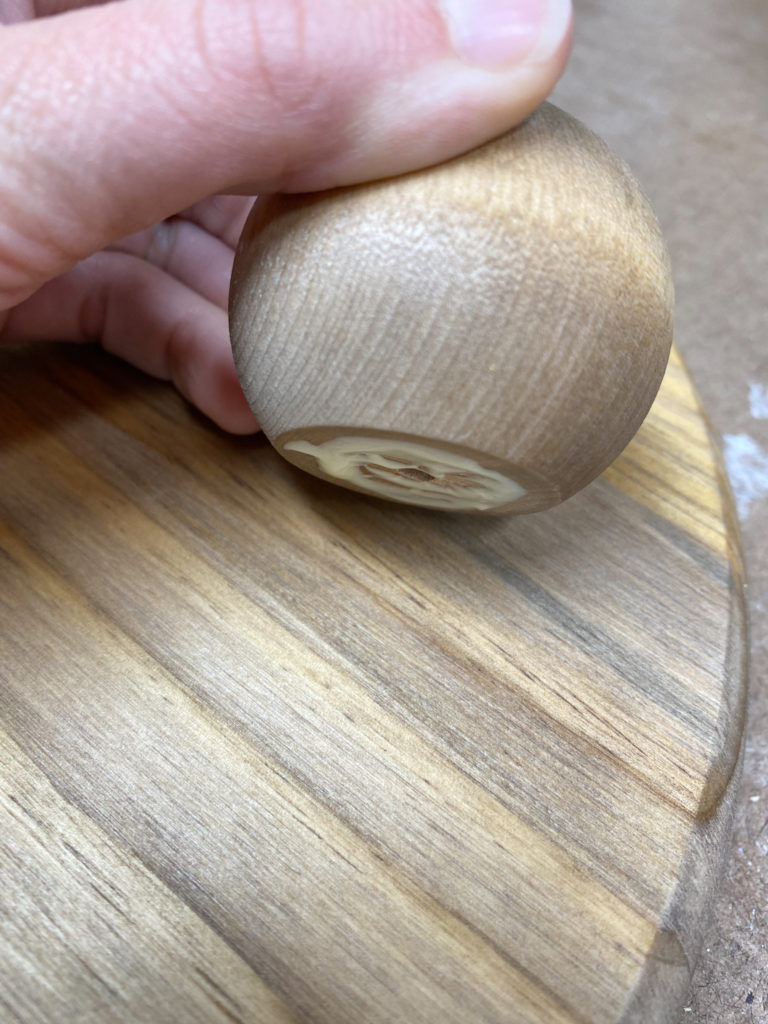
Step 5: Attach legs to wood rounds using wood glue
Attach the legs to the bottom of your wood rounds. Wood glue is sufficient for a strong bond. I chose to make two varieties of plant risers: One with round legs and one with ribbed wheel legs. You can choose whatever style legs you like best!
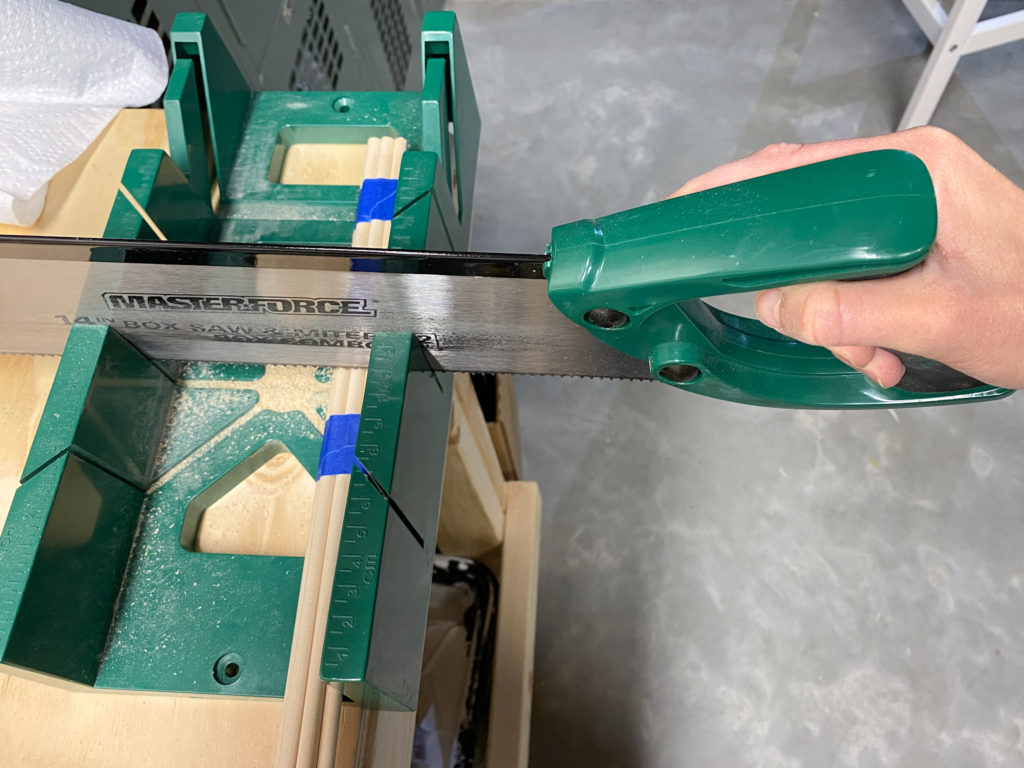
Step 6: Start working on the planters by cutting wood dowels to size
Using a miter saw or a miter box and hand saw, cut the wood dowels to the height of your round paper mache boxes. To make it go faster, I taped about 7 dowels together using painters tape and cut them all at once.

Step 7: Glue wood dowels onto round boxes
Using wood glue or another strong adhesive, glue the wood dowels to the round boxes. Line them up snugly against one another and keep going until wood dowels cover the entire outside of each box.
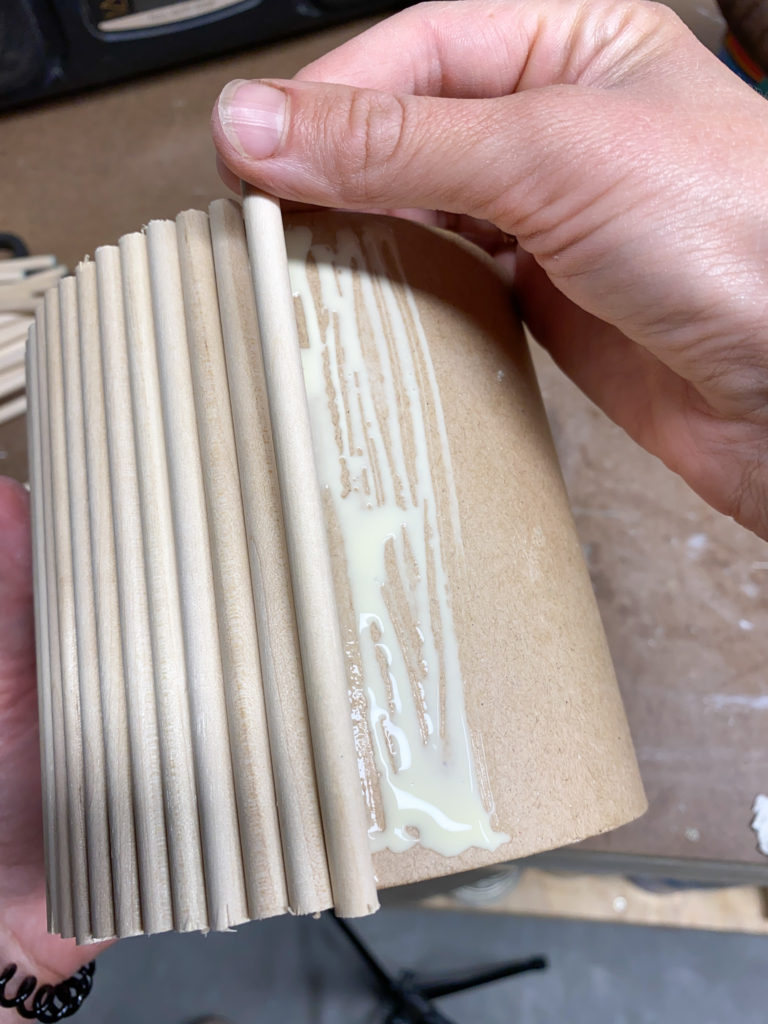
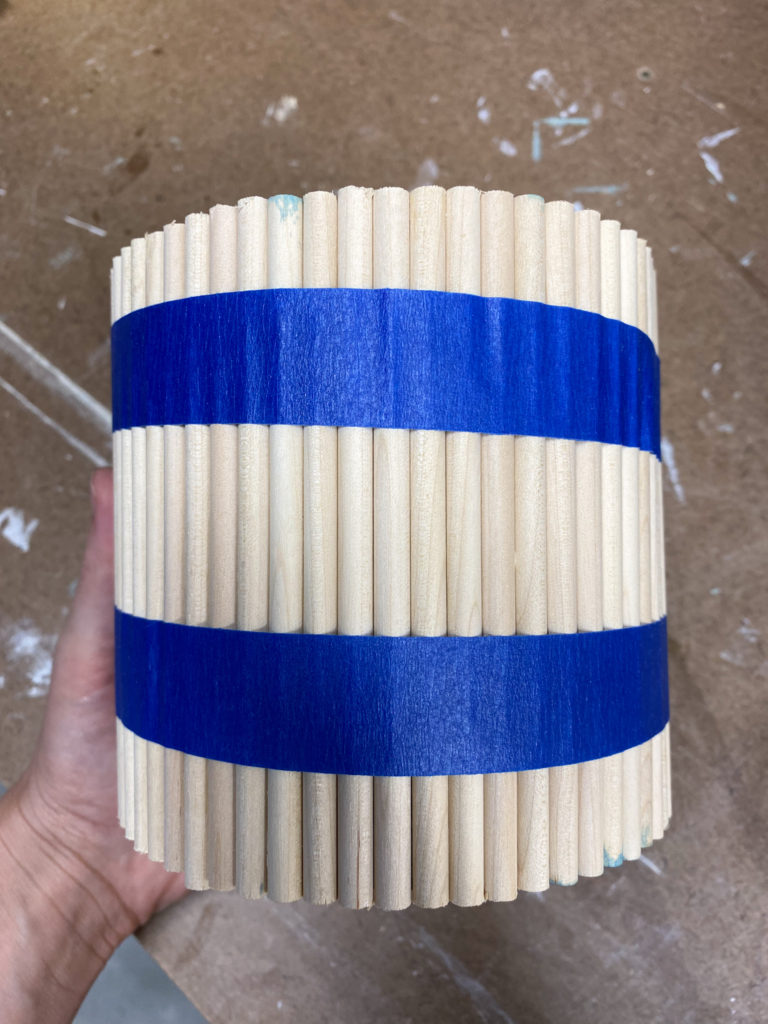
To keep the dowels in place while the glue dries, you can wrap painter’s tape around the dowels. Allow them to dry for at least 2 hours. Waiting 24 hours will ensure the strongest bond.
Step 8: Lightly sand the wood dowels
Using 220 grit sandpaper, lightly sand the dowels. Pay special attention to the ends of them where they might need a little extra sanding if they weren’t perfectly cut. Use a tack cloth to remove any dust.
Step 9: Apply Minwax Water-Based Pre-Stain Wood Conditioner to the wood dowels
Since I planned to use water-based stain on the planters, I needed to first apply water-based pre-stain wood conditioner. This helps prevent blotchiness and it controls grain raising. I’ve made it a habit to always apply pre-stain wood conditioner before I stain anything! This step helps make sure that you love the end product.

Apply Minwax Water-Based Pre-Stain Wood Conditioner with a Purdy 2” XL Sprig Paintbrush. After 1-5 minutes, remove any excess with a rag.
After 15-30 minutes, lightly sand the dowels with 220 grit sandpaper. Remove any dust with a tack cloth.
Step 10: Apply Minwax Wood Finish Water-Based Solid Color Stain in Vintage Blue
I LOVE Minwax’s color stains. They come in 200+ colors. They have both semi-transparent and solid opacity. They dry in an hour. They clean up with soap and water. They are easy to apply because the stain is 5 times thicker than traditional oil-based stains. And last but not least, they leave a gorgeous finish on wood!
I’ve tried this product in various colors and so far, my very favorite color is their Vintage Blue, which is Minwax’s 2021 Color of the Year. It’s a soft blue color with green and gray undertones. It’s earthy and calming. It’s perfect.
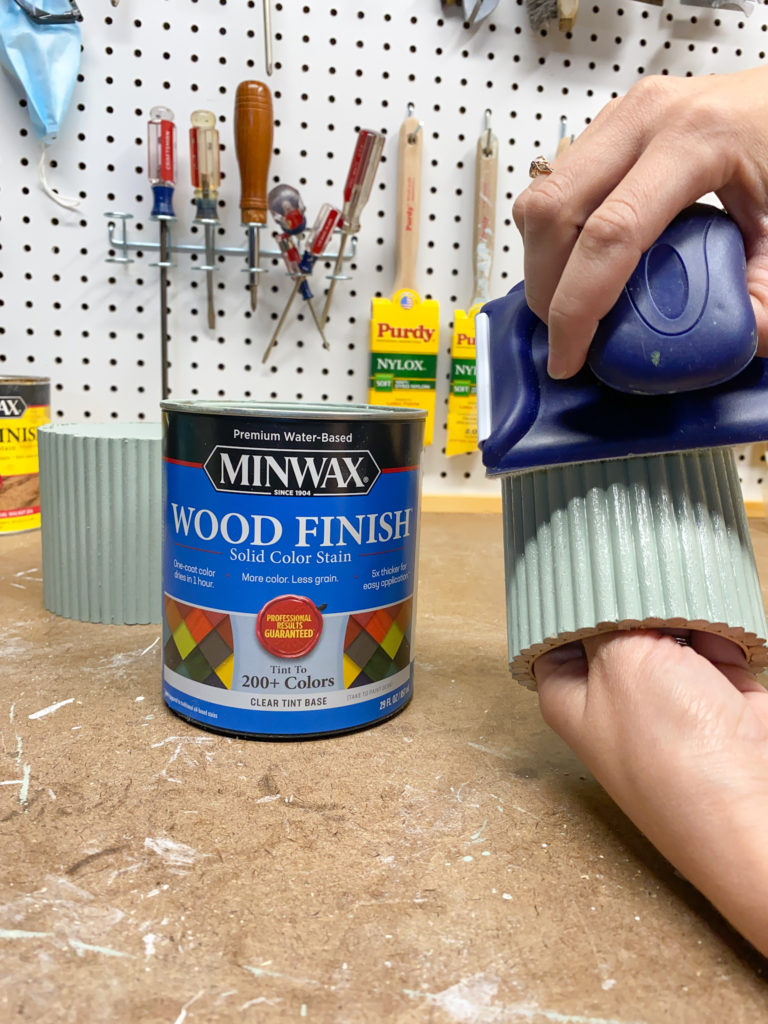
Apply Minwax Wood Finish Water-Based Solid Color Stain in Vintage Blue with a Purdy 2” XL Sprig Paintbrush. Make sure to apply it going with the direction of the wood grain. Immediately (within 2 minutes) remove any excess stain with a synthetic pad.
Step 11: After 2-3 hours, apply Minwax Polycrylic Protective Finish in Matte Finish to protect the wood finish
To protect the wood, apply Minwax Polycrylic Protective Finish with a Purdy 2” XL Sprig Paintbrush. This protective finish comes in many different sheens. I prefer a matte finish but feel free to choose whichever sheen you prefer.
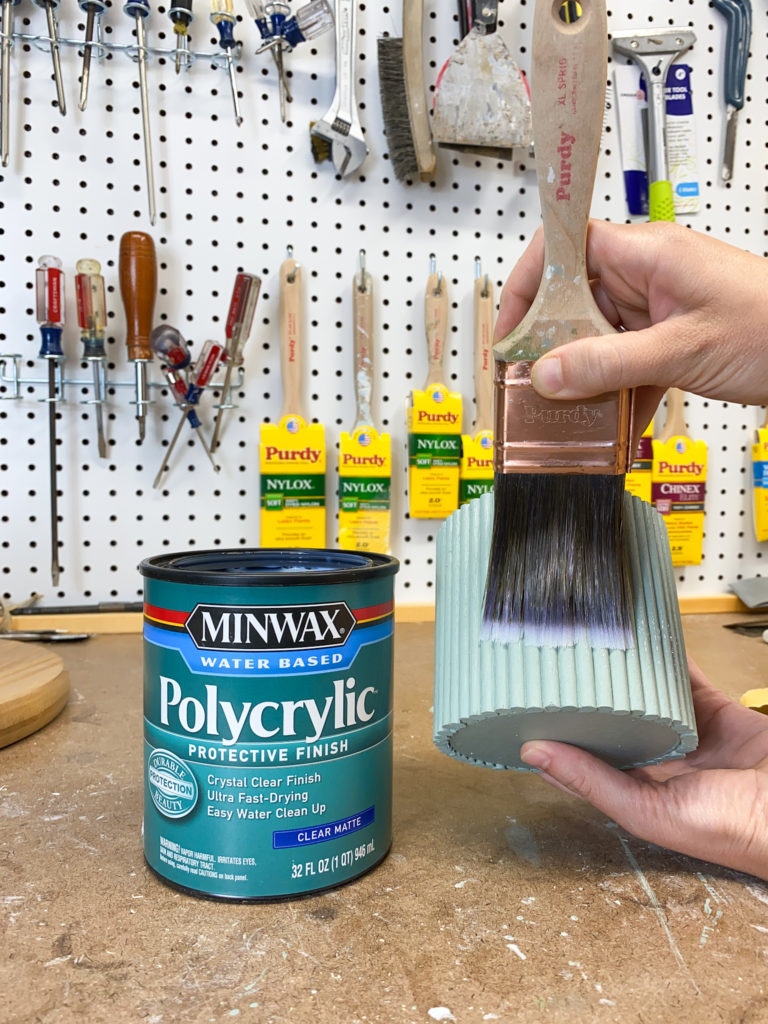
Apply a light coat. After 2 hours, lightly sand it with 220 grit sandpaper. Remove dust with a tack cloth and apply a second coat for additional protection.
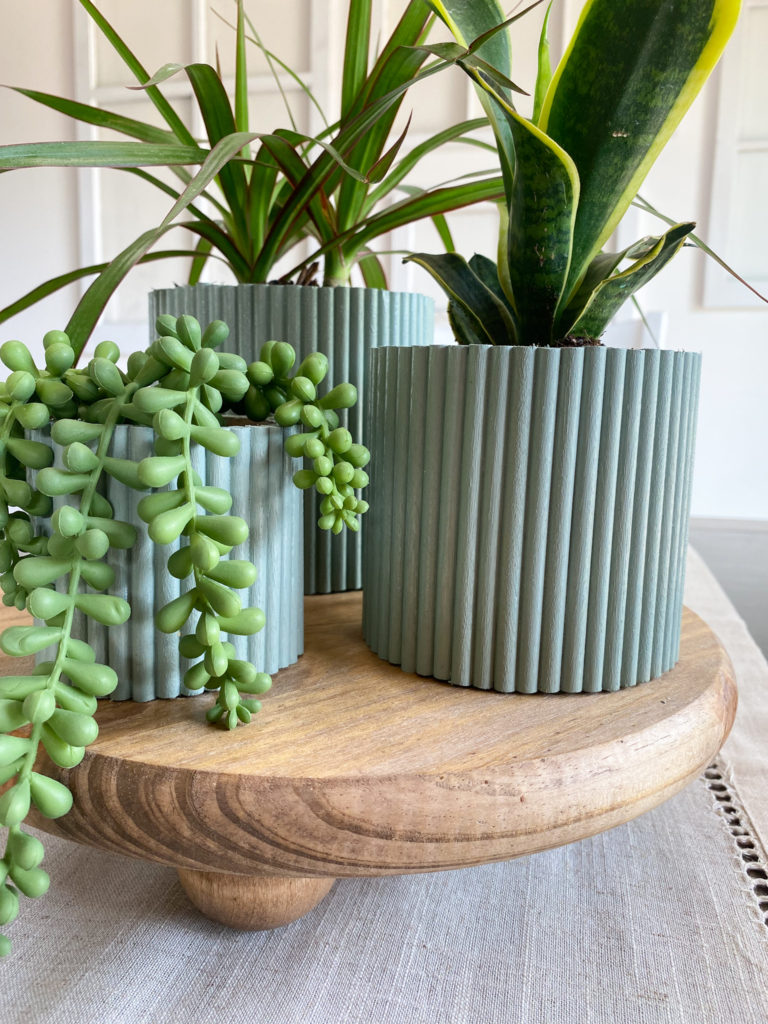
Step 12: Add your favorite real or faux plants to the planters
I chose two real plants and one faux plant. A trick to making faux plants look real: Use real dirt in the planters! Put the faux plants into real dirt so that they look more realistic.
The Finished Plant Risers & Dowel Planters!
Now your plant risers and dowel planters should be all set to go. Style them on your dining room table, in a bay window or on the middle of your kitchen island.

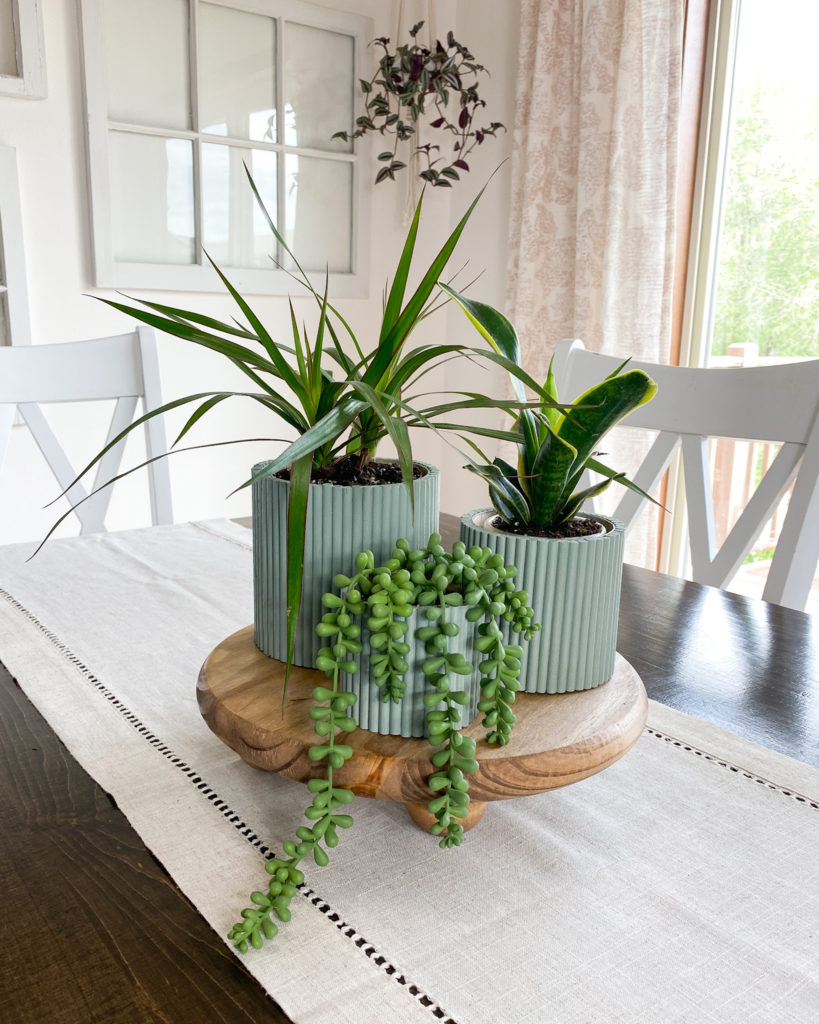
These items also make great gifts for others – housewarming gifts, birthday gifts and more. What do you think of them? Would you try making some too?
Looking for More Home DIY Project Ideas?
For more inspiration from Minwax, click here!