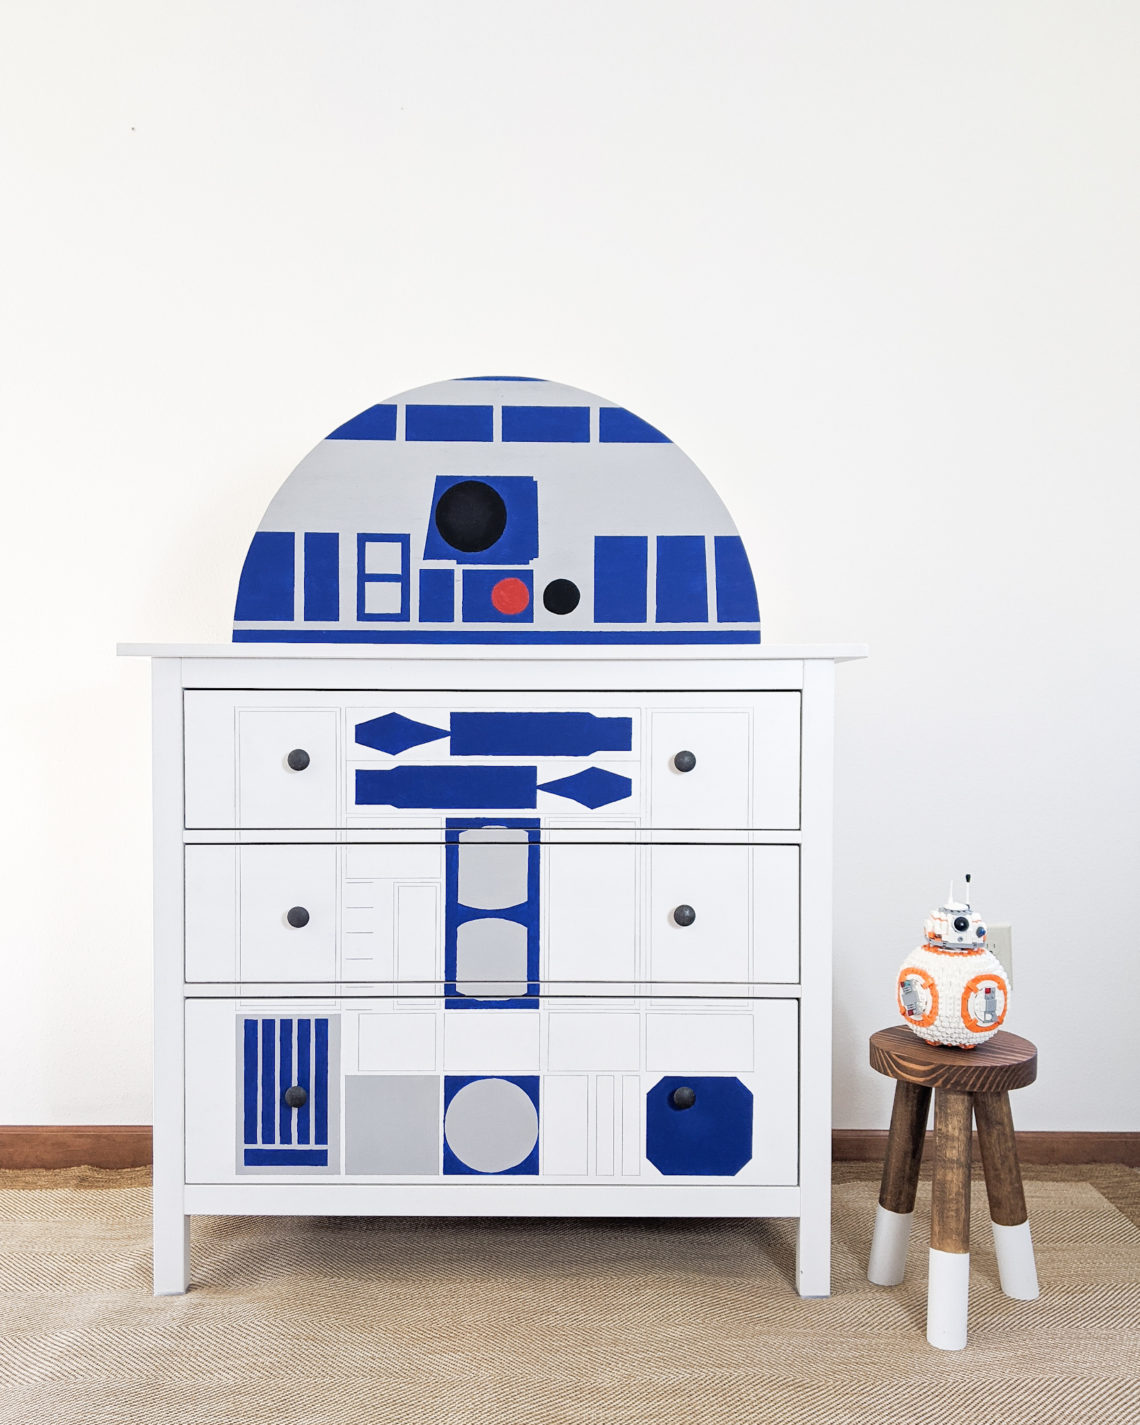
Ikea Hack: How to Make an R2-D2 Dresser
My son LOVES Star Wars. When I painted his sister’s dresser, he pleaded with me to paint his too. I knew this would be a great opportunity to do something fun. Therefore, the Ikea Hack R2-D2 Dresser was born!
Follow me HERE on Instagram to see all my home DIY project reveals! Not into Instagram? Sign up for my emails here instead!
Below I’ll share with you the steps you need to take to make this happen. It is time consuming because it’s artistic. You spend hours drawing out all the details and painting them perfectly. Honestly, I loved the process.
I worked on it mostly after my son went to bed and every morning he would wake up and rush to see how much more I had added the night before. He would jump up and down and squeal with excitement. It was the sweetest; it made every hour working on this R2-D2 dresser well worth it.
This post contains affiliate links which means I may get a small commission off any purchases made from my links. It’s no extra cost to you. Thank you for your support!
Tools & Materials for R2-D2 Dresser
- White Ikea Hemnes 3-drawer dresser (or any dresser you can find!)
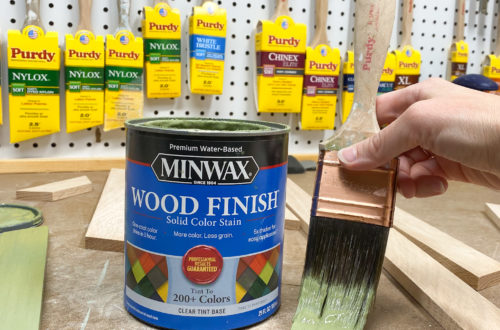
- Krylon Chalky Finish Paint in Blue, Red, Black and Gray
- Small Paint Brushes
- Gray Sharpie Marker
- Yardstick
- Level
- Plywood (at least 30″ x 15″)
- Jigsaw
- String/Twine
- FrogTape Painter’s Tape – Green
- Minwax Polycrylic Satin Finish Spray
- 2 L Brackets/Corner Braces
Time to Complete the Dresser
This really depends on how quickly you draw and paint on the design. It took me about 2 weeks because I worked on it mostly in the evenings when my son was asleep. And of course I took some days off to do other things 🙂
Step 1: Draw the Design on with a Pencil
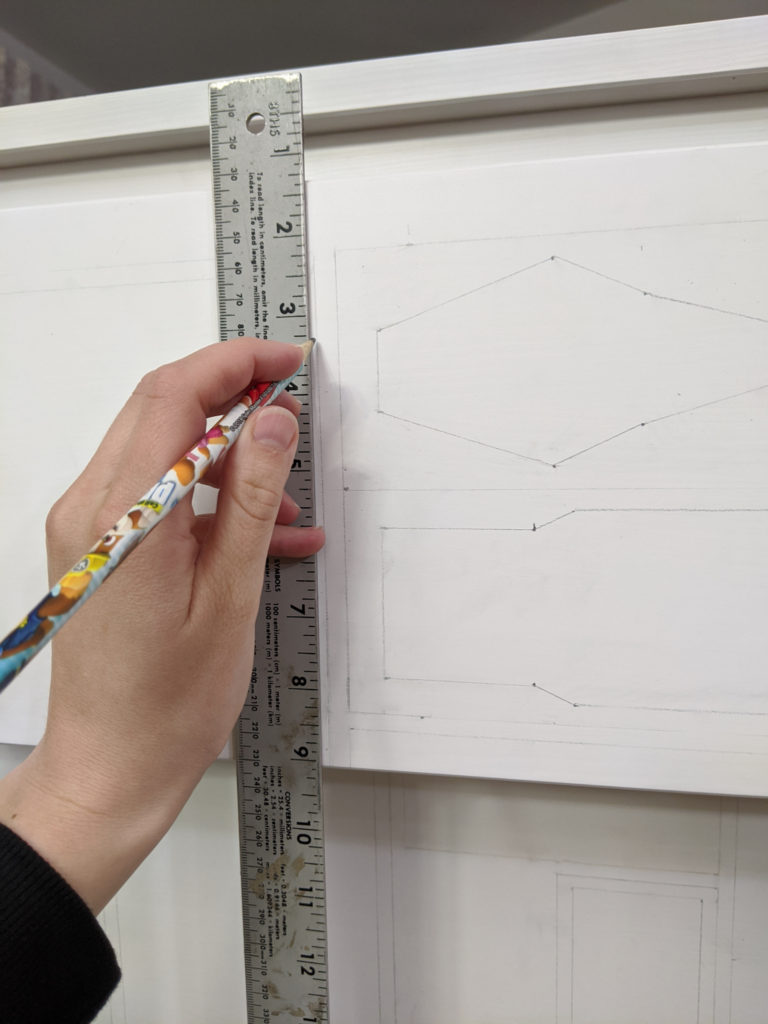
This is the most time-consuming part so just take your time and enjoy it! While looking at a picture of my dresser or a little R2-D2 figurine like I had by my side, draw out the design onto the front of the dresser. Use a level and a ruler to make sure your lines are straight and level.
Step 2: Outline the White Shapes in Gray Sharpie Marker
Using a gray sharpie marker and a yardstick, put lines around the shapes that will remain white in the inside. The gray sharpie just gives them permanence.
Step 3: Paint the Different Sections with Blue and Gray Paint
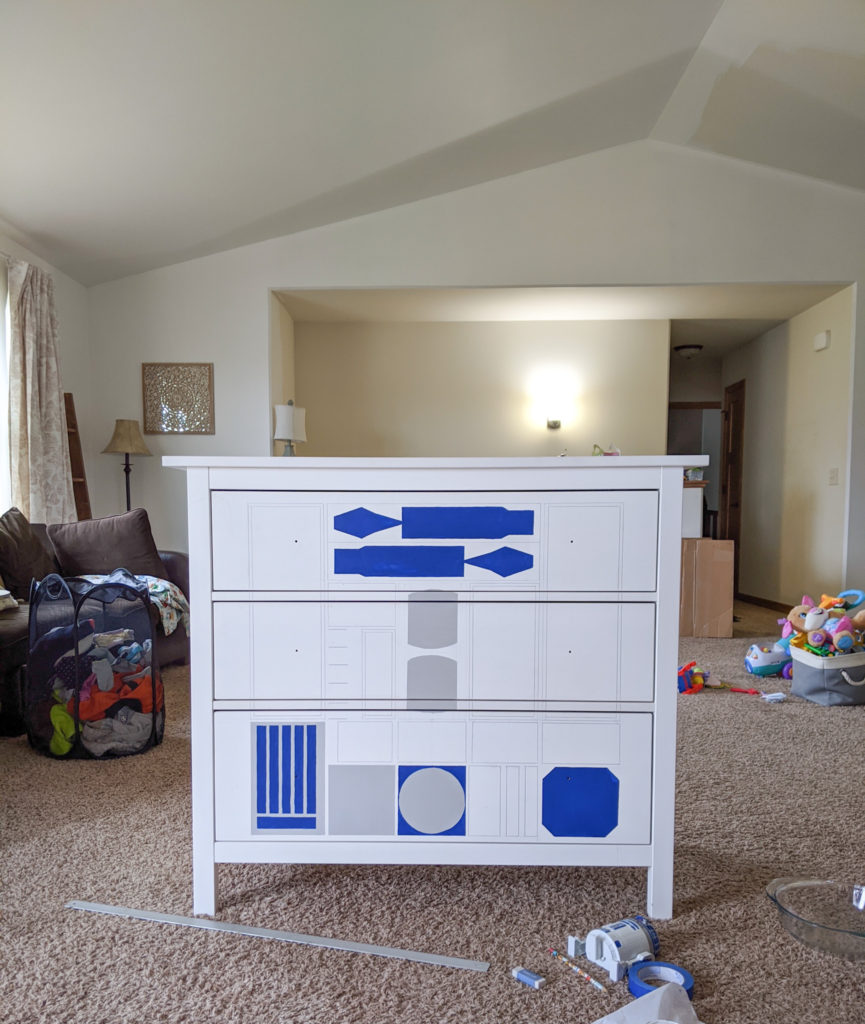
The best type of paint to use for this is Krylon Chalky Finish Paint. This paint will adhere well to the dresser and will cover well, often not requiring a second coat. I tried using other types of paint but they didn’t work very well. Most didn’t adhere well.
Use small painter’s paint brushes to get in the small areas. Use FrogTape painter’s tape as needed to get really smooth, crisp lines.
Step 4: Cut the Head out of Plywood
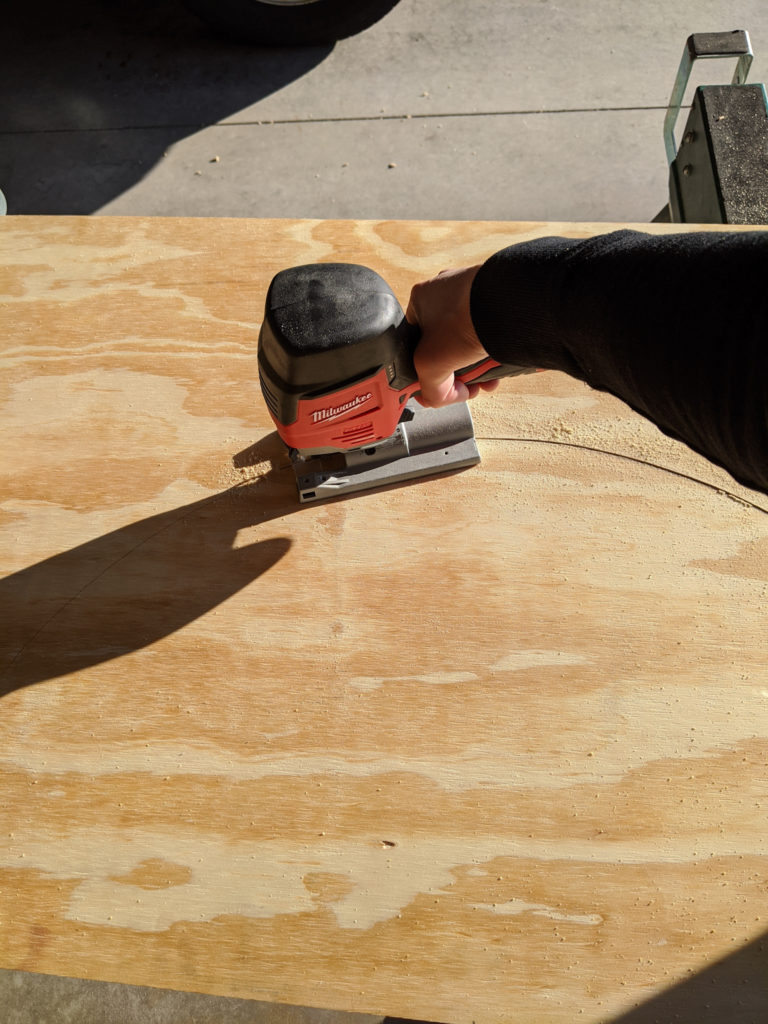
Using a jigsaw, cut out a semicircle from a piece of plywood. Your semicircle should be 30″ in diameter.
You can draw a perfect circle by tying a pencil to a string. Let 30″ of string out from away from the pencil. Place the end of that 30″ string in the center of the circle. Then move the pencil along the plywood, making a mark that is always 30″ away from the center of the circle. Then cut along this line with a jigsaw.
If you have trouble getting a perfect semicircle, you can always sand the edge of the plywood a bit to smooth it out.
Step 5: Paint the Semicircle Gray
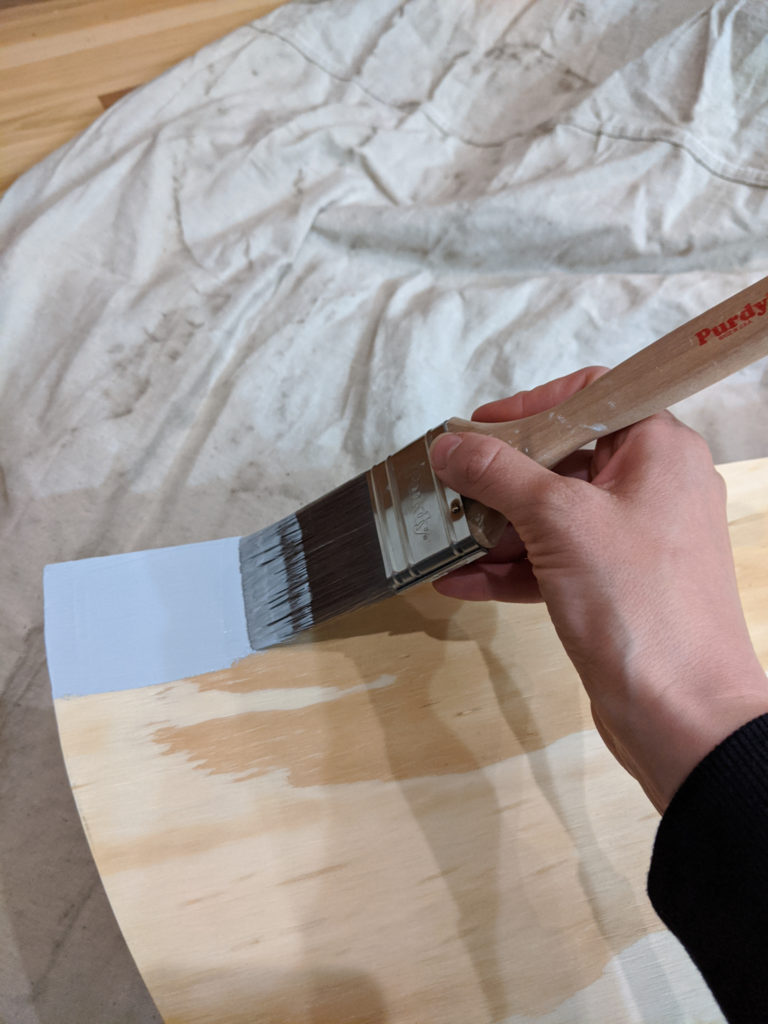
Paint the semicircle gray with Krylon Chalky Finish paint. I only painted the front and edges but if I would do it again, I’d paint both sides!
Step 6: Draw the Design on with a Pencil
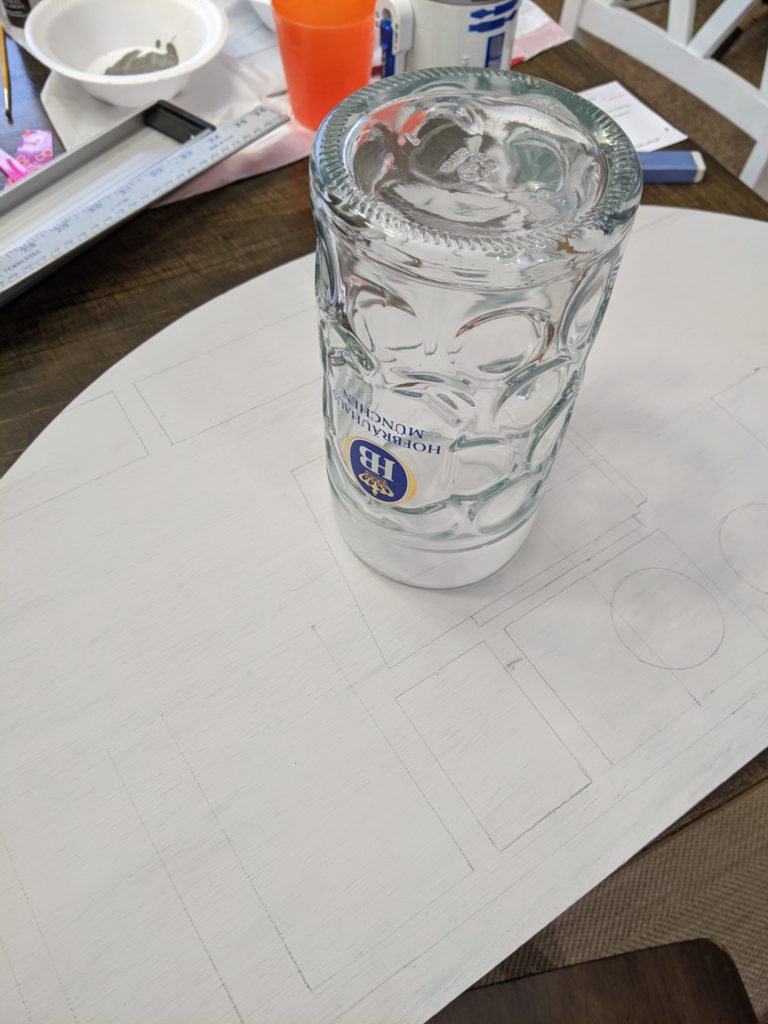
Carefully draw out the design on the head. This part is pretty intricate so make sure to leverage random objects around your home to help you – like this giant German beer stein for a large circle!
Step 7: Paint the Different Sections
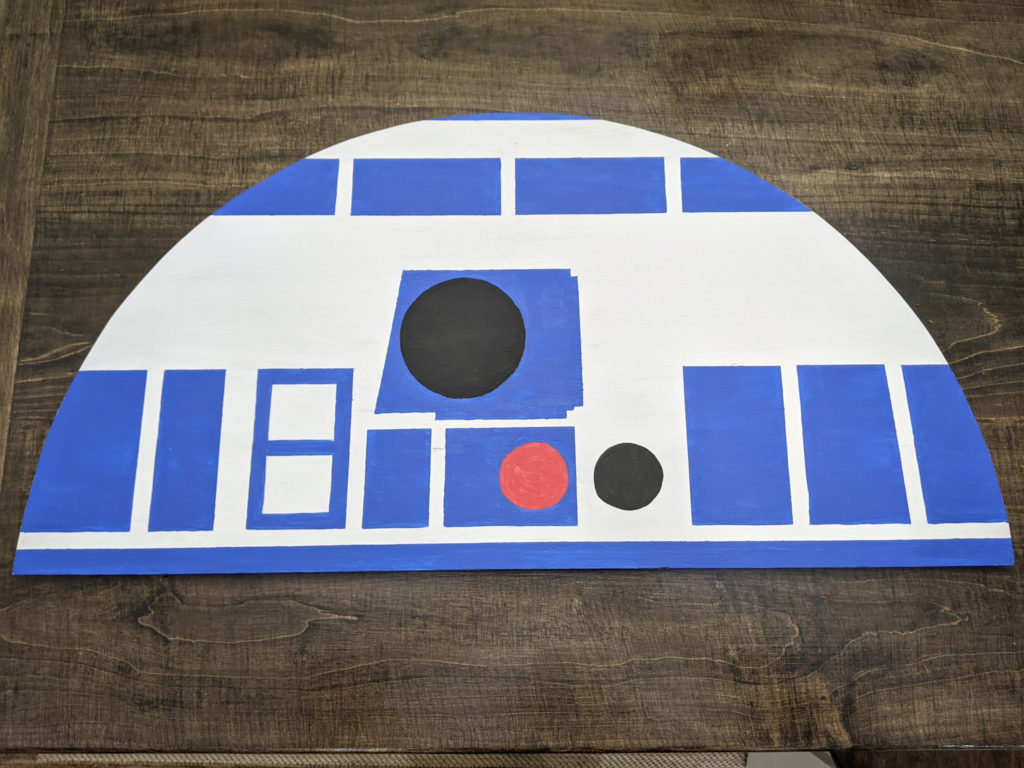
I have to admit – I didn’t get red chalky finish paint for this. It just didn’t seem worth the cost. I used acrylic paint and it worked out okay in this instance.
Step 8: Apply Polycrylic Protective Finish to the Dresser and Head
This step is really important in order to protect your painted dresser from scratches. I applied the spray polycyrlic. The polycrylic in a can that you paint on would probably create a more protected surface. It’s up to you but just make sure to apply at least 2 coats of polycrylic to protect it.
Step 9: Attach the Head to the Dresser using L Brackets
Attach L brackets to the head and dresser in two places, securing on the head.
Beep Boop Bop! He’s Finished!

The Star Wars R2-D2 dresser is done and my son loves him! Definitely an Ikea hack that I had a ton of fun with.
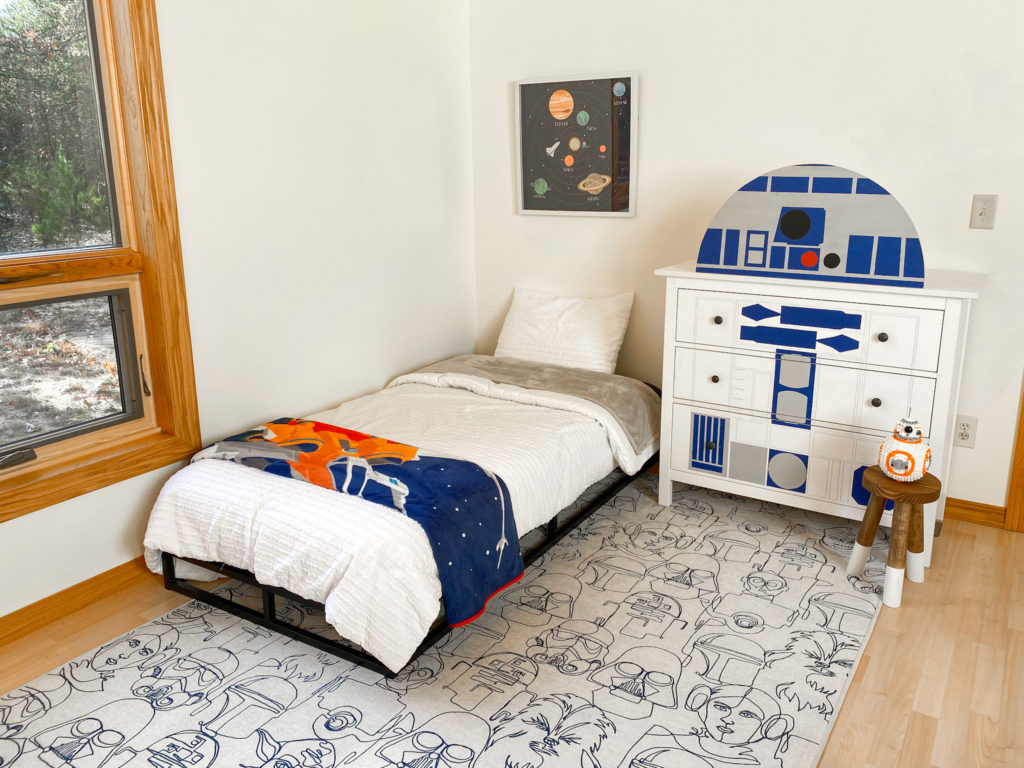
Add a fun rug, blanket and some Star Wars legos to complete the room! It’s my son’s dream room – until he stops loving Star Wars, which will probably happen in about 5 days (hah! just kidding….kinda).
Here are links to the other items in the room in case you are interested:
Dipped Leg Round Wood Stool (or learn how to make your own HERE)
Any questions on this Ikea Hack R2-D2 Dresser project, of course just message me.
Interested in other fun home DIY projects?
Sign up for my emails here so that you always know about my new projects and DIY tips!
Head here to see a great storage solution for a kid’s room!
What about an art deco color block wall?! Head here to see that beauty.
Simple DIY bookends for kids’ rooms or gifts are here.
Follow me on Instagram to be in the know on all my latest projects!


33 Comments
Jen
You win all the cool points for this one! What a fun project! Amazing work on the design coming out just perfectly!
admin
Thank you so much, Jen! You are so sweet! It was so much fun to make because my son was just SO very excited about it along the way 🙂 Have a great day!
Morgan Nelson
This is so cool and turned out so cool!
admin
Thanks so much, Morgan! I love making stuff that my kids get so excited about 🙂
Pingback:
Pingback:
Jayne
Such a great DIY! My boys would have loved this when they were small!
admin
Thanks so much, Jayne! Have a great day!
Marie
Mary, this is one of favorite projects you’ve done! So creative. P.s. love the Hof Brau stein stencil ☺️
admin
Haha! Thank you! The stein’s role in this made me laugh a lot 🙂
Diane
So stinking cute. That is one lucky kid. And you are a super creative Mom. Well Done!!!!
admin
You are so kind! Thanks so much, Diane!
Melissa Tomlinson
This is such an amazing idea and it turned out so cute! My grandsons would LOVE this! Thank you for sharing with us!
admin
Thanks so much, Melissa! It was a fun one to make, with my son getting so excited along the way 🙂
Libbie
How COOL!!! I think this is adorable! Kudos!
admin
Thanks so much, Libbie! It was a fun one to make 🙂
Kim Waldorf
This is amazing! I raised a house-full of boys and they would have loved this. Well done!
admin
Thanks so much, Kim! Have an amazing day!
Carol Karl
This is so creative! My son would have loved this when he was young – he probably still would (at 20!). I love all your projects, they are all amazing.
admin
Hah! I’ve been hearing that from a lot of people – that even adults would love this! hah. Thanks so much, Carol! That is so kind of you to say. Have a wonderful day!
Danielle Keller
This is just incredible!!! I wish I would’ve seen this when my son was little!!! We even have this dresser!
admin
Thanks so much, Danielle! Well, some people are saying that they want this for their adult kids so… hah! 😉
Kimberly Jones Snyder
This is incredibly amazing! you are so talented! thanks for sharing!!!! and it is adorable too!
admin
You are so sweet! Thanks so much, Kimberly!
Christin
This is so fantastic! Great tutorial too!
Pingback:
Paula@SweetPea
This is such a cool project, perfect for any Star Wars lover. I’m going to share it on my FB page today!
A long time ago, I did an Ikea Rast project that is now in my father-in-law’s bedroom at our lake house that has an Americanna theme. If you want to see it, here is the URL: https://www.virginiasweetpea.com/patriotic-dresser-ikea-rast-hack/
admin
Thanks so much, Paula! I just saw your share of it- THANK YOU 🙂
That Ikea project is so great! You are so talented to be able to make it look so perfect. I’m amazed!
Jennifer Howard
Mary- I added this to my weekly roundup! This is sooooo cool!!
admin
You are so sweet! Thanks so much for putting it in your weekly roundup!
Pingback:
Anissa Carlisle
What a cool project! You have such talent.
admin
Thanks so much, Anissa!