
DIY Embroidery Hoop Wall Decor: Easy to Make & Less than $10
When I have blank walls I normally just drive to a few stores and find wall decor to hang up (proof here). Sometimes it’s expensive. Sometimes I like it for a few months and then randomly start hating it and replace it again. I’ve never made my own wall decor but I decided to give it a shot to get something truly unique AND really inexpensive.
This project took less than an hour to make (seriously, I did it one evening after my son went to bed). Also, it cost me about $10 total but it could cost you $0 if you have these materials already lying around! Simple materials that are easy to find at a craft store, or your own craft closet 🙂 Step by step directions are below. Enjoy!
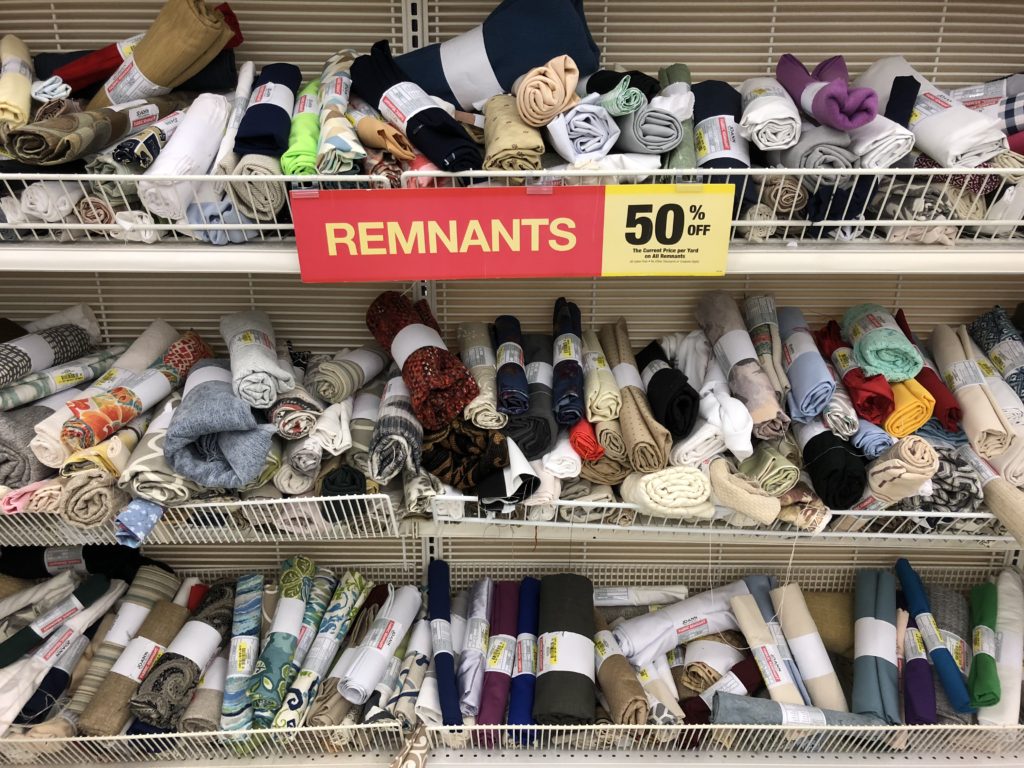
- Gather your supplies: Drive to your local craft store and gather the supplies. You’ll need some embroidery hoops and a few different types of fabric/material. The fabric/material depends completely on what style you want for your finished product. I raided the remnants bins at JoAnn Fabrics and found some material I loved for really cheap. See below for that lovely 50% off sign, making my purchases oh so cheap.
 Here is the fabric/material I ended up getting. I wanted fabric with different textures, and colors to match my guest bedroom. The two fabrics on the right I got from the remnants bin at JoAnn Fabrics and the stamped burlap I got from Michael’s. You can’t really tell from this picture but the cream fabric has this really lovely stitching in it.
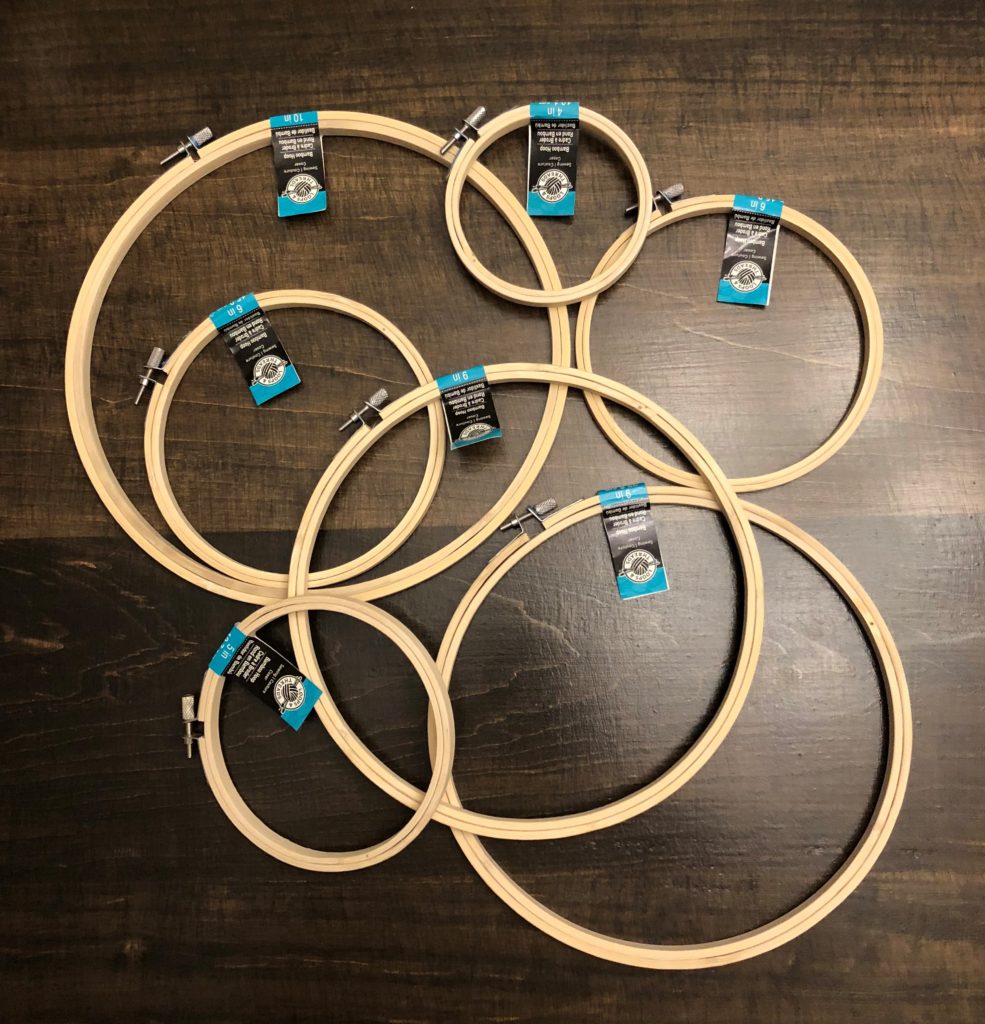
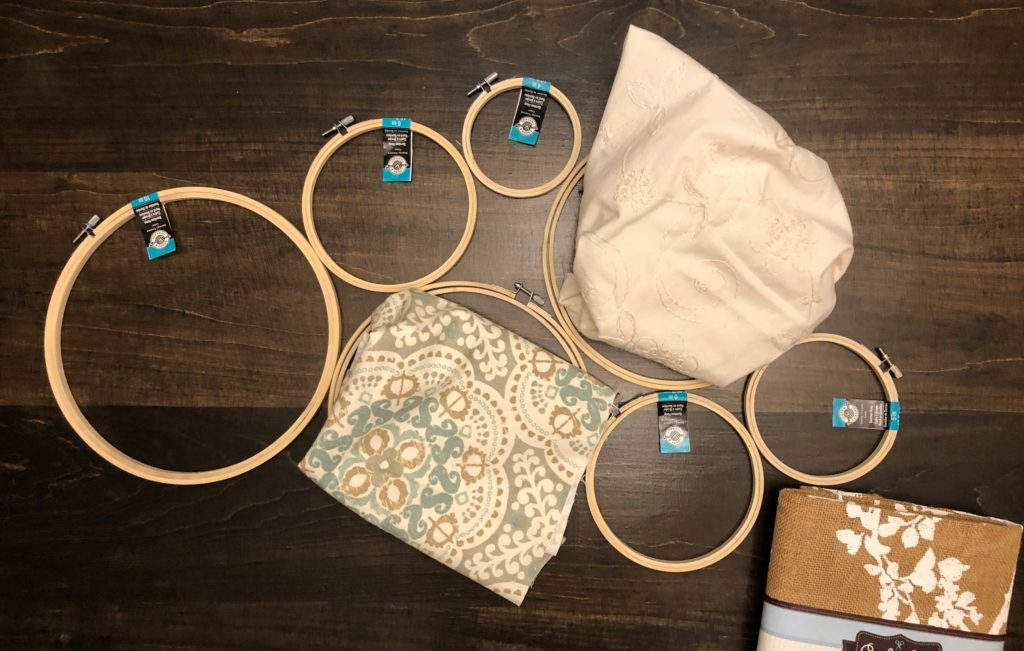
I purchased 7 embroidery hoops in various sizes. I didn’t plan out the details of what I would do with each size – just got a variety to give me options. They are incredibly inexpensive! About $1 per hoop. 2. Plan out your design: Basically before jumping into crafting you want to make sure that you have a plan so you don’t end up with an end-product that doesn’t really fit together well. Below you can see how I laid out the hoops next to one another and figured out what material I wanted to put in what hoop. I wanted to have an idea – but you’ll see that I gave myself freedom to change my plans throughout the process 🙂
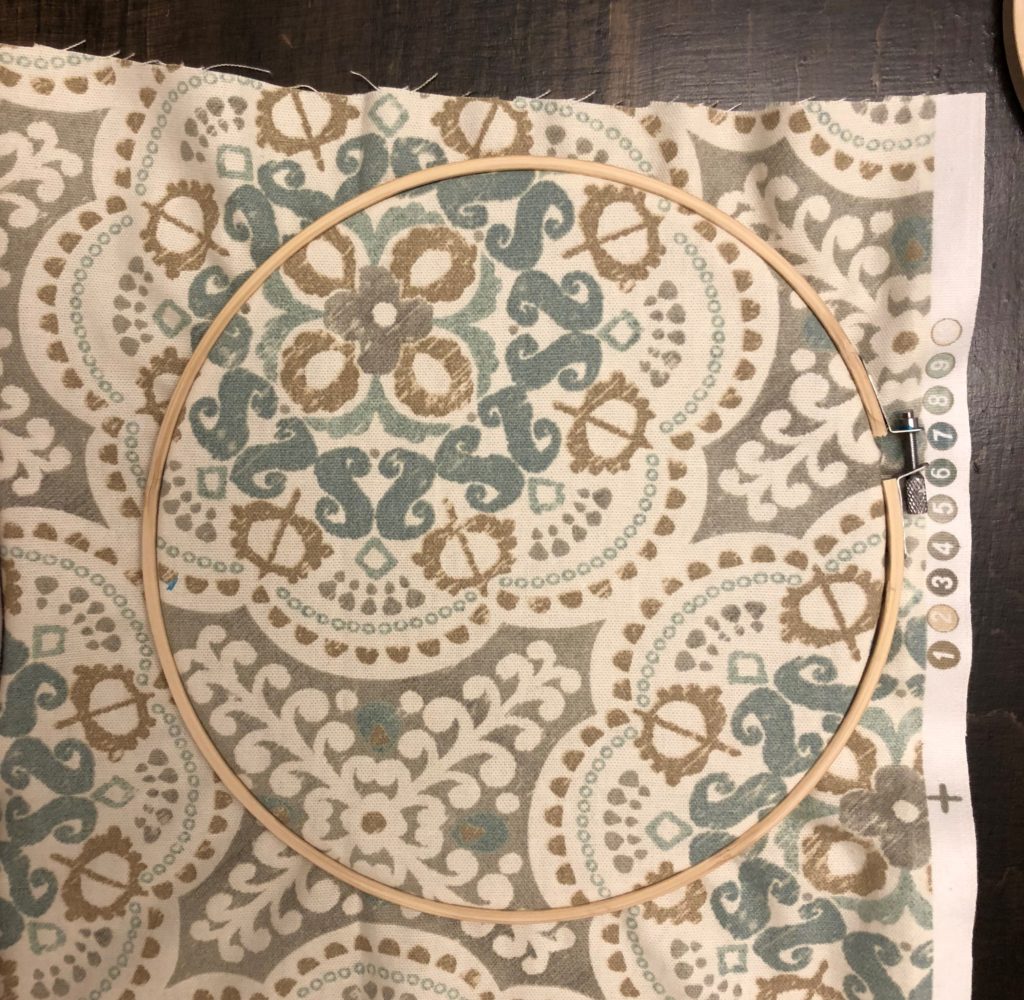
3. Place fabric in a hoop: Start with whatever hoop you want (doesn’t matter). Take off the sticker price tags (obviously :)). Separate the two hoops (inner and outer) and place the smaller hoop underneath the fabric and the larger one over the fabric. Ensure that you like the design of the fabric that is showing through the hoops. Press down the larger hoop over the smaller one (see below).
You’ll want to make sure the fabric is as tight as possible without looking strained. This will ensure a clean, wrinkle-free look. When you are happy with how it looks, turn the screw at the top of the hoop to tighten it in
 Here is the fabric/material I ended up getting. I wanted fabric with different textures, and colors to match my guest bedroom. The two fabrics on the right I got from the remnants bin at JoAnn Fabrics and the
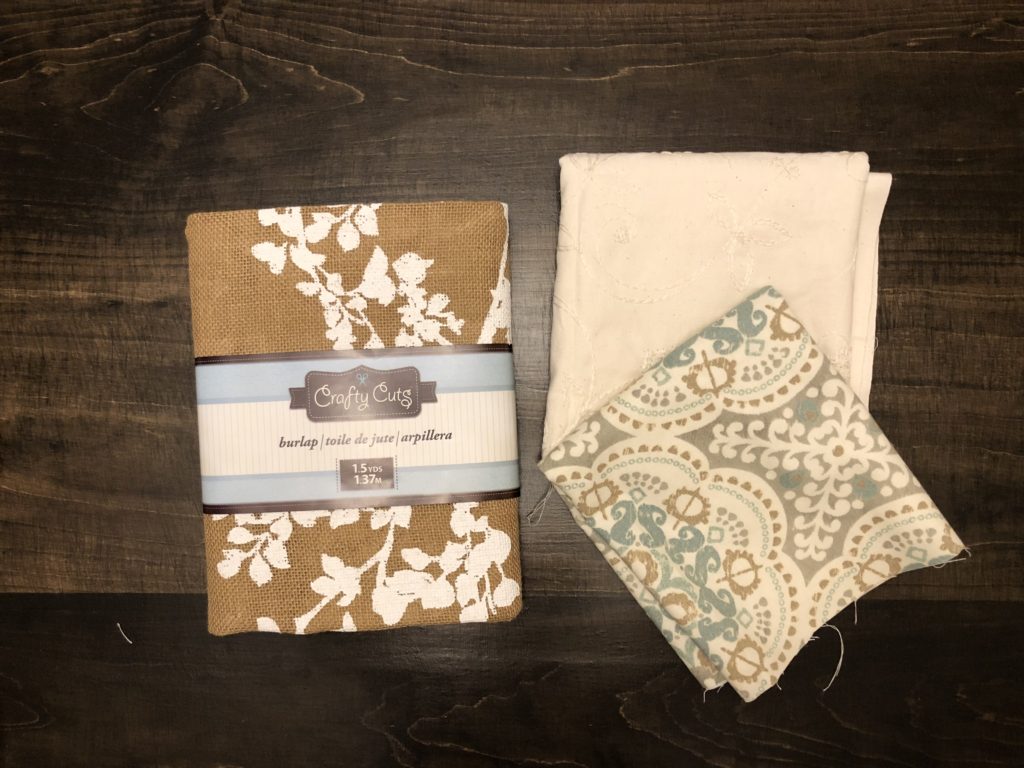
 You’ll want to make sure the fabric is as tight as possible without looking strained. This will ensure a clean, wrinkle-free look. When you are happy with how it looks, turn the screw at the top of the hoop to tighten it in
4. Cut off excess fabric: Turn the hoop over and cut off the excess fabric, leaving about 1/2 inch excess. You’ll need enough fabric to glue it down but not so much that it’s bulky and won’t hang flat against the wall.
5. Glue down excess fabric: I think hot glue guns are the best thing ever. The glue dries very quickly so you don’t have to spend ages holding things together while glue dries. Also, they don’t turn fabrics weird colors (like rubber cement or some other glue products do). I just think they are super easy to use and I use them every chance I get – hah. I have this cute little glue gun that is perfect for crafting (check it out in the image below).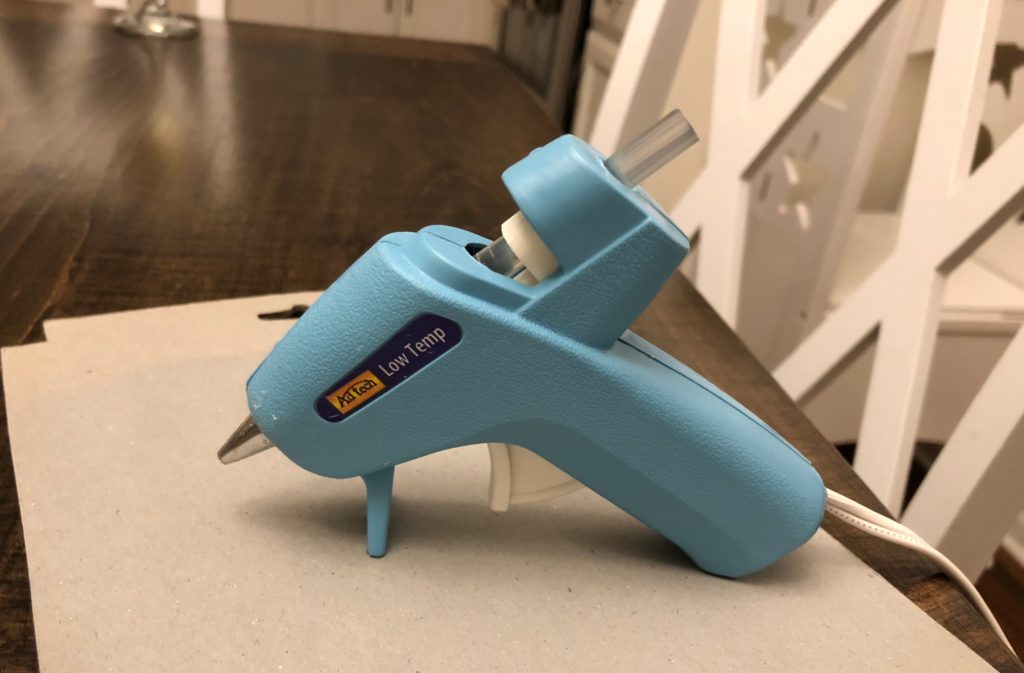
Ok, so obviously I used this glue gun for this craft to secure the fabric to the back of the embroidery hoop. I put a little glue along the back edge of the hoop and pressed down the fabric into the glue as I went. Super simple.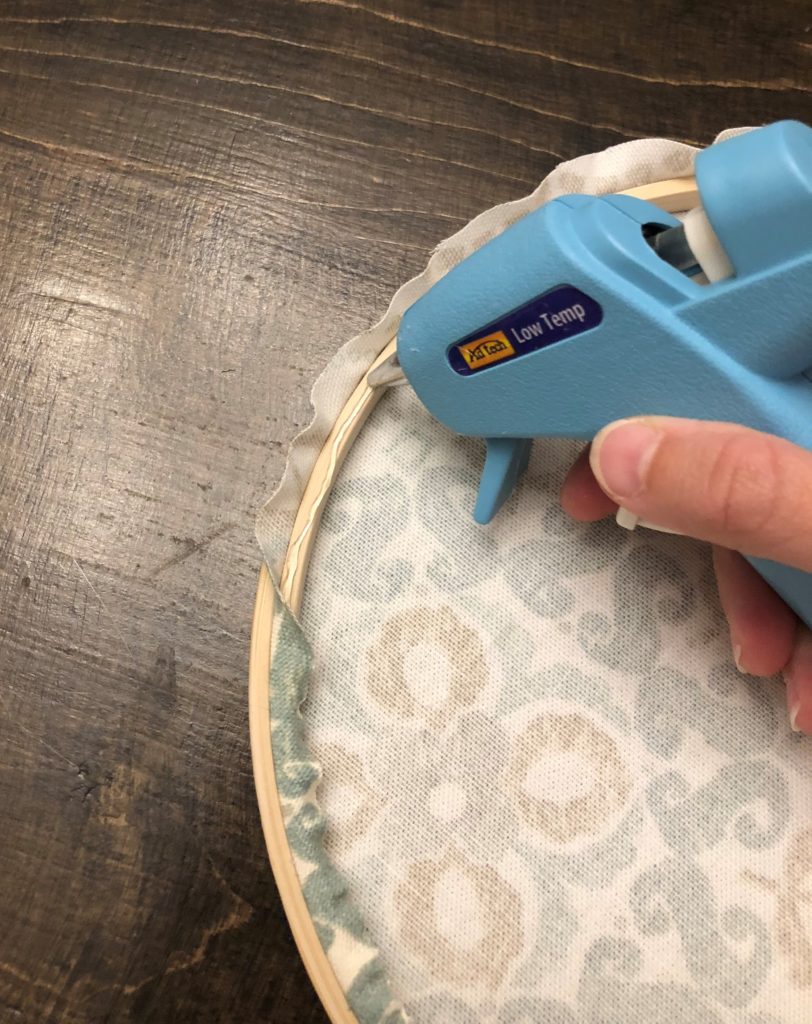
Here’s what the back looked like when I was done gluing. Pretty nice for the back that no one will see anyways, right?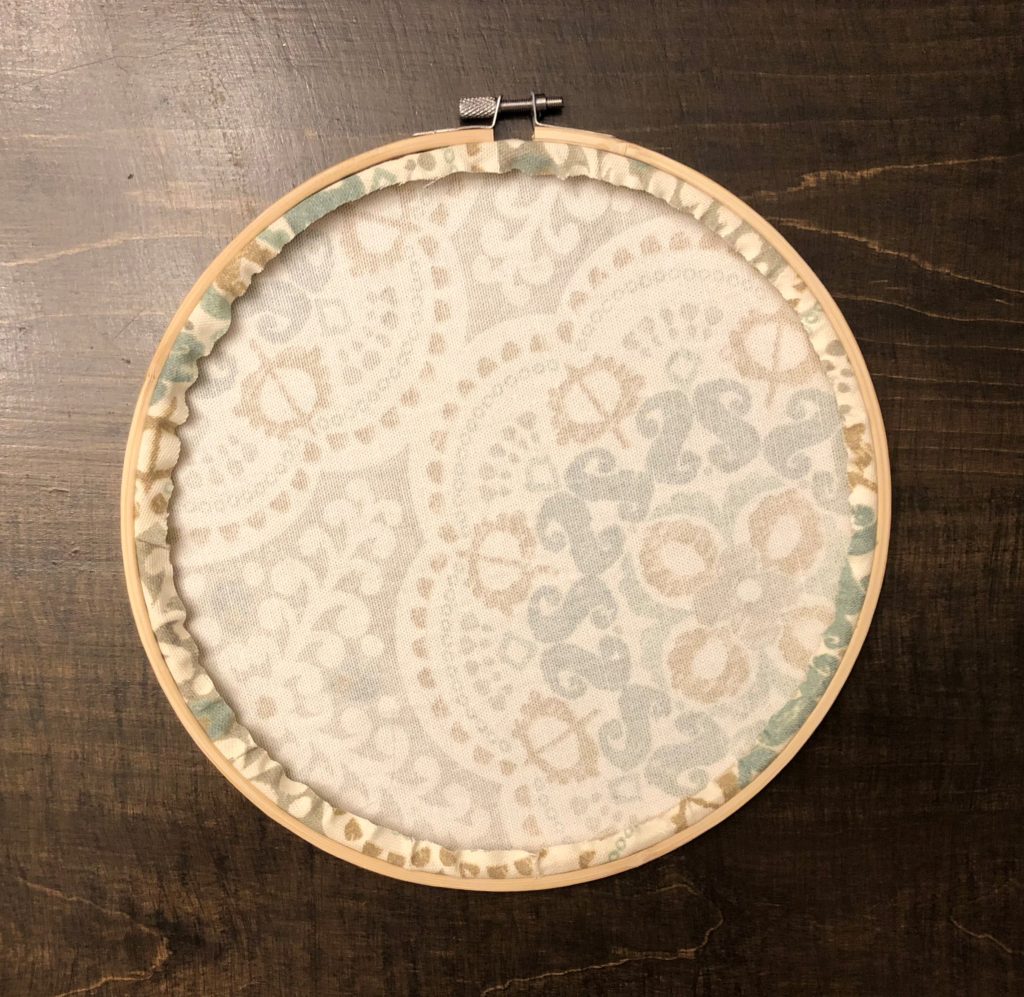
6. Follow Steps 3-5 for all hoops: Then you’ll end up with something like the below – where all your hoops have fabric in them and you have your completed design. I considered leaving some hoops open, without any fabric on them but changed my mind at the last minute. Up to you!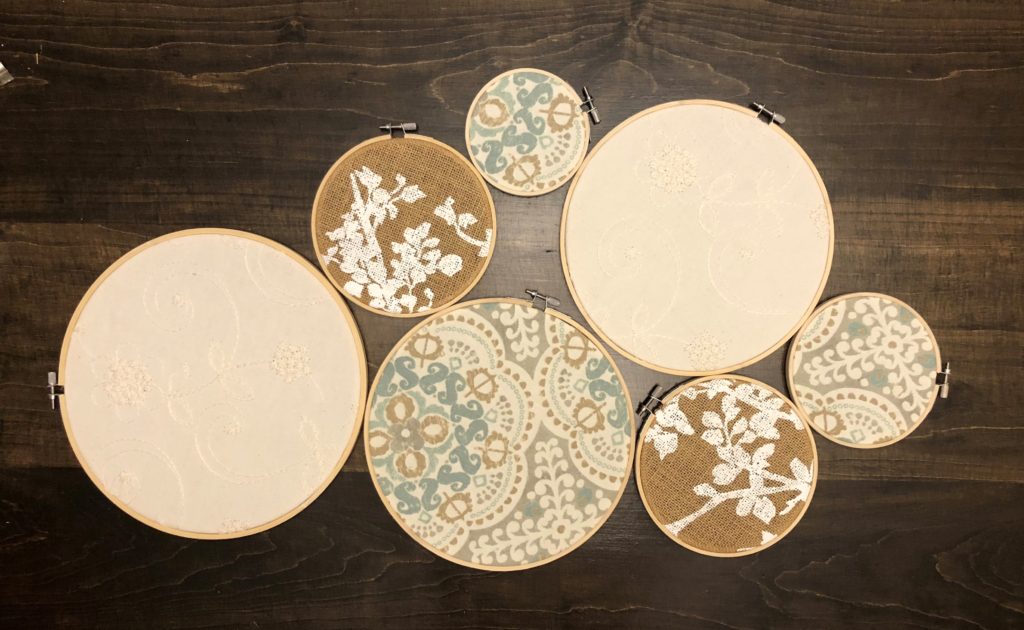
7. Hang them on your wall: You could try to connect all the hoops together before hanging them on the wall but I preferred not to for two reasons. 1) I wanted the flexibility to be able to change my layout/design at the last minute if I wanted to and 2) It was simply more steps in the process that weren’t actually necessary! Therefore, I simply got a level, a hammer and some tiny nails. These hoops are SO light that you don’t need any massive hardware to hang them up. (Don’t you love our super well-used hammer? :))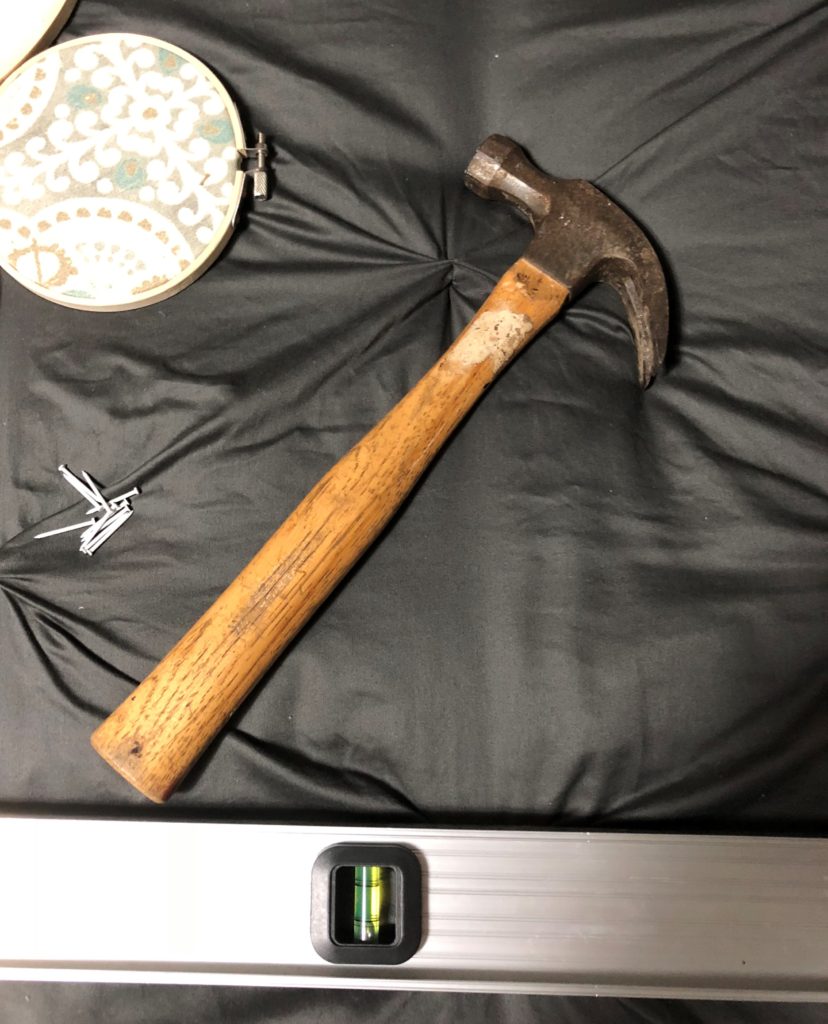
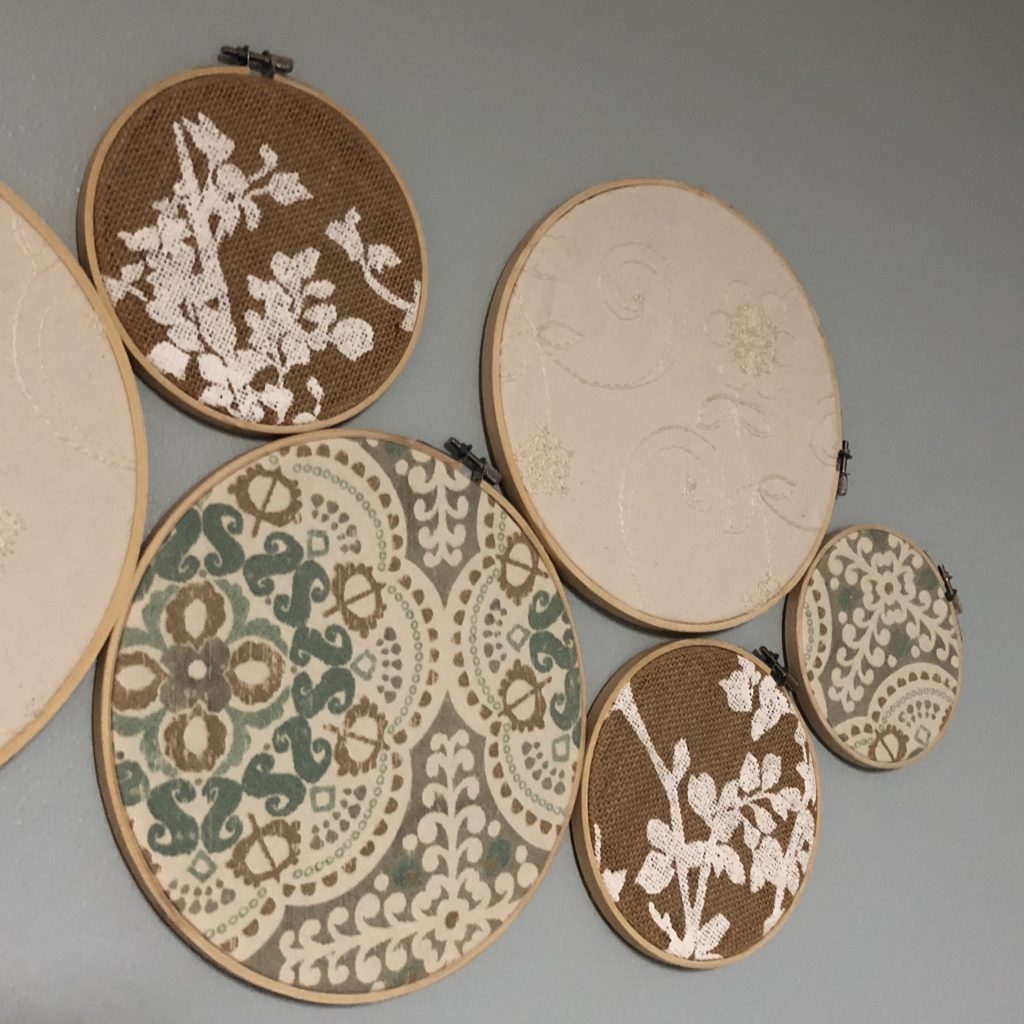
I used the level to try to space my hoops out exactly right to line up with the middle of my headboard. It’s not perfect but it’s good enough to the naked eye. I simply tacked up one at a time, slowing allowing them all to hang properly next to one another. I chose to hang them so that the little screws on the hoops hung in all different directions, not all straight up. Once again, completely up to you and the look you are going for! Below is the finished product!
I think maybe I should have put it slightly closer to the headboard but oh well! Not going to change it right now – learn for next time 🙂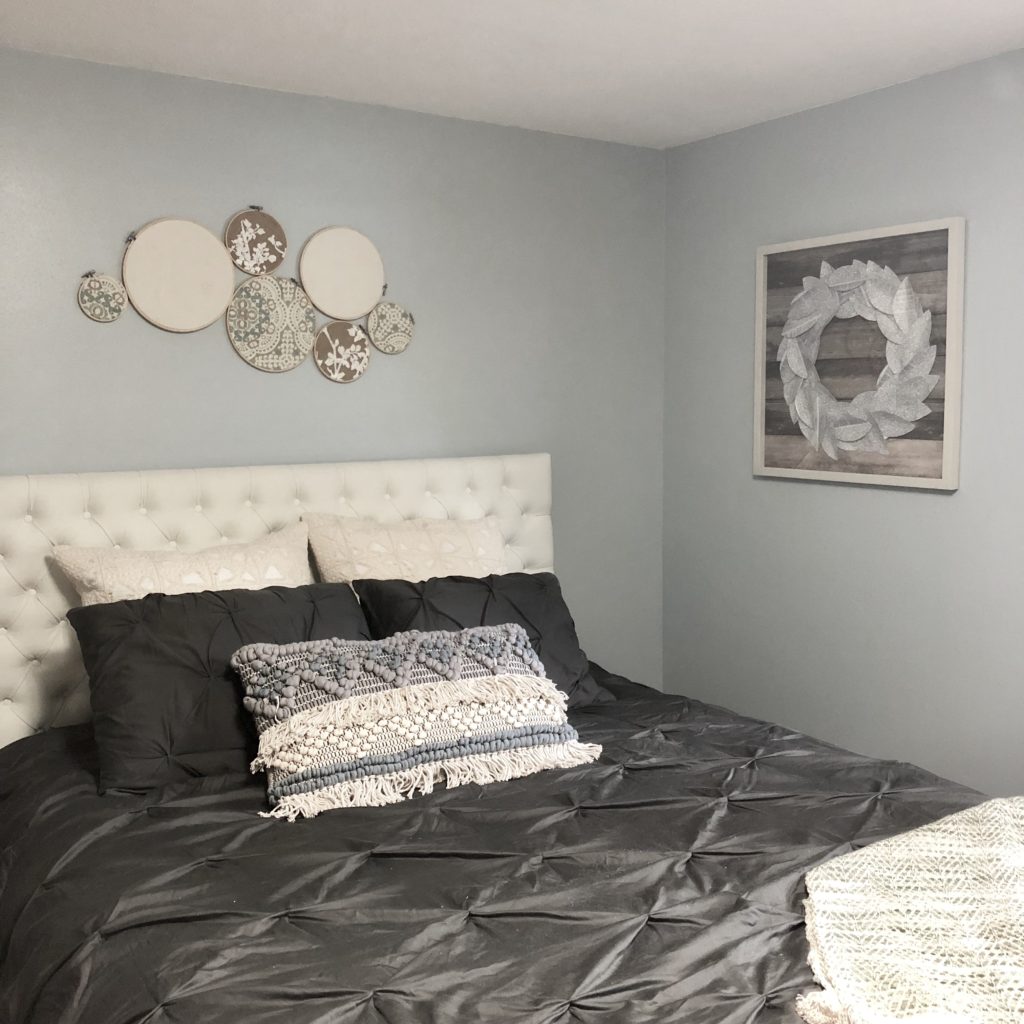
Ok, that’s all! 7 really simple steps that ANYONE can do to make this wall decor. Plus, tons of options for ways to tailor this craft to meet your design preferences – put lace in the hoops, make a design in the hoops with yarn or string, etc. Get creative and make something gorgeous that you love. Best wishes crafting!


3 Comments
Cathy
Wow! They look beautiful. What a great idea.
admin
Thank you!!
Cathy
Love it!!!